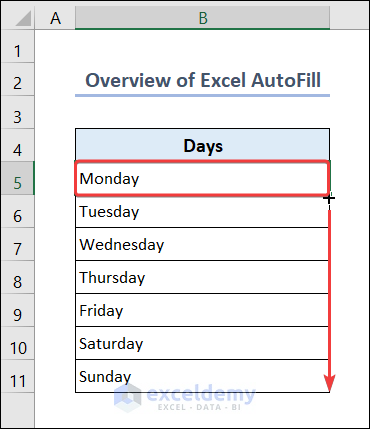
Here’s an overview of the AutoFill feature when working with days of the week.
Download the Practice Workbook
How to Use the AutoFill Feature in Excel
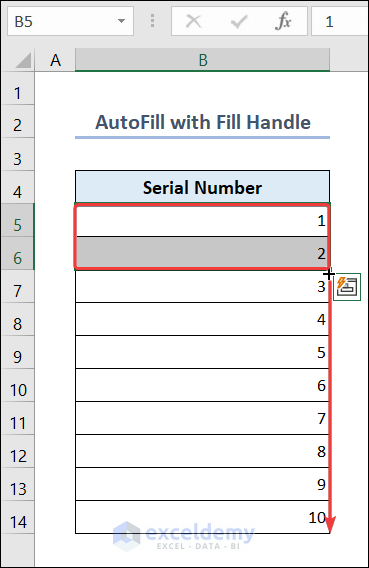
Example 1 – Excel AutoFill with Fill Handle
- Type 1 and 2 in cell B5 and cell B6, respectively.
- Select the range B5:B6 and drag the Fill Handle (bottom-right corner) to AutoFill data in range B7:B14.
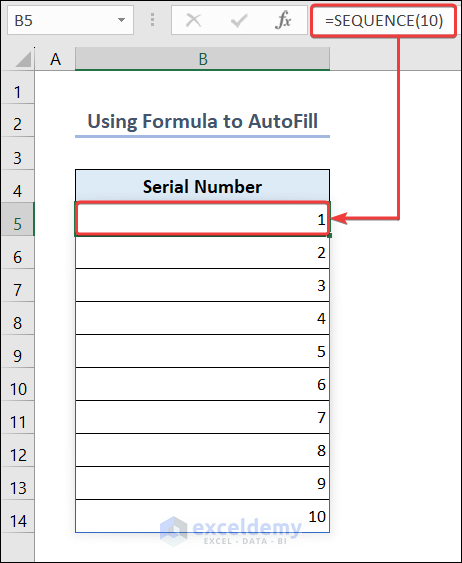
Example 2 – Use Formula to AutoFill
- Go to cell B5 and put a formula based on the SEQUENCE function.
=SEQUENCE(10)- Serial numbers will generate automatically in range B5:B14.
Read More: How to Apply AutoFill Shortcut
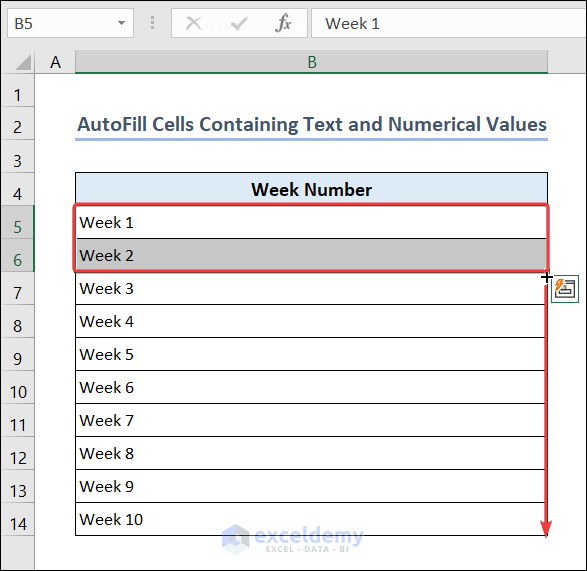
Example 3 – AutoFill Cells Containing Both Text and Numerical Values
- Type Week 1 and Week 2 in cell B5 and cell B6, respectively.
- Select the range B5:B6 and use the Fill Handle to AutoFill data to the range B7:B14.
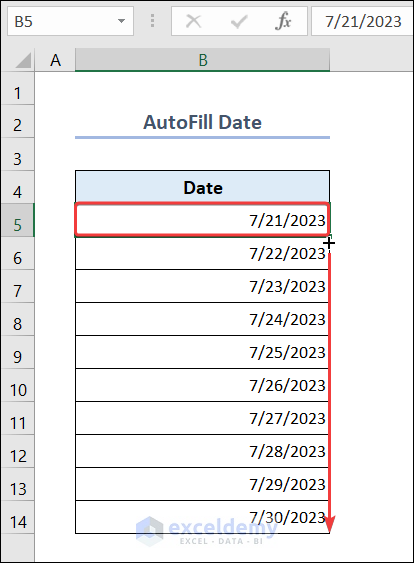
Example 4 – AutoFill Date
- Go to cell B5 and type 7/21/2023.
- Select cell B5 and drag the Fill Handle to AutoFill data in range B6:B14.
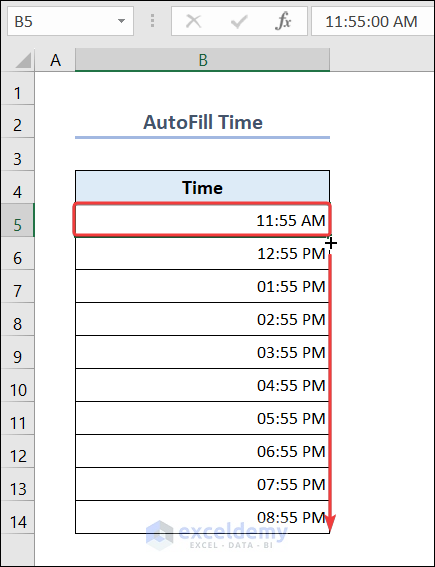
Example 5 – AutoFill Time
- Go to cell B5 and type 11:55 AM.
- Select cell B5 and use the Fill Handle to AutoFill data in range B6:B14.
Example 6 – AutoFill Series
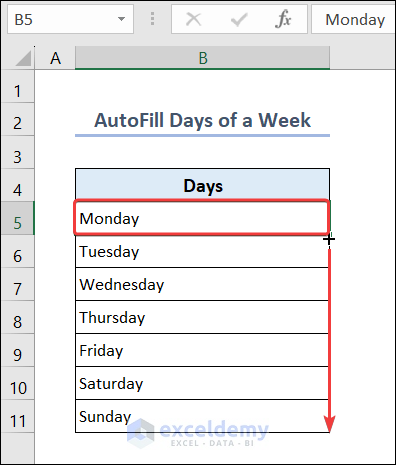
Case 6.1 – Days of the Week
- Go to cell B5 and type Monday.
- Select cell B5 and use the Fill Handle to AutoFill data in range B6:B11.
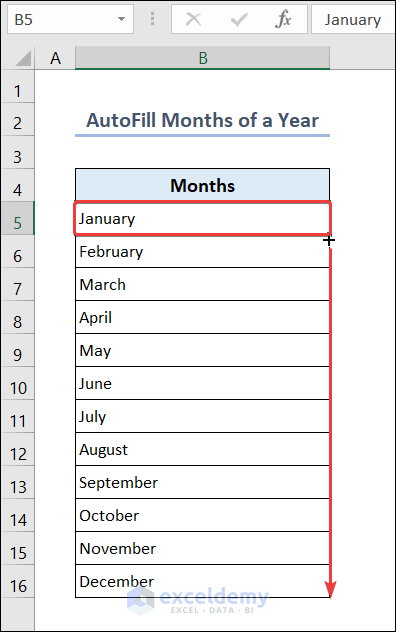
Case 6.2 – Months of the Year
- Go to cell B5 and type January.
- Select cell B5 and drag the Fill Handle to AutoFill data in range B6:B16.
Case 6.3 – AutoFill Rank
- Go to cell B5 and type 1st.
- Select cell B5 and use the Fill Handle to AutoFill data in range B6:B14.
![]()
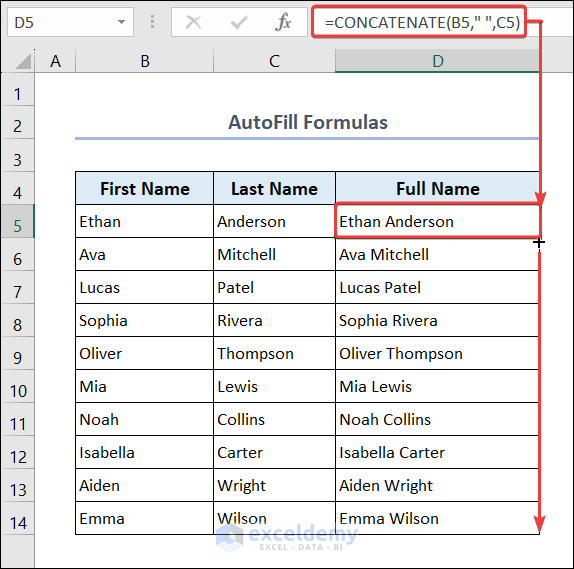
Example 7 – AutoFill Formulas
- Go to cell D5 and put the formula based on the CONCATENATE function.
=CONCATENATE(B5," ",C5)- Select cell D5 and drag the Fill Handle to AutoFill data in range D6:D14.
Example 8 – AutoFill from a Custom List
- Go to the File tab.
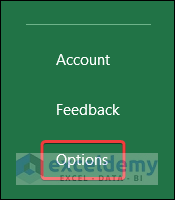
- Select Options.
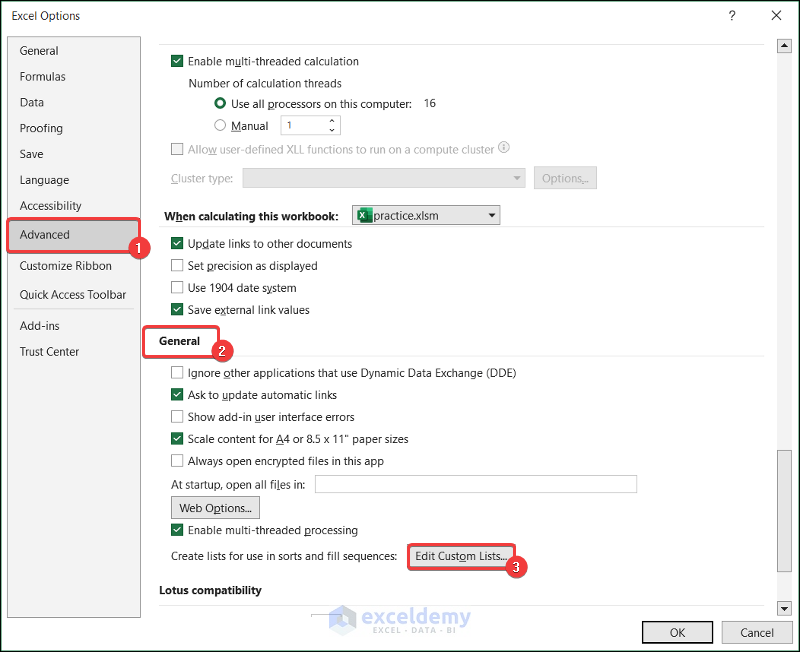
- The Excel Options dialog box will open.
- Click on the Advanced tab.
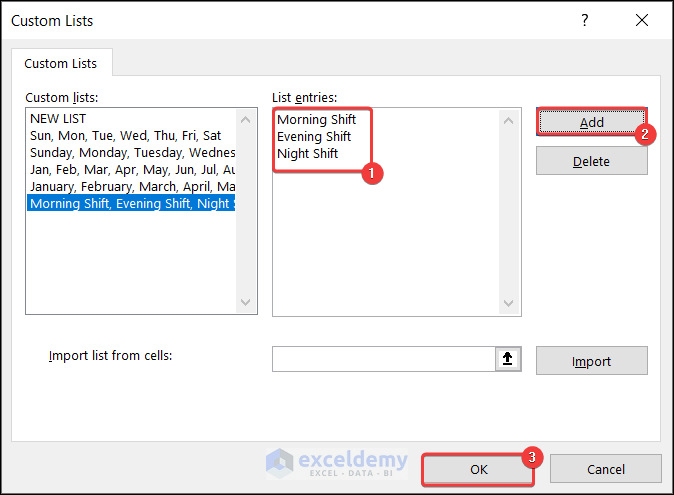
- Click on the Edit Custom Lists option under the General section.
- Put the list values one by one in the box below the List entries header.
- Click Add and press OK.
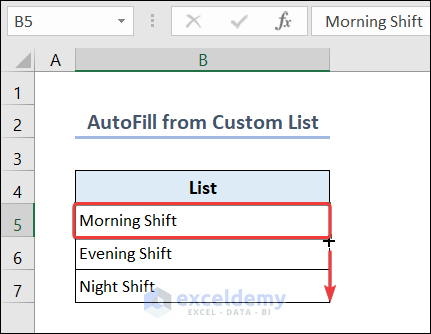
- Go to cell B5 and put the first entry of the custom list which is Morning Shift.
- Select the cell B5 and use the Fill Handle to AutoFill data in range B6:B7.
- You will see the entries of the custom list in range B5:B7.
Read More: Use AutoFill with Formula
Example 9 – AutoFill to Get Repeating Values
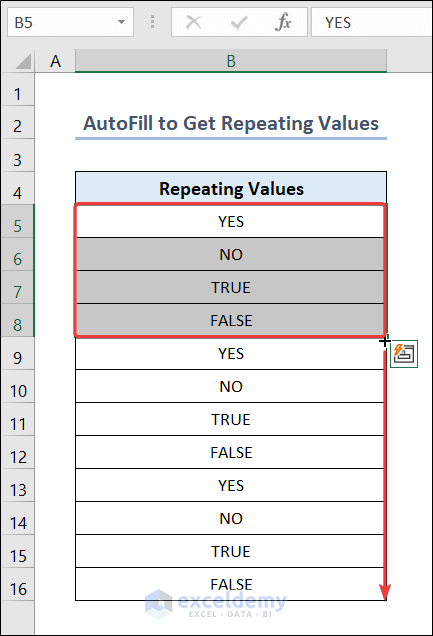
- Type YES, NO, TRUE, FALSE in the range B5:B8.
- Select the range B5:B8 and drag the Fill Handle to AutoFill data to the range B9:B16.
Read More: Create a Custom AutoFill List
Example 10 – AutoFill Horizontally or Vertically
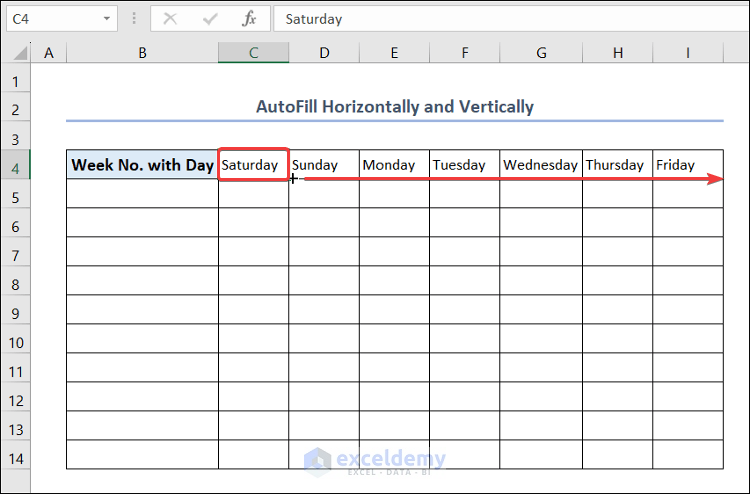
- Go to cell C4 and type Saturday.
- Select cell C4 and drag the Fill Handle to the right to AutoFill data in the range D4:I4.
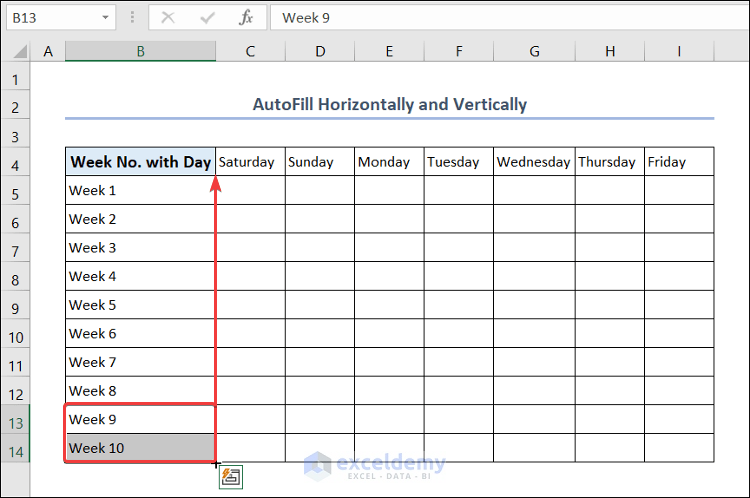
- Type Week 10 and Week 9 in cell B14 and cell B13 vertically in column B.
- Select range B13:B14 and drag the Fill Handle up to AutoFill data to the range B12:B5.
Read More: AutoFill from List
Example 11 – AutoFill Multiple Rows or Columns
- Write the week number and name of day in the range B5:D6 as shown below.
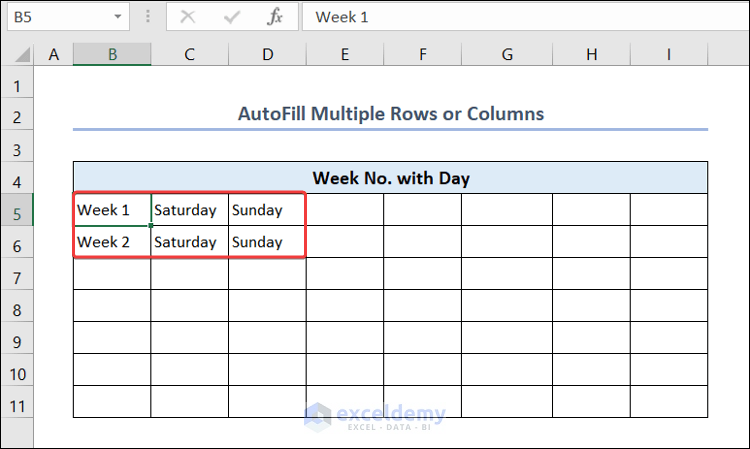
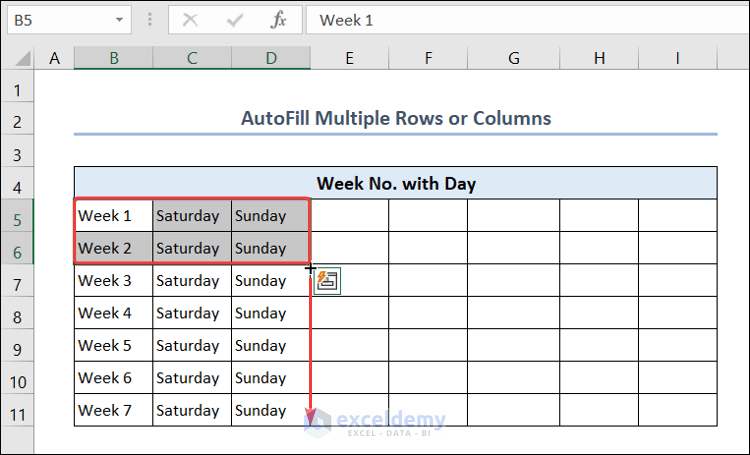
- Select the range B5:D6 and use the Fill Handle to AutoFill data in range B7:D11.
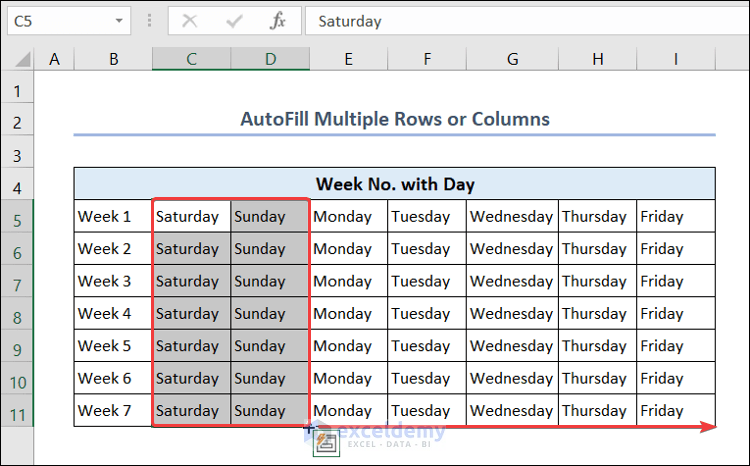
- Select the range C5:D11 and use Fill Handle to AutoFill data in range E5:I11.
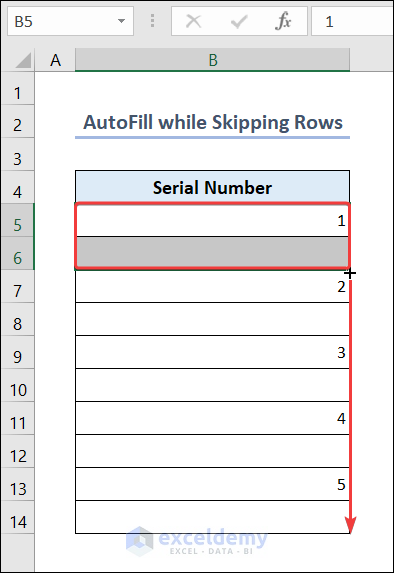
Example 12 – AutoFill while Skipping Rows
- Type 1 in cell B5 and keep the cell B6 blank.
- Select the range B5:B6 and use the Fill Handle to AutoFill data in the range B7:B14.
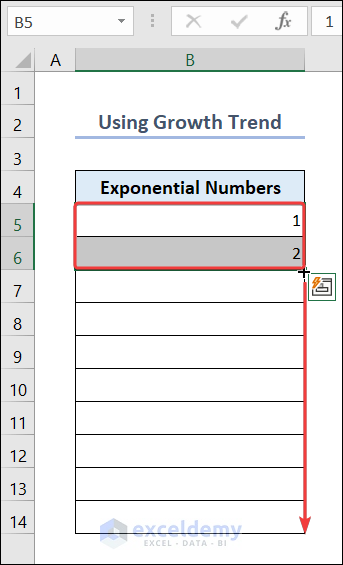
Example 13 – AutoFill Geometric Patterns (Growth Series)
Case 13.1 – Use the Growth Trend
- Type 1 and 2 in cell B5 and cell B6, respectively.
- Select the range B5:B6.
- Right-click and drag down the Fill Handle to range B7:B14.
- Select Growth Trend from the context menu.
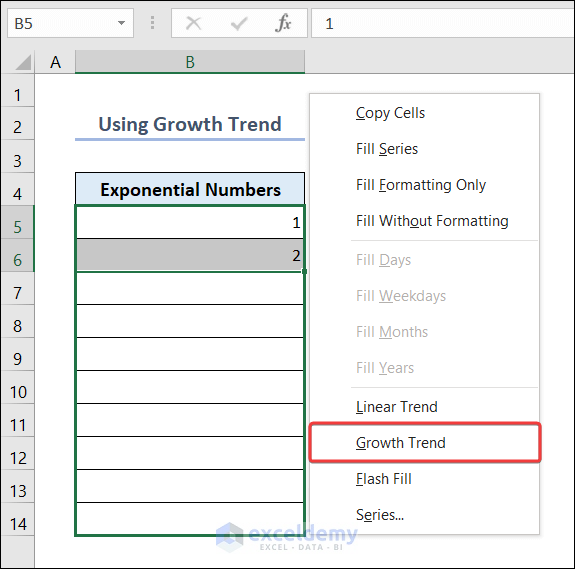
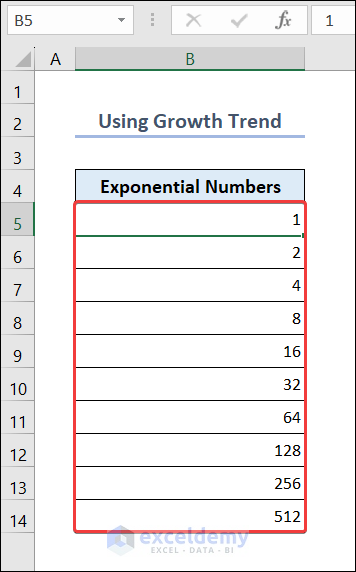
- You will get an exponential series in the range B5:B14.
Read More: AutoFill Cell Based on Another Cell
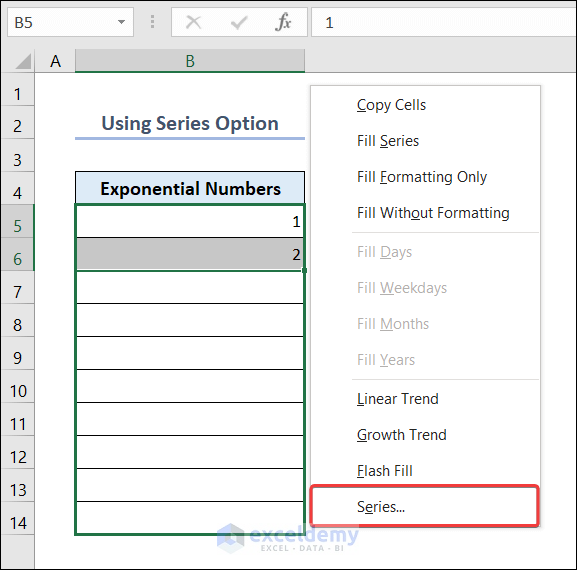
Case 13.2 – Use the Series Option
- Type 1 and 2 in cell B5 and cell B6, respectively.
- Select the range B5:B6.
- Right-click and drag down the Fill Handle to the range B7:B14.

- Select Series from the context menu.
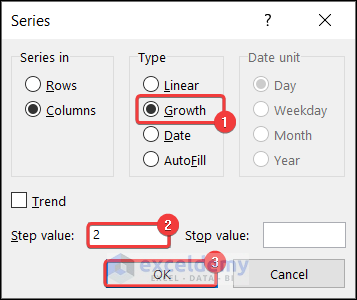
- The Series dialog box will open.
- Select Growth in the Type section.
- Put 2 as the Step value and press OK.
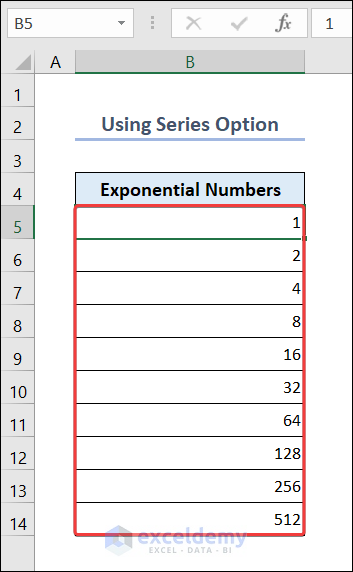
- You will get an exponential series in range B5:B14.
Read More: AutoFill Sequential Letters
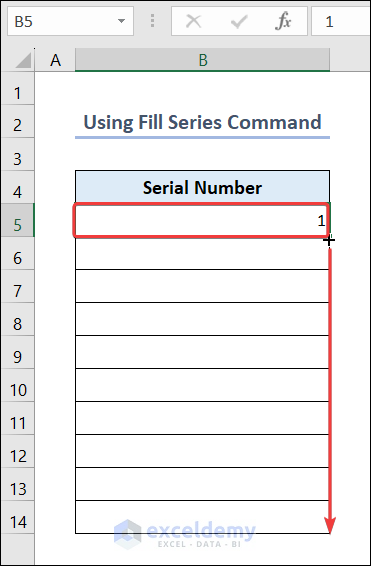
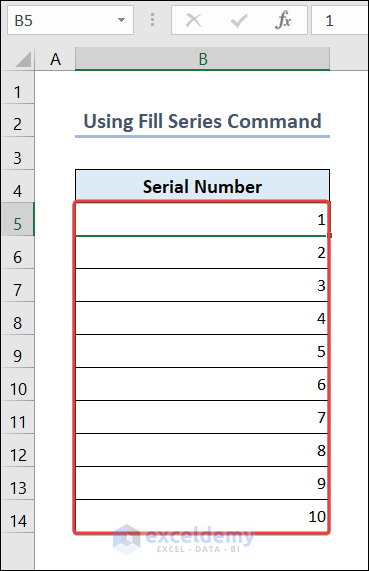
Example 14 – Use the Fill Series Command to AutoFill Data
- Type 1 in cell B5.
- Select cell B5. Right-click and drag down the Fill Handle to the range B6:B14.
- Select Fill Series from the context menu.
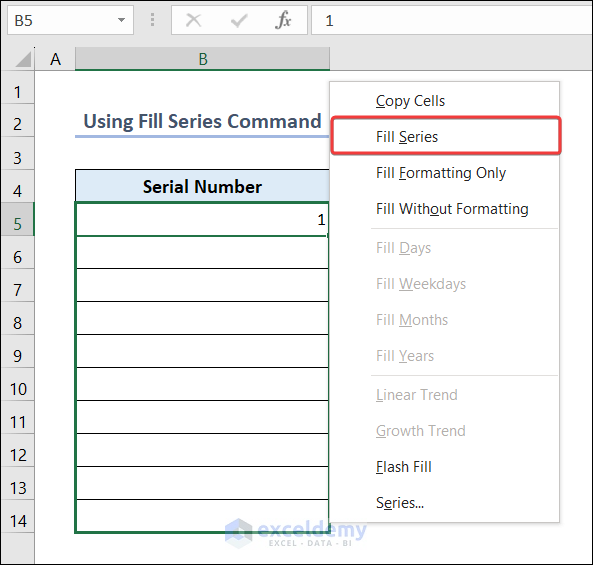
- You will see the output in range B5:B14.
Example 15 – Flash Fill in Excel
Case 15.1 – Use Flash Fill to Join Cell Content
We have a dataset of first and last names in different columns.
- Go to cell D5 and write the full name of the person (Ethan Anderson) joining the first name and last name.
- Select the cell D5.
- Go to the Data tab and select the Flash Fill command from the Data Tools group.
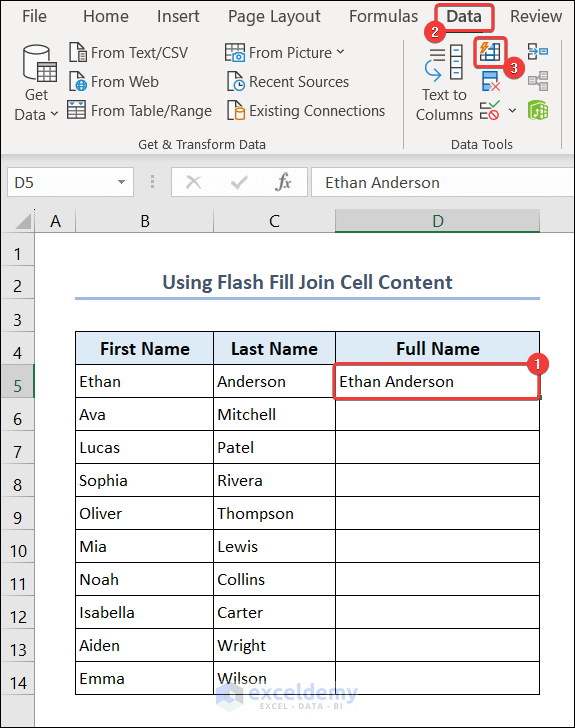
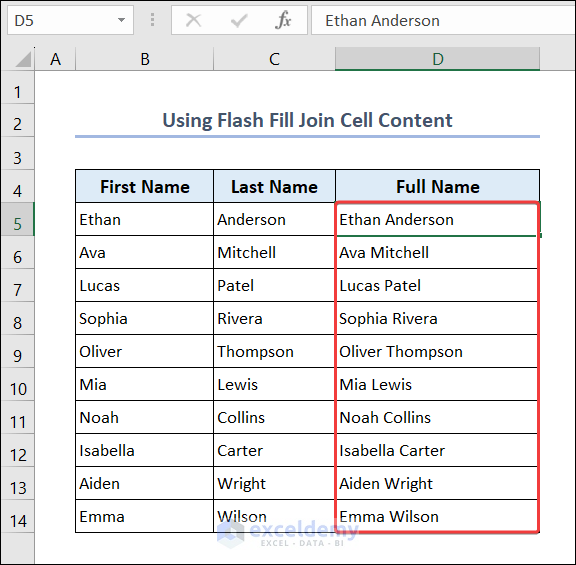
- You will get the full names in range D5:D14.
Read More: Fill Down Blanks
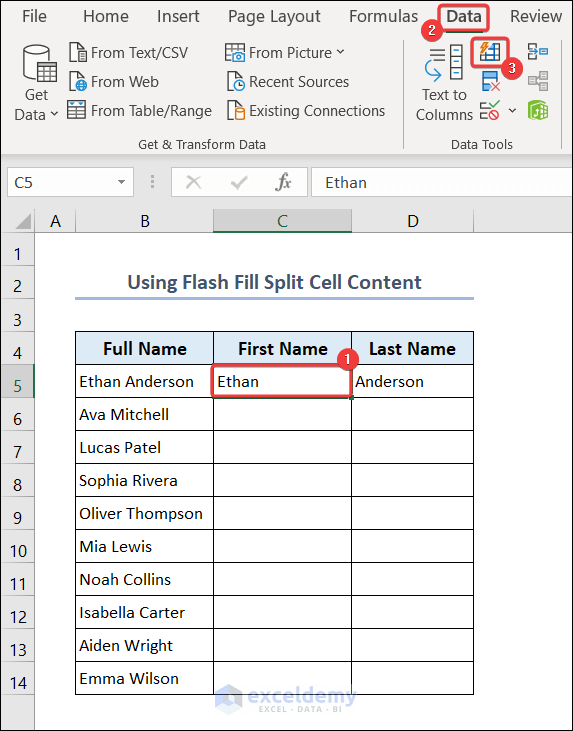
Case 15.2 – Use Flash Fill to Split Cell Content
- Write the first name (Ethan) and last name (Anderson) in cell C5 and cell D5, respectively, splitting the full name (Ethan Anderson) from cell B5.
- Select cell C5.
- Go to the Data tab and select the Flash Fill command from the Data Tools group.
- Select cell D5 and use the Flash Fill command from the Data Tools group.
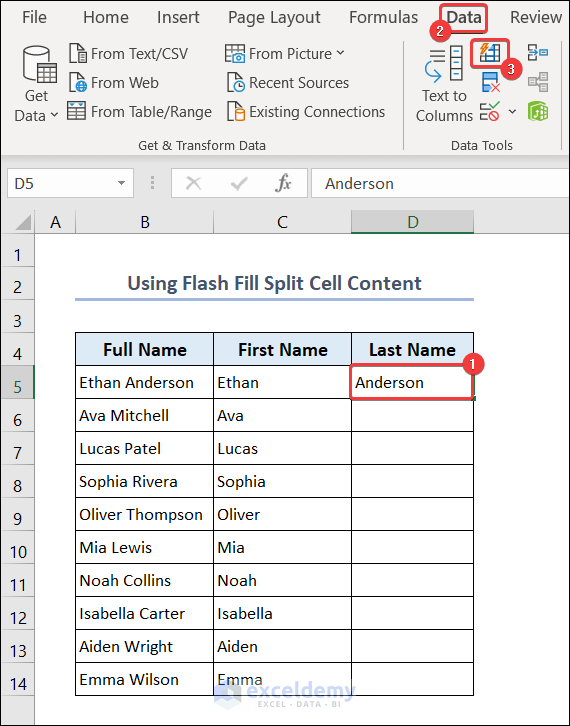
- You will get the first and last names in the range C5:D14.

Read More: Excel Repeat Formula Pattern
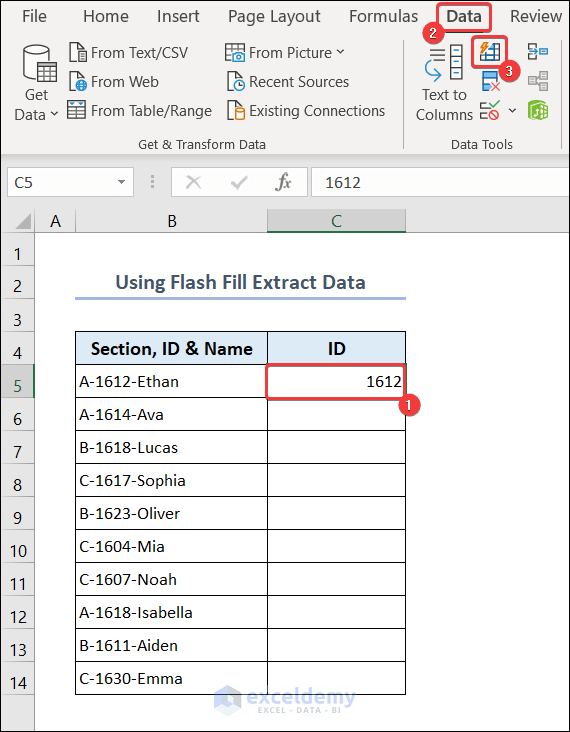
Case 15.3 – Use Flash Fill to Extract Data
We have a dataset that has a combination of section, ID, and name in a column. We will extract only ID from the dataset.
- Write the ID in cell C5 of the corresponding cell B5.
- Select cell C5 and use the Flash Fill command from the Data Tools group.
- You will get the IDs extracted from column B to the range C5:C14.
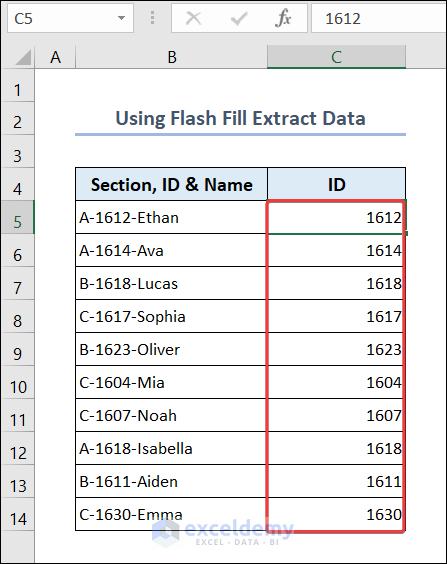
You can use the keyboard shortcut Ctrl + E for Flash Fill.
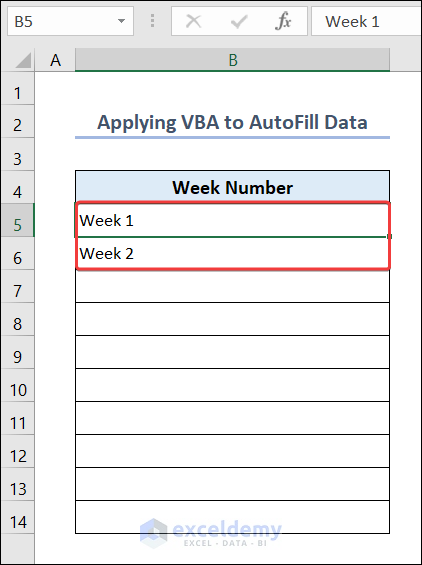
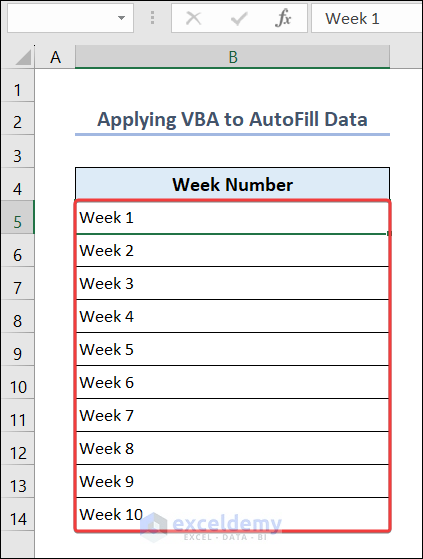
Example 16 – Apply VBA to AutoFill Data
- Type Week 1 and Week 2 in cell B5 and cell B6, respectively.
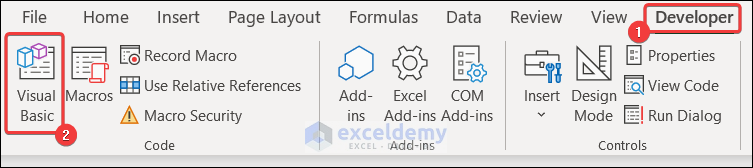
- Go to the Developer tab and select Visual Basic.
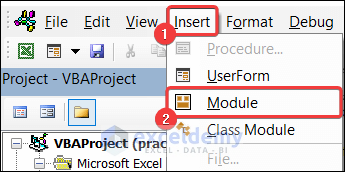
- Select Insert and choose Module.
- Paste the following code in the VBA Macro Editor.
- Press the Run button or F5 key to run the code.
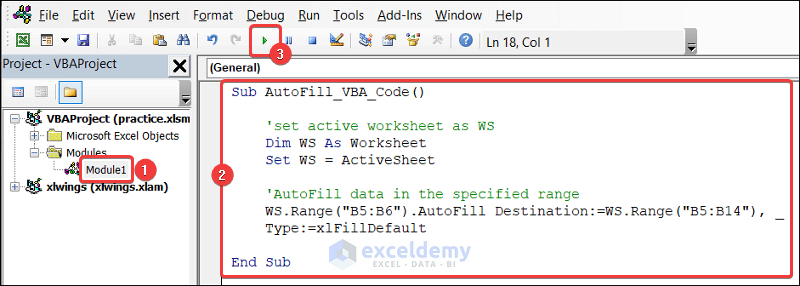
Sub AutoFill_VBA_Code()
    'set active worksheet as WS
    Dim WS As Worksheet
    Set WS = ActiveSheet
    'AutoFill data in the specified range
    WS.Range("B5:B6").AutoFill Destination:=WS.Range("B5:B14"), Type:=xlFillDefault
End Sub- You will see the outcome in range B5:B14.
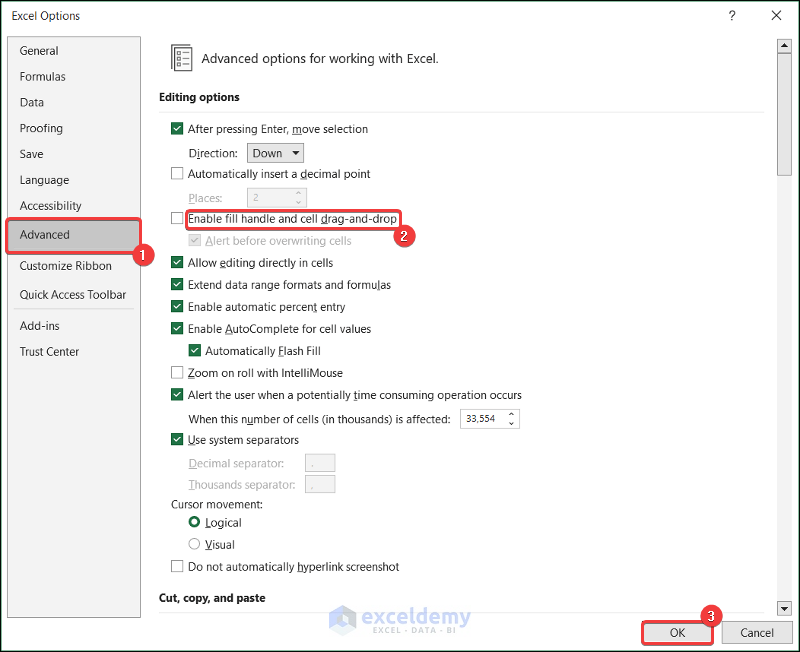
How to Enable/Disable AutoFill Feature in Excel
- Go to the File tab.

- Select Options.

- Excel Options dialog box will open.
- Go to the Advanced tab.
- Look for the Editing options section on the right side.
- Check/uncheck the Enable fill handle and cell drag-and-drop option to enable/disable the AutoFill feature.
- Press OK to save changes.
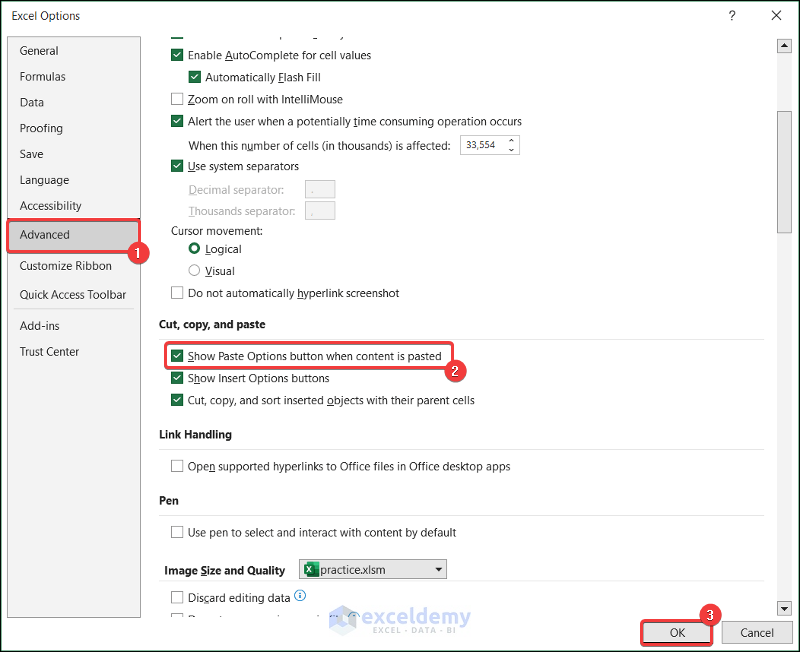
How to Turn On/Off AutoFill Options
- Go to the Advanced tab of the Excel Options dialog box.
- Look for the Cut, copy and paste section.
- Check or uncheck the Show Paste Options button when content is pasted option to turn the AutoFill feature on or off, respectively.
- Press OK to save the changes.
Things to Remember
- Flash Fill option is available in Excel 2013 and later versions.
- Change the number format as necessary while using the Fill Handle or Fill Series method.
- Right-click and drag the Fill Handle to get Growth Trend, Fill Series, and other advanced commands.
Frequently Asked Questions
How to AutoFill data without dragging the Fill Handle?
You can use the Fill Series command to AutoFill data without dragging the Fill Handle.
Can I AutoFill non-linear patterns?
Yes, you can AutoFill non-linear and other geometric patterns.
Can I use AutoFill to fill months and years?
Yes, you can use AutoFill to fill months and years. Put the initial two or three values and then use Fill Handle to extend the series.
Excel AutoFill: Knowledge Hub
<< Go Back to Learn Excel
Get FREE Advanced Excel Exercises with Solutions!
