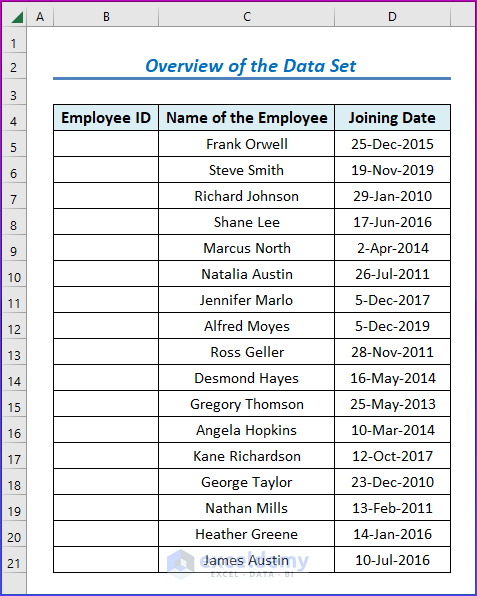
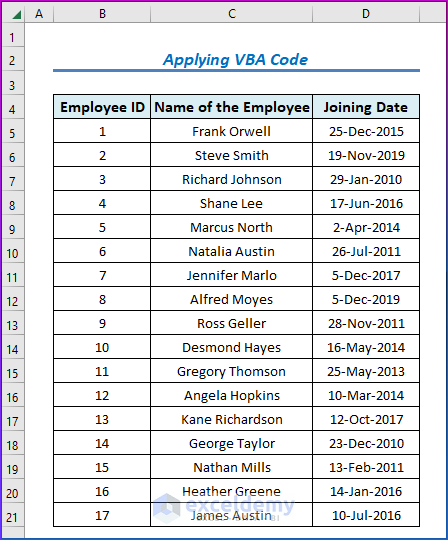
Here we’ve got a data set with the Names and Joining Dates of some employees. We’ll fill the Employee IDs up to the last row automatically.
Method 1 – Using the Fill Handle Tool to Fill Down to the Last Row in Excel
Steps:
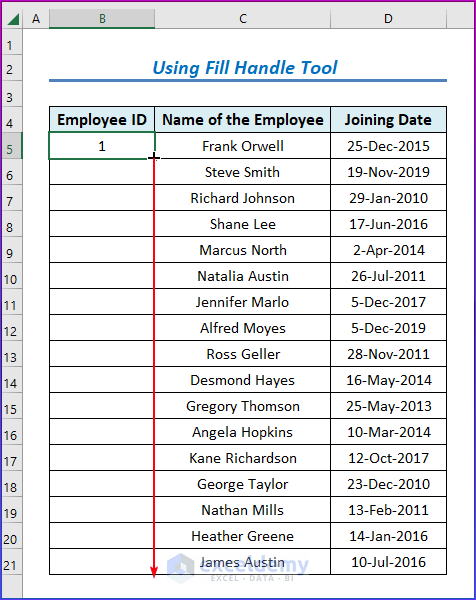
- Fill in the first cell manually. We have entered 1 into the first cell of the Employee IDs column.
- Double-click or drag the small plus (+) sign on the bottom-right corner (the Fill Handle) of the first cell in the column down to the last cell.
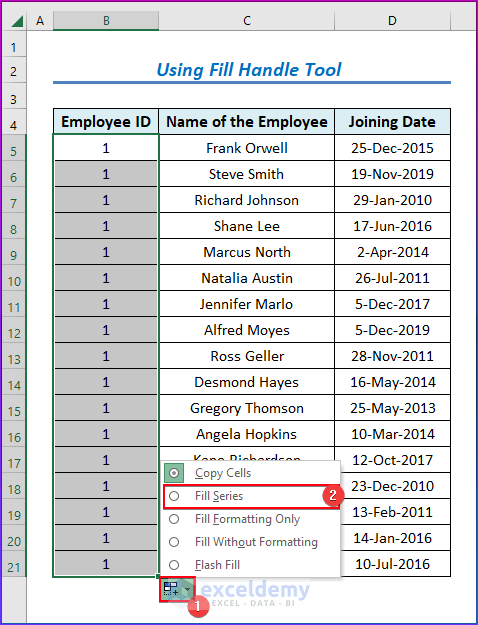
- All the cells will be filled with the value of the first cell (1 in this example).
- If you want to fill them with a series (Like 1, 2, 3, 4, …), click on the drop-down menu on the last cell, called the Auto Fill Options.
- You will get a few options. Click on Fill Series.
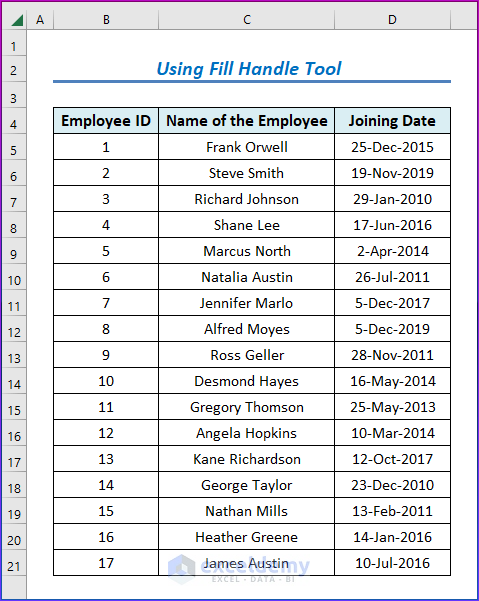
- Here’s the result.
Read More: How to AutoFill Formula When Inserting Rows in Excel
Method 2 – Using the Fill Series Option from the Excel Toolbar to Autofill Data
Steps:
- Fill in the first cell manually. We entered 1 as the employee ID of the first employee.
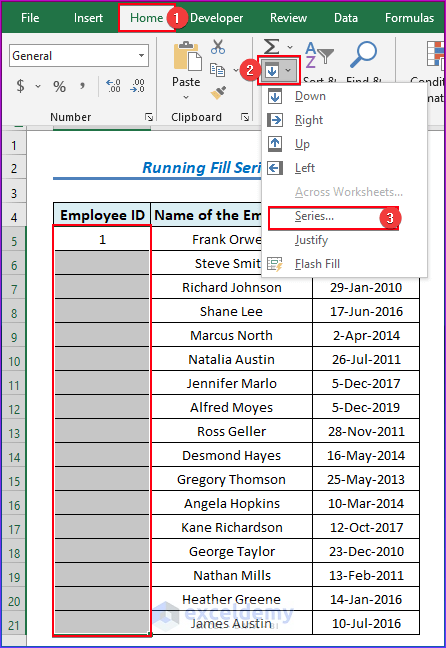
- Select the whole column.
- Go to the Fill tool under the Editing group of commands in the Home tab.
- Click on Fill.
- You will get a few options. Select Series.
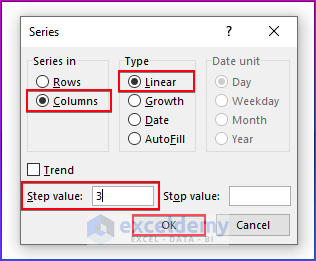
- You will get a dialogue box called Series.
- Select Columns from the Series in the menu.
- Select Linear from Type
- In the Step value box, enter the step increment that you want. For the sake of this example, we’re entering 3.
- Click OK.
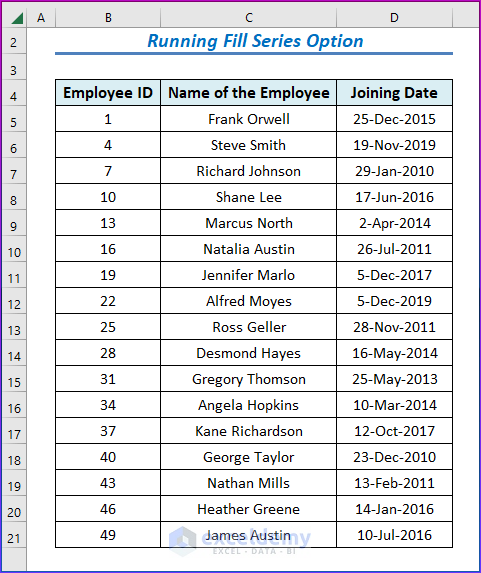
- The column has been filled with a series of {1, 4, 7, 10, 13, …}.
Read More: How to Autofill Dates in Excel
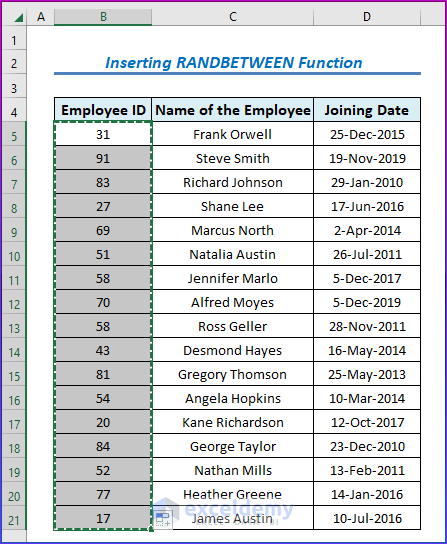
Method 3 – Inserting the RANDBETWEEN Function to Fill Down to the Last Row with Random Values
Steps:
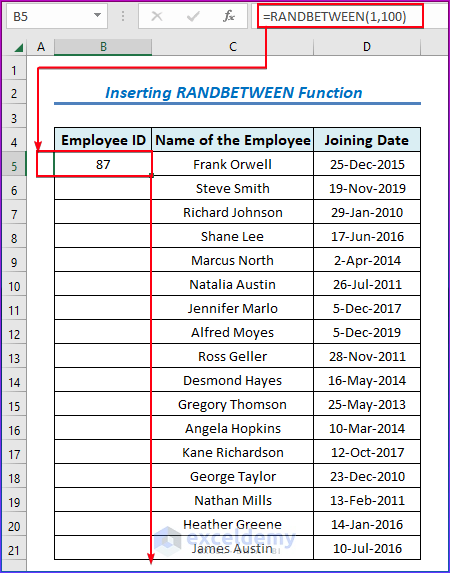
- Enter this RANDBETWEEN function in the first cell:
=RANDBETWEEN(1,100)
- This will generate a random number between 1 and 100.
- Double-click or drag the Fill Handle down to the last row.
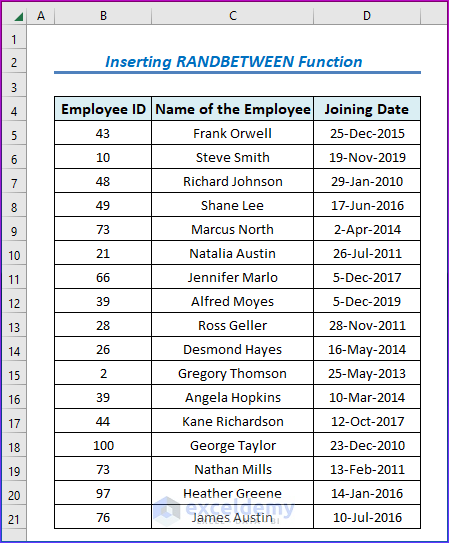
- All the cells will be filled with random numbers between 1 and 100.
- RANDBETWEEN is a volatile function. Each time you make any change in any cell of your worksheet, it will re-calculate and return a new value.
- Select the whole column and press Ctrl + C on your keyboard. You’ll find the column highlighted as shown below.
- Right-click on your mouse.
- Select “Paste Value” from the options available.
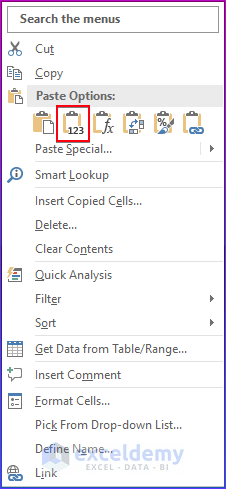
- All the outputs will turn into values, and they won’t change any more.
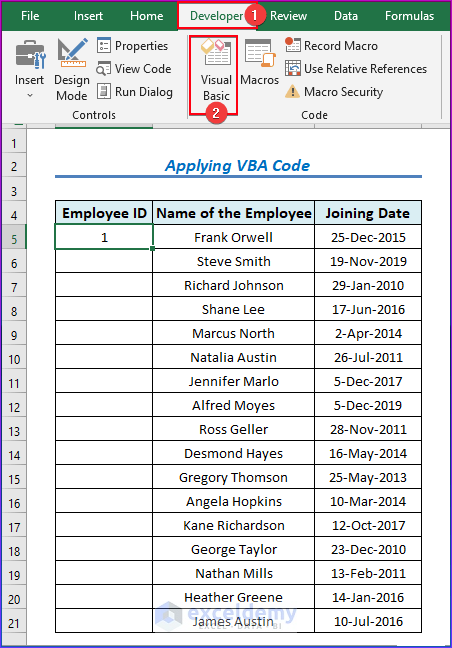
Method 4 – Applying VBA Code to Fill Down to the Last Row with Data in Excel
Steps:
- Open the Developer tab.
- Select Visual Basic.
- The Visual Basic window will open.
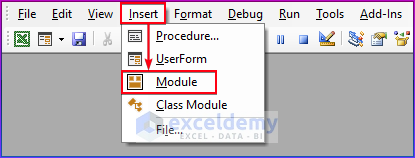
- From the Insert options, choose Module.
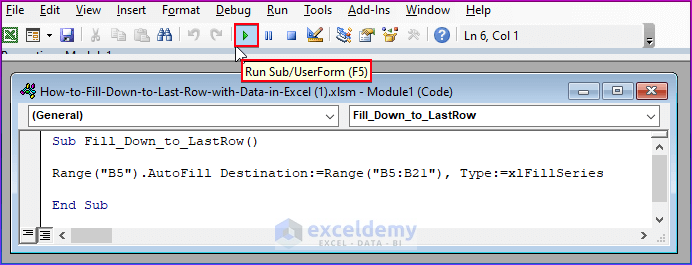
- Paste the following code into the Module that pops up.
Sub Fill_Down_to_LastRow()
Range("B5").AutoFill Destination:=Range("B5:B21"), Type:=xlFillSeries
End Sub- Save the code.
- Press F5 to run the VBA code.
- You will get the following desired result.
Download the Practice Workbook
Further Readings
- How to Fill Column in Excel with Same Value
- Filling a Certain Number of Rows in Excel Automatically
- Excel Formulas to Fill Down Sequence Numbers Skip Hidden Rows
- How to Auto Populate from Another Worksheet in Excel
<< Go Back to Excel Autofill | Learn Excel
Get FREE Advanced Excel Exercises with Solutions!
