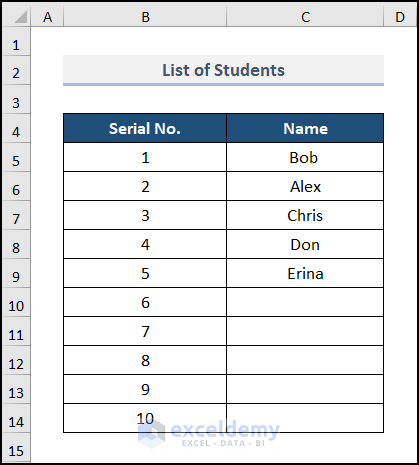
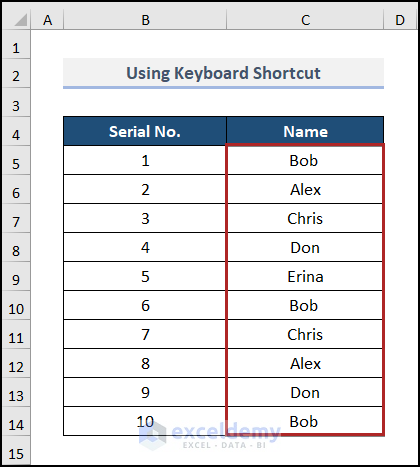
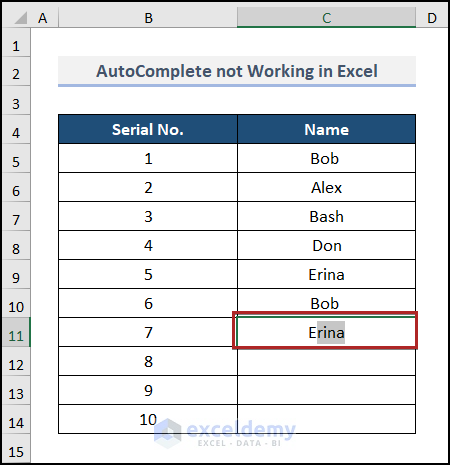
The sample dataset includes Serial No. and Name in columns B and C, respectively. We’ll use these values to fill the columns via Predictive Fill.
Method 1 – Enabling the AutoComplete Option in Excel
Steps:
- Navigate to the File tab.
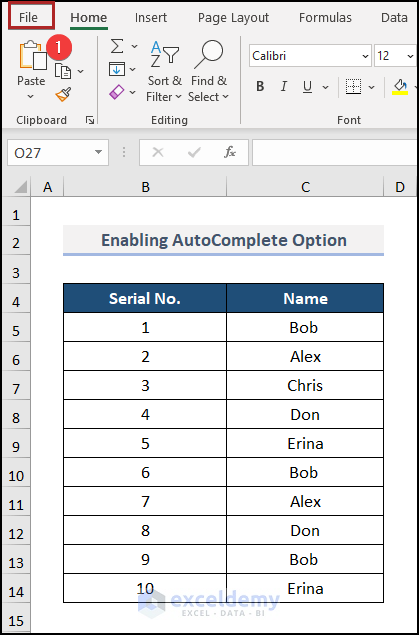
- Click on Options.

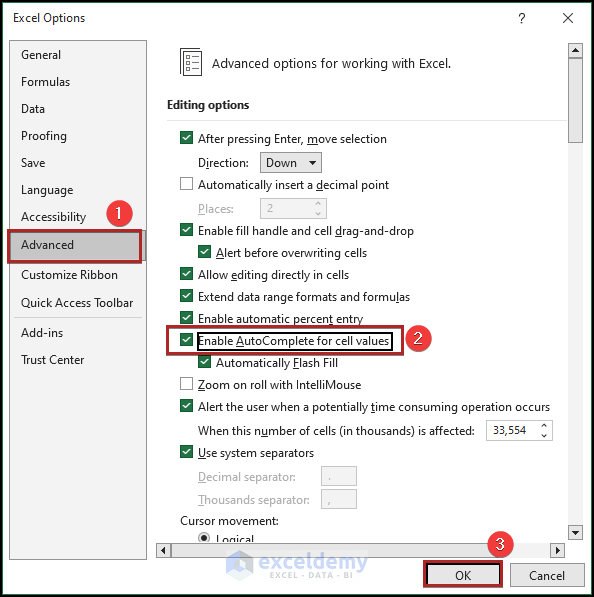
- The Excel Options window appears.
- Go to the Advanced tab.
- Check the box Enable AutoComplete for cell values under the Editing options.
- Click OK.
AutoComplete contains several features e.g. AutoComplete option from list, AutoComplete from another row, AutoComplete from another sheet.
♦ AutoComplete from Range
Steps:
- Select cell C10.
- If you write B in this black cell of your Name column, Excel will automatically suggest Bob as it links the letter to the word.
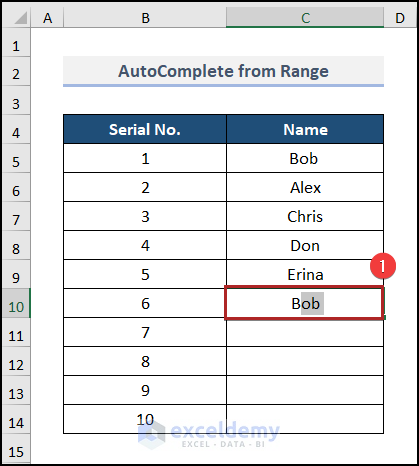
- Press Enter to accept the suggestion.
- If you write A, Excel then predicts your word using the same method.
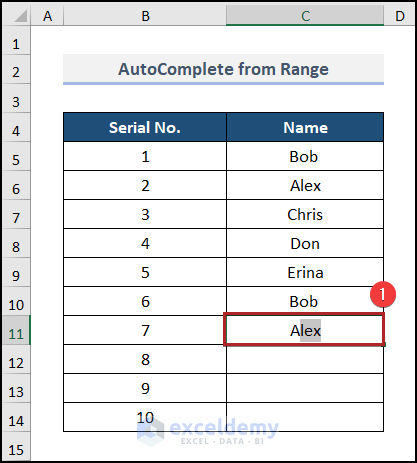
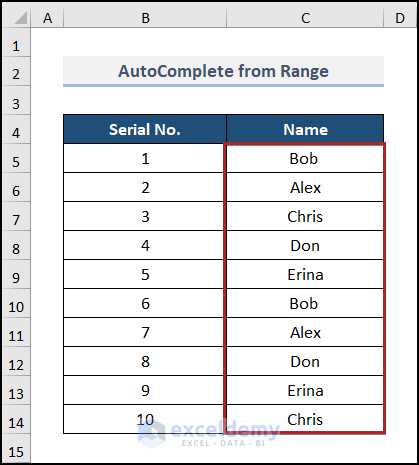
- That’s how you can complete the list using the predictive AutoFill shortcut.
Read More: How to Repeat Formula Pattern in Excel
Method 2 – Using Keyboard Shortcuts
Steps:
- Select cell D10, where we want Excel to predict our autofill data.
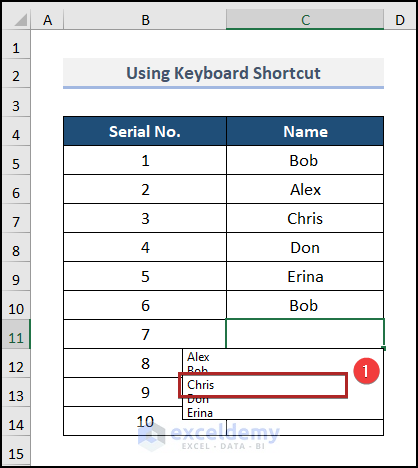
- Press Alt + down arrow. A list of predictions is shown just under the cell.
- Click on the word that you want to insert or move the Down Arrow Key on your keyboard to select it, then press Enter to insert it.

- You can perform this method using your mouse, too. Select the cell where you want to get your data, then right-click and select Pick From Drop-down List.
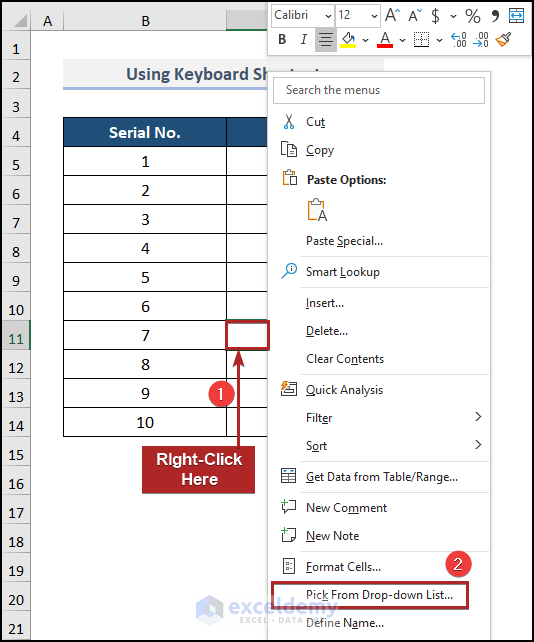
- You’ll see a list of predictions just under the cell. Select the desired option from that list.
Here’s the result.
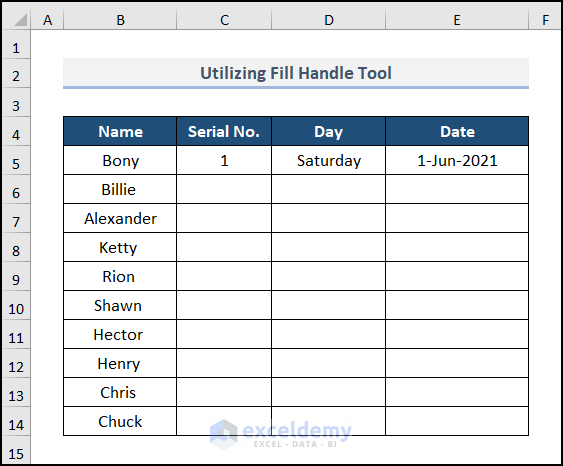
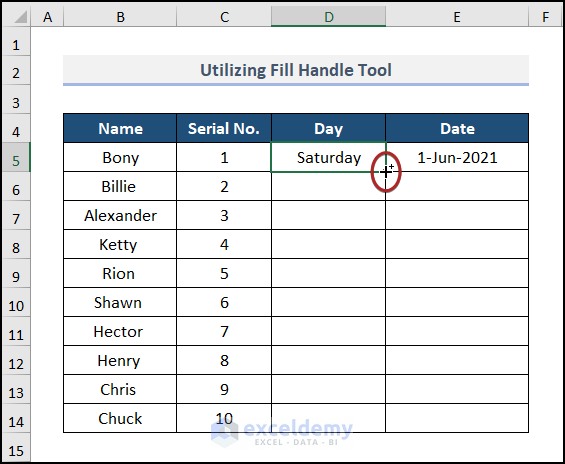
Method 3 – Utilizing the Fill Handle Tool
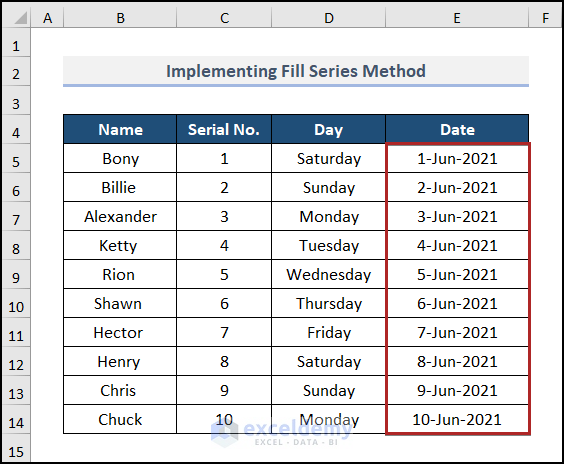
We have a data table containing columns with the headings Name, Serial No., Day, and Date. Some of the columns are incomplete.
Steps:
- We will autofill the Serial No. column.
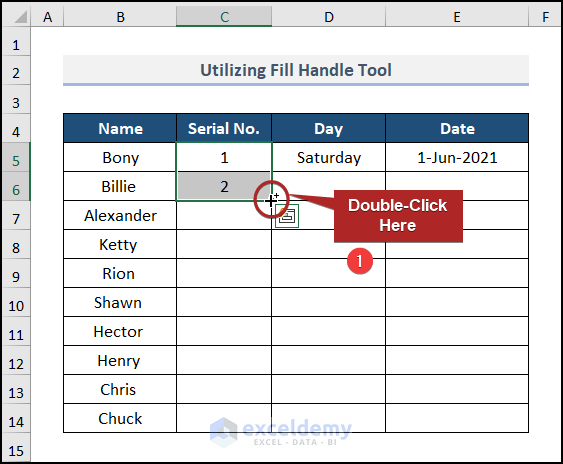
- Fill in at least two cells with numbers for Excel to predict the series.
- Select those two cells and move the mouse cursor to the bottom-right corner of the selection until you see the plus icon called the Fill Handle.
- Double-click on it.
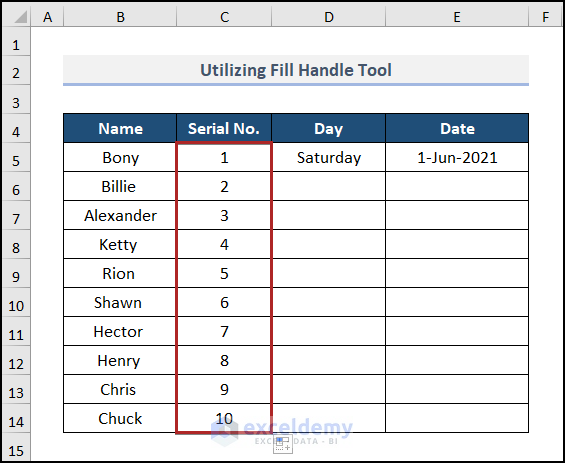
- This will autofill the numbers in the cells to the end of the data column.
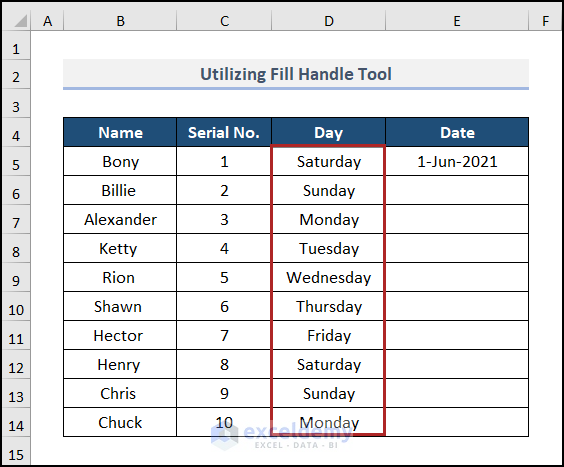
- Select the cell with data in the column Day and hover over the corner to get the Fill Handle.
- Double-click on the Fill Handle.
- We got the predicted autofill data.
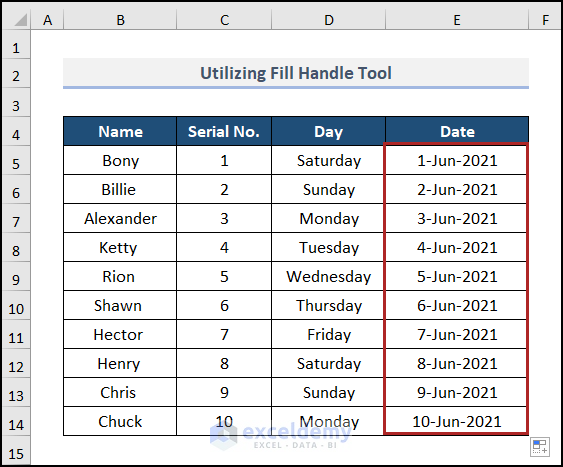
- Repeat for the Date column.
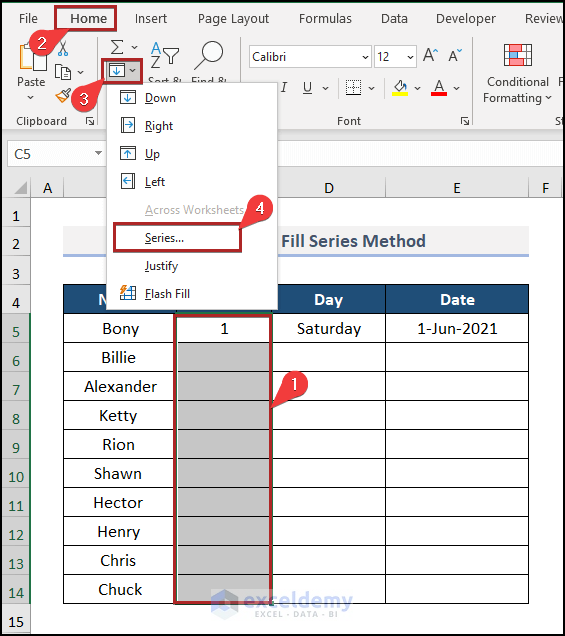
Method 4 – Implementing a Fill Series
Steps:
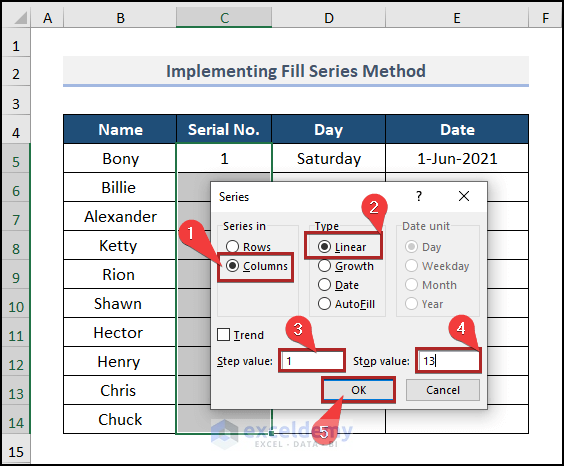
- Select the column Serial No., then go to the Home tab, click on the Fill drop-down icon, and select Series from the options.
- The Series dialog box pops up.
- Select Columns under the Series in section, choose Linear under Type, and insert the Step value as 1 and Stop value as 13.
- Click OK.
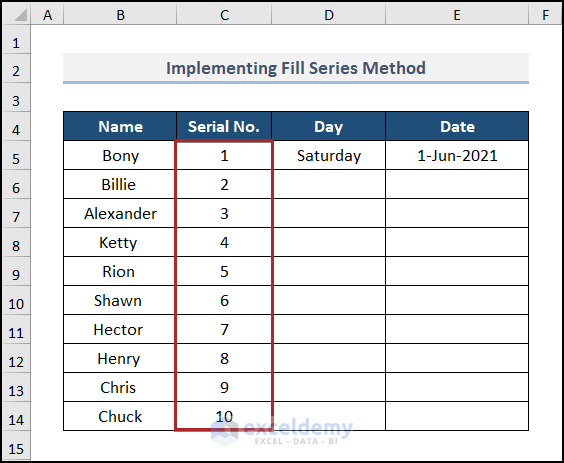
- We got our desired numbers.
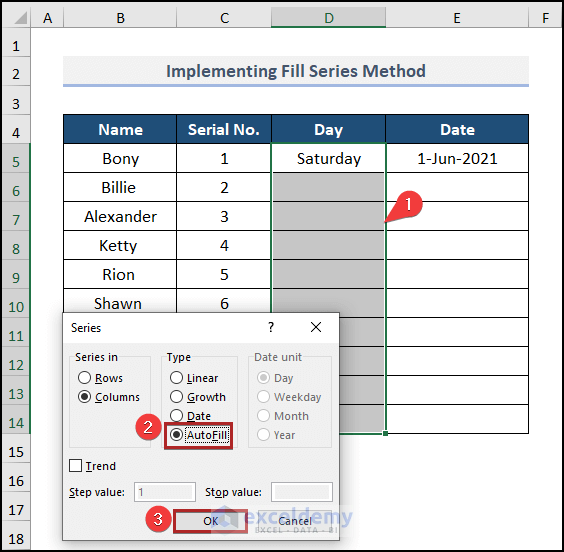
- Similarly, select the entire Day column, and bring the Series dialog box.
- Select AutoFill and click OK.
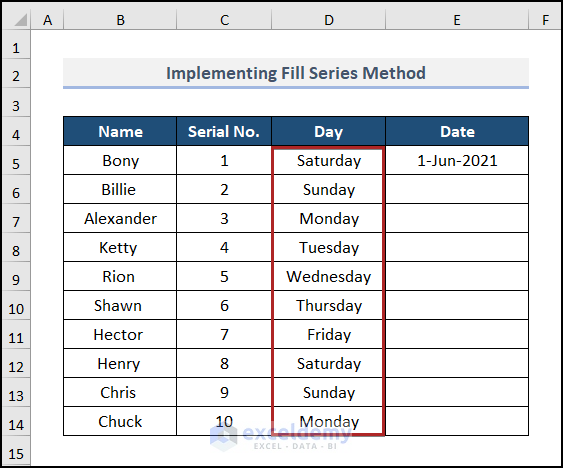
- Our days are also autofilled by this method.
- For the Date column, in the Series wizard, select Date as Type, Day as Date Unit, and write the Step value as 1.
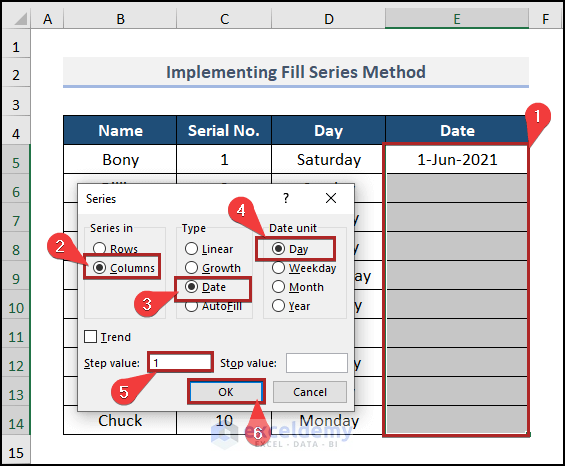
- The Date column is now automatically filled as well.
Read More: How to Autofill Days of Week Based on Date in Excel
Method 5 – Using the Flash Fill Feature
We have a data table containing the Email Addresses of some candidates. We will autofill the Names of the candidates based on their emails.
Steps:
- Write one name in cell C5 where you want to use the Flash Fill feature. This will help Excel to predict your next data.
- Go to the Home tab, click on the Fill drop-down, and select Flash Fill from the list.
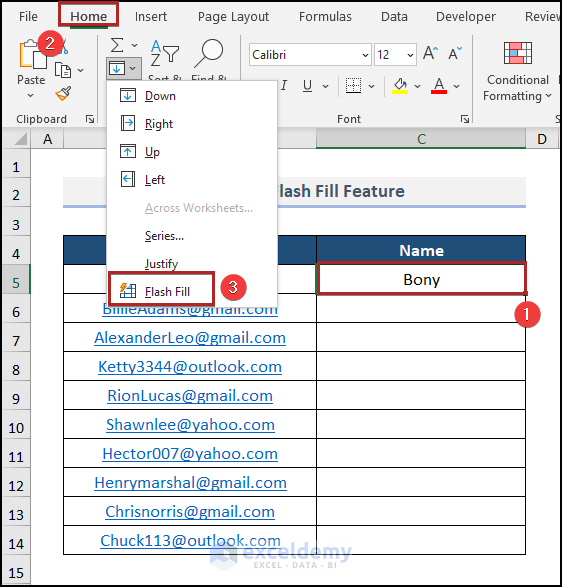
- All the data in the column will be autofilled.

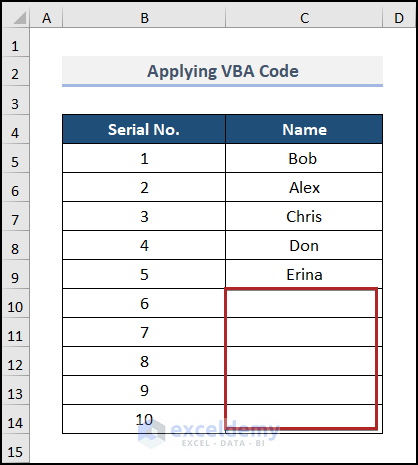
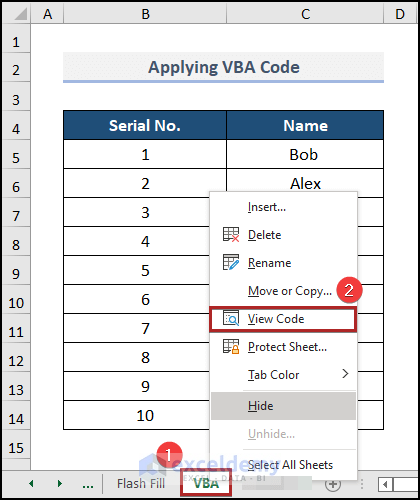
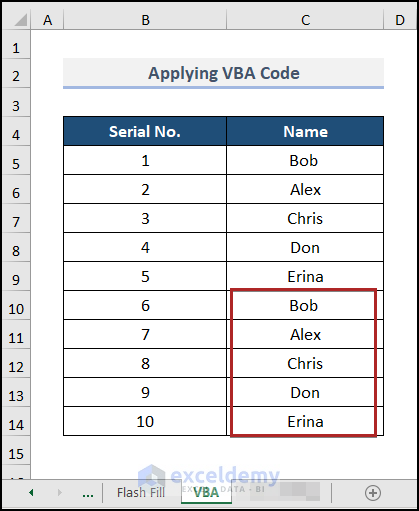
Method 6 – Applying VBA Code
We’ll use the starting dataset.
Steps:
- Right-click on the sheet name.
- Select View Code from the context menu.
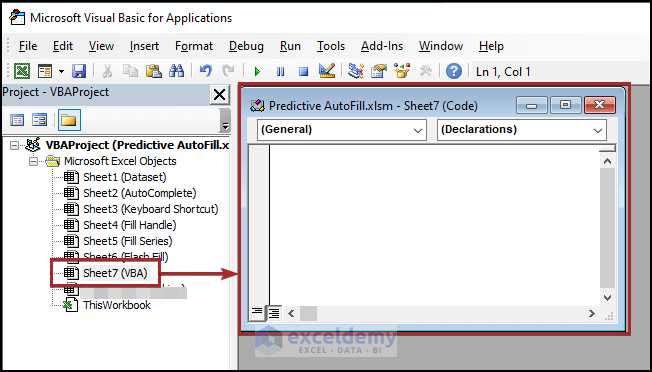
- Excel will automatically add a code module for Sheet7 (VBA).
- Paste the following code into the module.
Sub AutoFill_VBA()
Range("C5:C9").AutoFill Destination:=Range("C5:C14"), Type:=xlFillDefault
End Sub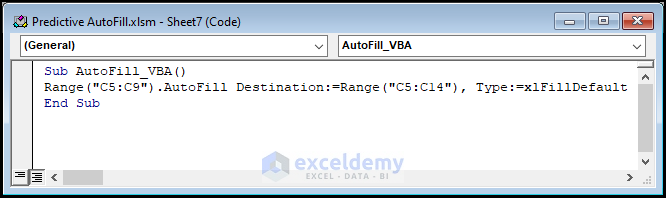
- Currently, execute the code by pressing the play-shaped Run icon.
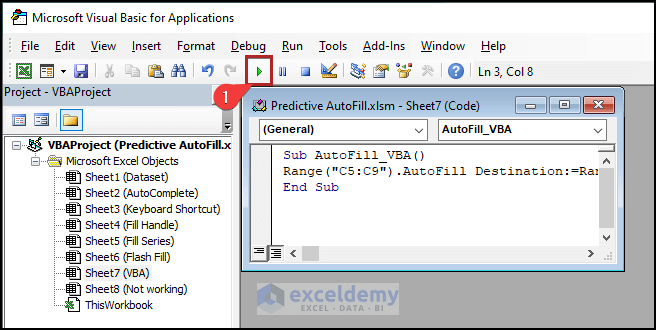
- Return to the VBA worksheet and you can see the blank cells got filled.
Why Is AutoComplete Not Working in Excel?
Excel’s AutoComplete feature is a great feature. But sometimes it doesn’t work properly. See the image below.
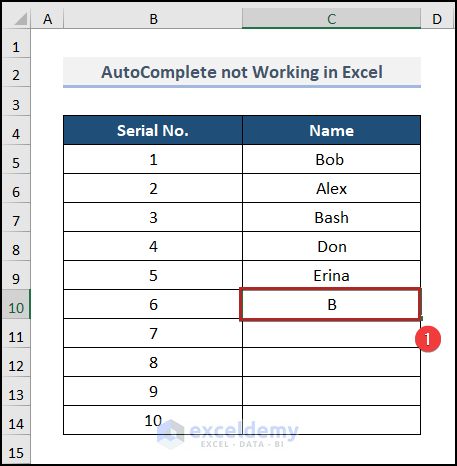
In the above picture, we wrote down B in cell C10, but no suggestion is showing.
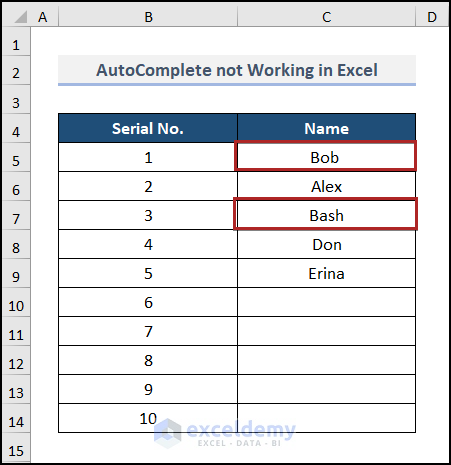
There are two words, Bob and Bash in cells C5 and C7, which start with the letter B. AutoComplete can’t determine which value to use.
Solution:
- Use the keyboard shortcut from Method 2. It will show all the suggestions in the drop-down list.
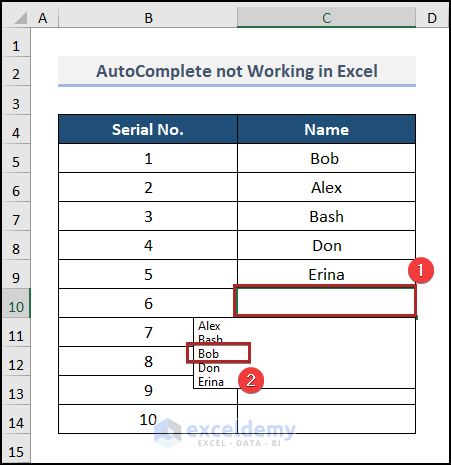
- You can select your desired one from the list.
- You’ll still be able to use AutoComplete for the letters that have been used only once in the sheet.
Quick Notes
- When using the Fill Handle or Fill Series method, change your number format to Date.
- Flash Fill option is available from Excel 2013.
Download the Practice Workbook
Further Readings
- How to AutoFill Months in Excel
- How to Create Automatic Rolling Months in Excel
- How to Increment Month by 1 in Excel
- How to Fill Down Blanks in Excel
- How to Enter Sequential Dates Across Multiple Sheets in Excel
- How to Repeat Number Pattern in Excel
- How to Add Sequence Number by Group in Excel
<< Go Back to Excel Autofill | Learn Excel
Get FREE Advanced Excel Exercises with Solutions!
