In this article, we will describe various techniques to autocomplete cells or columns from a list in Excel. We used Excel 2019 here, but the techniques apply to other versions too.
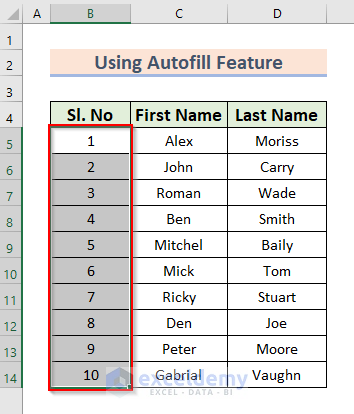
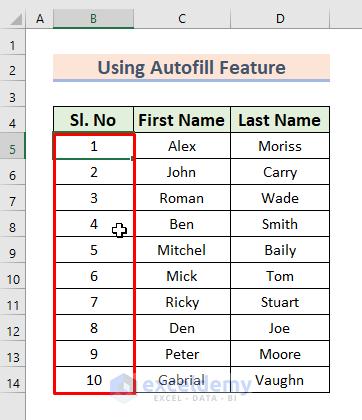
We’ll use the following dataset of the first and last names of some people to demonstrate our methods.
Method 1 – Using AutoFill
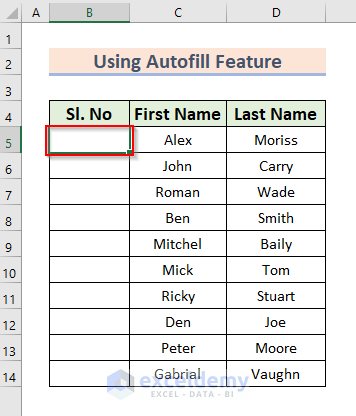
To complete a column or row with the same or similar data, we can use the AutoFill feature. Suppose we want to add serial numbers to the names.
Steps:
- Select cell B5.
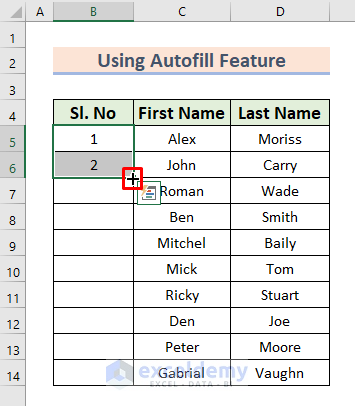
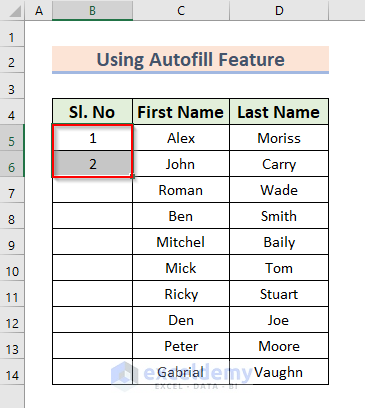
- Insert a couple of numbers to establish a sequence, then select them both.
- With both cells selected, at the bottom right corner of cell B6 is a + symbol, called the Fill Handle.
If you don’t see this symbol, as in the image below:
- Click File >> Options.
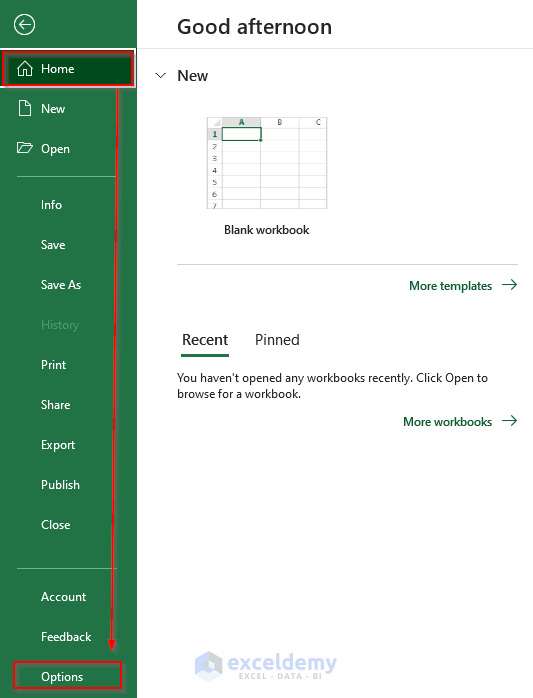
- Click Advanced from the Excel Options dialog box that appears.

- From the Editing Options section, check Enable fill handle and cell drag-and-drop.
- Click OK.
Now you should see the Fill Handle.
- Double-click the icon or drag it down to the remaining cells in this column.
The column is filled without the need for any manual data entry.
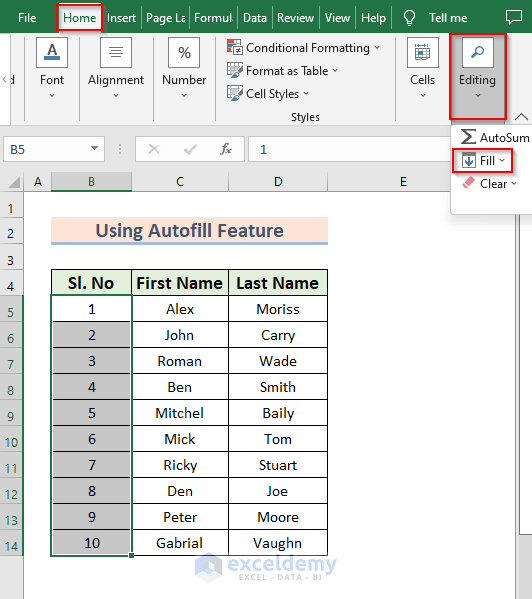
- Alternatively, select a cell after inserting a number in it, and click Series from the Fill option in the Editing section of the Home tab.
A Series dialog box will appear.

- Set the Step Value and Stop Value (here we have set 1 and 10 for these respectively).
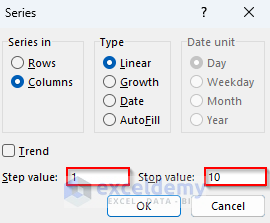
- Click OK.
The column is filled.
Read More: How to Turn on Autocomplete in Excel
Method 2 – Using AutoFill from Suggestion
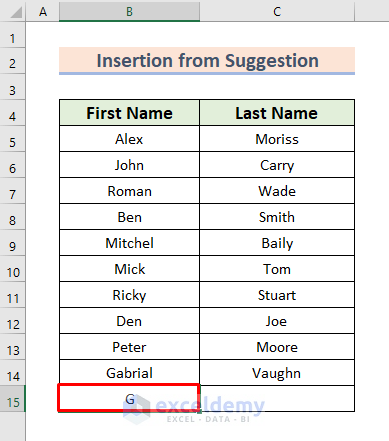
Excel provides us with suggestions once we input something that resembles something already in the list.
Steps:
- In the row just below the dataset (here cell B15), enter the first one or two letters of a name in the same column.

- Here, the name Gabrial exists in the First Name column. As soon as we enter “G”, Gabrial is offered as a suggestion. If that’s the name you wanted, press ENTER or TAB.

- If you don’t see the suggestions like in the image below:
- Open the Excel Options dialog box.
- Click Advanced.
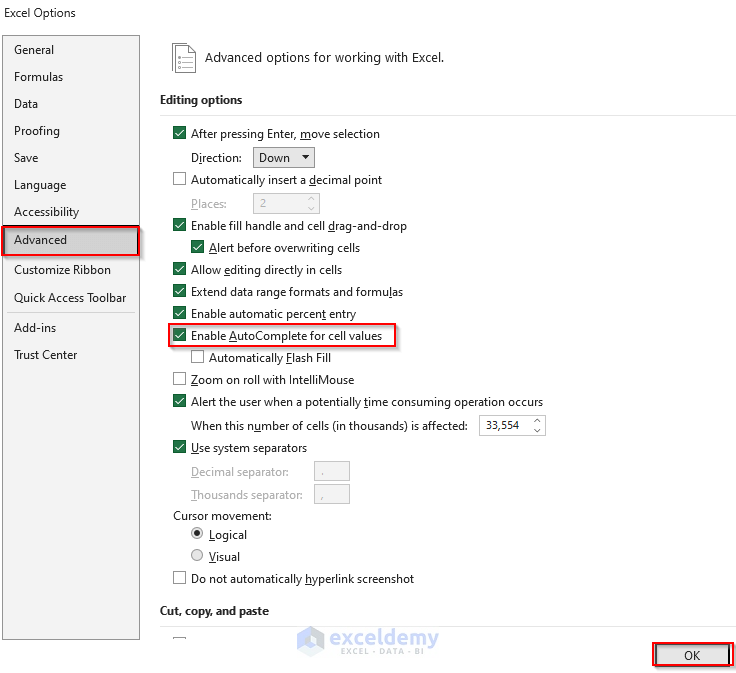
- In the Editing Options section, check Enable AutoComplete for cell values.
- Press OK.
Now you will see the suggestions.
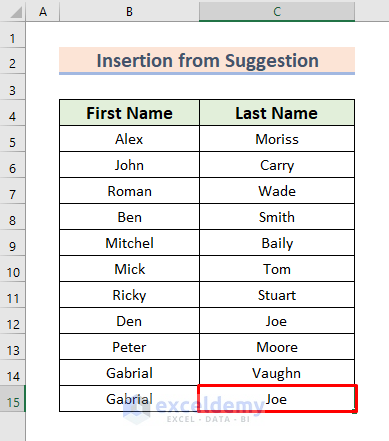
Suggestions are offered column-wise only. So if we insert “G” in the Last Name column. It will not show any suggestions, since no names starting with “G” appear in that column.
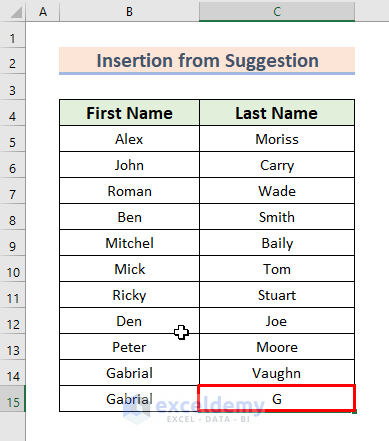
However suggestions will be offered for values that do appear in this column.
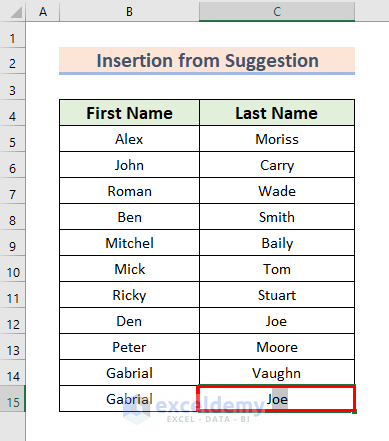
For example, upon entering “J”, Joe is suggested.
- Just press ENTER or TAB to insert the suggested value.
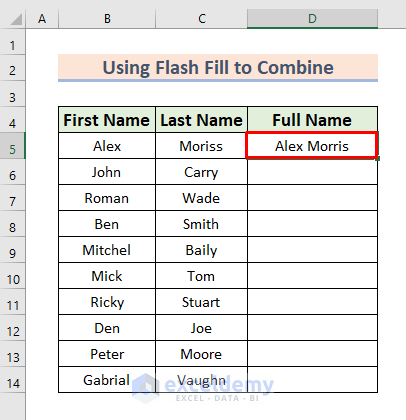
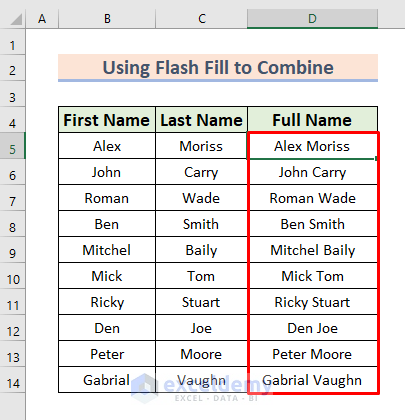
Method 3 – Using Flash Fill to Combine
Flash Fill combines cell values into a new cell.
Suppose we want to generate Full Name from First Name and Last Name.
Steps:
- Enter a name manually.
- Go to the Home tab.
- Click Editing.
- Select the Fill option.
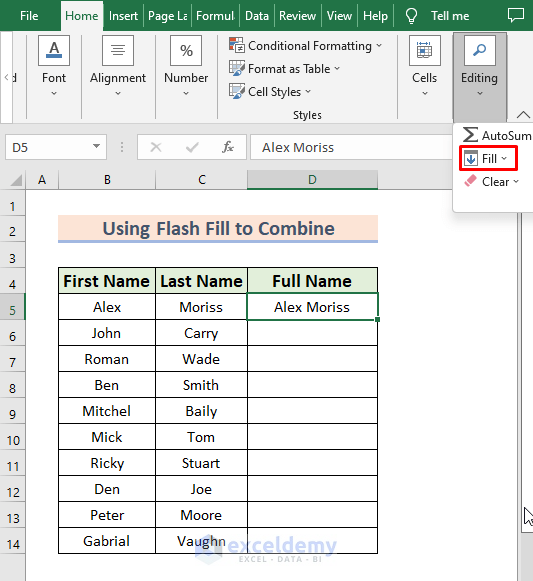
- Select the Flash Fill option.

Names are generated as desired.
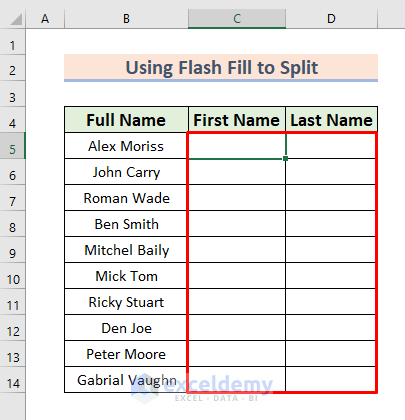
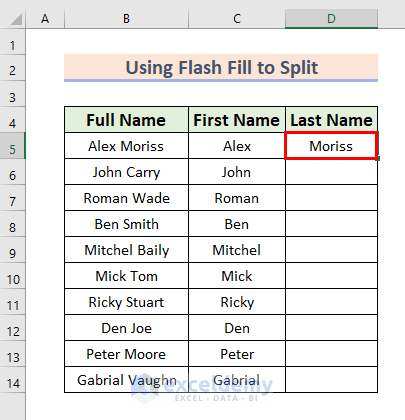
Method 4 – Using Flash Fill to Split
Flash Fill can be used to split cell values into multiple cells as well as combining values as in the previous method.
Let’s separate the full names below into first and last names.
Steps:
- Type the first name of the first cell in the range manually.
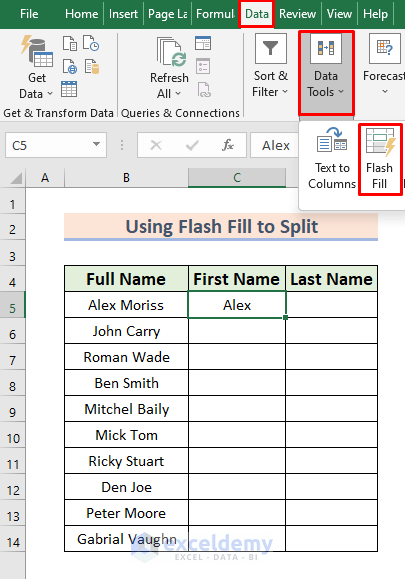
- Select the cell.
- Click on the the Flash Fill option from the Data Tools section from the Data tab.
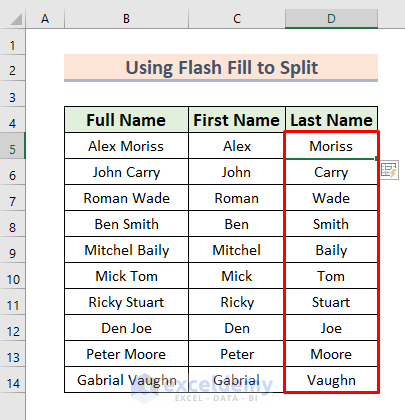
The column is autocompleted.
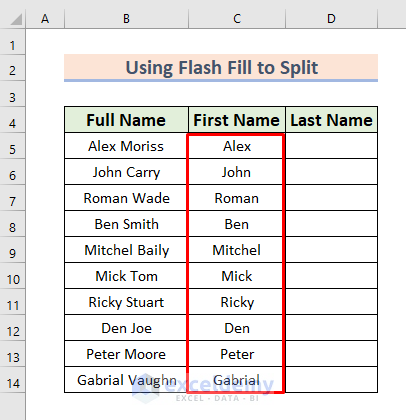
Let’s use the keyboard shortcut for the Flash Fill feature to complete the Last Name column.
- Type the first name manually and select that cell.
- Press CTRL + E.
The column is autocompleted from the listed names.
Practice Workbook
Further Reading
<< Go Back to How to Create Excel Formulas | Excel Formulas | Learn Excel
Get FREE Advanced Excel Exercises with Solutions!

Very helpful but need auto prompt drop down when whenever a cell is selected.
Dear BENJAMIN THORPE
Thank you very much for your interest in our article. You can create an auto-prompt dropdown in Excel. In the dataset, we have the names of multiple people.
Simply follow the steps below:
● Go to the Developer tab >> Insert >> Combo Box (ActiveX Control).
● Then place the newly created ComboBox.
● Double-click on the ComboBox.
● A VBA window will pop up. Paste the following code into the window.
● Now, go back to the worksheet and click on the Design Mode from the Developer tab to turn it off.
● Double-click on the ComboBox and you will see an InputBox asking for the list.
● Select the list from your dataset and press OK.
● You will have the auto-prompt drop-down list.
You can also download the Excel file from here.
Excel Auto Prompt Drop-Down.xlsm
If you have any more queries, please let us know in the comments.
Regards
Md. Abu Sina Ibne Albaruni
Team ExcelDemy