When we begin entering data into a cell, Excel suggests duplicate values from its related cells, and we can acquire the duplicate values by simply pressing Enter at that point without having to type anything else. It is known as the AutoComplete feature. In this article, I will show you four handy ways to use AutoComplete in Excel.
How to Use AutoComplete in Excel: 4 Easy Ways
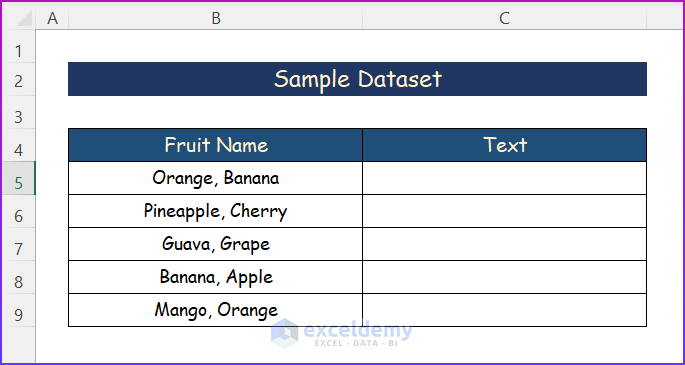
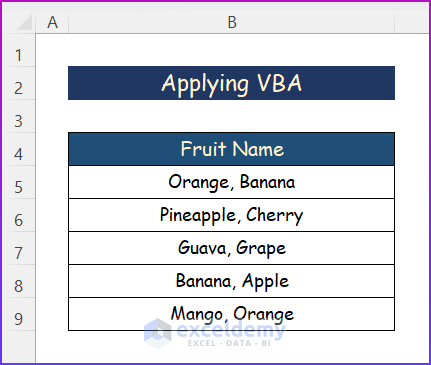
Remember that there is no easy method to alter the AutoComplete in Excel. Excel will operate in accordance with its default settings. However, we have a few other challenging options we can use to perform this operation. For the purpose of demonstration, we have used the following dataset.
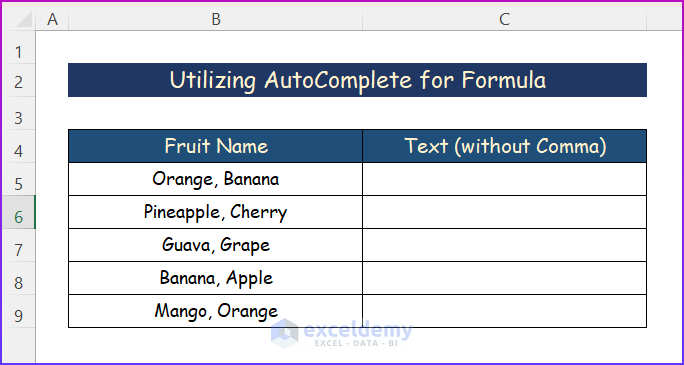
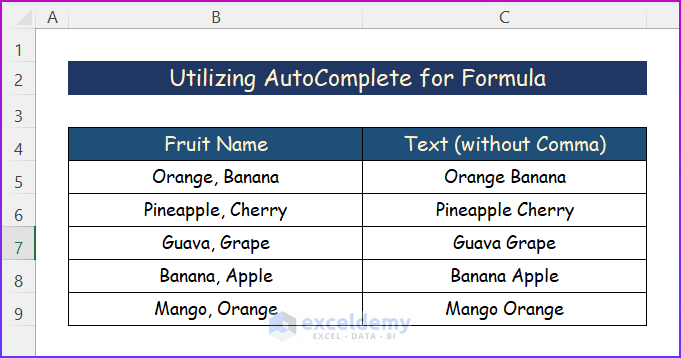
1. Utilizing AutoComplete for Formula
Indeed, we need to enter formulas into the formula bar. We can use AutoComplete in this scenario. Hence, you need to follow some tricky ways to complete the operation. For example, I have used the following sample dataset.
Steps:
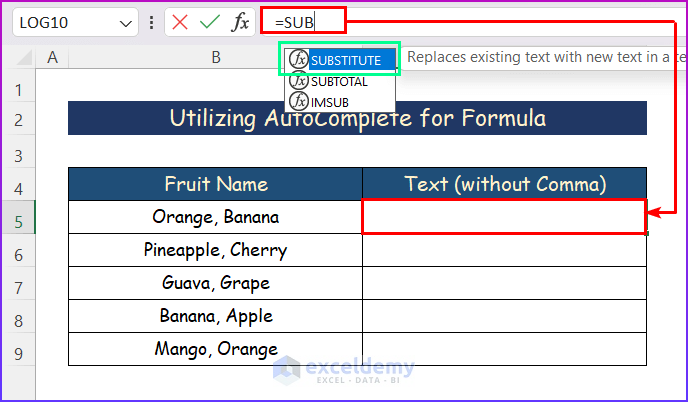
- Firstly, start to write the SUBSTITUTE function in the formula bar as in the picture shown below. However, it will show the full function below.
=SUBSTITUTE(B5,",","")
- Next, click on the function and press Enter key.
- Then, use the AutoFill tool to get the desired output for the whole dataset.
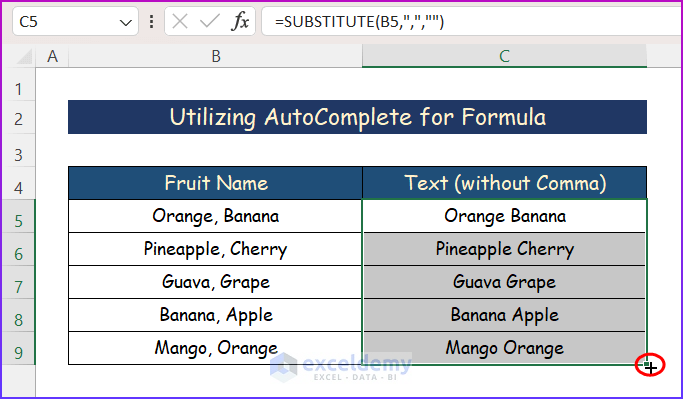
- Finally, you will get the total output as shown in the below picture.
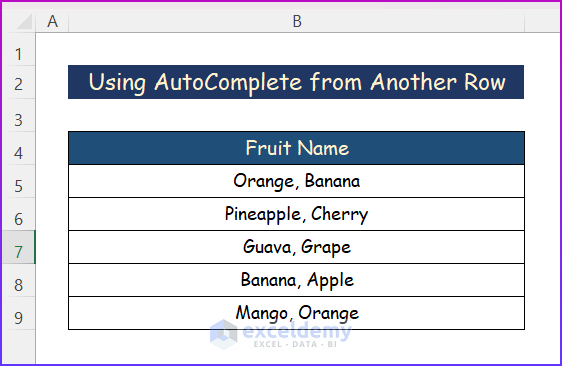
2. Using AutoComplete from Another Row in Excel
Generally, AutoComplete fills in your text automatically while you are typing something. Each time you begin typing in a cell, all the entries in the same column of the active region are examined gradually. Moreover, any potential matches are automatically highlighted as you write each character. Hence, follow the steps below in order to get your desired output.
Steps:
- At first, start to write the initial alphabet of the text which you want to be completed automatically.
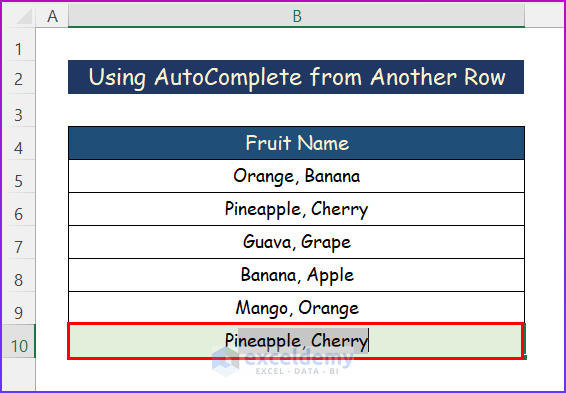
- Then, Excel will automatically show the complete text string just like the following image.
- After that, click the Enter button.
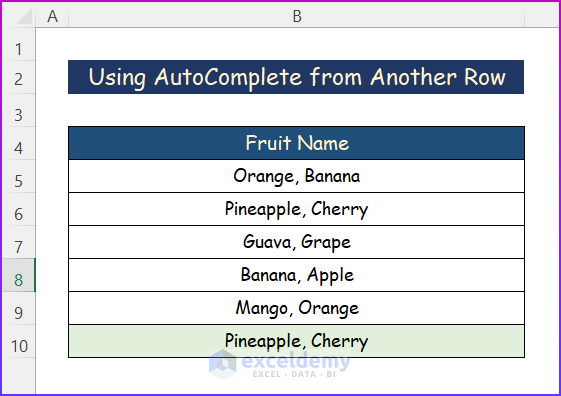
- Lastly, you will find the complete text string as shown in the below image.
Read More: How to Edit AutoComplete in Excel
3. Applying VBA to Perform AutoComplete
VBA can also help you use AutoComplete in Excel. A VBA code is necessary for this method. Moreover, it will make the process easier and save you time. However, you can just copy the code and run it on your Excel worksheet by following the below steps.
Steps:
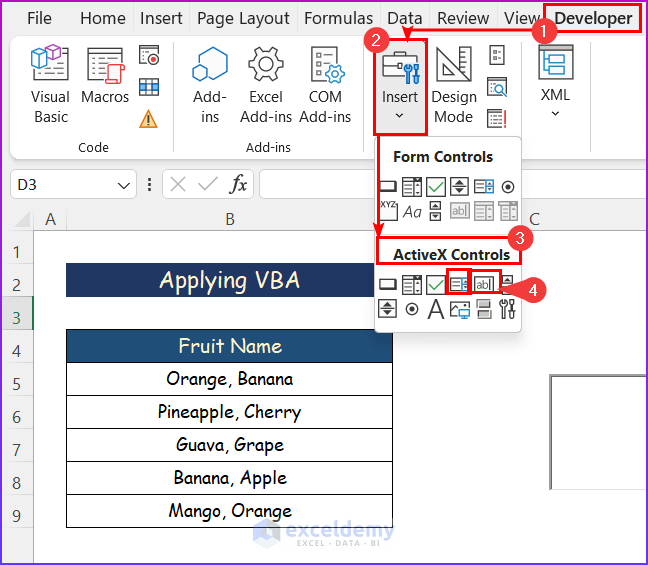
- At first, click on the Insert option from the Developer tab.
- From the ActiveX Controls option of the Insert command, select a List Box and a Text Box gradually as mentioned in the below picture, and turn off the Design Mode simply by clicking it.
- Next, right-click on the Sheet tab and click on the View Code.
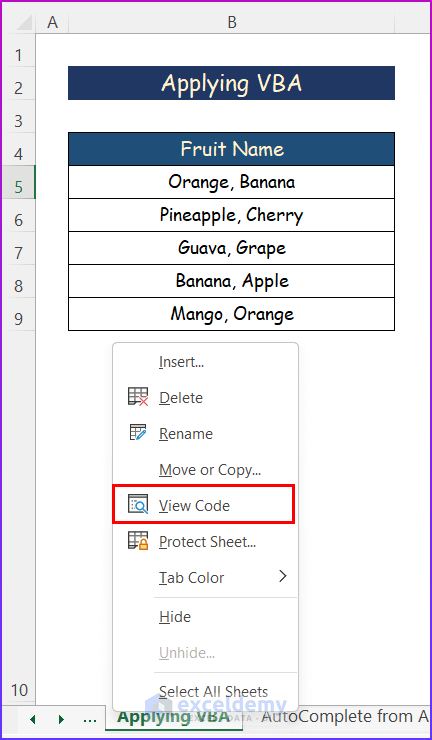
- A new window will open. Write the following VBA Code macro in the code window.
Dim XBk As Range
Dim XWtg As New Dictionary
'ExcelDemy Publications
Private Sub ListBox1_DblClick(ByVal Cancel As MSForms.ReturnBoolean)
    Me.TextBox1.Value = Me.ListBox1.Value
End Sub
'Declaring Private Sub
Private Sub Worksheet_Change(ByVal Target As Range)
'Declaring Variables
    Dim XPrm As String
    On Error Resume Next
'Starting If Function
    If IsNumeric(Target.Value) Then
        XPrm = Str(Target.Value)
    Else
        XPrm = Target.Value
    End If
    If XPrm <> "" Then
        If Not XWtg.Exists(XPrm) Then
            XWtg.Add XPrm, XPrm
        End If
    End If
End Sub
'Declaring New Sub
Private Sub Worksheet_SelectionChange(ByVal Target As Range)
    Me.ListBox1.Visible = False
End Sub
'Private Sub
Private Sub Worksheet_Activate()
'Declaring New Variables
    Dim P As Long
    Dim xSig As String
    On Error Resume Next
'New If loop
    If XBk Is Nothing Then
        Set XBk = ActiveSheet.UsedRange
    End If
    Me.ListBox1.Visible = False
    XWtg.RemoveAll
    With Me.ListBox1
'Starting For loop
        For P = 1 To XBk.Count
            xSig = XBk(P).Value
            If xSig <> "" Then
                .AddItem xSig
                If Not XWtg.Exists(xSig) Then
                    XWtg.Add xSig, xSig
                End If
            End If
        Next
    End With
End Sub
'New Private Sub
Private Sub TextBox1_KeyUp(ByVal KeyCode As MSForms.ReturnInteger, ByVal Shift As Integer)
    With Me.ListBox1
        .Top = Me.TextBox1.Top
        .Left = Me.TextBox1.Left + Me.TextBox1.Width
        .Width = Me.TextBox1.Width
    End With
    TextBoxPrm Me.TextBox1.Object
End Sub
'Declaring New Sub
Sub TextBoxPrm(xTextBox As Variant)
'Declaring Variables
    Dim P As Long
    Dim xSig As String
    On Error Resume Next
    Application.ScreenUpdating = False
'New If Loop
    If XBk Is Nothing Then Exit Sub
    Me.ListBox1.Clear
    xSig = xTextBox.Value
    If xSig = "" Then
        Me.ListBox1.Visible = False
        Application.EnableEvents = True
        Exit Sub
    End If
    For P = 0 To UBound(XWtg.Items)
'Introducing If loop
        If Left(XWtg.Items(P), Len(xSig)) = xSig Then
            Me.ListBox1.AddItem XWtg.Items(P)
        End If
    Next
    Me.ListBox1.Visible = True
    If Me.ListBox1.ListCount > 0 Then
        With xTextBox
            .Value = Me.ListBox1.List(0)
            .SelStart = Len(xSig)
            .SelLength = Len(Me.ListBox1.List(0))
        End With
    End If
    Me.ListBox1.Activate
    Me.ListBox1.Selected(0) = True
    Application.ScreenUpdating = True
End Sub
'New Private Sub
Private Sub ListBox1_KeyDown(ByVal KeyCode As MSForms.ReturnInteger, ByVal Shift As Integer)
    If KeyCode = 13 Then
        Me.TextBox1.Value = Me.ListBox1.Value
    End If
End Sub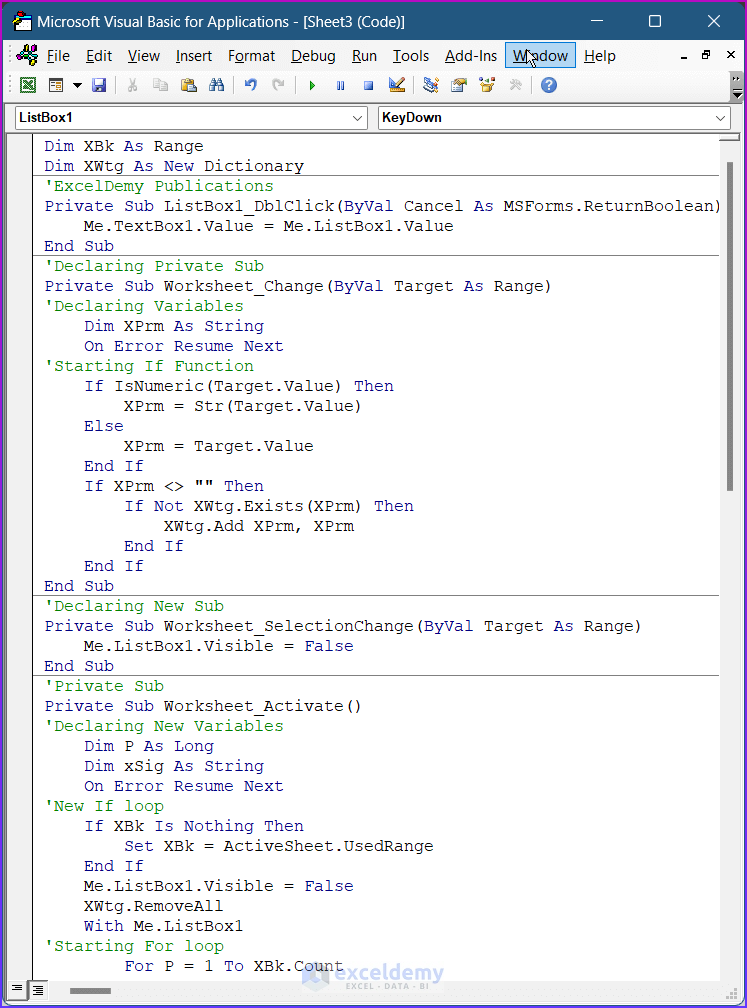
VBA Code Breakdown
- Firstly, we declared variables XBk, XWtg, Xprm and create some new Private Sub in the worksheet using the below statement.
Dim XBk As Range
Dim XWtg As New Dictionary
'ExcelDemy Publications
Private Sub ListBox1_DblClick(ByVal Cancel As MSForms.ReturnBoolean)
    Me.TextBox1.Value = Me.ListBox1.Value
End Sub
'Declaring Private Sub
Private Sub Worksheet_Change(ByVal Target As Range)
'Declaring Variables
Dim XPrm As String- Secondly, we stated If Function and ended the Sub.
On Error Resume Next
'Starting If Function
    If IsNumeric(Target.Value) Then
        XPrm = Str(Target.Value)
    Else
        XPrm = Target.Value
    End If
    If XPrm <> "" Then
        If Not XWtg.Exists(XPrm) Then
            XWtg.Add XPrm, XPrm
        End If
    End If
End Sub- Thirdly, we declared variables p, XSig and set
'Declaring New Sub
Private Sub Worksheet_SelectionChange(ByVal Target As Range)
    Me.ListBox1.Visible = False
End Sub
'Private Sub
Private Sub Worksheet_Activate()
'Declaring New Variables
    Dim P As Long
    Dim xSig As String
    On Error Resume Next
'New If loop
    If XBk Is Nothing Then
        Set XBk = ActiveSheet.UsedRange
    End If
    Me.ListBox1.Visible = False
    XWtg.RemoveAll
With Me.ListBox1- Now, we started a For loop and declared some new Sub.
'Starting For loop
        For P = 1 To XBk.Count
            xSig = XBk(P).Value
            If xSig <> "" Then
                .AddItem xSig
                If Not XWtg.Exists(xSig) Then
                    XWtg.Add xSig, xSig
                End If
            End If
        Next
    End With
End Sub
'New Private Sub
Private Sub TextBox1_KeyUp(ByVal KeyCode As MSForms.ReturnInteger, ByVal Shift As Integer)
    With Me.ListBox1
        .Top = Me.TextBox1.Top
        .Left = Me.TextBox1.Left + Me.TextBox1.Width
        .Width = Me.TextBox1.Width
    End With
    TextBoxPrm Me.TextBox1.Object
End Sub
'Declaring New Sub
Sub TextBoxPrm(xTextBox As Variant)
'Declaring Variables
    Dim P As Long
    Dim xSig As String
    On Error Resume Next
Application.ScreenUpdating = False- After that, we compiled some If loops.
'New If Loop
    If XBk Is Nothing Then Exit Sub
    Me.ListBox1.Clear
    xSig = xTextBox.Value
    If xSig = "" Then
        Me.ListBox1.Visible = False
        Application.EnableEvents = True
        Exit Sub
    End If
    For P = 0 To UBound(XWtg.Items)
'Introducing If loop
        If Left(XWtg.Items(P), Len(xSig)) = xSig Then
            Me.ListBox1.AddItem XWtg.Items(P)
        End If
    Next
    Me.ListBox1.Visible = True
    If Me.ListBox1.ListCount > 0 Then
        With xTextBox
            .Value = Me.ListBox1.List(0)
            .SelStart = Len(xSig)
            .SelLength = Len(Me.ListBox1.List(0))
        End With
    End If
    Me.ListBox1.Activate
    Me.ListBox1.Selected(0) = True
    Application.ScreenUpdating = True
End Sub- Finally, we end the Sub of the VBA as
'New Private Sub
Private Sub ListBox1_KeyDown(ByVal KeyCode As MSForms.ReturnInteger, ByVal Shift As Integer)
    If KeyCode = 13 Then
        Me.TextBox1.Value = Me.ListBox1.Value
    End If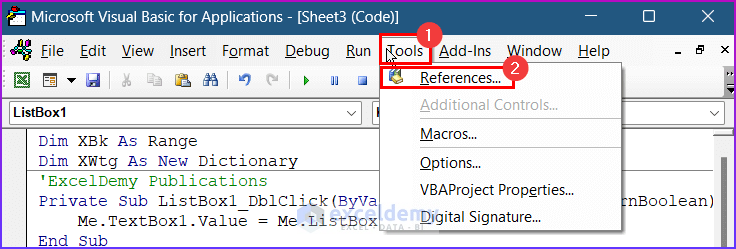
End Sub- From the code window, click on Tools and then References.
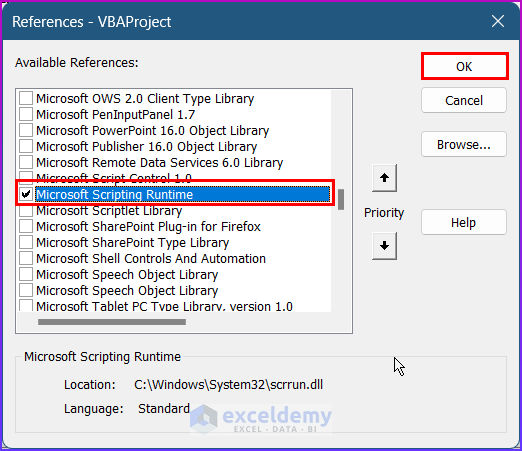
- Select the Microsoft Scripting Runtime box in the References – VBAProject and click OK.
- After that, press Alt+Q to close the VBA window.
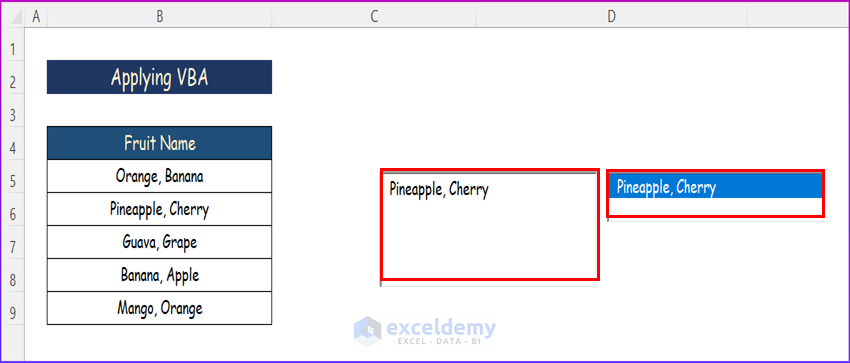
- Finally, write the initials of a text in the worksheet and it will automatically show the matched text string as shown in the image below.
Read More: How to Autocomplete from List in Excel
4. Using AutoComplete from Another Sheet
Sometimes, we need to get data from another sheet. In this case, AutoComplete is a general solution. For example, we have taken AutoComplete from the other column sheet as a reference. Hence, follow the steps below in order to complete the operation.
Steps:
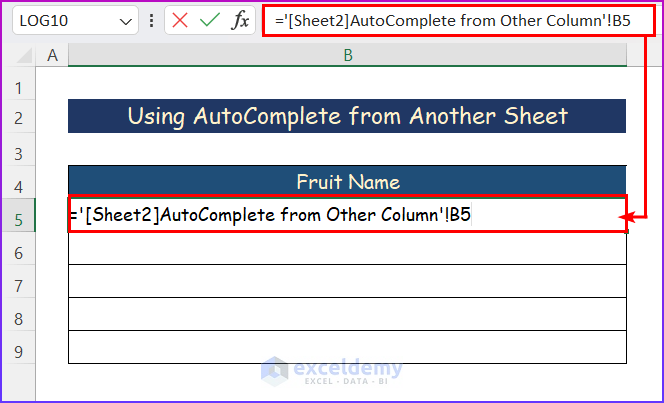
- Firstly, select a cell and write down the following formula.
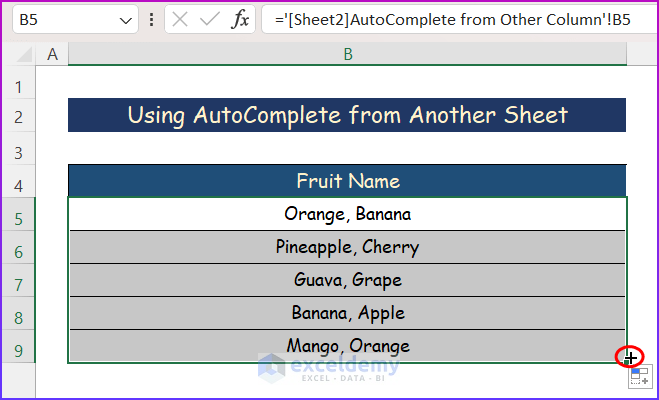
='[Sheet2]AutoComplete from Other Column'!B5
- Now, press Enter.
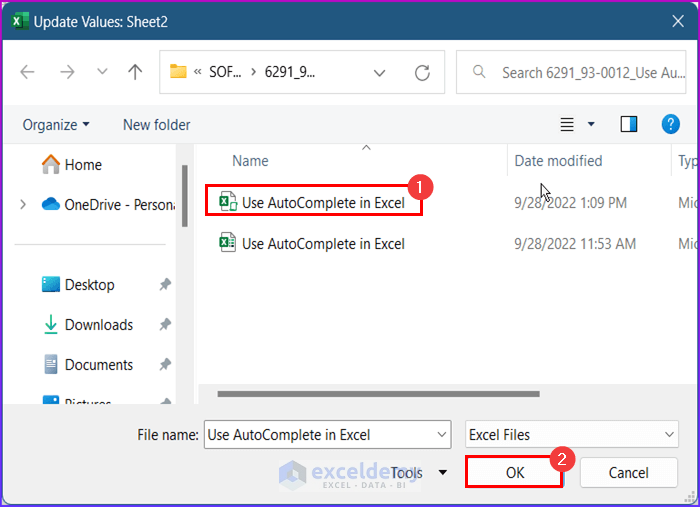
- Then, a dialog box will open. Hence, you have to select the file where you want to apply AutoComplete and press OK.
- After that, you will get the value from the other sheet. However, utilize the AutoFill tool for the entire column.
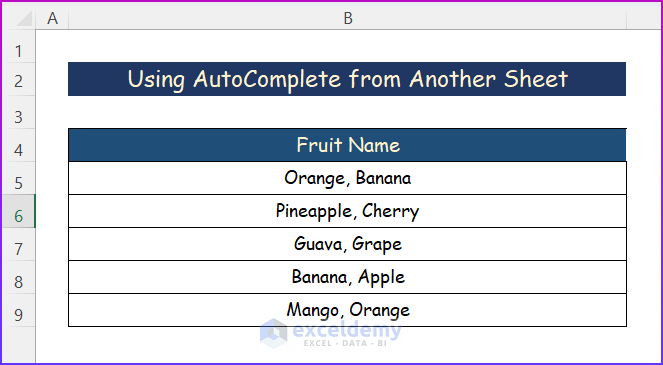
- Finally, you will get all the data from another sheet similar to the picture below.
What to Do If AutoComplete Feature Does Not Work in Excel?
Occasionally, you will discover that the autocomplete feature for cell values in Excel fails. In this part, I will show you a scenario where AutoComplete is not working to provide your desired output. Take a look at the picture below in order to have a clear idea.
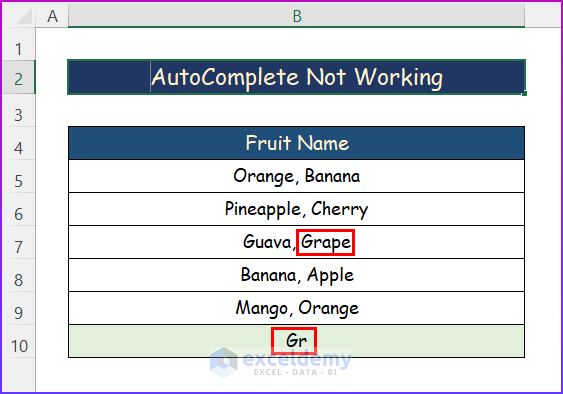
Here, I need to search for the fruit Grape next to Guava in the string. But if I write “Gr” in the last row, it will not show the whole word “Grape.” The AutoComplete will not work in this case.
Download Practice Workbook
You can download the workbook used for the demonstration from the download link below.
Conclusion
These are all the steps you can follow in Excel to use AutoComplete in Excel. Hopefully, you can now easily create the needed adjustments. I sincerely hope you learned something and enjoyed this guide. Please let us know in the comments section below if you have any queries or recommendations.
Related Articles
<< Go Back to Autocomplete Excel | How to Create Excel Formulas | Excel Formulas | Learn Excel
Get FREE Advanced Excel Exercises with Solutions!
