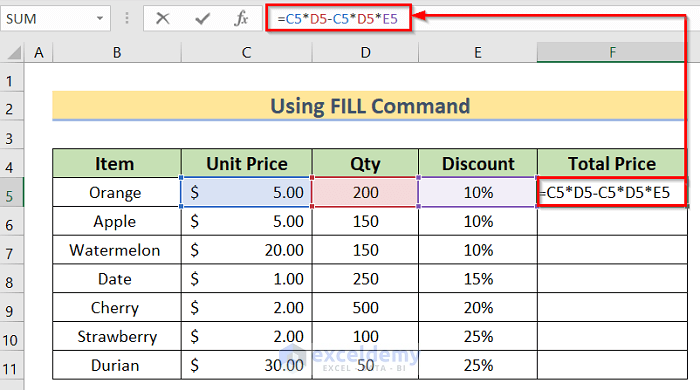
For these methods, we’ll use a sample dataset overview as an example in Excel to make it easy to understand. For instance, in the given worksheet, some “Items” are given in column B, and their “Unit Price” is available in column C, “Qty” in column D, and “Discount” in column E. If you follow the steps correctly, you should learn how to use the Autofill formula in Excel on your own.

Method 1 – Use the FILL Command for Excel Autofill Formula
=C5*D5-C5*D5*E5- Press Enter to get the result.
- Select the entire column “Total Price” and select the “Fill” option.
- Click the “Down” option.
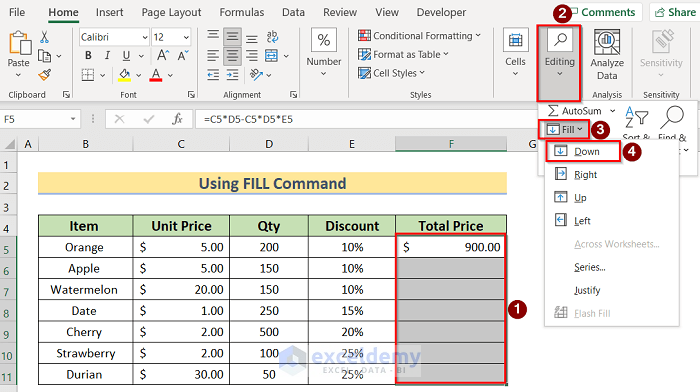
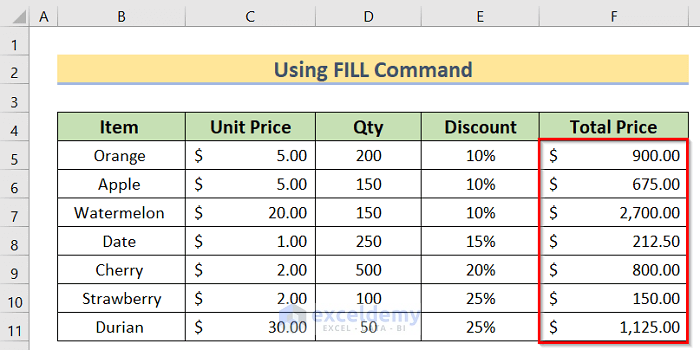
- You should now see the results for all cells in the “Total Price” column.
Read More: Fix: Excel Autofill Not Working
Method 2 – Use the FILL HANDLE Option for Excel Autofill Formula
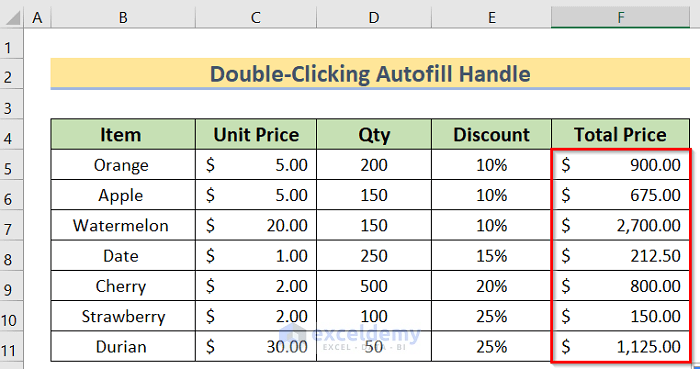
Double-Clicking the Autofill Handle Icon
- Insert the same formula into F5 that you used in the first method.
- Move your cursor to the bottom right corner of the formula cell to see the plus icon
 .
.
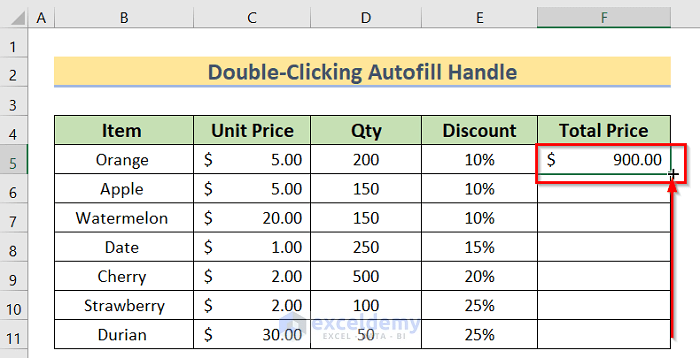
- Double-click on the plus icon to get you result.
Read More: [Fixed!] Auto Fill Options Not Showing in Excel
Dragging the Autofill Handle Icon
- Enter the formula you used in the first method into the F5 cell.
- Move your mouse to get the plus icon.
- Press the icon and drag it all the way to the end cell of your column.
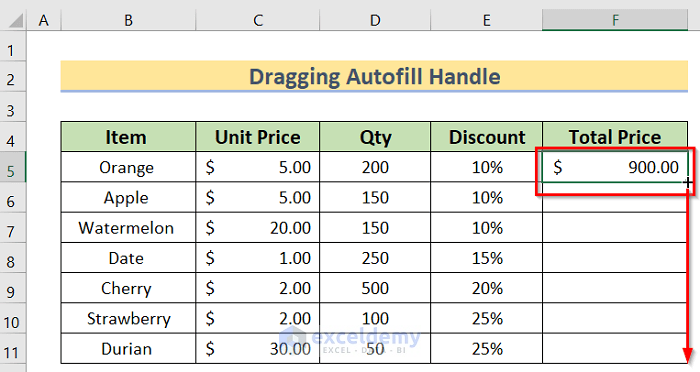
- Excel will auto-fill the cells of the column:

Method 3 – Use the Keyboard Shortcut for Excel Autofill Formula
- Paste the formula from the first method into the F5 cell.
- Select the formula cell and press the “SHIFT+Down Arrow Key ()” key.
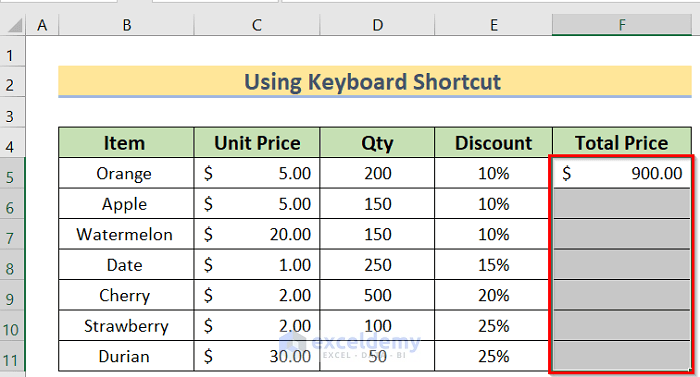
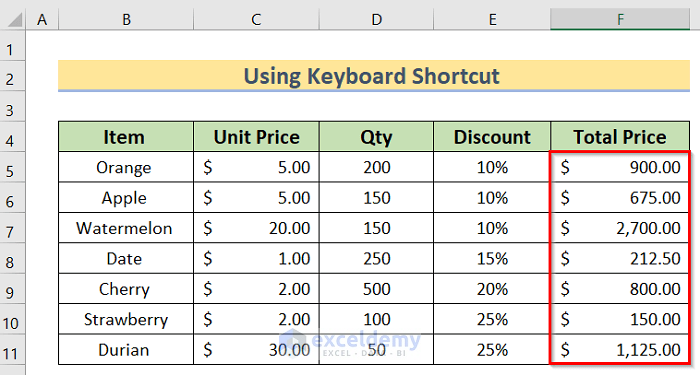
- Press “CTRL+D” or “CTRL+ENTER” to apply the formula to all the selected cells.
Read More: How to Apply AutoFill Shortcut in Excel
Method 4 – Use the Array Formula for Excel Autofilling
- Insert the following formula into the F5 cell:
=C5:C11*D5:D11-C5:C11*D5:D11*E5:E11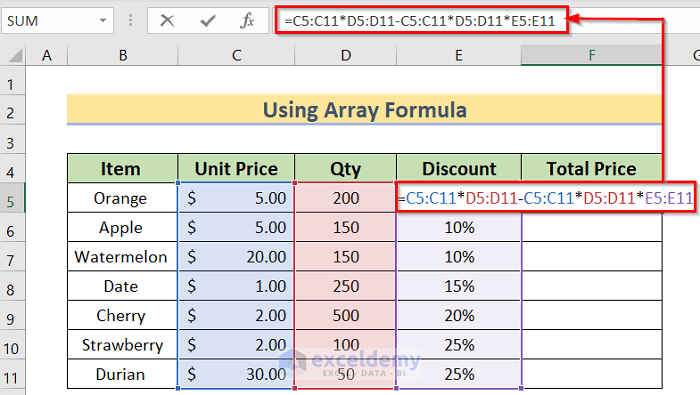
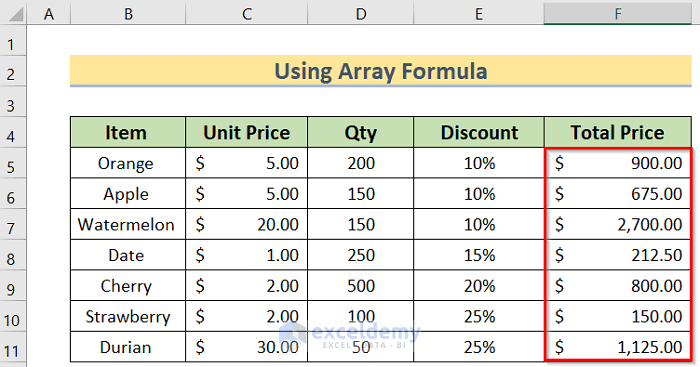
- Press the Enter button to apply this formula and see the results.
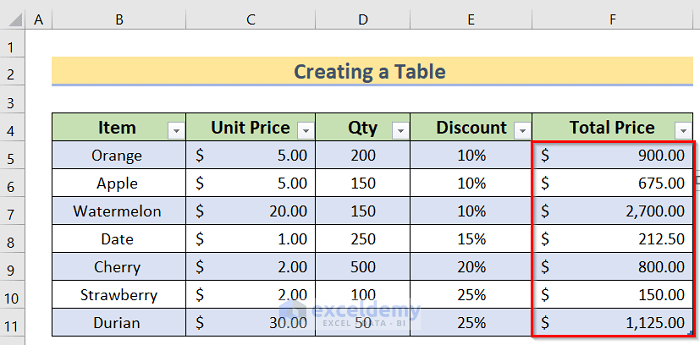
Method 5 – Create a Table to Autofill Formulas
- Select the data range from your table.
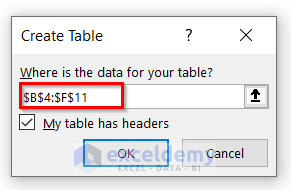
- Go to “Insert” and choose the “Table” option.

- A new window appears named Create Table. Select the data range in the window and press OK.
- Insert the same formula in cell F5 that you used in the first method.
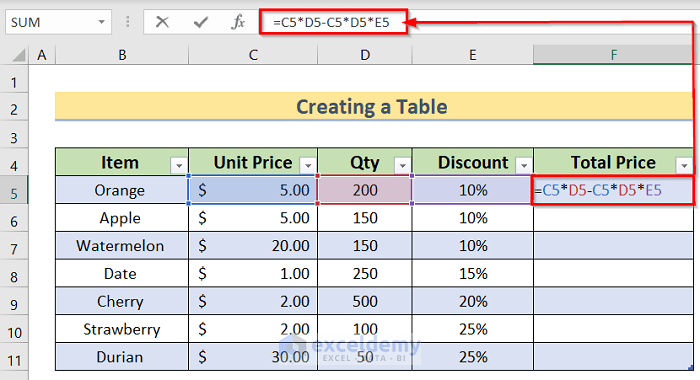
- Press Enter to apply the condition and receive the below result:
Read More: [Fixed!] AutoFill Formula Is Not Working in Excel Table
Method 6 – Copy-Paste the Cell to Autofill
- Find the formula used first method.
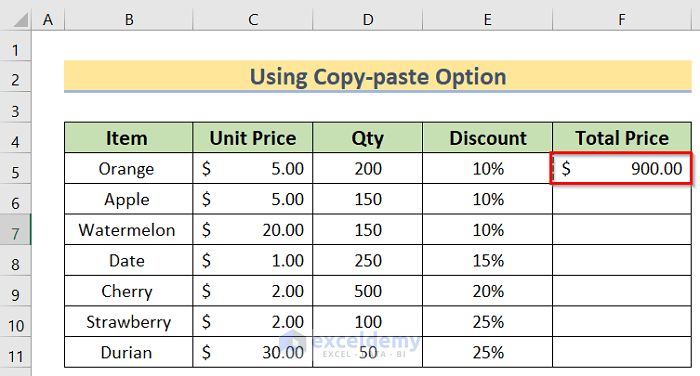
- Copy the formula cell by pressing “CTRL+C”, and select the cells where you want to paste it.
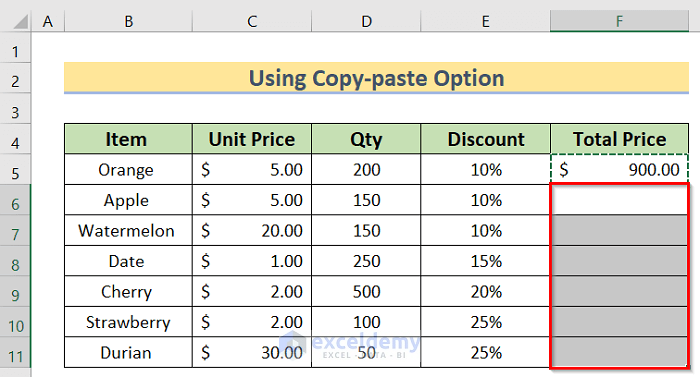
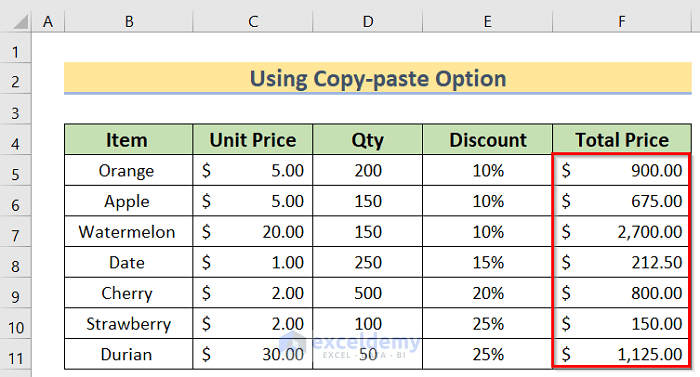
- Press “CTRL+V” to apply or use the mouse to paste the formula.
Download Practice Workbook
Download this practice sheet to practice while you are reading this article.
Related Articles
- How to AutoFill Sequential Letters in Excel
- AutoFill Cell Based on Another Cell in Excel
- How to AutoFill from List in Excel
- How to Create a Custom AutoFill List in Excel
- [Solved:] Excel Double Click AutoFill Not Working
<< Go Back to Excel Autofill | Learn Excel
Get FREE Advanced Excel Exercises with Solutions!
