In this tutorial, I am going to show you 7 simple methods to autofill dates in Excel without dragging. Although you can also do this by dragging, this would be very tedious if you have a large dataset. Throughout this tutorial, you will learn some important tools and functions that will be really helpful in other Excel related tasks.
How to Autofill Dates in Excel Without Dragging: 7 Simple Methods
We have used a concise dataset for this tutorial to explain the steps easily. Note that, for all the methods in this tutorial, you should format the data cells in column C that contains the purchase dates, in a date format. Also, you have to manually type in the first purchase date.

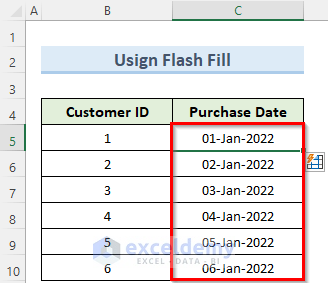
1. Using Flash Fill Tool in Excel
The Flash Fill tool in Excel is unique in that it can recognize data patterns and fill the adjacent cells accordingly. We can use this tool to quickly autofill dates in Excel without dragging.
Steps:
- First, manually enter the first date.
- Now, go to the Data tab and then to Data Tools.
- Under Data Tools, select Flash Fill.

- Immediately, this will fill the rest of the cells in the column.
Read More: Applications of Excel Fill Series
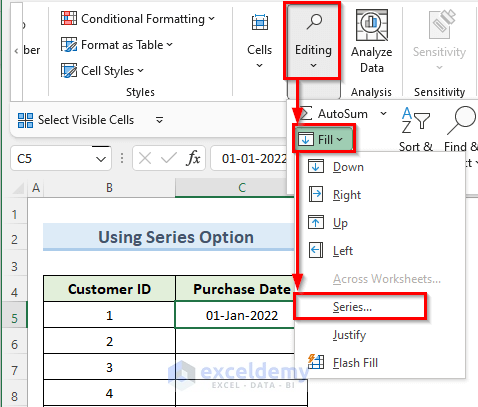
2. Autofill Using Series Option
The Series option in Excel can also autofill dates in Excel without dragging with just a few inputs from the user. Let us see how it works.
Steps:
- To begin with, go to the Editing section under the Home tab and then to Fill.
- Now, click on Series.
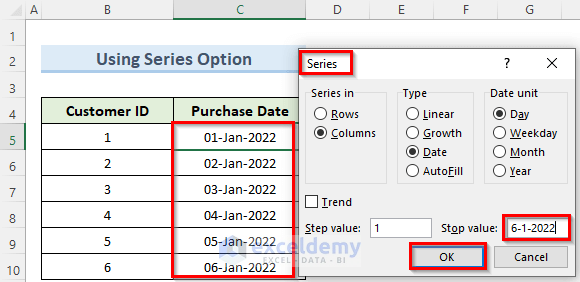
- Next, in the Series window, fill in all the data as I have shown below and click OK.
- As a result, the Series option will auto fill the remaining dates in the column.
Read More: How to Autofill Days of Week Based on Date in Excel
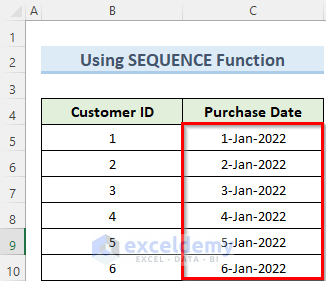
3. Using SEQUENCE Function
The SEQUENCE function in Excel can generate a list of sequential numbers as an array. We can use this function to quickly autofill dates without dragging.
Steps:
- To begin this method, double-click on cell C5 and enter the following formula:
=SEQUENCE(6,1,"1/1/2022",1)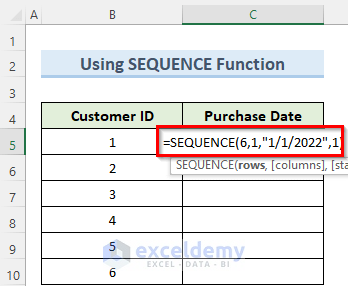
- Now, press the Enter key and you should see the rest of the cells with autofill dates.
Read More: How to Repeat Number Pattern in Excel
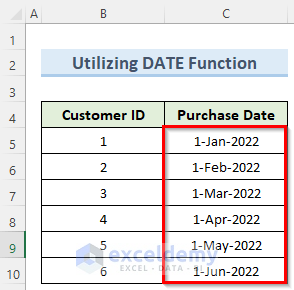
4. Utilizing DATE Function
The DATE function generates a valid date by taking an individual year, month, and day as input. Here we will generate dates for the different months and autofill them without dragging.
Steps:
- First, navigate to cell C5 and type in the below formula:
=DATE(2022,SEQUENCE(6),1)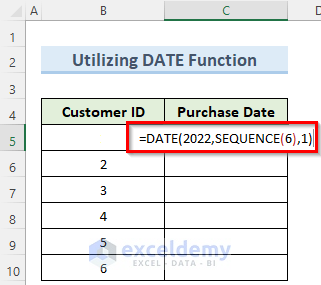
- Finally, press Enter and this will autofill the remaining dates.
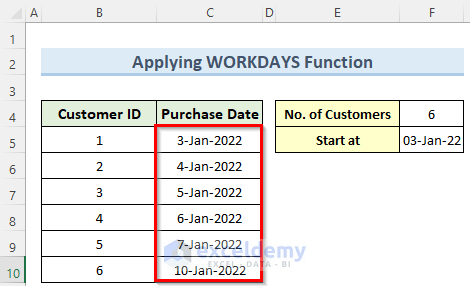
5. Applying WORKDAY Function in Excel
The WORKDAY function can generate the list of workdays inside a specified range. This function skips the holidays as the name suggests. We will use this function to autofill dates of purchase in Excel without dragging.
Steps:
- First, go to cell C5 and insert the following formula:
=WORKDAY(F5-1,SEQUENCE(F4))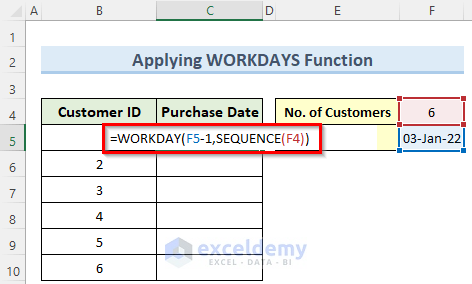
- Now, press the Enter key and this will immediately autofill all the remaining cells with purchase dates.
Read more: How to Increment Month by 1 in Excel
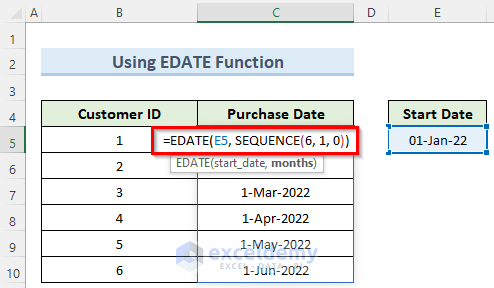
6. Autofill Dates Using EDATE Function
The EDATE function in Excel can autofill the same dates for different months. As this is a function, we do not have to perform any dragging. Let us see how to use this function.
Steps:
- First of all, double-click on cell C5 and type in the following formula:
=EDATE(E5, SEQUENCE(6, 1, 0))- Then, press Enter.
- Consequently, this formula will generate and autofill all the remaining dates.
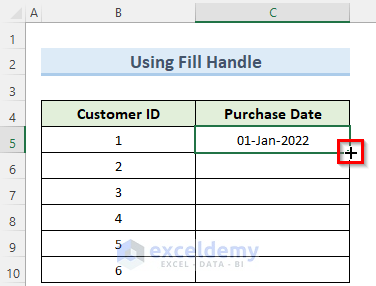
7. Utilizing Fill Handle in Excel
The Fill Handle in Excel helps to extend data to different cells and also to copy formulas. We will use this tool to autofill dates in Excel without dragging. Follow the steps below.
Steps:
- To start with, go the cell C5 where you inserted the first purchase date.
- Now, at the lower-right corner of this cell, you should see a + sign which is the Fill Handle.
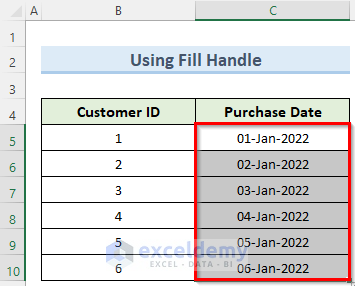
- Here, simply double-click on this + sign and notice the cells below.
- As a result, you should see that the Fill Handle has automatically filled the remaining dates.
Download Practice Workbook
You can download the practice workbook from here.
Conclusion
I hope that you were able to apply the above methods to autofill dates in Excel without dragging. Although we have used a small dataset, you can use any large dataset, and actually, the benefits of these methods are more visible with larger datasets with lots of rows and columns. If you get stuck in any of the steps, I recommend going through them a few times to clear up any confusion. Lastly, If you have any queries, please let me know in the comments.
Related Articles
- How to AutoFill Months in Excel
- How to Create Automatic Rolling Months in Excel
- How to Enter Sequential Dates Across Multiple Sheets in Excel
- How to Fill Down Blanks in Excel
- How to Repeat Formula Pattern in Excel
- How to Add Sequence Number by Group in Excel
- How to Perform Predictive AutoFill in Excel
<< Go Back to Autofill Dates | Excel Autofill | Learn Excel
Get FREE Advanced Excel Exercises with Solutions!
