EDATE Function in Excel: Syntax and Argument
Summary:
- Provides a Date according to the month number given in the argument.
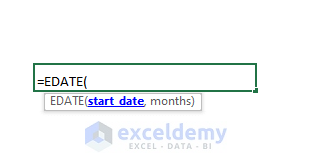
Syntax:
=EDATE(start_date,months)
Arguments:
| ARGUMENT | REQUIRED or OPTIONAL | VALUE |
|---|---|---|
| start_date | Required | A starting date to calculate the upcoming date |
| months | Required | How many months to go forward or backward as a numeric value. |
How to Use the EDATE Function in Excel: 5 Simple Examples
Example 1 – Use the EDATE Function to Calculate the Date, Month, and Year
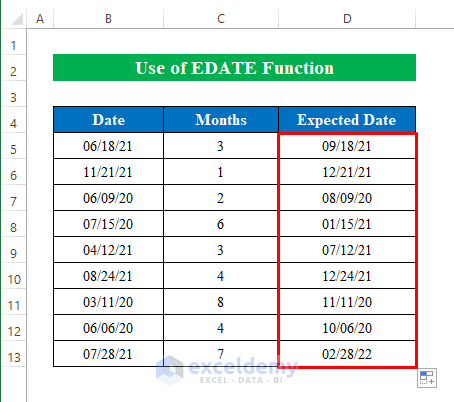
Case 1.1 – Calculate a Future Date
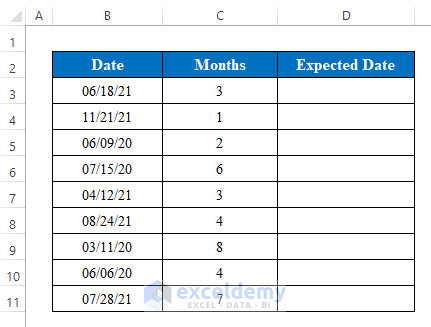
We have a dataset with some Dates and a list of months to add to the date to get the expected date.
Steps:
- Select a cell (D5) and insert the following:
=EDATE(B5,C5)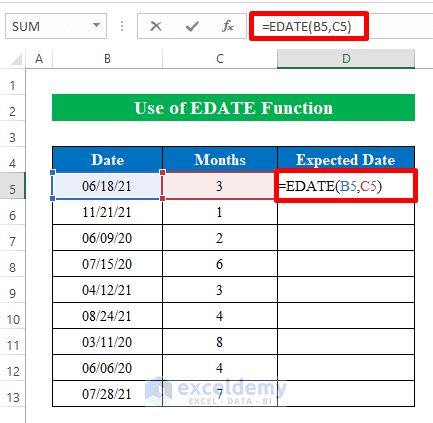
- Press Enter to get the output.
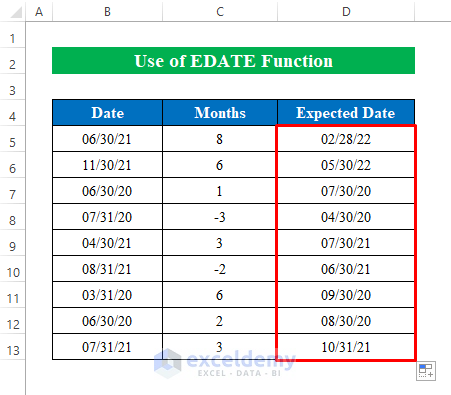
- Drag the fill handle down to fill all the cells.
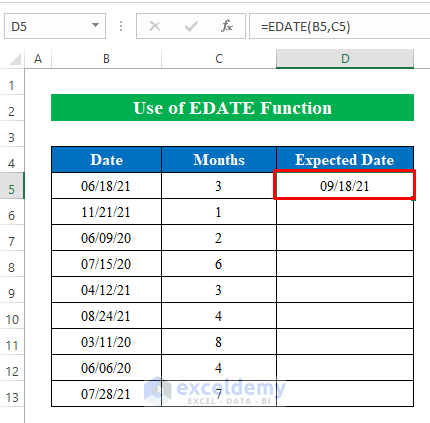
- We have all the upcoming dates calculated from the months’ list.
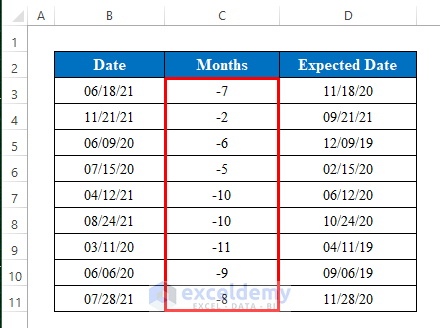
Case 1.2 – Calculate a Past Date
We have a data table of some Dates and Months. As we are calculating the past days, we put minus sign(–) before all the months.
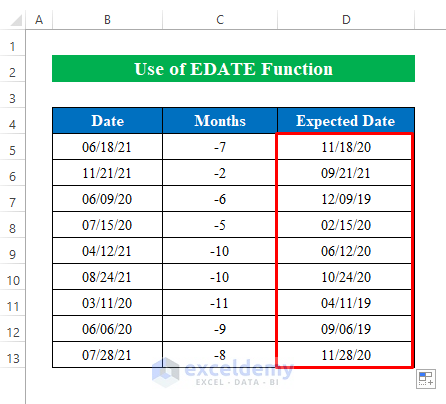
Steps:
- Choose a cell (D5) from the worksheet to apply the following formula-
=EDATE(B5,C5)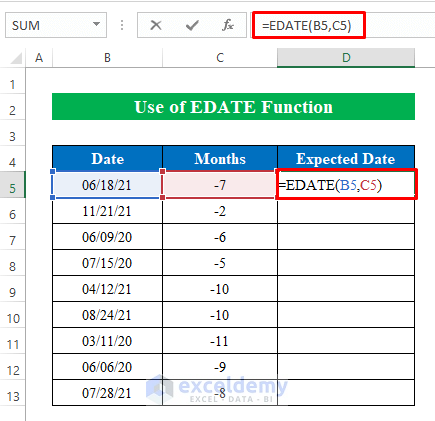
- Hit the Enter button and drag down the fill handle to get the final output.
Case 1.3 – Calculate a Year
We have to calculate upcoming years from given dates.
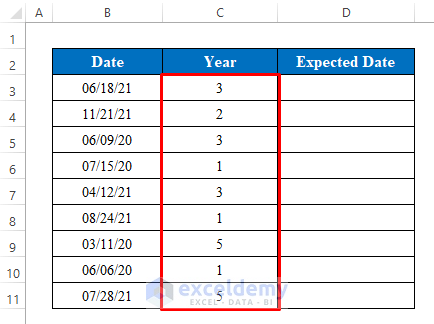
Steps:
- Put the following formula down in cell D5:
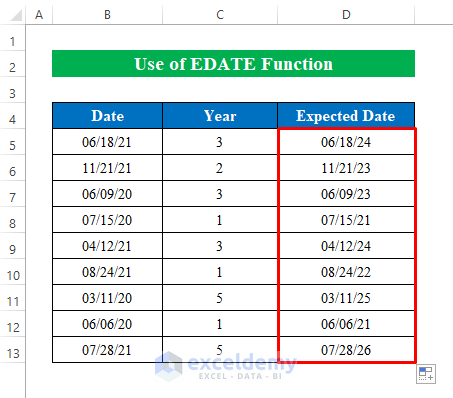
=EDATE(B5,C5*12)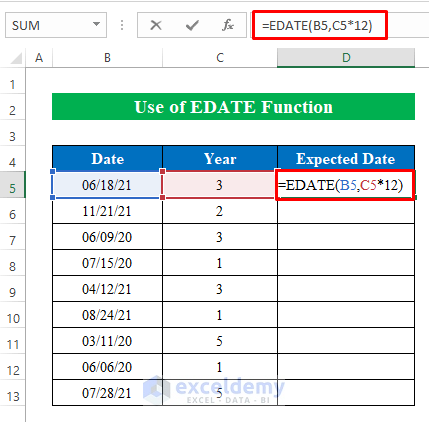
- Press Enter to continue.
- Drag the fill handle down to fill with the calculated dates in the column.
Case 1.4 – Calculate the End of the Month
We have a list of Dates and Months on a worksheet. All dates are the ending days of the month. We will calculate the End of Month according to the table.
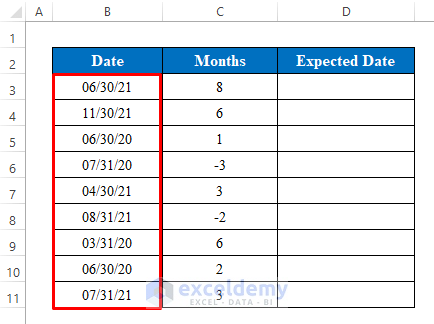
Steps:
- Apply the following formula to D5:
=EDATE(B5,C5)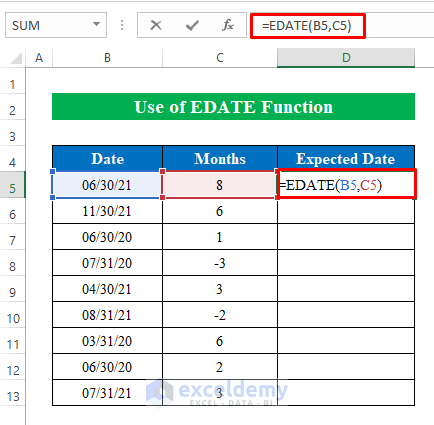
- Hit Enter and pull the fill handle down.
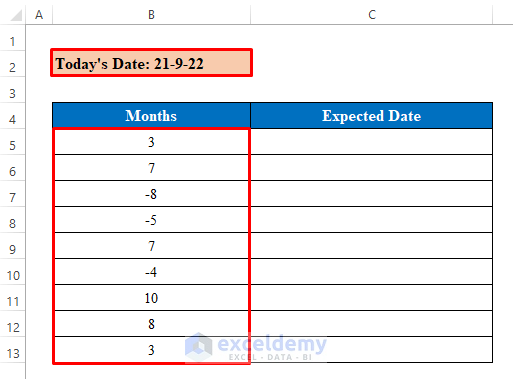
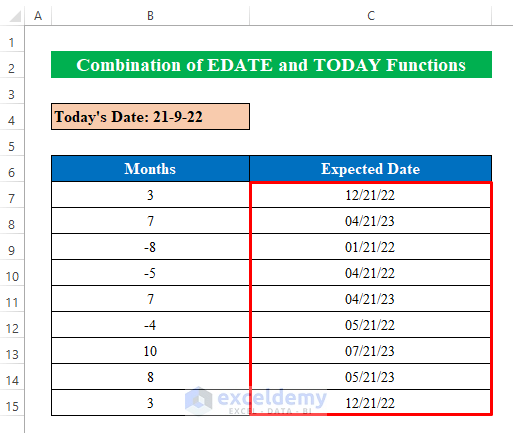
Example 2 – Combine EDATE and TODAY Functions to Calculate from the Today’s Date
We have a list of months and will calculate the expected date from today’s date.
Steps:
- Choose a cell (C7) and apply the formula:
=EDATE(TODAY(),B7)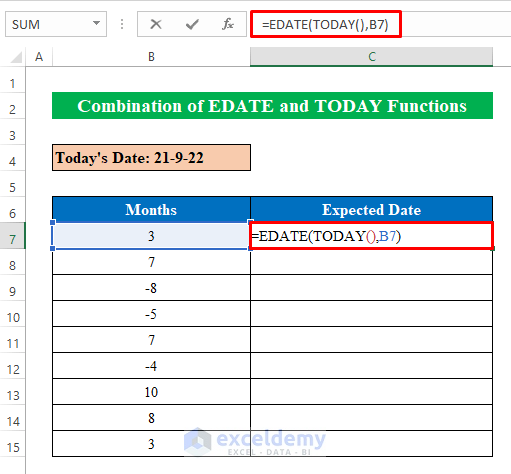
- Click Enter and drag down the fill handle.
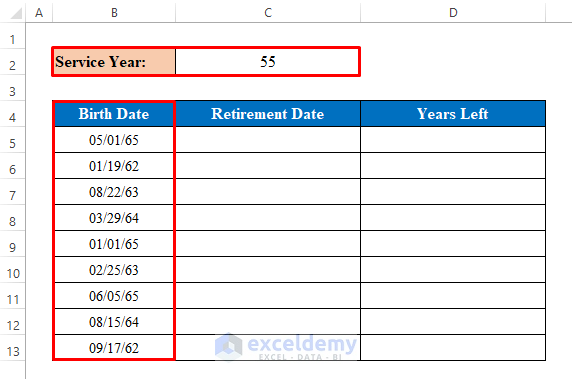
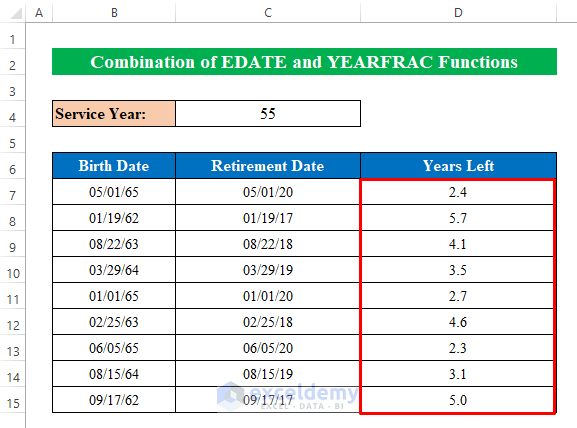
Example 3 – Combine EDATE and YEARFRAC Functions to Determine the Retirement Date
We have a dataset containing Birth Date and Service Year columns. We will calculate the Retirement Date and Years Left.
Steps:
- Select a cell (C7) and insert the following:
=EDATE(B7,12*$C$4)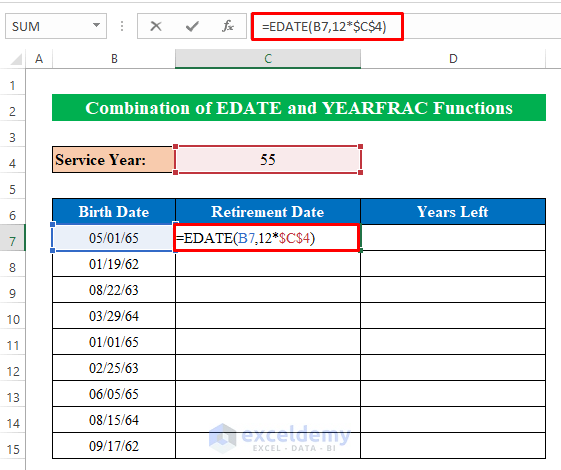
- Hit Enter and pull the fill handle down.
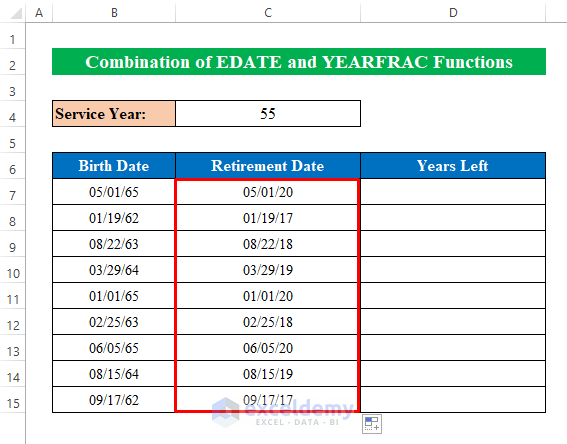
- Apply the following formula in D7:
=YEARFRAC(TODAY(),C7)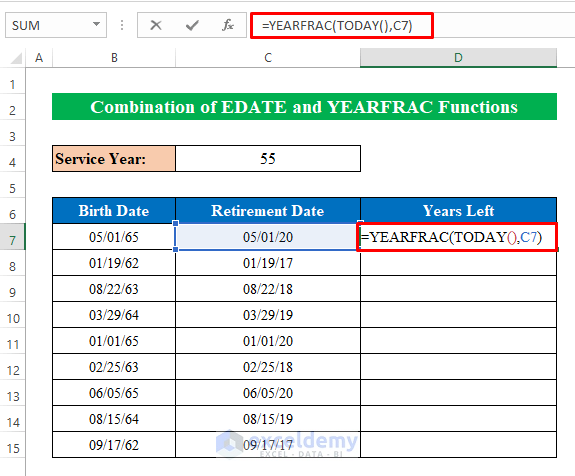
- Press Enter and drag the fill handle down to get the proper output. The results are decimal values in terms of years.
Read More: How to Use EDATE Formula for Days
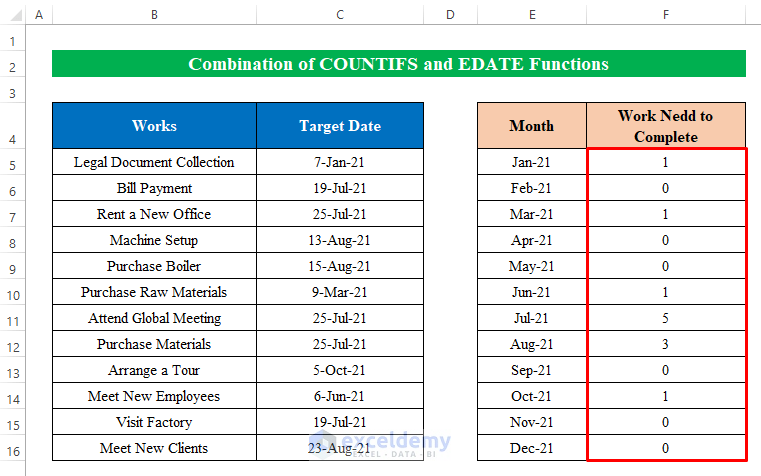
Example 4 – Merge COUNTIFS and EDATE Functions to Count the Duplicate Date
We have a dataset with some Works and scheduled Target Time. But the Target Date has duplicates. We have all the month’s names in cells (E5:E16). Using the COUNTIFS and EDATE functions, we will search for the duplicates from the given dates with the helper column (E) and place them in a new column.

Steps:
- Select F5 and insert the following:
=COUNTIFS(($C$5:$C$16),">=" & E5,($C$5:$C$16),"<" & EDATE(E5,1))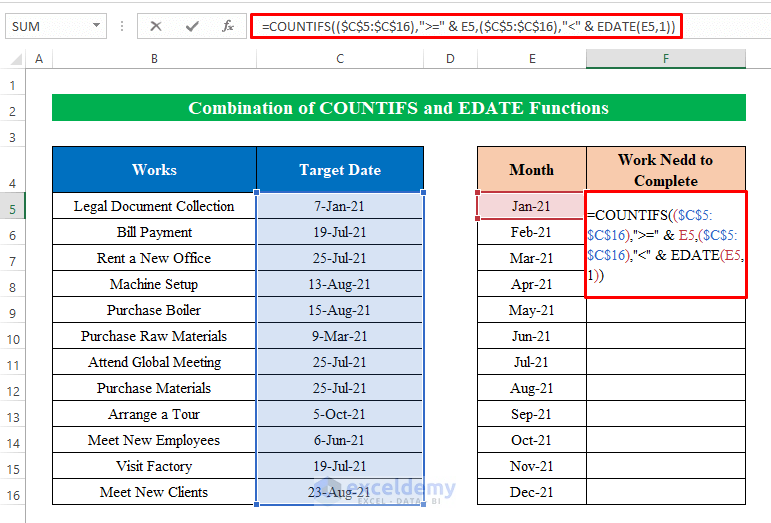
- Press Enter and drag down the fill handle.
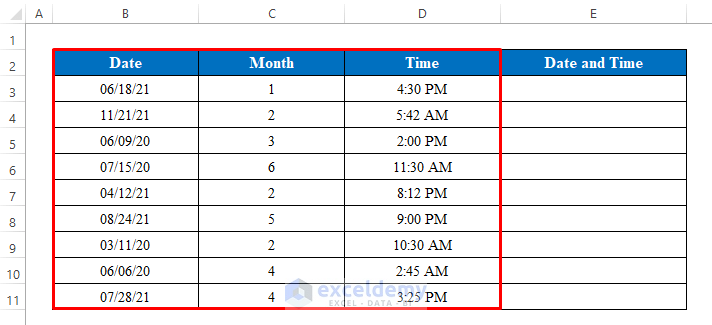
Example 5 – Combine EDATE and MOD Functions to Combine the Date and Time
We have a dataset with Date, Month, and Time in multiple columns. We’ll combine them in a new column calculating the future date with the month column.
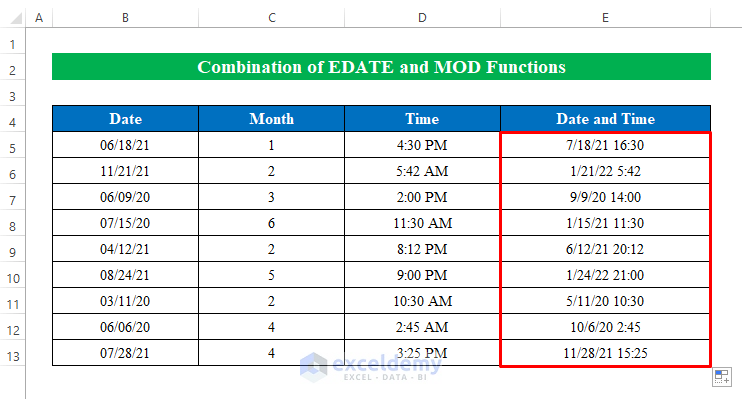
Steps:
- Select E5 and insert the following:
=EDATE(B5,C5)+MOD(D5,1)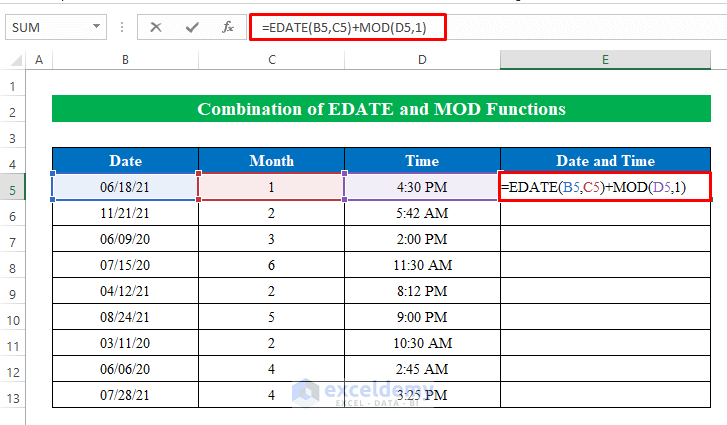
- Hit the Enter button and pull the fill handle down to fill with the expected results.
Read More: [Fixed!] EDATE Function Not Working in Excel
Things to Remember
- Sometimes you will find numeric values instead of dates. To solve this, change the cell format to Date: Press Ctrl + 1 to open the “Format Cells” window. From the window, choose “Date” and click OK to change cell format to date format.
- After applying formulas, you might find the “#VALUE” error in some cells. This happens when the entered date is not a valid date.
Download the Practice Workbook
<< Go Back to Excel Functions | Learn Excel
Get FREE Advanced Excel Exercises with Solutions!

that works fantastically. can you help me with a problem please?
this is the formula that i am currently using: =datedif(b1,b2,”Y”)& ” years, “&datedif(b1,b2,”YM”)& ” months, “&datedif(b1,b2,”MD”)& ” days. ” and that shows me the years, months and days. how do you work out the years, months, weeks and days please?
many thanks
Mark
Hi Mark,
Use the following formula instead of the formula you’re using.
=DATEDIF($B$1,$B$2,”Y”)& ” years, “&DATEDIF($B$1,$B$2,”YM”)& ” months, “&ROUNDDOWN(DATEDIF($B$1,$B$2,”MD”)/7,0)&” Weeks, and “&DATEDIF($B$1,$B$2,”MD”)-ROUNDDOWN(DATEDIF($B$1,$B$2,”MD”)/7,0)*7&” Days.”
Regards
Kawser