Frequently, we need to convert text to columns in Excel in our day-to-day tasks. In fact, Microsoft Excel is an excellent tool to perform this task. Obviously, you can find an adequate number of articles on this topic. But the specialty of this article is that here we’ll show how to convert text to columns without overwriting in Excel in various methods. That means the source column remains untouched rather than overwritten. So, go through it to do the task by yourself effectively.
Convert Text to Columns Without Overwriting in Excel: 5 Methods
To facilitate comprehension, we’re going to use a Name and Age List of Students of a certain institution. This dataset includes Name, Age in Column B.
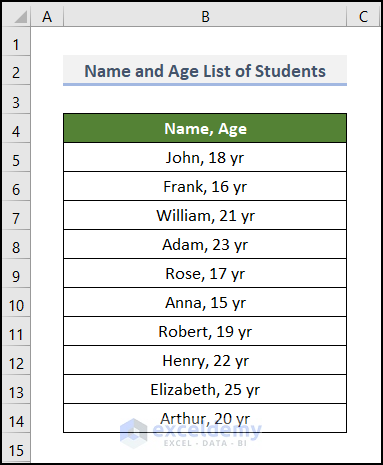
Now, we’ll convert these texts in Column B to different columns without overwriting in numerous ways. Here, overwriting means, the main text becomes intact while doing the task. So, let’s explore them one by one.
Here, we have used Microsoft Excel 365 version, you may use any other version according to your convenience.
1. Applying LEN, MID, REPT, SUBSTITUTE and TRIM Functions
For those who love to play with formulas, this method is for them. In this method, we’ll combine some functions to make our formula work. So, come on, let’s see it in action.
📌 Steps:
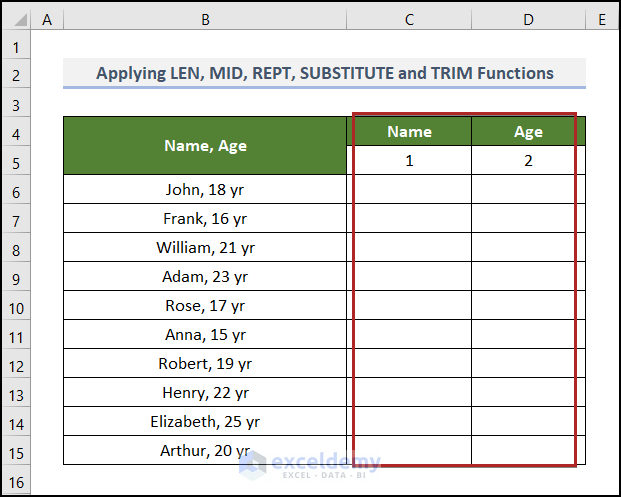
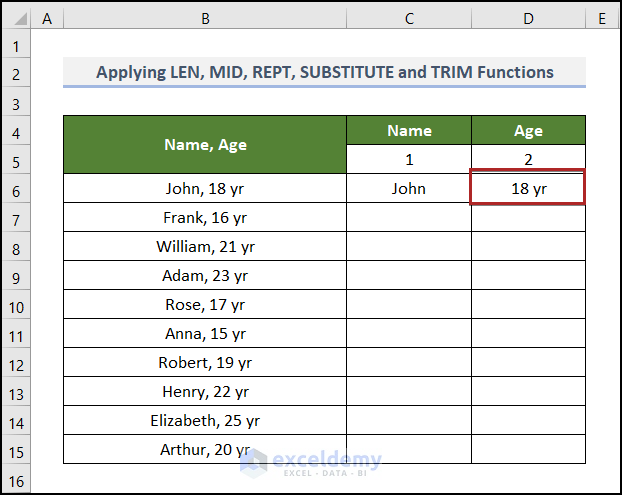
- At the very beginning, create 2 different columns with the headings Name and Age under columns C and D.
- In cells C5 and D5, write down 1 and 2 respectively. This is the number of these new columns. You’ll understand the function of these 2 cells in the upcoming steps.
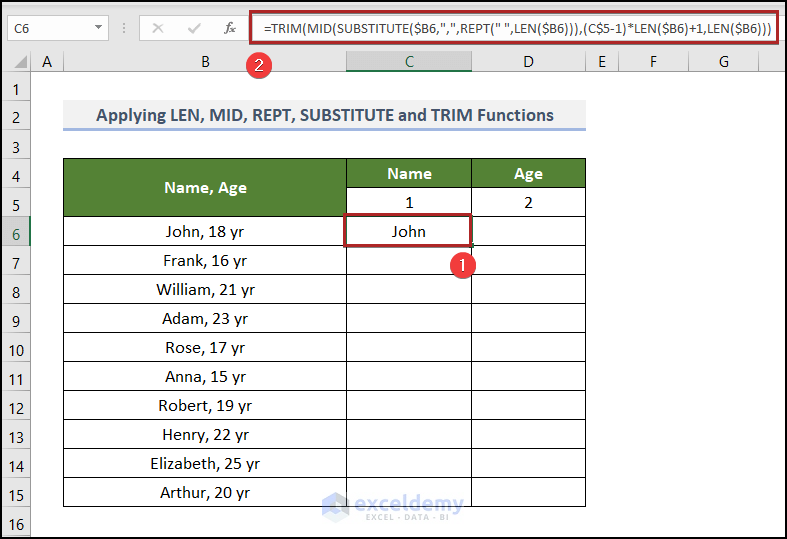
- Then, select cell C6 and enter the following formula.
=TRIM(MID(SUBSTITUTE($B6,",",REPT(“”,LEN($B6))),(C$5-1)*LEN($B6)+1,LEN($B6)))
Here, B6 and C5 cells refer to the first Name, Age, and the number 1.
- LEN($B6) → The LEN function returns the number of characters in a string of text. Here, the B6 cell is the text argument that yields the value 11.
- Output → 11
- REPT(” “,LEN($B6)) → becomes
- REPT(” “,11) → The REPT function repeats text a given number of times. Here, the “ “ is the text argument that refers to blank space while the 11 is the number_times argument that instructs the function to insert 11 blanks repeatedly.
- Output → “ ”
- SUBSTITUTE($B6,“ ”,REPT(“ ”,LEN($B6))) → The SUBSTITUTE function replaces existing text with new text in a text string. Here, the B6 refers to the text argument while Next, the “,” represents the old_text argument, and the REPT(“ ”,LEN($B6)) points to the new_text argument which replaces the commas with blank spaces.
- Output → John 18 yr
- MID(SUBSTITUTE($B6,”,”,REPT(“”,LEN($B6))),(C$5-1)*LEN($B6)+1,LEN($B6)) → The MID function returns the characters from the middle of a text string, given the starting position and length. Here, the SUBSTITUTE($B6,”,”,REPT(” “,LEN($B6))) cell is the text argument, (C$5-1)*LEN($B6)+1 is the start_num argument, and LEN($B6) is the num_chars argument such that the function returns the first character from the left side.
- Output → John
- TRIM(MID(SUBSTITUTE($B6,”,”,REPT(“”,LEN($B6))),(C$5-1)*LEN($B6)+1,LEN($B6))) → becomes
- TRIM(John ) → The TRIM function removes all but single spaces from a text. Here, the (John ) cell is the text argument, and the function gets rid of excess spaces after the text.
- Output → John
- After that, press ENTER.
- Secondly, drag the Fill Handle tool to copy the formula across the row.
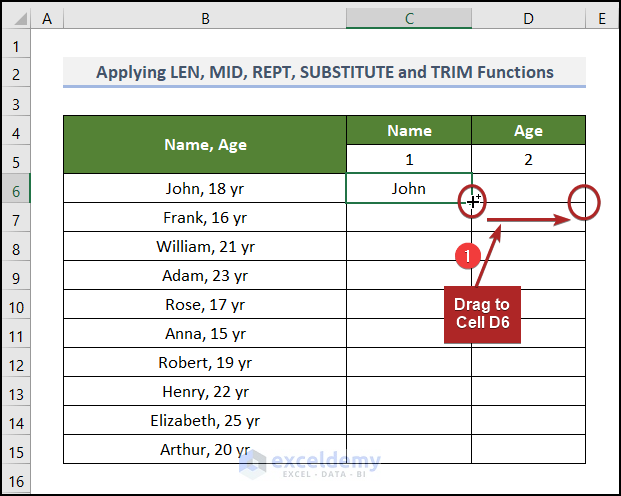
Therefore, we can see the right part of the text, which is the age in cell D6.
- At this time, select two cells C6 and D6 together. Put the cursor to the bottom-right corner of cell D6. You can see the Fill Handle tool again.
- Then, double-click on it to apply the formula to the cells below.
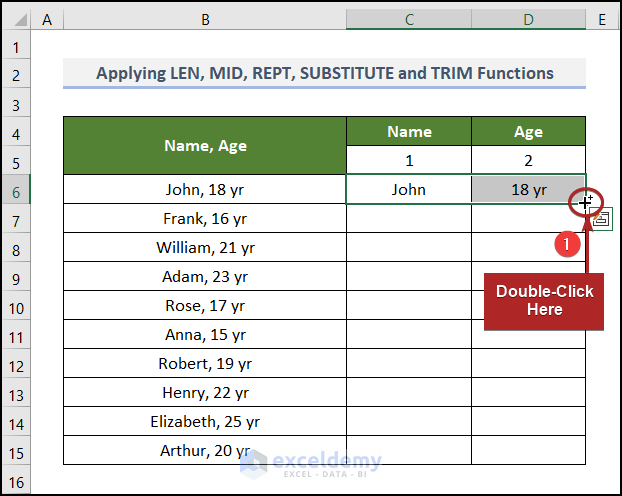
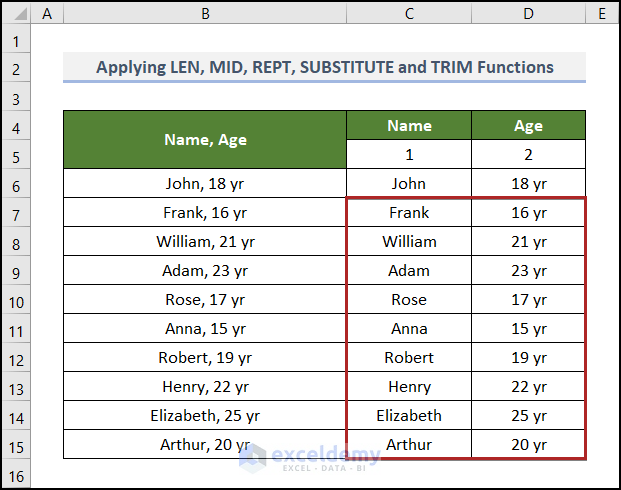
Here’s the result that appears before us.
Read More: How to Convert Text to Columns in Excel
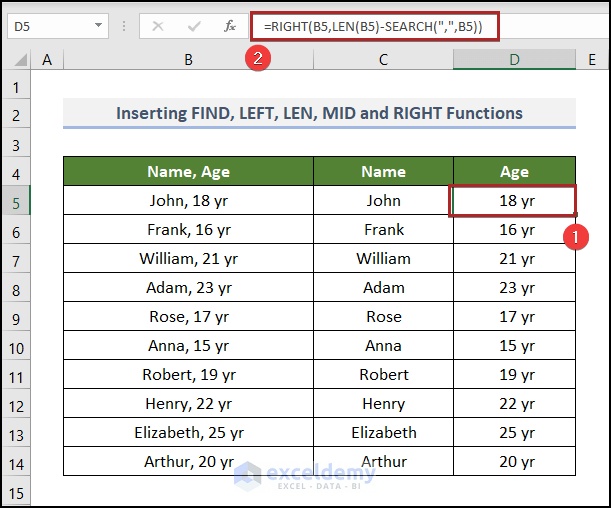
2. Inserting LEFT, LEN, RIGHT and SEARCH Functions
Are you worried about writing complex expressions and combining functions? Then our second method is the answer to your prayer! In this method, we’ll use formulas too, but this time it’ll be easier to understand. So, without further delay, let’s see how we do it.
📌 Steps:
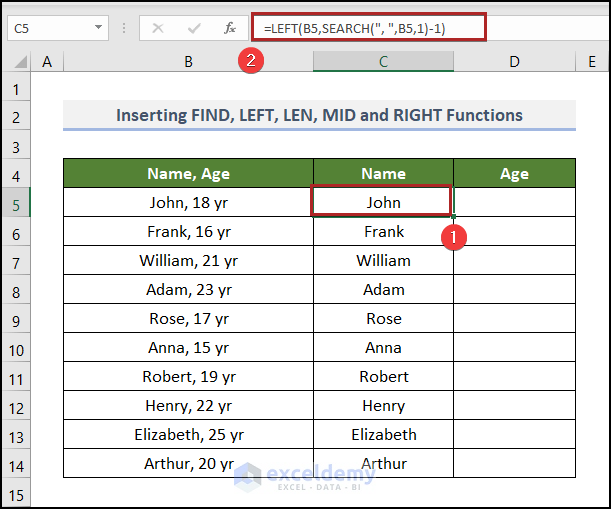
- First of all, go to cell C5 and insert the following formula.
=LEFT(B5,SEARCH(", ",B5,1)-1)
Here, B5 serves as the first Name and Age.
- SEARCH(“,”,B5) → The SEARCH function returns the starting position of one text string within another text string. Here, “,” is the find_text argument while B5 is the within_text argument. Specifically, the SEARCH function returns the position of the comma(,) character in the string of text.
- Output → 5
- LEFT(B5,SEARCH(“;”,B5)-1) → becomes
- LEFT(B5,5) → The LEFT function returns the specified number of characters from the start of a string. Here, the B5 cell is the text argument whereas 5 is the num_chars argument such that the function returns the 5 characters from the left side.
- Output → John
- Secondly, tap the ENTER key.
Now, we’ll use another similar formula to find the result in cell D5. In the previous formula, we used the LEFT function to get the first part of the text string. Here, we’ll fetch the second part of the string.
- Presently, go to cell D5 and insert the following formula.
=RIGHT(B5,LEN(B5)-SEARCH(",",B5))
- LEN(B5)-SEARCH(“,”,B5) → The LEN function returns the length of the string in the B5 cell, in contrast, the SEARCH function returns the position of the comma (,) character.
- Output → 11 – 5 → 6
- RIGHT(B5,LEN(B5)-SEARCH(“,”,B5)) → becomes
- RIGHT(B5,6) → The RIGHT function returns the specified number of characters from the end of a string. Here, the B5 cell is the text argument whereas 6 is the num_chars argument such that the function returns the 6 characters from the right side.
- Output → 18 yr
Read More: How to Split Text to Columns Automatically with Formula in Excel
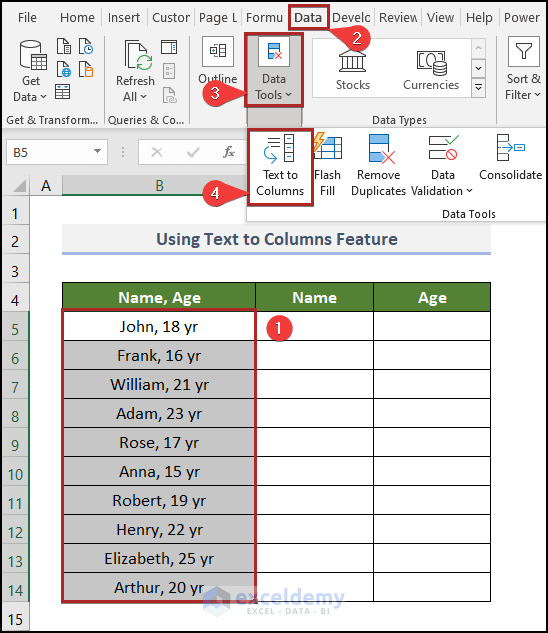
3. Using Text to Columns Feature
In this method, we’ll do the task with Excel’s Text to Columns feature, a handy tool for converting text to columns without overwriting. Therefore, let’s observe and learn about the procedure in the steps shown below.
📌 Steps:
- At first, select cells in the B5:B14 range.
- Then, move to the Data tab.
- After that, click on the Data Tools drop-down icon.
- From the drop-down list, select the Text to Columns feature.
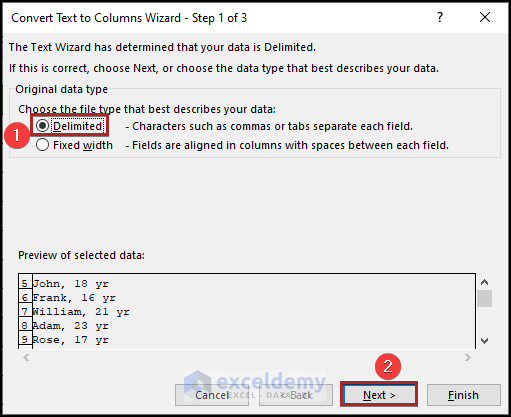
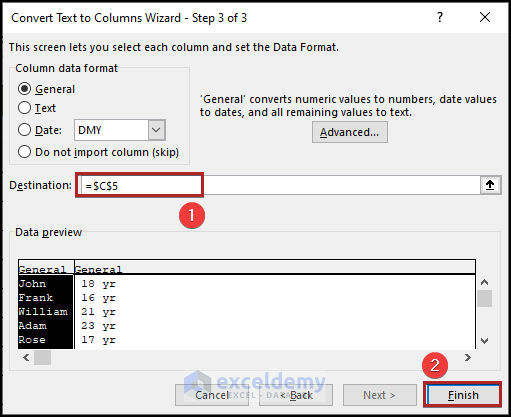
Immediately, it opens the Convert Text to Columns dialog box.
- In step 1, select Delimited under the Choose the file type that best describes your data section.
- Then, click on the Next button.
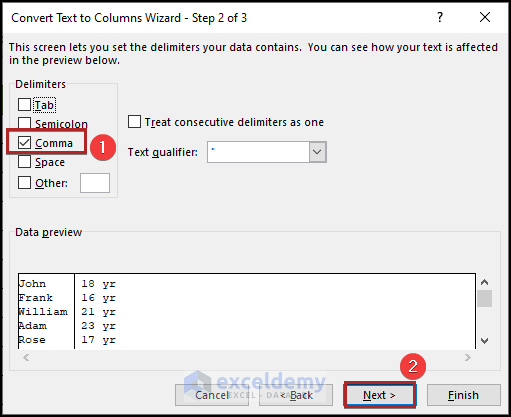
- In step 2, select Comma in the Delimeter section.
- After that, click Next.
- In the third and final step, set the Destination cell as C5.
- Finally, click on the Finish button.
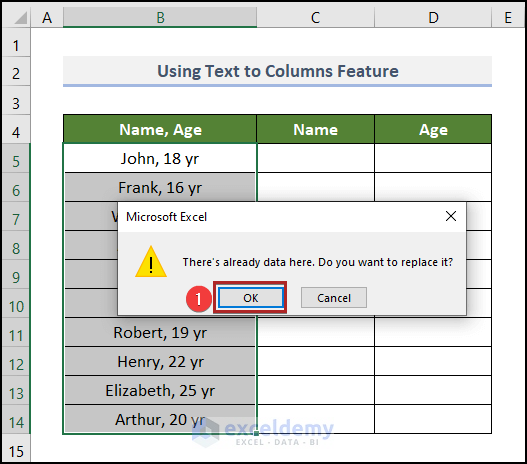
After completing the steps, Excel will show a MsgBox with a warning. Don’t worry.
- Just click OK here.
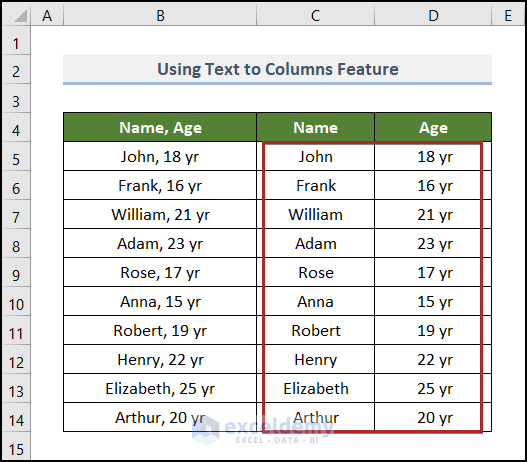
Amazingly, the text to columns without overwriting is done in Excel.
Read More: How to Use Text to Columns Feature with Carriage Return in Excel
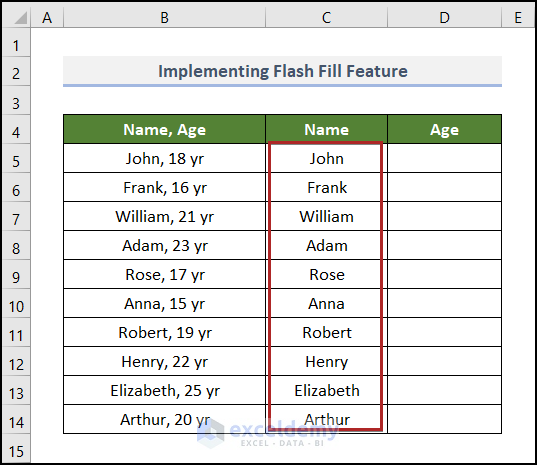
4. Implementing Flash Fill Feature
If using complex formulas doesn’t suit you, then our next method might be the answer you’re looking for. Here, we’ll use the Flash Fill feature of Excel to convert text to columns without overwriting.
📌 Steps:
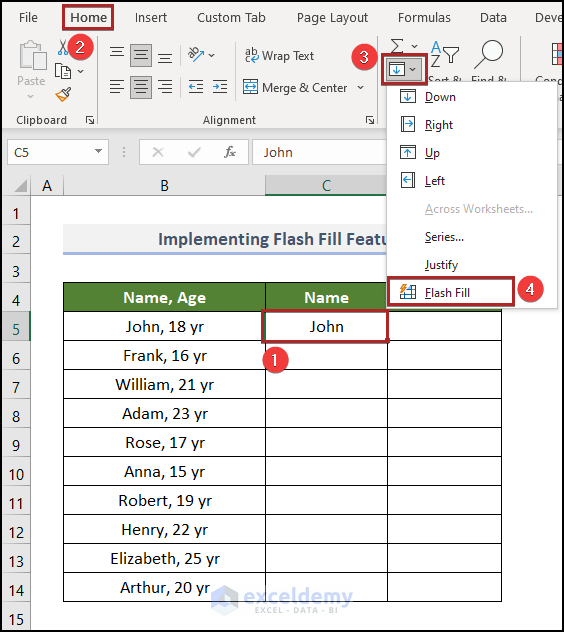
- Initially, write down John in cell C5. It’s the desired result in this cell. But for the first time, we have to do it manually.
- Then, jump to the Home tab.
- After that, click on the Fill drop-down icon on the Editing group.
- Following this, select the Flash Fill feature.
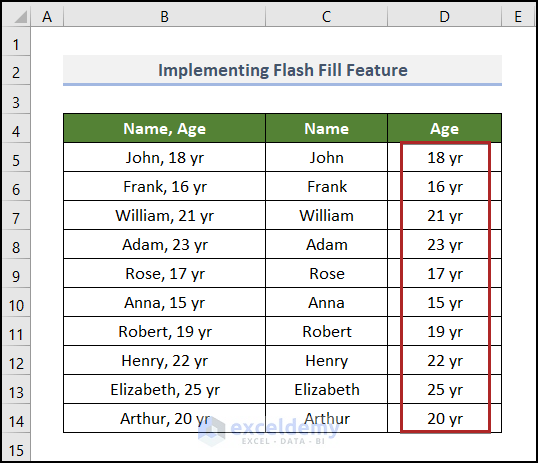
Magically, Excel will autofill the rest of the cells.
Similarly, do the same for the Age column under Column D.
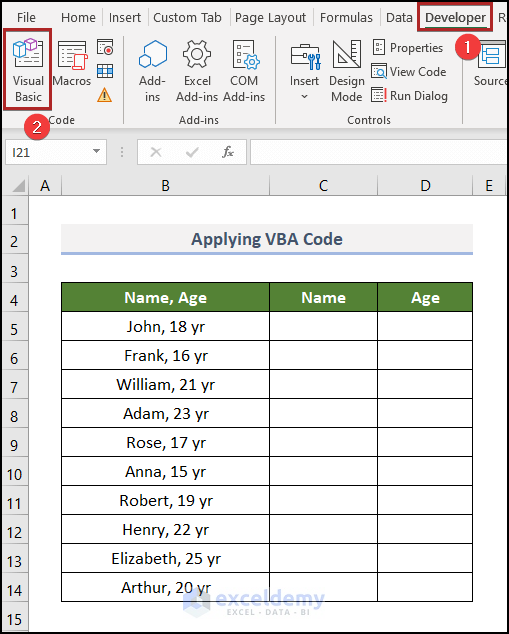
5. Applying VBA Code
Although using formulas is a quick way of editing data, it can be difficult to interpret. Furthermore, if you often need to do it automatically, then you may consider the VBA code below.
📌 Steps:
- Primarily, proceed to the Developer tab.
- Secondarily, select Visual Basic on the Code group.
- Alternatively, use the keyboard shortcut ALT + F11 to replicate the task.
Suddenly, the Microsoft Visual Basic for Applications window appears.
- Here, double-click on Sheet6(VBA) in the Project Explorer section.
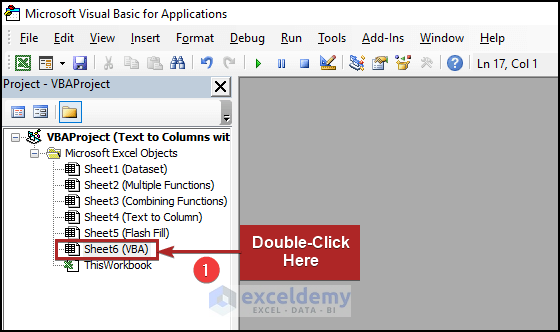
Instantly, a code module opens on the right side.
- In this instance, copy the following code and paste them into the module.
Sub Text_to_Columns_without_Overwriting()
Dim Arr() As String, cnt As Long, j As Variant
For k = 5 To 14
Arr = Split(Cells(k, 2), ",")
cnt = 3
For Each j In Arr
Cells(k, cnt) = j
cnt = cnt + 1
Next j
Next k
End Sub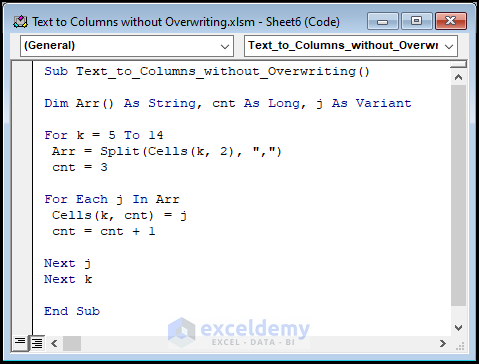
Here, we will explain the VBA code used to convert text to columns without overwriting. In this case, the code is divided into 2 steps.
- In the first portion, the sub-routine is given a name, here it is Text_to_Columns_without_Overwriting().
- Next, define the variables Arr, cnt, and j as String, Long, and Variant.
- In the second potion, use the For Loop through each cell and split the text delimited by a comma.
- Now, in the code, the statement For k = 5 To 14 represents the starting and ending row numbers of the data, here it is 5 to 14.
- Then, the “,” in the Arr = Split(Cells(k, 2), “;”) is the delimiter which you can change to a semicolon, pipe, etc. if you wish.
- Lastly, the cnt = 3 indicates the third column number (Column C).
- Now, click on the green-colored play button on the ribbon. Actually, it’s the Run button. Also, you can press F5 on the keyboard to do the same.
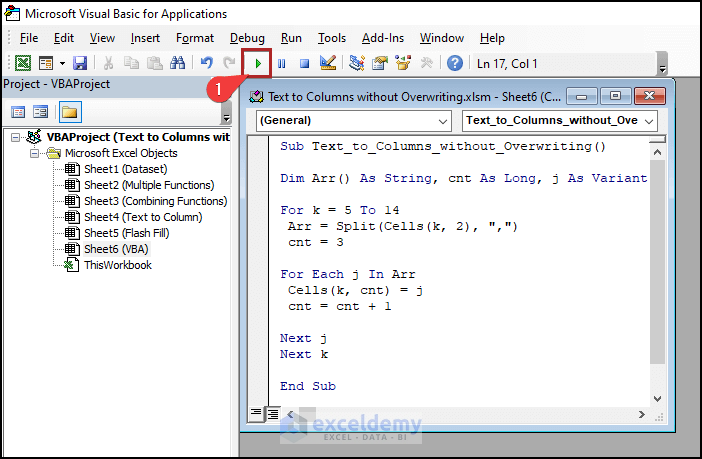
Ultimately, the results should appear in the screenshot given below.

Read More: How to Use Text to Columns in Excel for Date
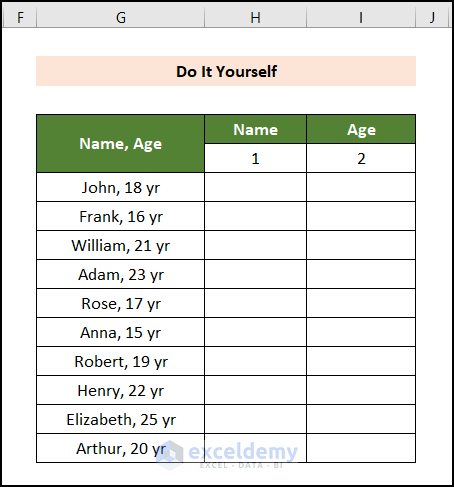
Practice Section
For doing practice by yourself we have provided a Practice section like the one below in each sheet on the right side. Please do it by yourself.
You may download the following Excel workbook for better understanding and practice yourself.
Conclusion
This article explains how to convert text to columns without overwriting in Excel in a simple and concise manner. Don’t forget to download the Practice file. Thank you for reading this article. We hope this was helpful. Please let us know in the comment section if you have any queries or suggestions.
Related Articles
- How to Use Line Break as Delimiter in Excel Text to Columns
- How to Convert Column to Text with Delimiter in Excel
- How to Convert Text to Columns with Multiple Delimiters in Excel
- How to Convert Text to Columns in Excel with Multiple Spaces
- [Fixed!] Excel Text to Columns Is Deleting Data
- How to Undo Text to Columns in Excel
- Excel Text to Columns Not Working
<< Go Back to Excel Text to Columns | Splitting Text | Split in Excel | Learn Excel
Get FREE Advanced Excel Exercises with Solutions!
