While using Excel, you may need to use the text-to-columns option in Excel. This option can be used for many activities. In this article, I will show you how to use text to columns in Excel for a date. I will show three easy steps here with the necessary illustrations. Hopefully, this article will enhance your Excel skills. I hope you will enjoy the article.
How to Use Text to Columns in Excel for Date: Step-by-Step Procedures
From here, I will describe the steps on how to use text to columns in Excel for a date. The steps are going to be described next. First, you need to create a dataset. I will show my dataset in the next step. Then, you need to use the text-to-column option. Consequently, you will find the desired result in the last step. Please follow the whole procedure step by step and inspect the illustrations for better understanding.
Step 1: Create a Dataset
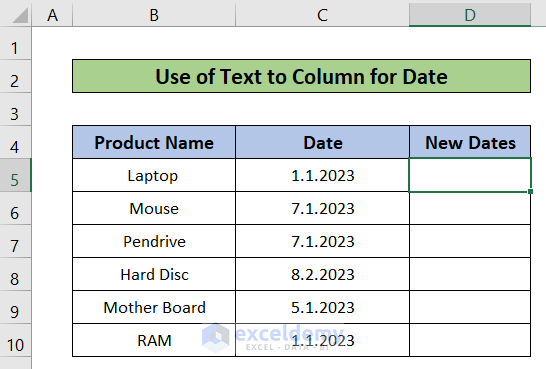
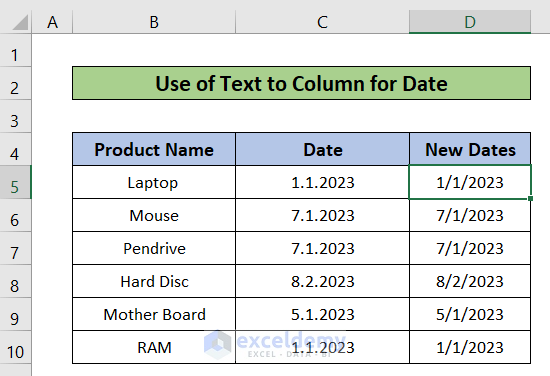
- I created a dataset here. The dataset has three columns B, C, and D called Product Name, Date, and New Dates. The dataset ranges from the B5 to the D10
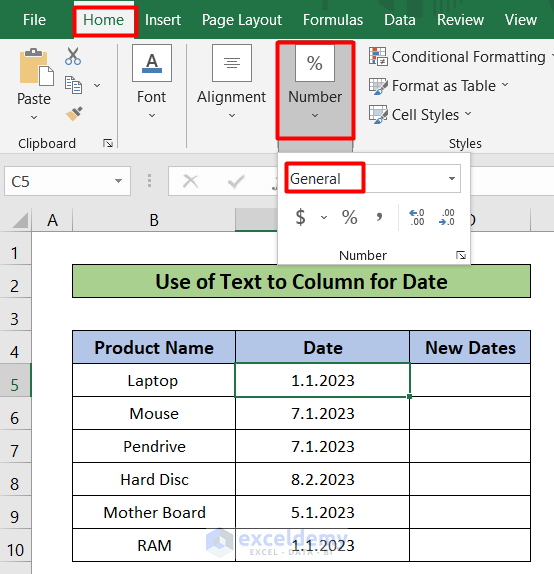
- After creating the dataset, select the C5 cell.
- After that, go to the Home tab in your toolbar.
- Then, select the Number.
- Hence, you will find the cell is under the General option.
Step 2: Use Text to Column Option
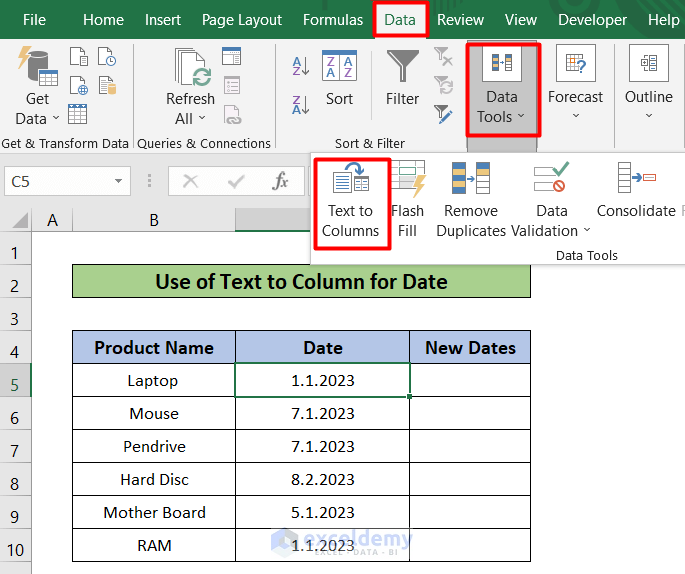
- Now, go to the Data tab in your toolbar.
- Then, select the Data Tools options.
- After that, select the Text to Columns option.
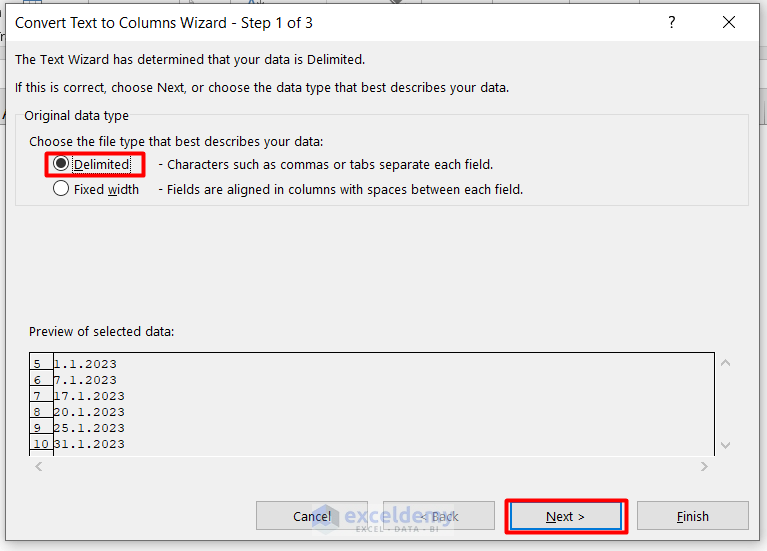
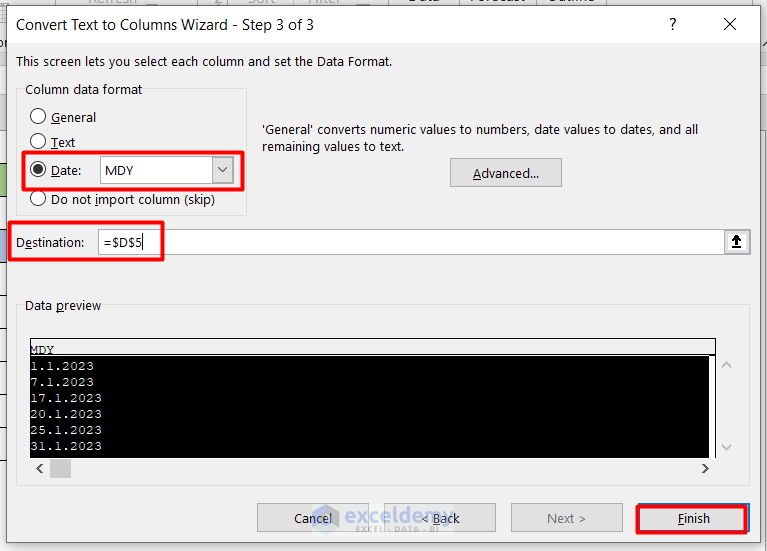
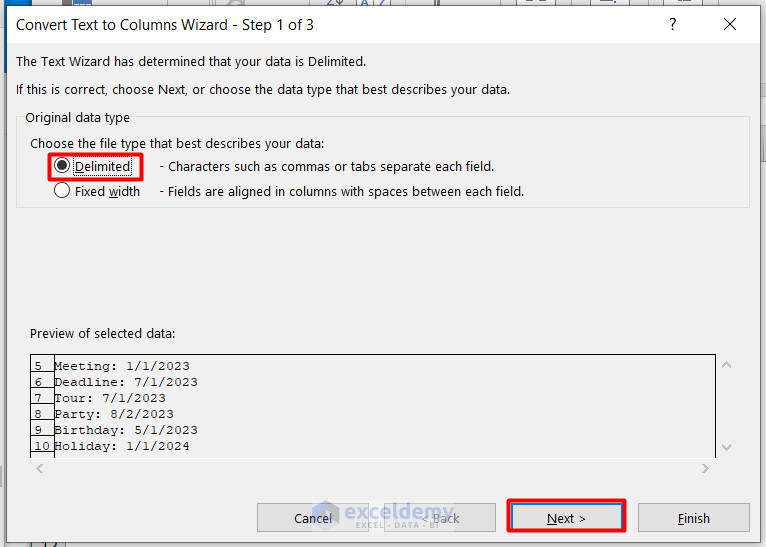
- You will get the wizard window like the picture shown below. Select the Delimited option.
- Then, press the Next option.
- In the next pop-up window, you will find the Tab option. Uncheck it.
- After that, press the Next button again.

- Now, select the Date option.
- Then, make the destination to the D5 cell.
- Hence, click the Finish option.
Read More: How to Convert Text to Columns in Excel
Step 3: Final Result
- As a result, you will find the final result like the picture given below.
How to Convert Date Format in Excel
While working on an Excel worksheet, you sometimes may need to change the date format of any date entries. Excel allows you to convert date format by using some small and handy steps. In this portion of this article, I will show you how to convert the date format in Excel. I will consider the previous result of the dataset as my new dataset. Follow the procedures step by step.
Steps:
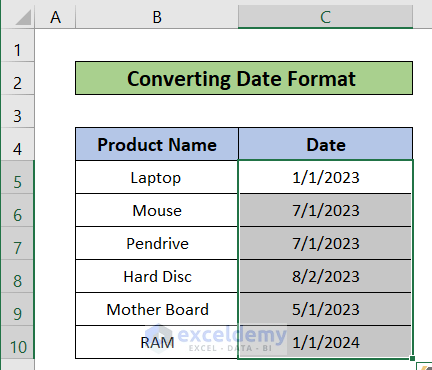
- First, select the cells from C5 to C10.
- Then, press the CTRL+1 A pop-up window will be opened.
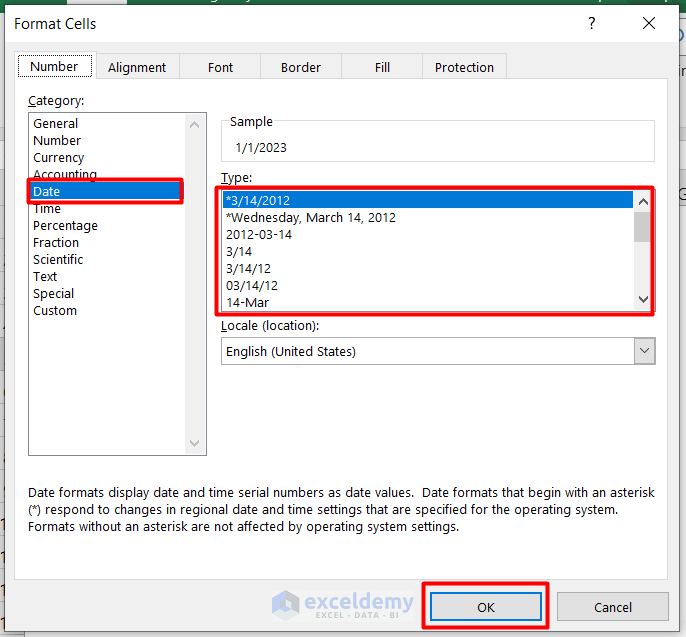
- After that, select the Date option from the left side of the window.
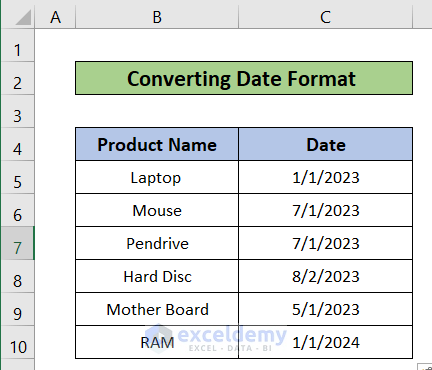
- Here, in the Types box, you will find different types of date formats. Then, select any one format of them.
- Then, press OK.
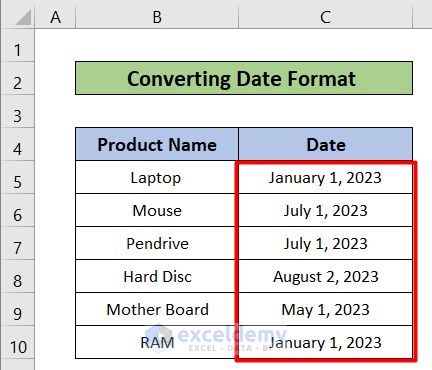
- At last, you will find the result just like the picture given below.
Read More: How to Convert Text to Columns Without Overwriting in Excel
How to Separate Date from Text in Excel
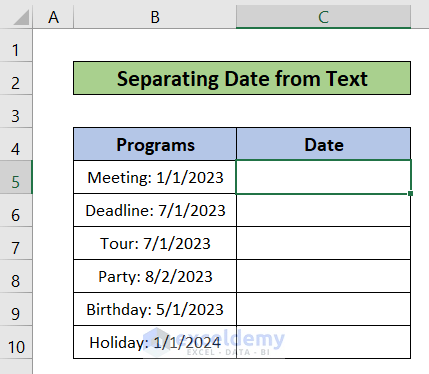
Sometimes, while working on an Excel worksheet, you may need to separate the date from the text. In this portion of this article, I will show you how to separate dates from Excel. I will consider a different dataset here. You will find the dataset below. In the first column, you will find texts with dates and in the second column, I will separate the dates from the texts. Let’s follow the steps one by one.
Steps:
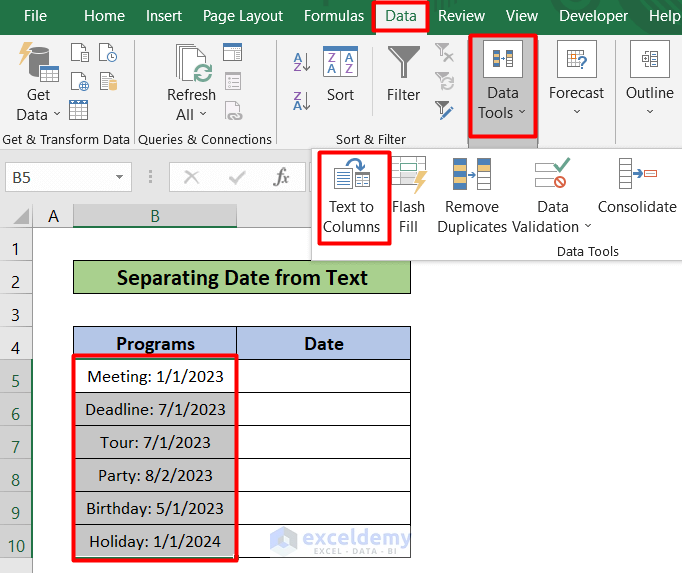
- First, select the cells from B5 to B10.
- Then go to the Data tab of your toolbar.
- After that, select the Data Tools option.
- Hence, select the Text to Columns option.
- A window will pop up. Then, select the Delimited option.
- Then select the Next option.
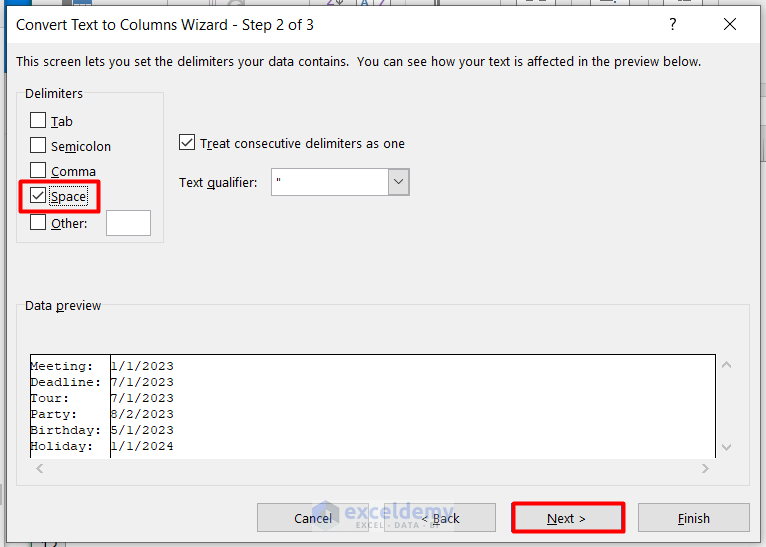
- Select the Space check box.
- Then, click on the Next option.
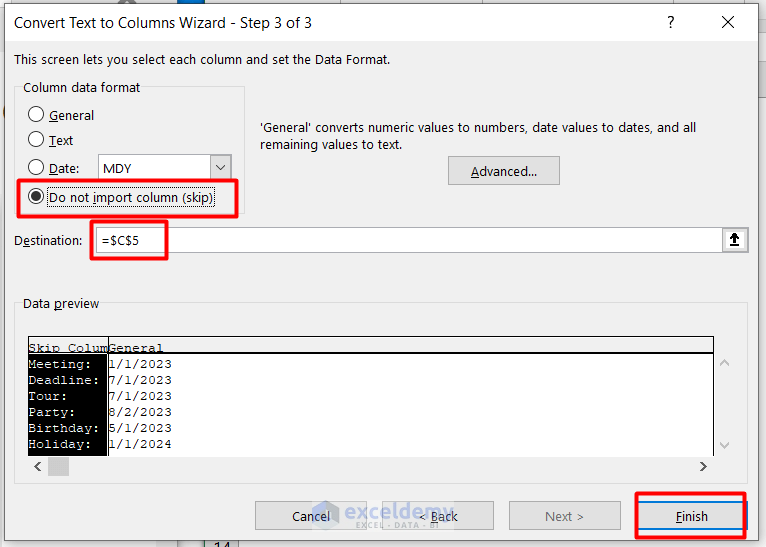
- Click on the mentioned option in the next window.
- After that, select the C5 cell as a destination.
- Consequently, you will find the result just like the picture given below.

Read More: How to Convert Text to Columns with Multiple Delimiters in Excel
Things to Remember
- You should bear in mind that the default date format in Excel is mm/dd/yyyy. So, make the dataset according to the format.
Download Practice Workbook
Please download the workbook to practice yourself
Conclusion
In this article, I have tried to explain how to use text to columns in Excel for a date. I hope you have learned something new from this article. Now, extend your skill by following the steps of these methods. I hope you have enjoyed the whole tutorial. If you have any kind of queries feel free to ask me in the comment section. Don’t forget to give us your feedback.
Related Articles
- How to Split Text to Columns Automatically with Formula in Excel
- [Fixed!] Excel Text to Columns Is Deleting Data
- How to Undo Text to Columns in Excel
- Excel Text to Columns Not Working
- How to Use Line Break as Delimiter in Excel Text to Columns
- How to Convert Column to Text with Delimiter in Excel
- How to Convert Text to Columns in Excel with Multiple Spaces
- How to Use Text to Columns Feature with Carriage Return in Excel
<< Go Back to Excel Text to Columns | Splitting Text | Split in Excel | Learn Excel
Get FREE Advanced Excel Exercises with Solutions!
