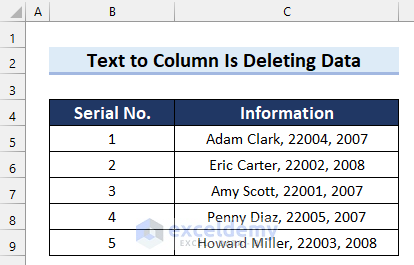
We have concatenated string values in a cell and will use Text to Columns to store this information in different columns. We’ll explain why Text to Column is deleting data in Excel.
Reason 1 – Having Hidden Columns in Excel
We will show how the Text to Columns feature separates the data.
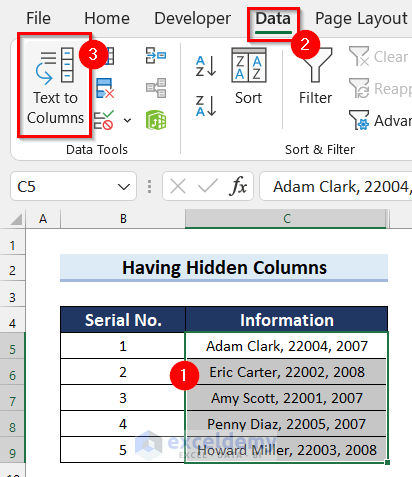
- Select the cells where you want to separate the data. We selected the cell range C5:C9.
- Go to the Data tab from the ribbon.
- Select Text to Columns.
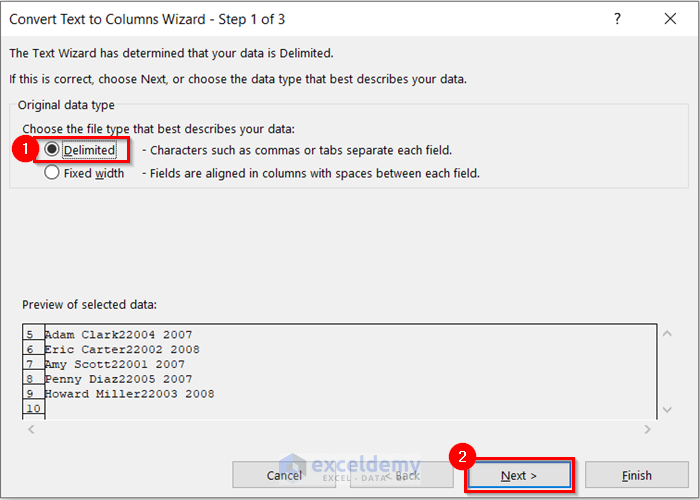
- The Convert Text to Columns Wizard – Step 1 of 3 will appear.
- Select Delimited.
- Select Next.

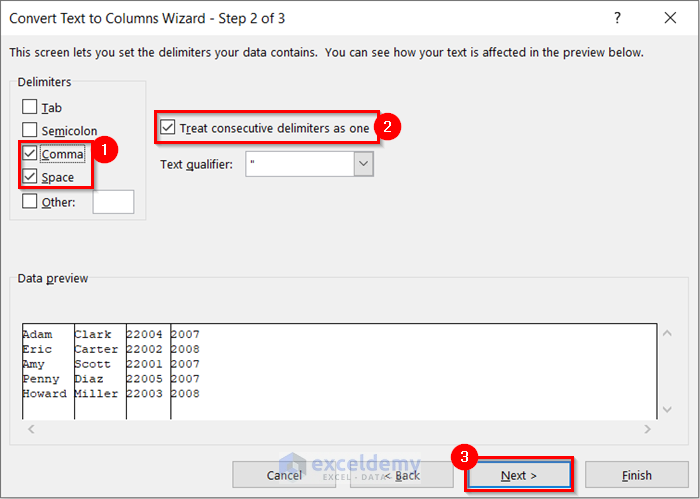
- The Convert Text to Columns Wizard – Step 2 of 3 will appear.
- Select the Delimiters. Here, we selected Comma and Space because both of these are used in the data.
- Check the Treat consecutive delimiters as one option.
- Select Next.
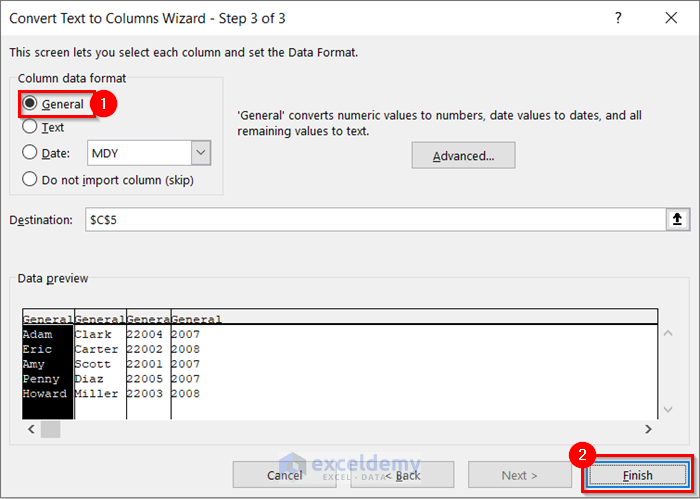
- The Convert Text to Columns Wizard – Step 3 of 3 will appear.
- Select the Column data format you want. We selected General.
- Press Finish.
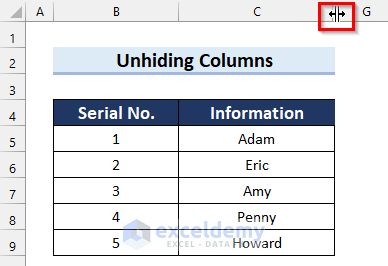
- In the following image, you can see that we lost data after that first one. The possible reason behind this can be hidden columns.
- This means we did get the separated information, but the columns are hidden here.

Solution – Unhide Hidden Columns to Get the Lost Data
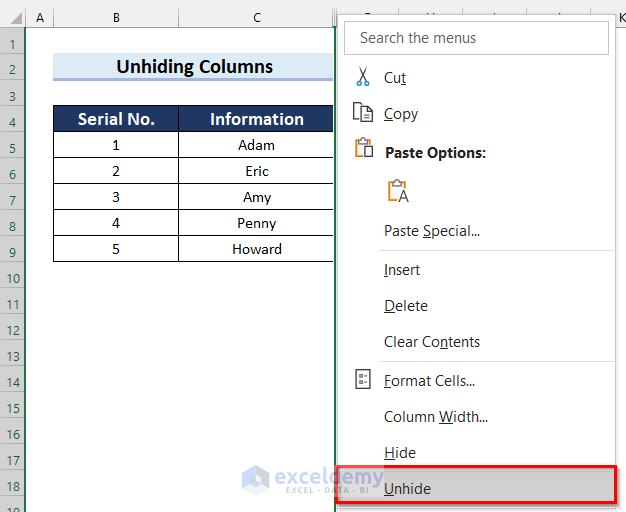
- Place your mouse cursor on the hidden column.
- Right-click there.
- Select Unhide.
- You will see that one of the hidden columns is showing and you have got your data.
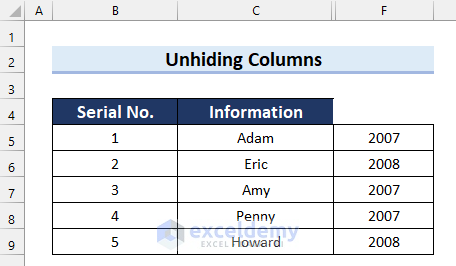
- Unhide the other columns in the same way until you get your data.
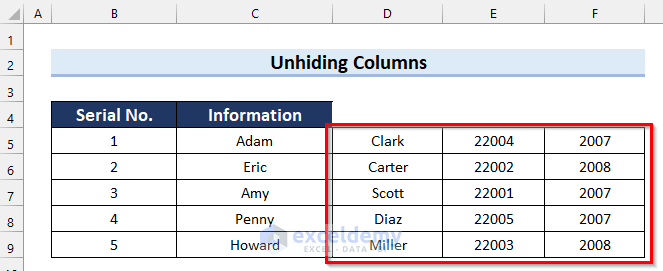
- Give the columns titles as you want.

Read More: How to Undo Text to Columns in Excel
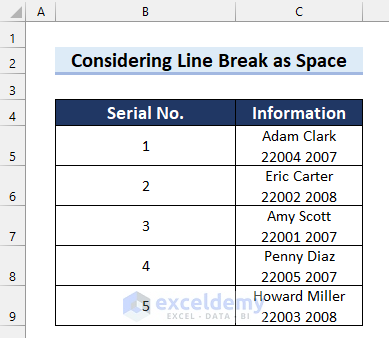
Reason 2 – Considering Line Break as Space
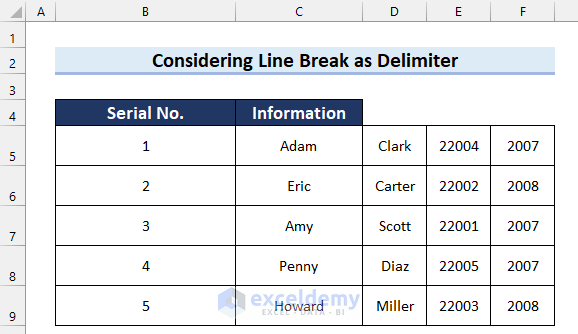
Here, the data is separated by a space. We will represent this data in 4 different columns in Excel with the Text to Columns feature.
We used the Text to Columns feature. But, in the following image, you can see the final output. You can see that Text to Columns is deleting data after the first 2 columns in Excel. The reason behind this is that the second word has a line break, but not a space.
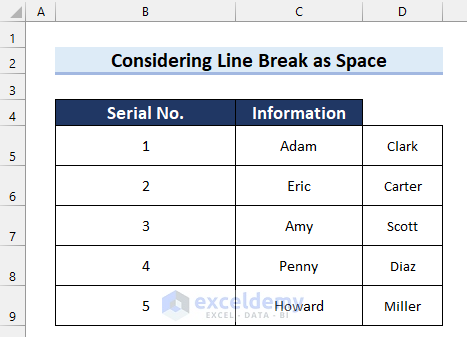
Let’s see how you can check that.
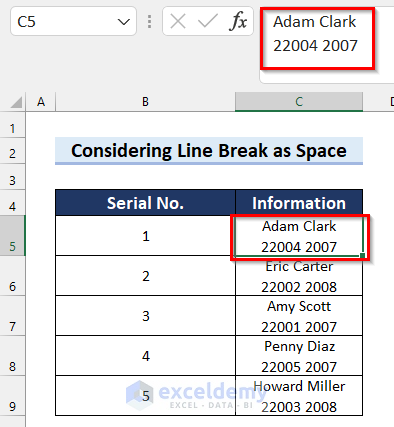
- Click on the cell where the data is stored.
- After the first two words, there is a line break. But, we did not select line break in the Delimiters.
Read More: Excel Text to Columns Not Working
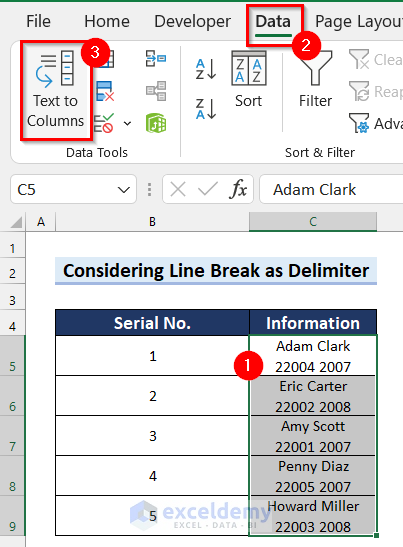
Solution – Set the Line Break as Delimiter
- Select the cells where you want to use Text to Columns.
- Go to the Data tab.
- Select Text to Columns.
- The Convert Text to Columns Wizard – Step 1 of 3 will appear.
- Select Delimited.
- Select Next.
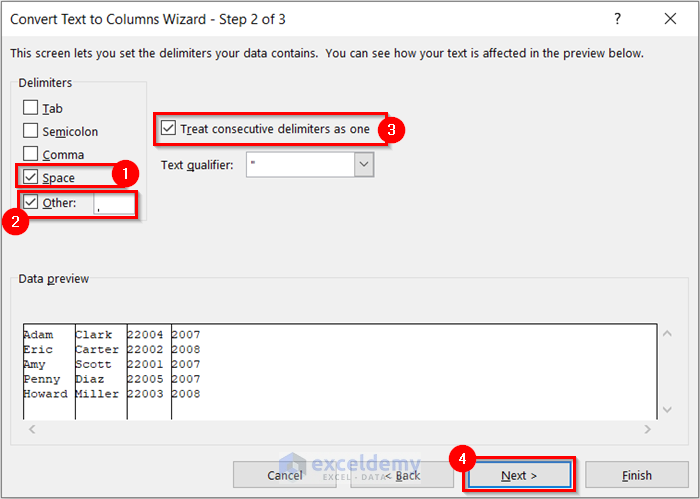
- The Convert Text to Columns Wizard – Step 2 of 3 will appear.
- Select Space as Delimiters.
- Check Others and press Ctrl + J to get the line break character.
- Check the Treat consecutive delimiters as one option.
- Select Next.
- The Convert Text to Columns Wizard – Step 3 of 3 will appear.
- Select the Column data format you want. We selected General.
- Press Finish.

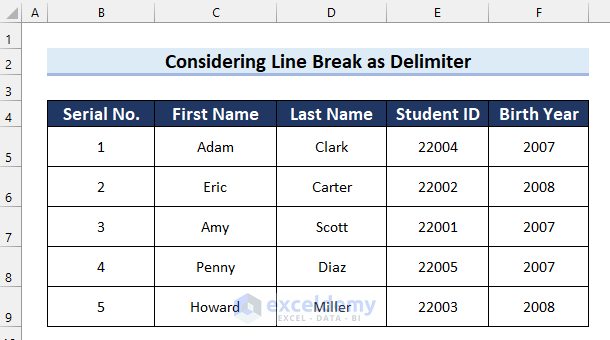
- You will see that you have got all the data in different columns.
- Give the Column Titles as you want and you will get your desired dataset.
Read More: How to Convert Column to Text with Delimiter in Excel
Download the Practice Workbook
Related Articles
- How to Convert Text to Columns Without Overwriting in Excel
- How to Split Text to Columns Automatically with Formula in Excel
- How to Convert Text to Columns with Multiple Delimiters in Excel
- How to Convert Text to Columns in Excel with Multiple Spaces
<< Go Back to Splitting Text | Split in Excel | Learn Excel
Get FREE Advanced Excel Exercises with Solutions!
