In this article, we will learn to reset cell size to default in Excel. A cell has a rectangular shape that has a width and a height. We can change the height and width to default using different methods. Sometimes, when we copy or download a dataset, the cell size of the dataset can be different. Today, we will try to reset the cell size to default. In Excel, the default height of a cell is 15 and the default width is 8.43.
How to Reset Cell Size to Default in Excel: 5 Easy Ways
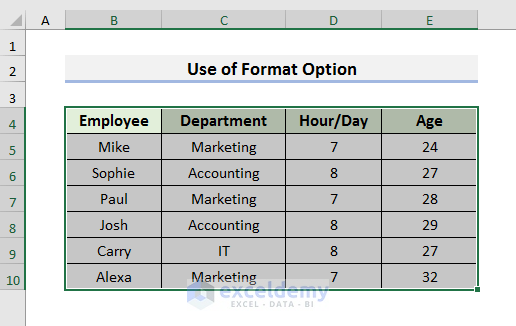
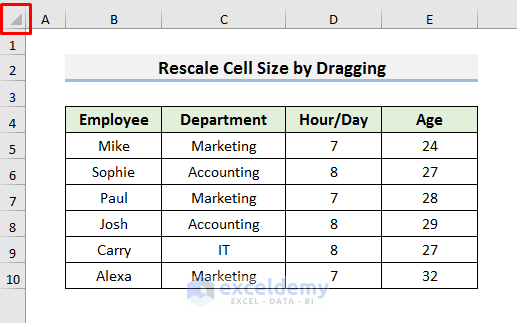
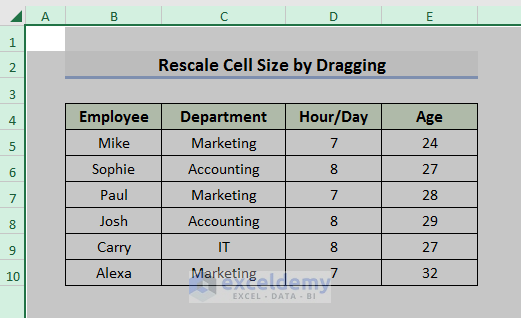
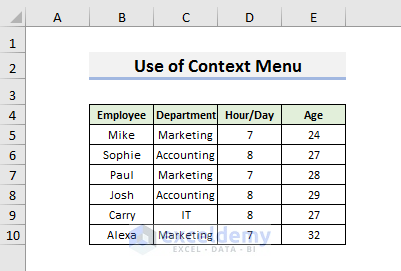
To explain these methods, we will use a dataset that contains information about the department, working hours, and age of some employees. Our dataset has different column widths and its row height is 20.

1. Restore Cell Size to Default with Format Option in Excel
In the first method, we will use the format option to restore cell size to default. We can use this method to reset the size of selected cells, as well as restore the size of all cells.
Let’s follow the steps below to learn this method.
STEPS:
- Firstly, select the cells that you want to resize. We have selected Cell B4 to E10.
- To select all cells, click on the Select All button or press Ctrl + A.
- Secondly, go to the Home tab and select Format.
- A drop-down menu will occur. Select Row Height from the drop-down menu.
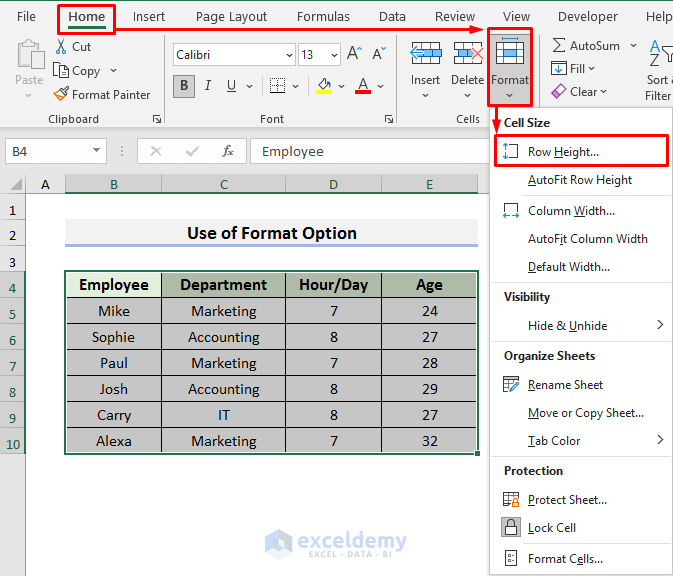
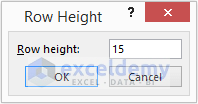
- After that, a Row Height window will appear. Type 15 in the Row height field and click OK.
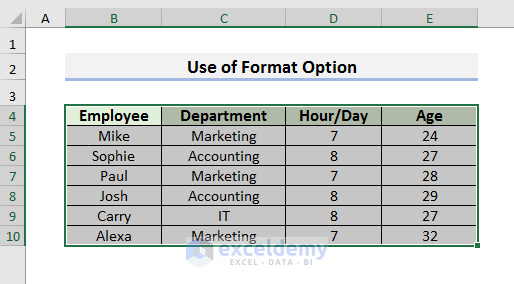
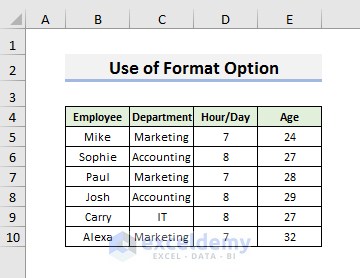
- After clicking OK, you will see results like below.
- Again, go to the Home tab and select, Then, select Column Width from the drop-down menu. The Column Width window will occur.
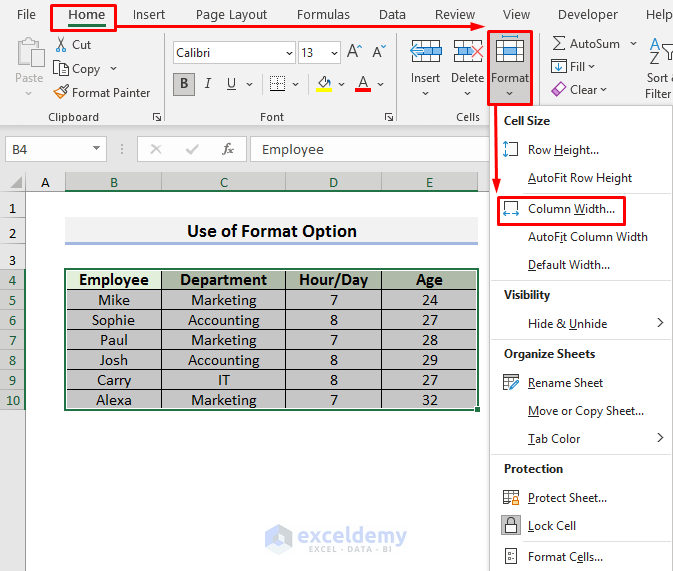
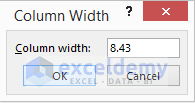
- Now, write 8.43 in the Column width field and click OK.
- After clicking OK, you will see results like below.

- Finally, to display the text fully, change the font size.
Read More: How to Make a Cell Bigger in Excel
2. Excel VBA to Reset Cell Size to Default
VBA is very helpful in performing different tasks quickly. We can use VBA to reset cell size to default in Excel. Here, we will use the same dataset.
Let’s pay attention to the steps below.
STEPS:
- In the beginning, go to the Developer tab and select Visual Basic.
- The Visual Basic window will appear.

- Now, go to Insert and select Module.
- Then, type the code in the Module window.
Sub Resize_Cell_Size()
Dim sheet As Worksheet
Set sheet = Worksheets("VBA")
With sheet
    .Cells.UseStandardHeight = True
    .Cells.UseStandardWidth = True
End With
End Sub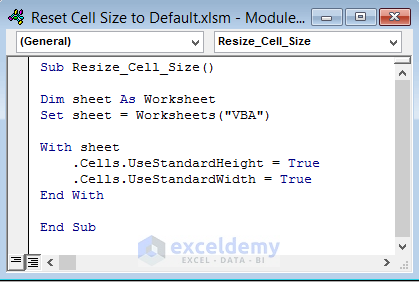
Here, this code will set the height and width of the cells of a sheet to standard height and width. You need to write the name of the worksheet inside the parentheses of Worksheets(). We also need to use the double quotation.
- After that, press Ctrl + S to save the code.
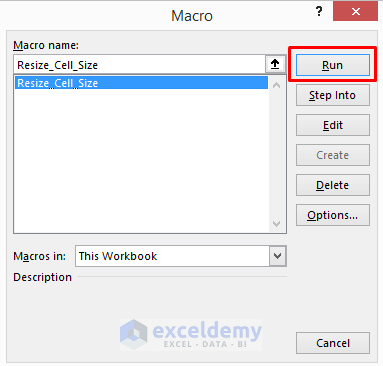
- Next, select Macros from the Developer tab. It will open the Macro window.
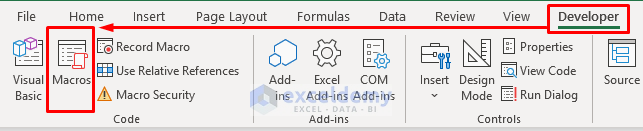
- Following this, select the code from the Macro window and hit Run.
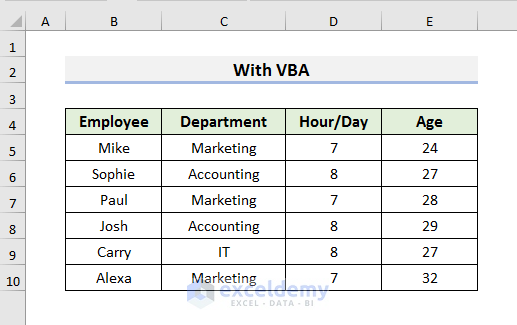
- Finally, you will see results like below.

- Ultimately, change the font size to show the full text.

Read More: How to AutoFit in Excel
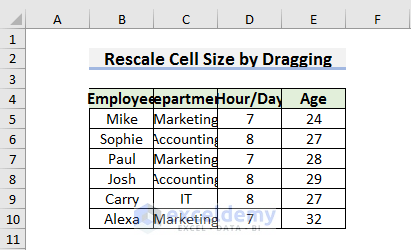
3. Rescale Cell Size to Default in Excel by Dragging
In this method, we will rescale the cell size to default by dragging. It becomes very easy when you are using a mouse. We can use this method to resize all cells. To explain the steps, we will use the same dataset here.
Let’s observe the steps below to know more.
STEPS:
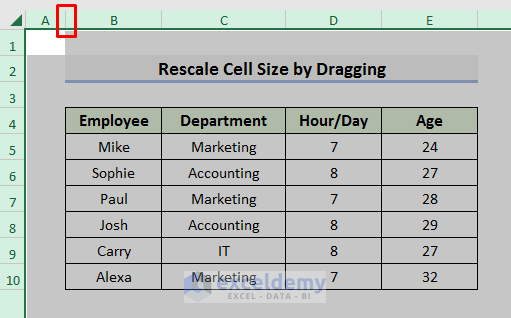
- In the first place, click the Select All button.
- After clicking the Select All button, you will see all the cells are selected.
- Now, put the cursor on the borderline of two columns. We placed it on the borderline of Columns A & B.
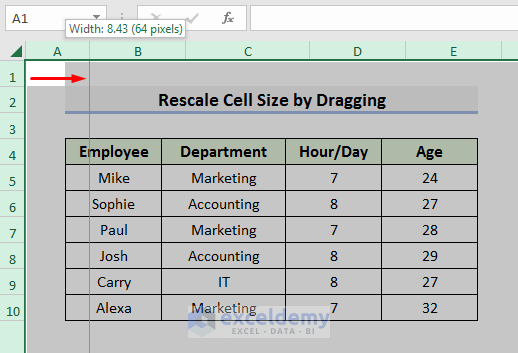
- Then, drag the line until it displays 8.43 on the screen.
- After that, put the cursor on the borderline of Rows 1 & 2.
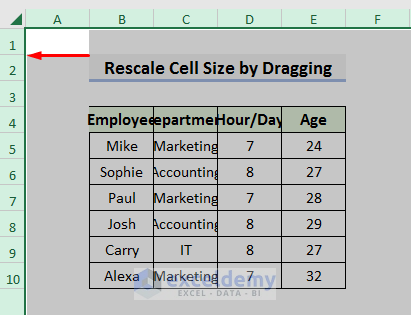
- Then, drag the line until it displays 15 on the screen.

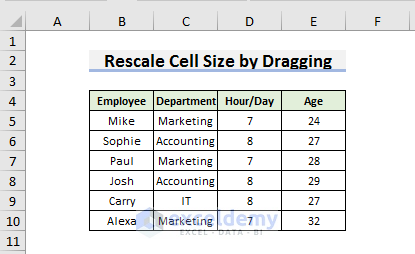
- Next, select any cell in your dataset to see results like below.
- Finally, to display full text, change the font size.
Read More: [Fixed] AutoFit Row Height Not Working for Merged Cells in Excel
4. Use Context Menu to Resize Cell Size to Default in Excel
There is another way to change the cell size in Excel. And that is the use of the context menu. We can use this method for a single cell or all cells. Again, we will use the same dataset.
Let’s follow the steps below.
STEPS:
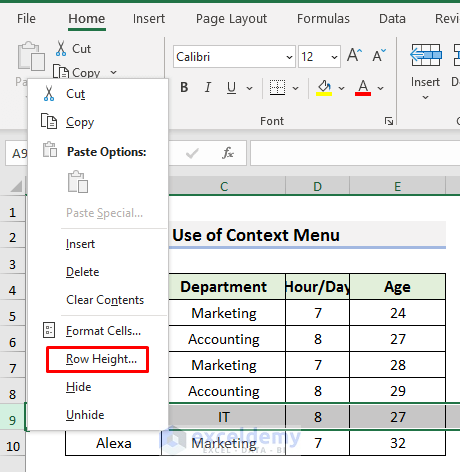
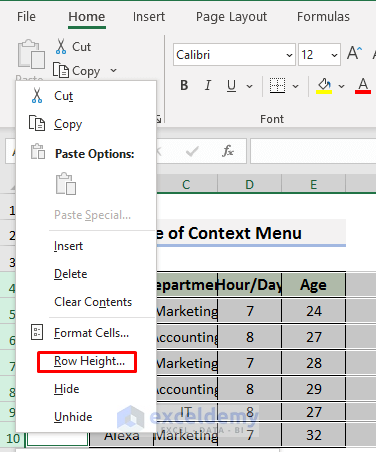
- Firstly, select a column. We have selected Column D here.
- Then, right-click on the mouse to see the context menu.
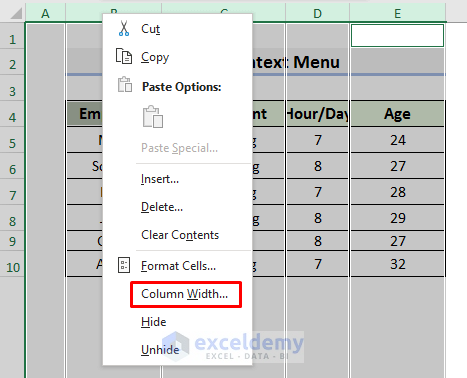
- Select Column Width from the context menu.
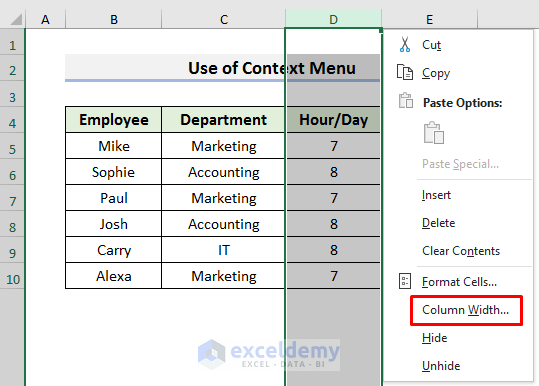
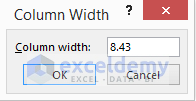
- A Column Width will appear.
- Now, write 8.43 in the Column width field and click OK.
- After clicking OK, you will see the column width of Column D has decreased to 8.43.
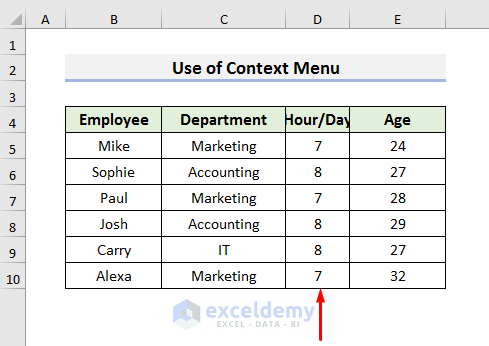
- Next, select a row. We have selected Row 9 here.
- Right-click on the mouse to see the context menu.
- Select Row Height from there.
- Now, type 15 in the Row height field and click OK.
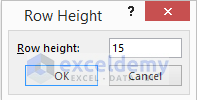
- Instantly, Cell D9 reset to the default size.

- To apply the same thing to all columns, press Ctrl and select the columns.
- Then, right-click on the mouse to see the context menu.
- Select Column Width from there.
- The Column Width will occur. Type 8.43 in the Column width field and click OK.

- Next, press Ctrl and select the rows.

- After that, right-click on the mouse to see the context menu.
- Select Row Height from there.
- Write 15 in the Row Height window and click OK.

- Finally, you will see results like below.

- In the end, change the font color to show full text, like below.
Read More: How to Make Cells Independent in Excel
5. Reset Cell Size to Default in Excel from the File Tab
In this last method, we will discuss how we can reset the cell size using the file tab. This method is applicable at the start of creating any dataset. You need to apply these settings before starting your work on a new worksheet.
Let’s follow the steps below.
STEPS:
- Firstly, go to the File tab.
- Secondly, select Options.

- The Excel Options will appear.
- Next, select General from there.
- Use Body Font as the default font and set the Font size to 11.
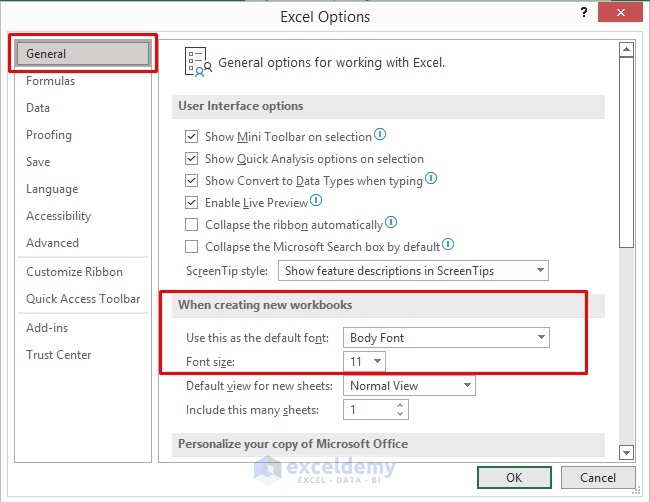
- Finally, click OK.
- Now, if you create any new worksheet, the cell size will be set as the default. The row height should be 15 and the column width should be 8.43. If it doesn’t show the desired results, you can use Method 1.
Read More: How to Make All Cells the Same Size in Excel
Things to Remember
The row height depends on the font size. So, when we reset cell size to default, the cells may not display full text. You need to change the font size to show the full text.
Download Practice Book
Conclusion
Here, we have discussed 5 easy and quick ways to reset cell size to default in Excel. We have also used a VBA code to solve this problem. I hope these methods will help you to reset cell size to default very easily. Furthermore, we have also added the practice book at the beginning of the article. You can download the practice book to exercise more. Last of all, if you have any queries or suggestions, feel free to ask in the comment section below.
Related Articles
- How to Change Cell Size without Changing Whole Column
- How to Fix Cell Size in Excel
- How to Use AutoFit Shortcut in Excel
- Make Excel Cells With The Same Height and Width
<< Go Back to Cell Size | Excel Cells | Learn Excel
Get FREE Advanced Excel Exercises with Solutions!
