Method 1 – Making Excel Cells Equal by Pixels to Get the Same Height and Width
This is the sample dataset.
Click on the image for better quality
Set all columns the same width in the worksheet.
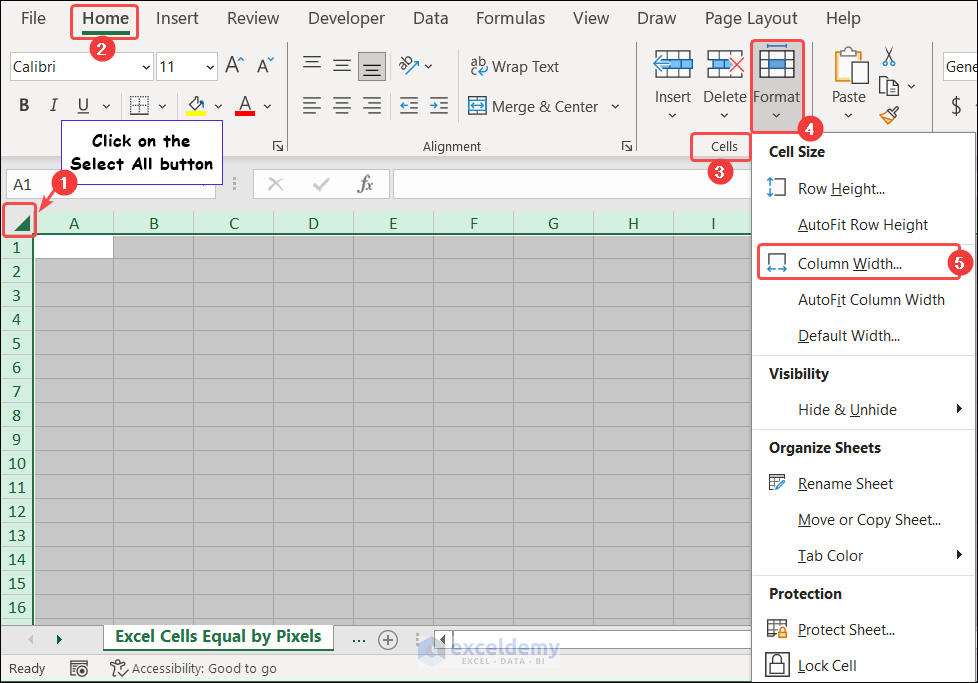
Step 1:
- Click Select All => Home tab => Cells.
- Click Format => Column Width.
Step 2:
- Enter the value.
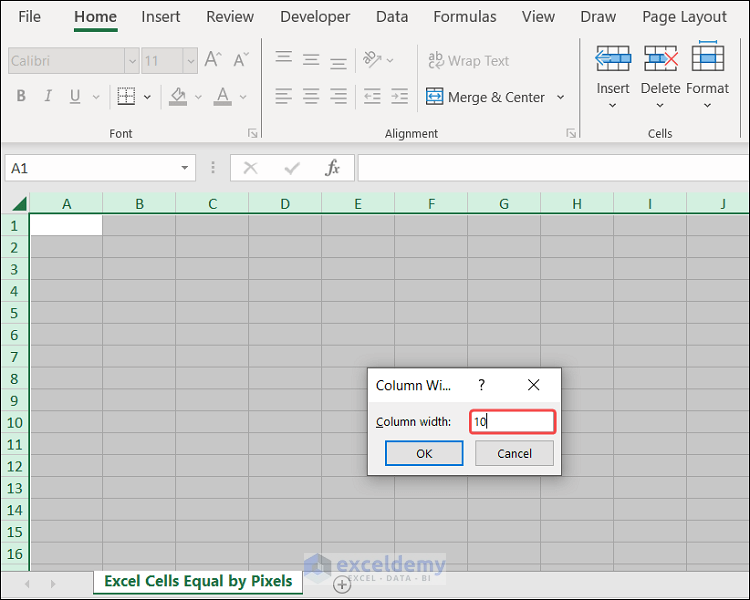
Step 3:
- Click OK.
This is the output. The width of all columns is 10.

Click on the image for better quality
To set all rows the same height.
Step 4:
- Hover your mouse over the right side of column A => Click and hold => You will find the Pixel value of the column, 97 pixels.
![]()
Step 5:
- Place the Cursor below Row 1 and drag it down => Keep track of the Pixel value => Release the Cursor when the Pixel value is 97 =>
You will see the cells within the sheet with the same height and width.
![]()
We must set cells equal by Pixels. Making equal points is unable to create the same height and width.
Read More: How to Make All Cells the Same Size in Excel
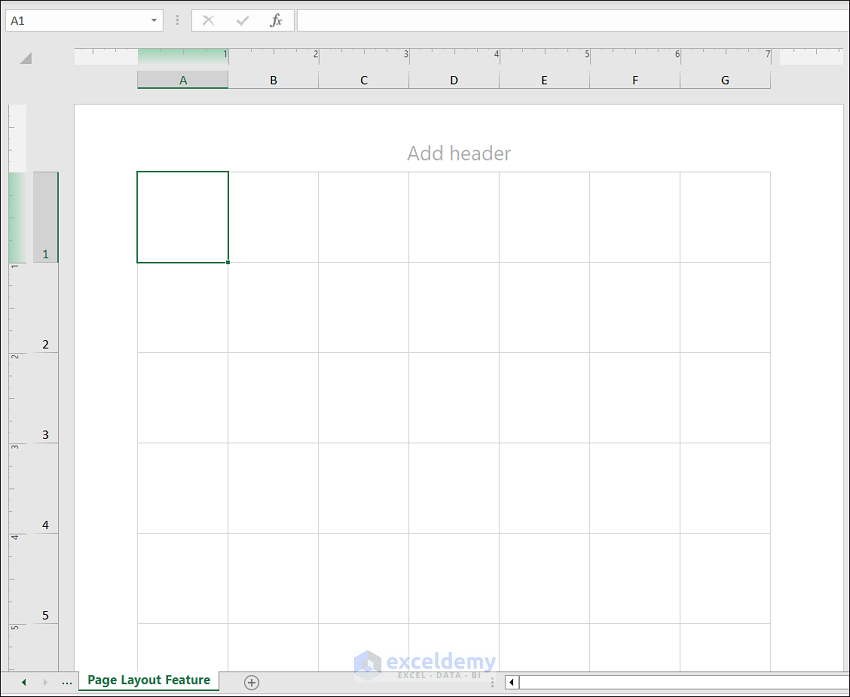
Method 2 – Using the Scale Feature in Page Layout View to Make Cells the Same Height and Width
This is the worksheet.
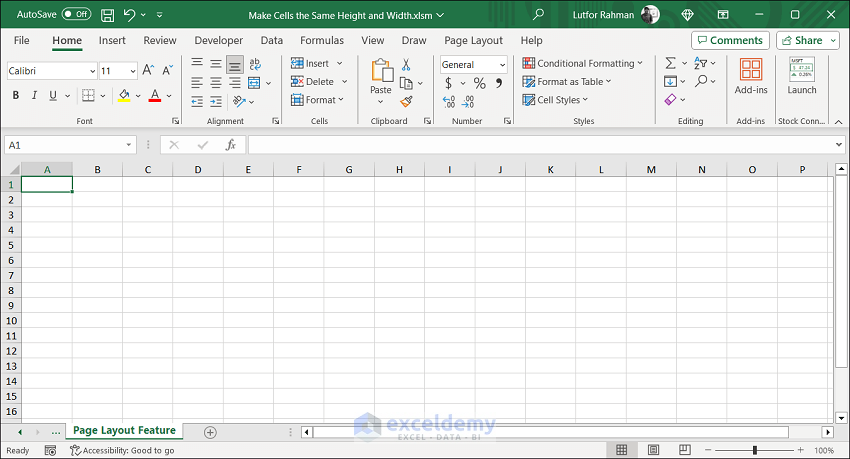
Step 1:
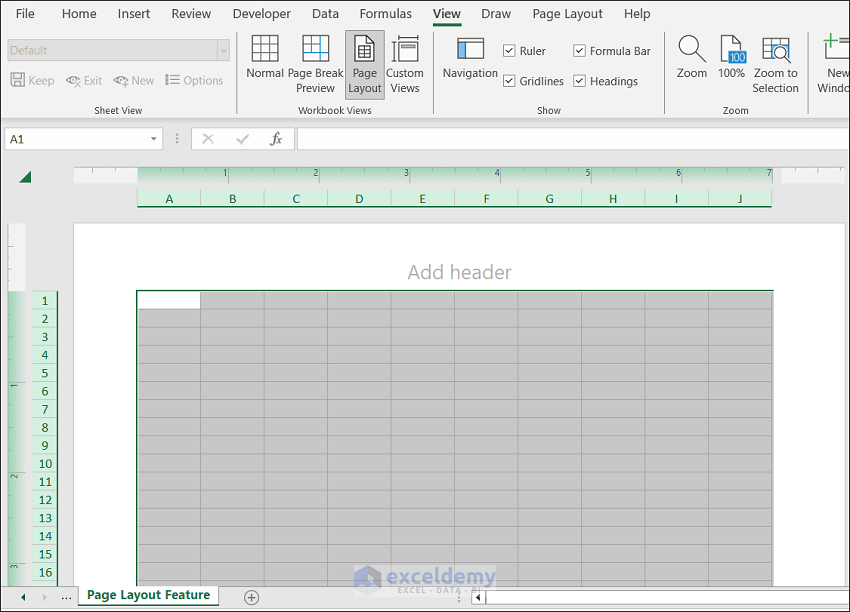
Click Select All => Go to the View tab => In View, select Page Layout.

The Page Layout view command is also available at the bottom-right corner of your workbook.
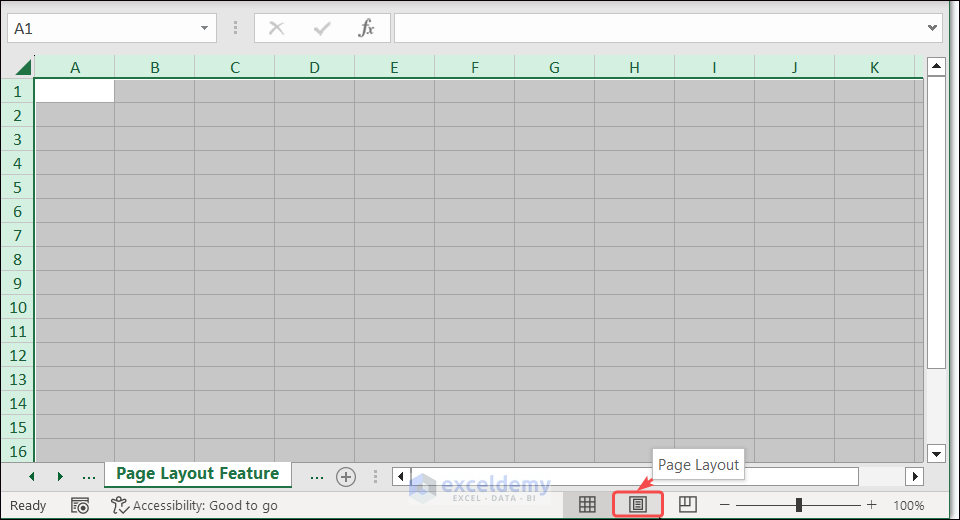
Step 2:
You will see measuring scales above the columns and on the left side of the rows.
Click on the image for better quality
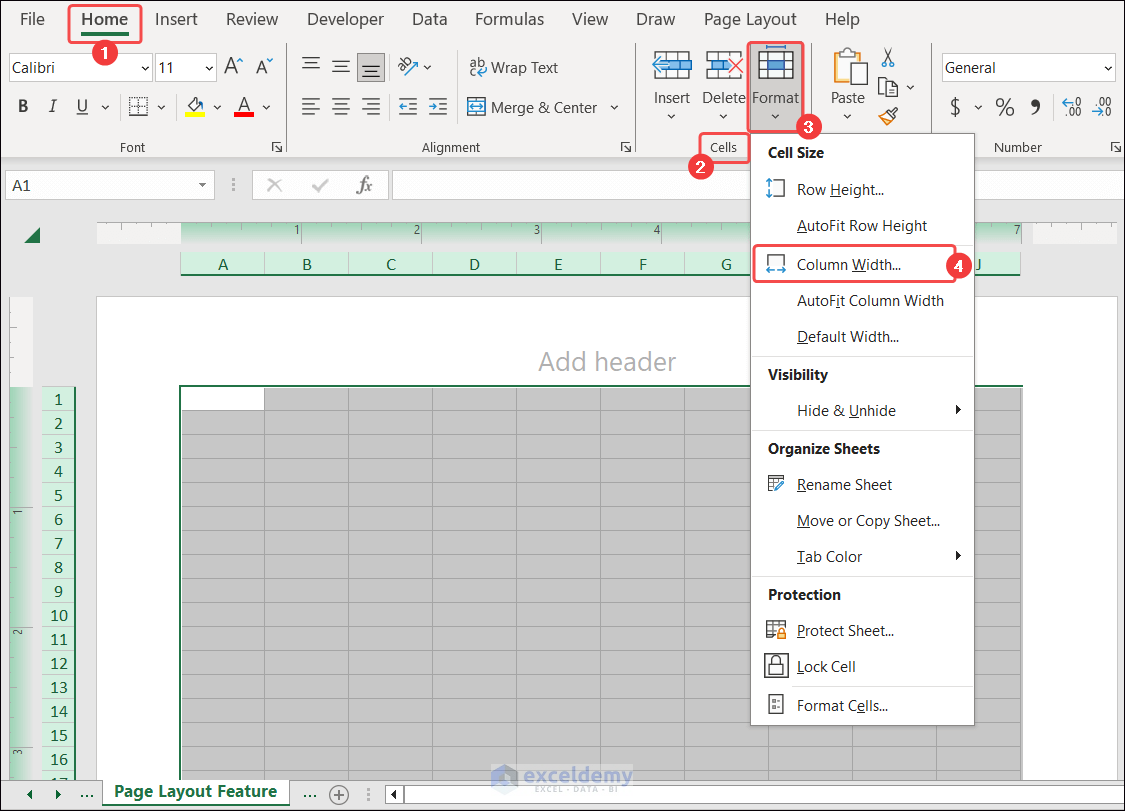
Step 3:
- Go to the Home tab=> click Format in Cells.
Click on the image for better quality
Step 4:
- Click Column Width.
- Enter 1.
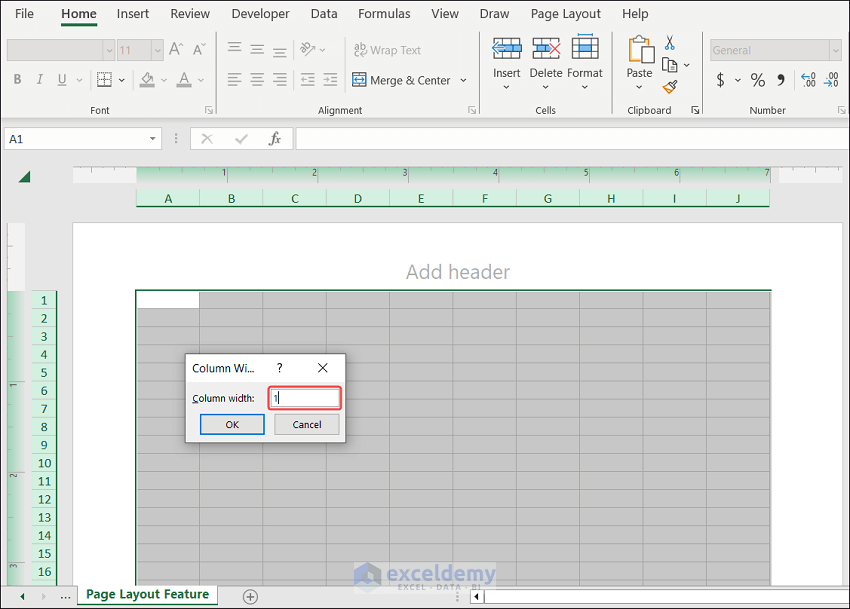
Step 5:
- Click OK.
Cells width become 1 inch.

Step 6:
- Click Format and choose Row Height.
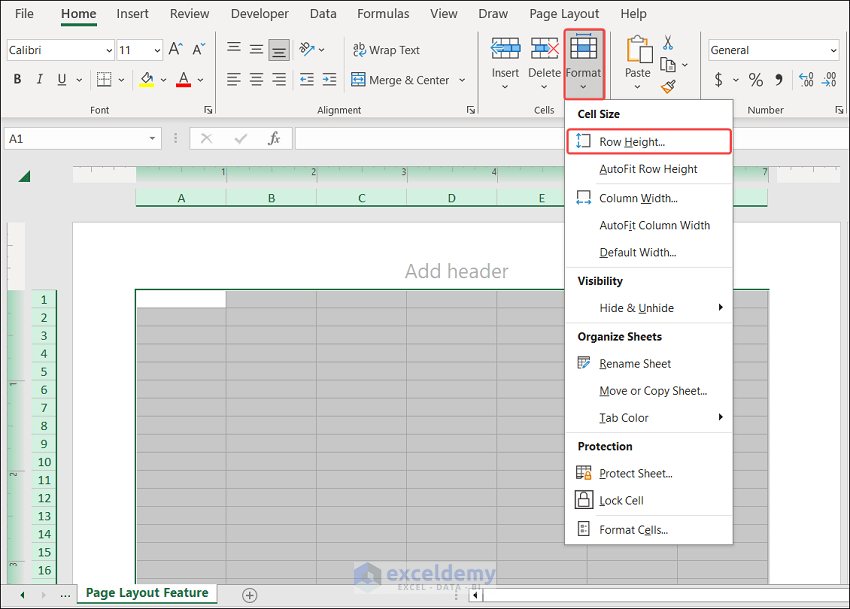
Step 7:
- Enter 1.

Step 8:
- Click OK to see the output.
Read More: How to AutoFit in Excel
Method 3 – Using an Excel VBA Code to set Cells with Equal Height and Width
3.1 Same Height and Width Cells for the Entire Worksheet

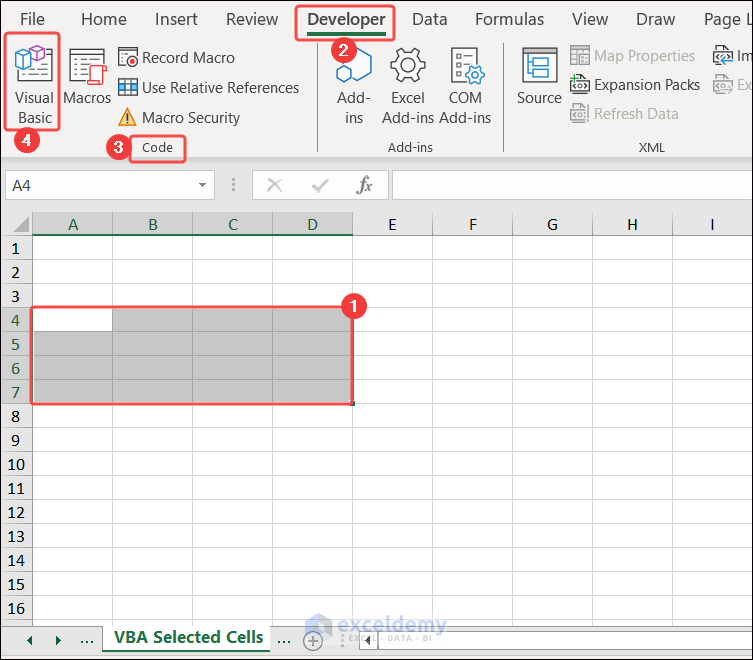
Step 1:
- Go to the Developer tab =>Select Visual Basic in Code.
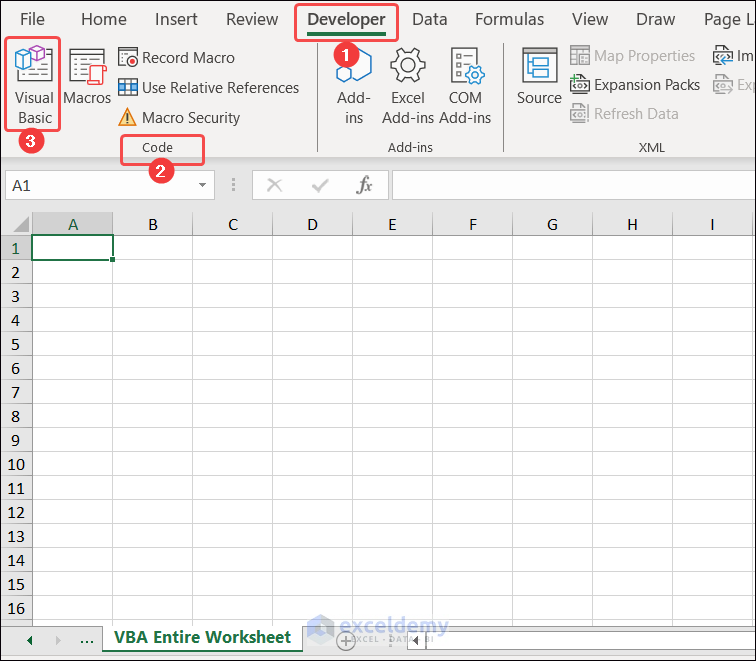
Step 2:
- Select Insert and click Module => Enter the following code in the module => Run.
Sub MakeCellsEqualHeightWidth()

    With Cells(1, 1)
        Cells.RowHeight = .Width
        Cells.ColumnWidth = .ColumnWidth
    End With

End Sub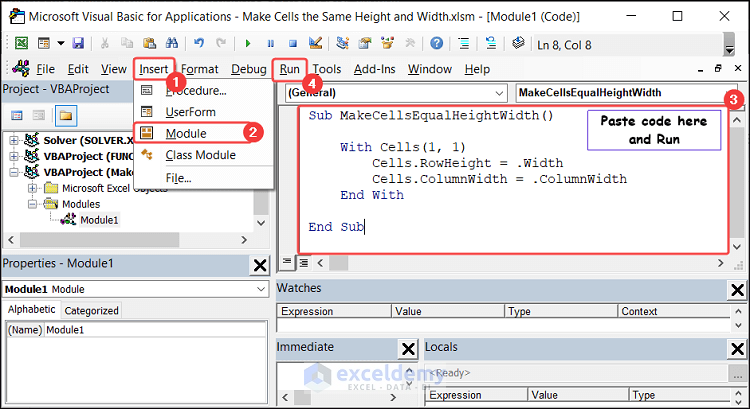
You can also open the VBA Editor window by pressing Alt+F11.
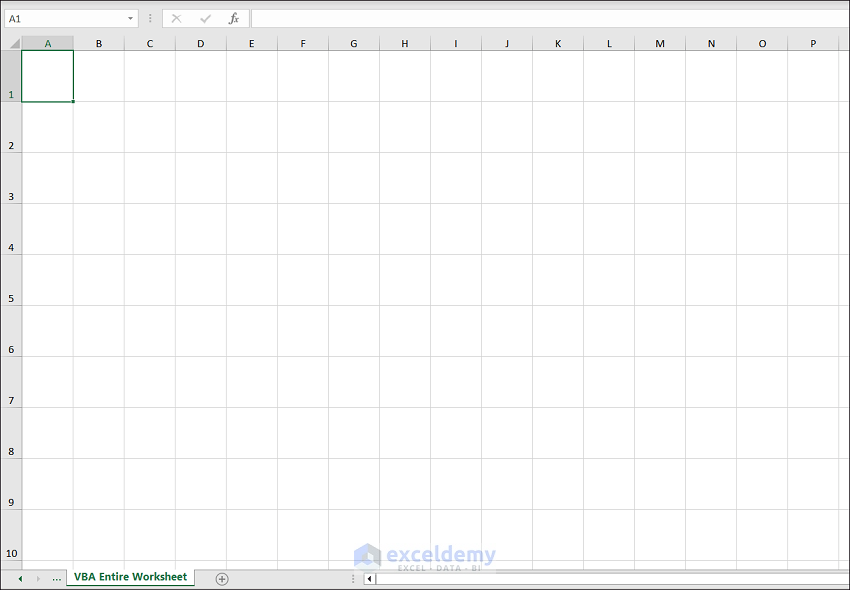
Step 3:
- Go back to the sheet and see the result.
3.2 Same Height and Width for Selected Cells
Consider A4:D7.
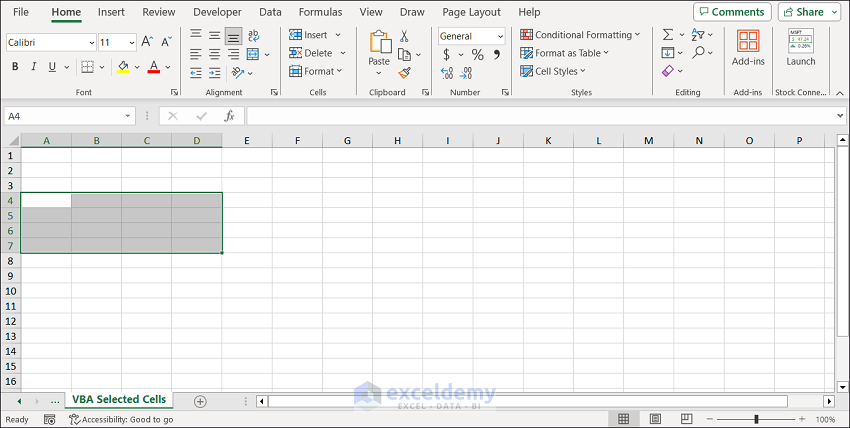
Step 1:
- Select A4:D7 => Go to the Developer tab => Select Visual Basic.
Step 2:
- Select Insert >> click Module => Enter the code below in the module => Run.
Sub EqualizeSelectedRange()

    Dim max_width
    max_width = 0

    Dim selectedRange As Range
    Set selectedRange = Selection

    For Each cell In selectedRange
        If cell.Width > max_width Then
            max_width = cell.Width
        End If
    Next cell

    If max_width > 0 Then

        aspect_ratio = max_width / selectedRange.Cells(1, 1).EntireColumn.ColumnWidth

        For Each cell In selectedRange
            cell.EntireColumn.ColumnWidth = max_width / aspect_ratio
            cell.RowHeight = max_width
        Next cell
    End If

End Sub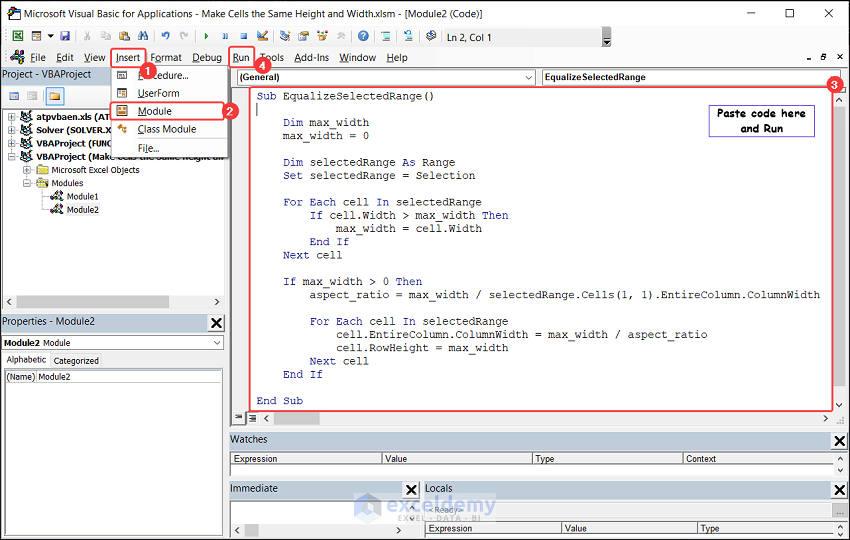
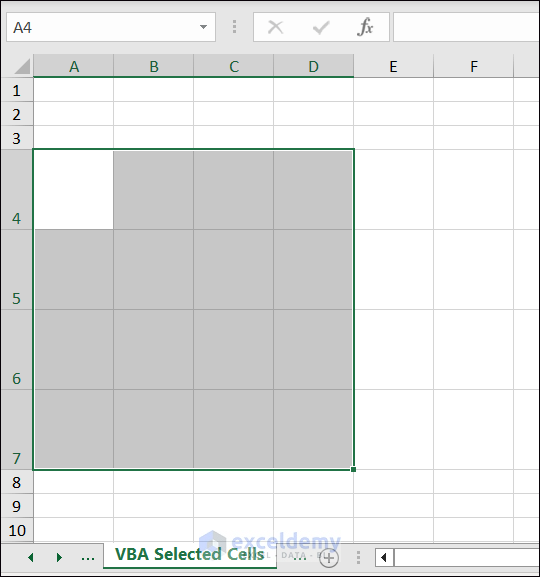
Step 3:
- Go back to the sheet and see the result.
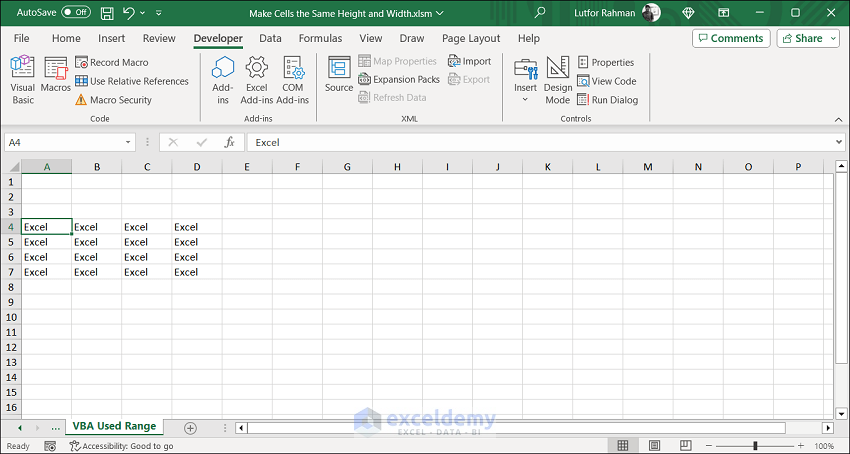
3.3 Same Height and Width for a Used Range
Consider the Used Range A4:D7.
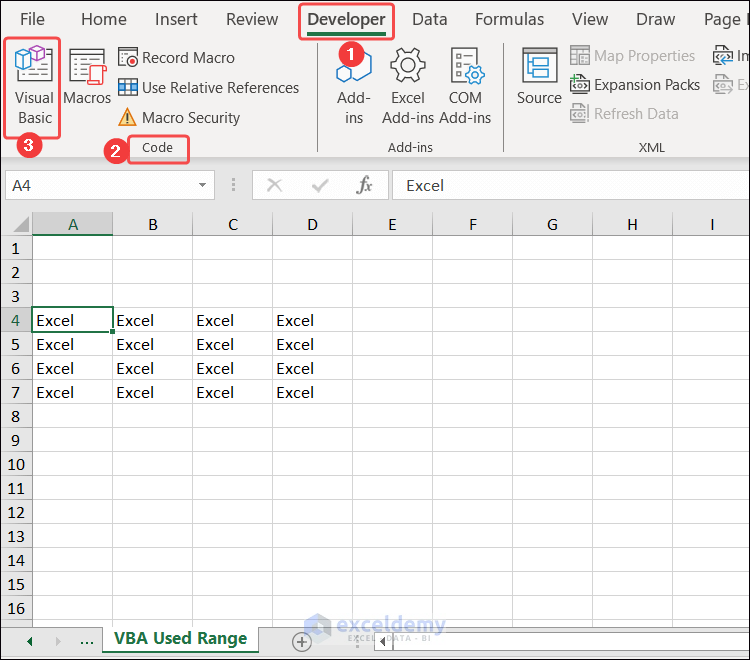
Step 1:
- Go to Developer >> Select Visual Basic.
Step 2:
- Select Insert >> click Module >> Enter the following code in the module >> Run.
Sub equalizeUsedRange()

    Dim max_width
    max_width = 0

    Set ws = ThisWorkbook.ActiveSheet

    For Each cell In ws.UsedRange
        If cell.Width > max_width Then
            max_width = cell.Width
        End If
    Next cell

    aspect_ratio = max_width / ws.Cells(1, 1).EntireColumn.ColumnWidth

    For Each cell In ws.UsedRange
        cell.EntireColumn.ColumnWidth = max_width / aspect_ratio
        cell.RowHeight = max_width
    Next cell

End Sub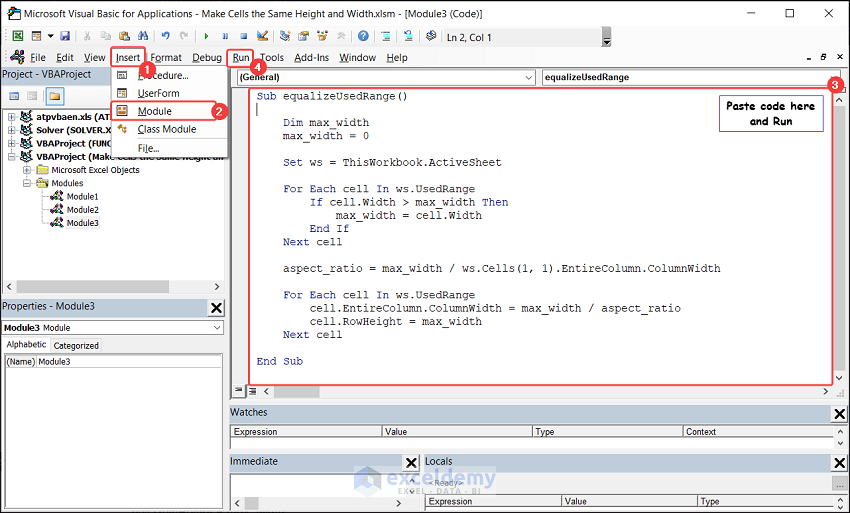
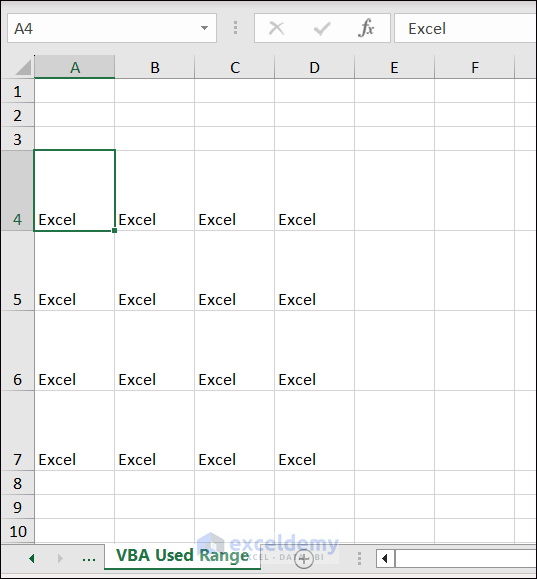
Step 3:
This is the output
Read More: How to Use AutoFit Shortcut in Excel
How to Change Back to Default Cells Height and Width
You can revert cells height and width to default values.
Set all columns in the worksheet to default width, 8.43.
Step 1:
- Click Select All >> Go to the Home tab>> Click Format in Cells.
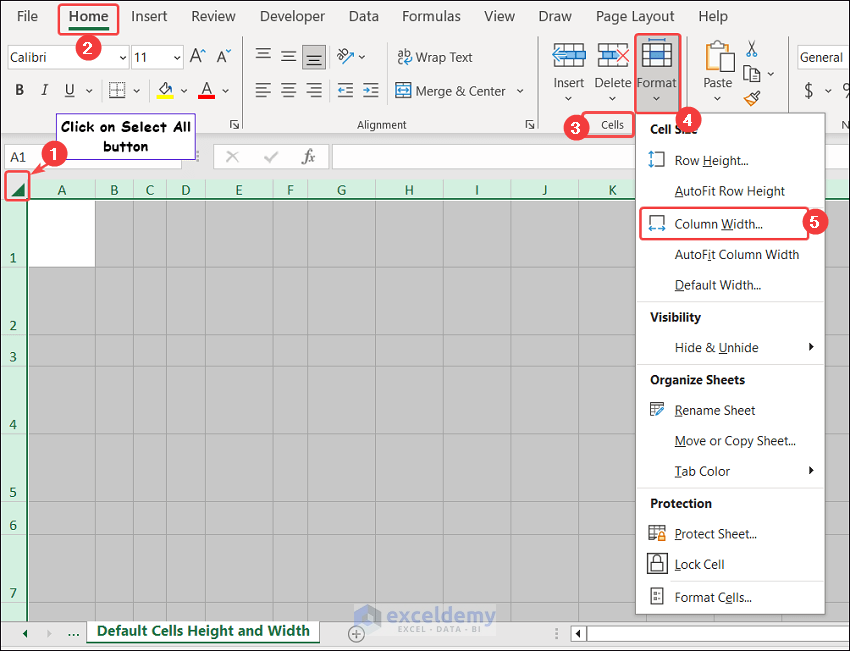
Step 2:
- Click Column Width => Enter 8.43.
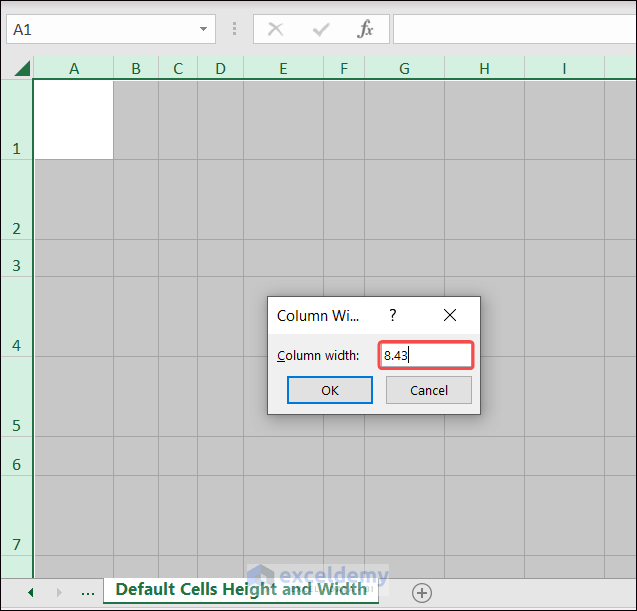
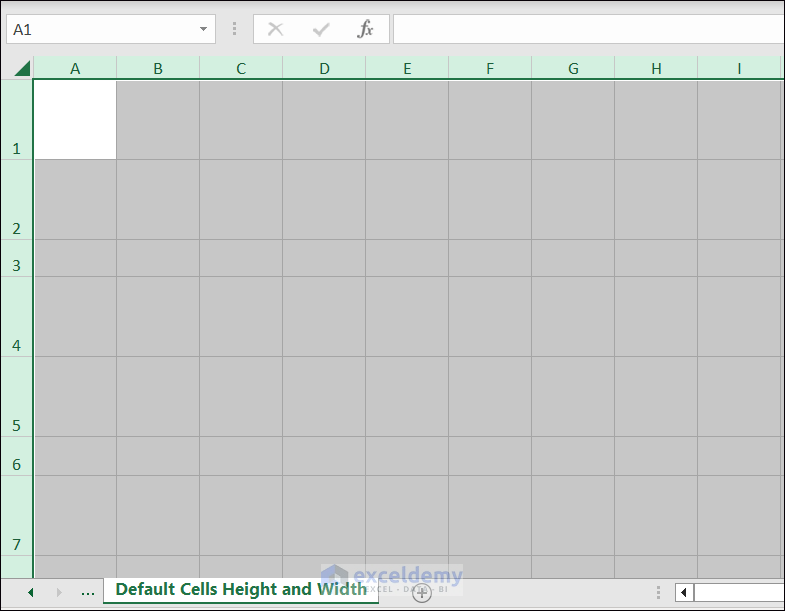
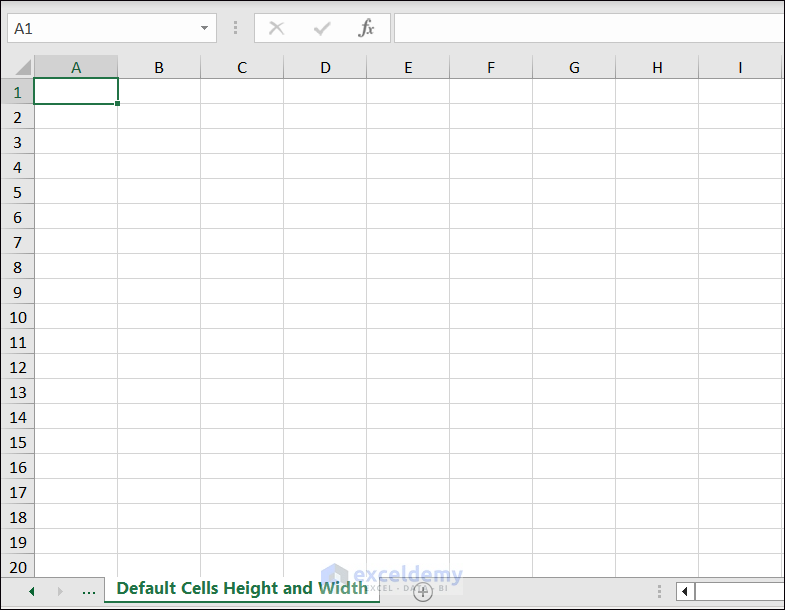
Step 3:
- Click OK to see the result.
Set all rows to the same height,15.
Step 4:
- Go to Format and select Row Height.
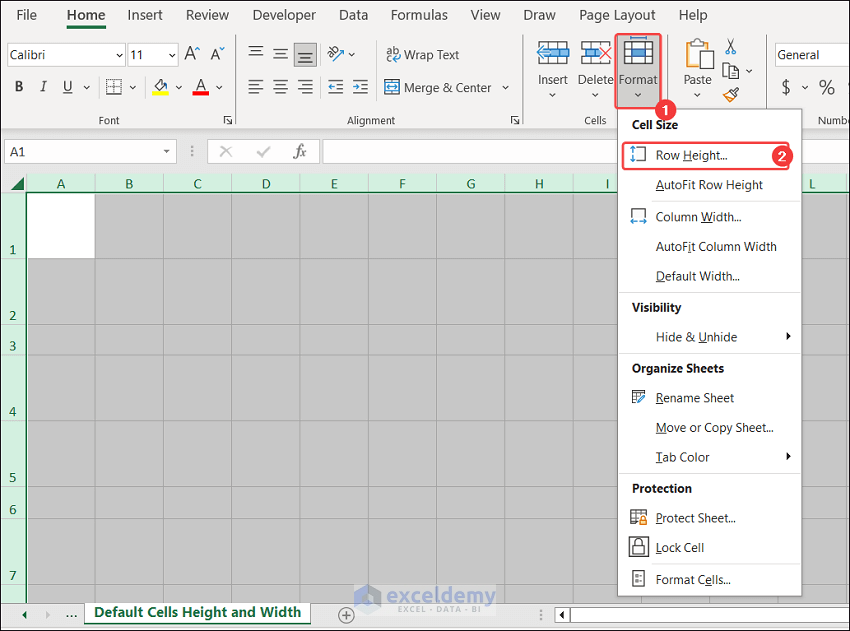
Step 5:
- Click Row Height >> Enter 15.
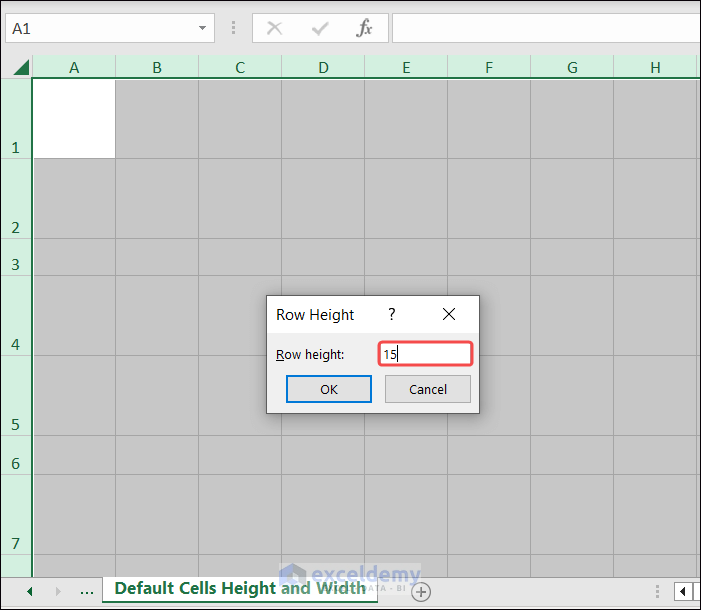
Step 5:
- Click OK to change back to the default values.
Download Practice Workbook
Download the workbook here.
Related Articles
- How to Make a Cell Bigger in Excel
- [Fixed] AutoFit Row Height Not Working for Merged Cells in Excel
- How to Fix Cell Size in Excel
- How to Change Cell Size in Excel
- How to Make Cells Independent in Excel
<< Go Back to Cell Size | Excel Cells | Learn Excel
Get FREE Advanced Excel Exercises with Solutions!
