Method 1 – Apply the Keyboard Shortcuts to AutoFit in Excel
In our dataset, we can apply AutoFit by using the keyboard shortcuts in two ways. The first one is AutoFit row height and another is AutoFit column width.
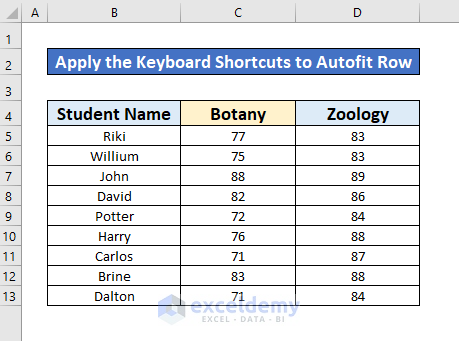
1.1 Use the Keyboard Shortcut to AutoFit Row Height in Excel
Steps:
- Select cell B4 to cell D13.
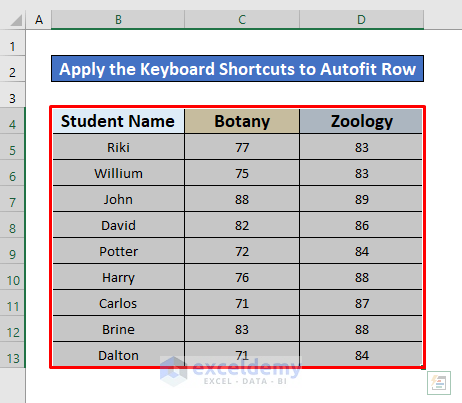
- Press the following keys on your keyboard,
Alt + H + O + A
- Press the buttons simultaneously one after the other.
- After pressing the above four buttons on your keyboard, you’ll get the desired output.
Read More: How to AutoFit in Excel
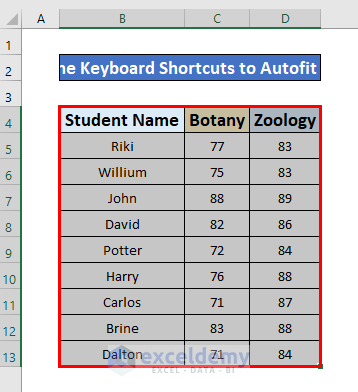
1.2 Perform the Keyboard Shortcut to AutoFit Column Width in Excel
Steps:
- Select cell B4 to cell D13.
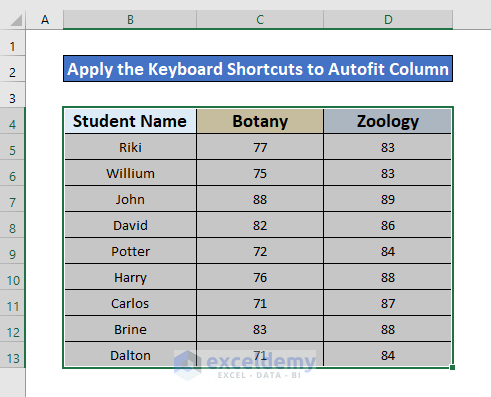
- After selecting the columns, press the following keys on your keyboard:
Alt + H + O + I
- Another keyboard shortcut is:
Alt + O + C + A
- After completing the above process, you will be able to AutoFit column width.
Method 2 – Use the Double Click Option to AutoFit Shortcut in Excel
2.1 AutoFit Row Height in Excel
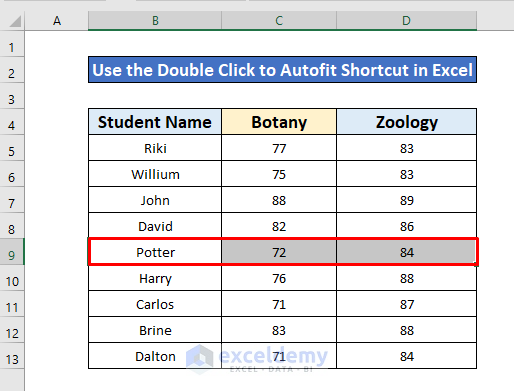
From our dataset, we will AutoFit row 9.
Steps:
- Select row 9.
- Place your cursor on the bottom-left of row 9. The two–directional array sign will pop up.
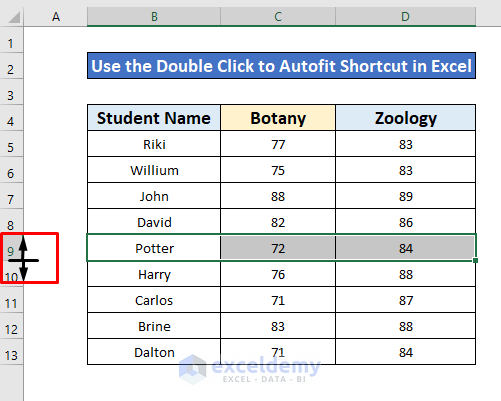
- When a two-directional array sign pops up, double click on your Mouse.
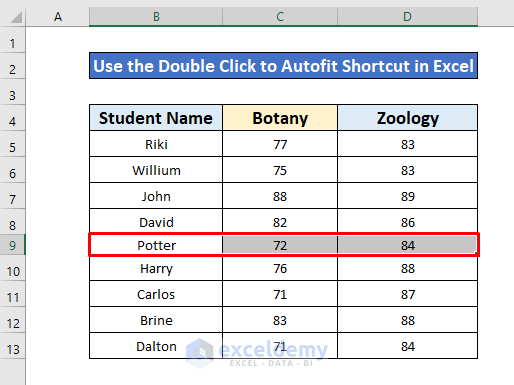
- The result will be as shown in the following image.
Read More: How to Change Cell Size in Excel
2.2 AutoFit Column Width in Excel
Steps:
- Select column D.
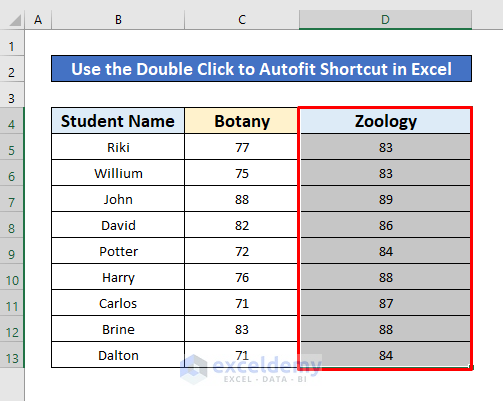
- Place your cursor on the right side of column D. The two-directional array sign will pop up.
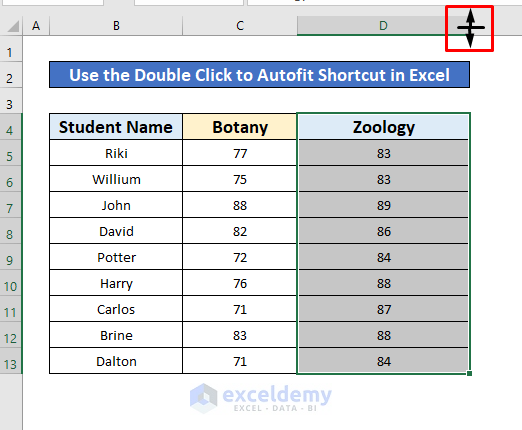
- Double click on your Mouse and you will get your desired output.

Read More: How to Make Excel Cells the Same Height and Width
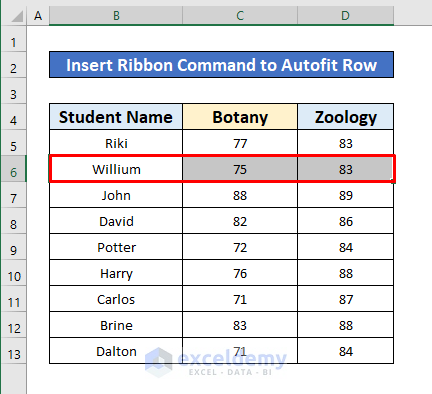
Method 3 – Apply the Ribbon Option to AutoFit Shortcut in Excel
3.1 Use Ribbon Option to AutoFit Row Height in Excel
We’ll AutoFit the row height of row 6.
Steps:
- Select row 6.
- After selecting row 6, from your Home tab, go to,
Home → Cells → Format → AutoFit Row Height
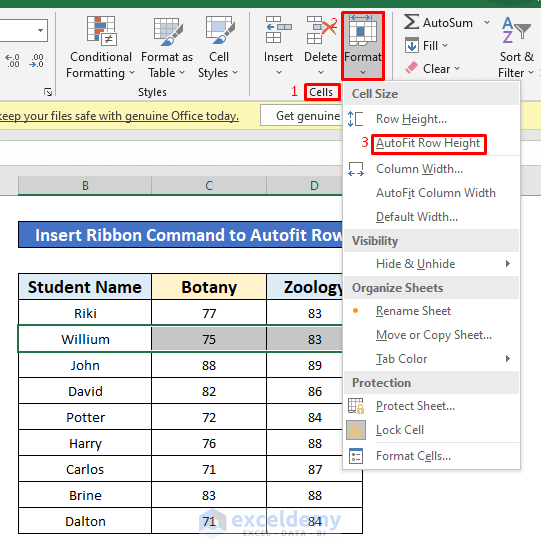
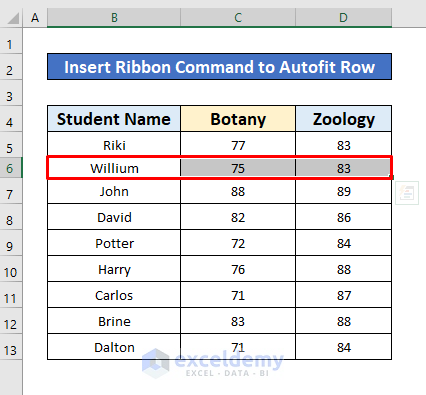
- After clicking on the AutoFit Row Height from the Cell Size window, you will be able to AutoFit row 6.
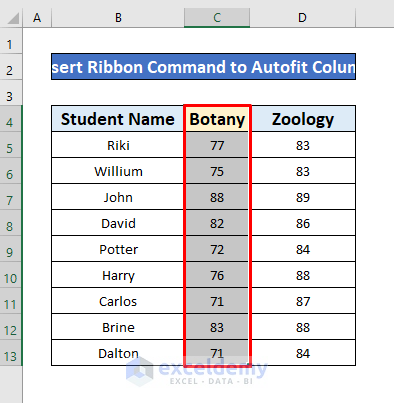
3.2 Apply Ribbon Feature to AutoFit Column Width in Excel
Steps:
- Select column C.
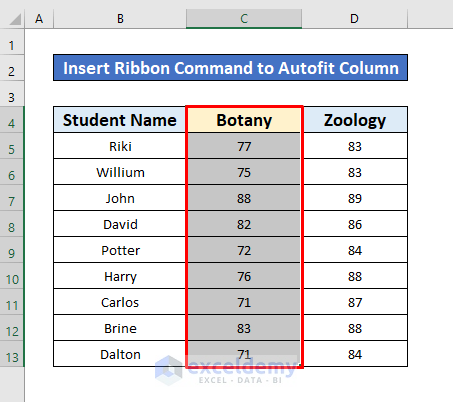
- From your Home tab, go to,
Home → Cells → Format → AutoFit Column Width

- After selecting AutoFit Column Width from the Cell Size window, you will get your desired output.
Download Practice Workbook
Related Articles
- How to Make All Cells the Same Size in Excel
- How to Make a Cell Bigger in Excel
- How to Fix Cell Size in Excel
- [Fixed] AutoFit Row Height Not Working for Merged Cells in Excel
- How to Make Cells Independent in Excel
<< Go Back to Cell Size | Excel Cells | Learn Excel
Get FREE Advanced Excel Exercises with Solutions!

Thank you for this helpful guide! I often struggled with adjusting column widths manually, but the AutoFit shortcut methods you shared will definitely save me a lot of time. Can’t wait to try them out in my next Excel project!
Hello Mate,
You are most welcome. We are glad to hear that the you found the article helpful. The AutoFit shortcut method is really a time saver. Please try this method in your Excel project.
Thanks for your appreciation. Keep learning Excel with ExcelDemy!
Regards
ExcelDemy