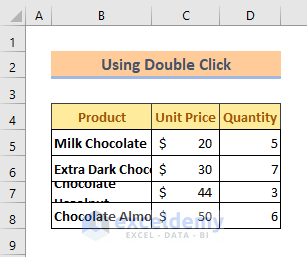
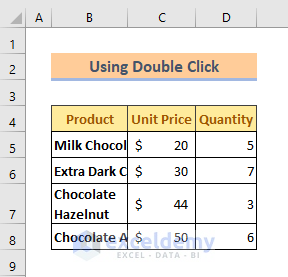
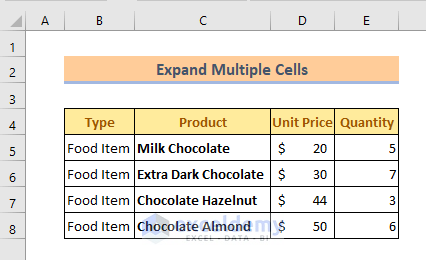
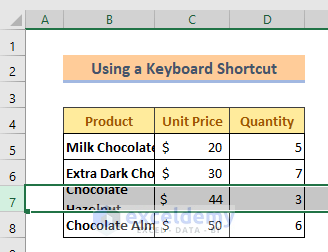
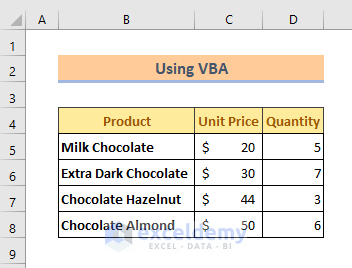
Suppose we have a datasheet, in which we have 3 columns and 5 rows to represent the price and quantity of some chocolates. In some Product Names the text is too long to fit in the cell. We can resolve this easily in a variety of ways, starting with just a double click!.
Method 1 – Double Clicking the Cell Extension Bar
Steps for Column:
➤ Point your mouse to the Extension Border situated between the column headings, for example between Columns B and C.
➤ When the mouse pointer changes to a left-right arrow, then just double-click it.
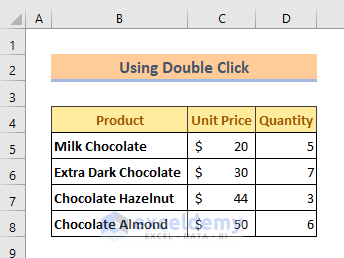
The column width auto-adjusts to fit all the text.
Steps For Row:
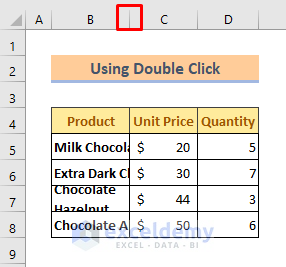
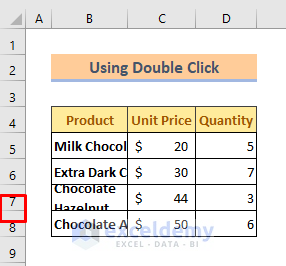
➤ Point your mouse to the extension bar between two-row numbers (here, rows 7 and 8).
➤ When the mouse pointer changes to an up-down arrow, then just double-click it.
Row height adjusts to fit all the text vertically.
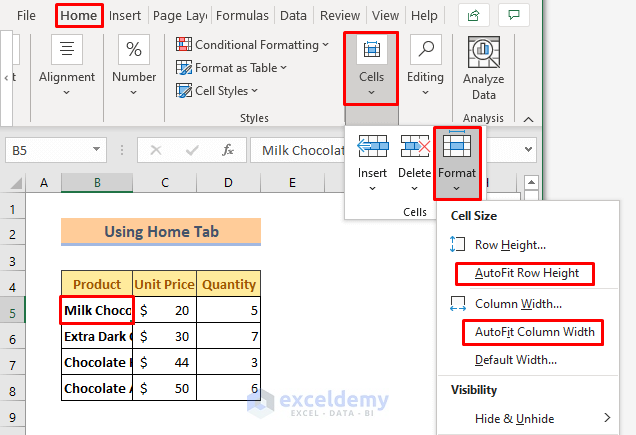
Method 2 – Using AutoFit Command
We can perform the same operation using the AutoFit option from the Home tab.
Steps:
➤ Select the row/column where you want to apply AutoFit.
➤ Click Home > Cells > Format > AutoFit Row Height / AutoFit Column Width.
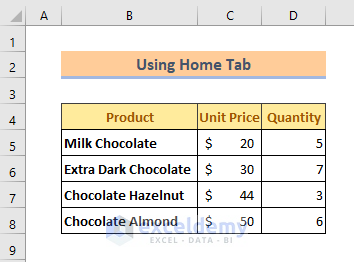
The text now fits in the cells.
Read More: How to Use AutoFit Shortcut in Excel
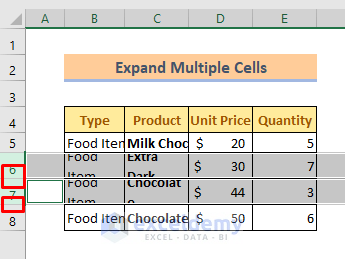
Method 3 – Expanding Multiple Cells
For multiple cells, we can use the previous two methods simultaneously.
Steps For Column:
➤ Point your mouse to the extension bar between the selected columns.
➤ When the mouse pointer changes to a left-right arrow, double-click it.
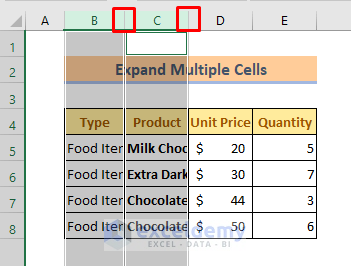
The cells are expanded.
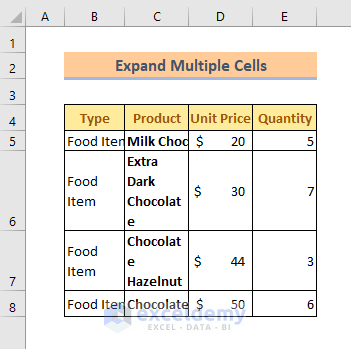
Steps For Row:
➤ Point your mouse to the extension bar between the selected rows.
➤ When the mouse pointer changes to an up-down arrow, double-click it.
Both of the rows are now fitted with text.
Read More: How to Make All Cells the Same Size in Excel
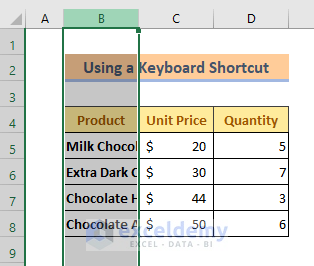
Method 4 – Using a Keyboard Shortcut
Steps For Column:
➤ Select the column.
➤ Use the keyboard shortcut ALT + H + O + I.
Steps For Row:
➤ Select the row.
➤ Use the keyboard shortcut ALT + H + O + A.
Read More: How to Make Cells Independent in Excel
Method 5 – Using Excel VBA
Steps:
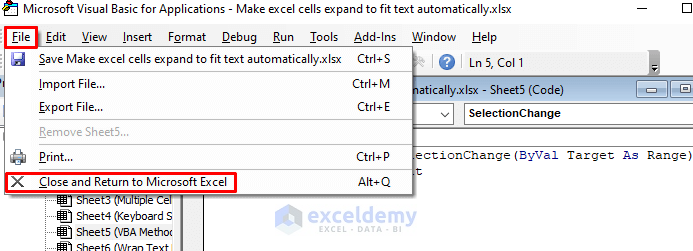
➤ Right-click on the sheet title name.
➤ Press the View Code option.
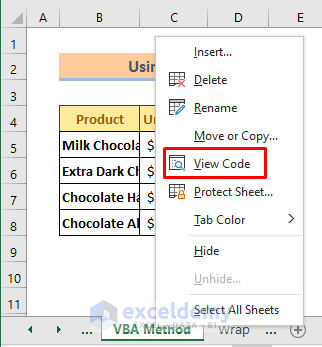
A VBA window will open up.
➤ Select Worksheet from the drop-down options.
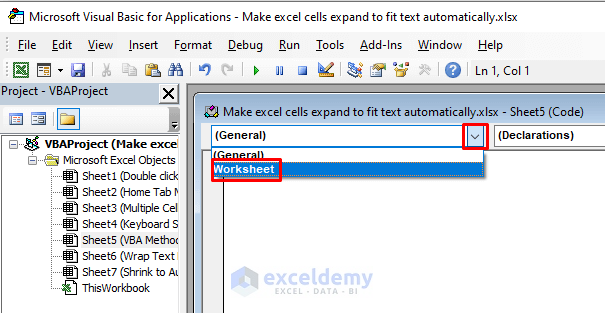
➤ Enter the codes given below.
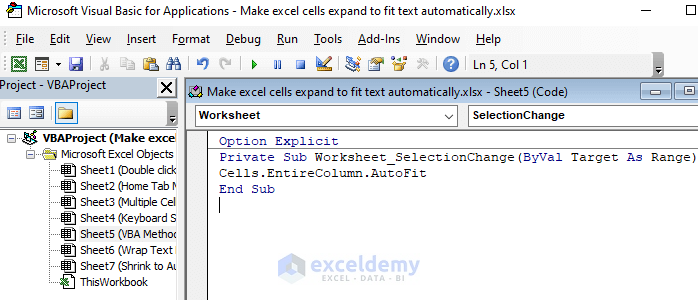
Option Explicit
Private Sub Worksheet_SelectionChange(ByVal Target As Range)
Cells.EntireColumn.AutoFit
End Sub
➤ Click File > Close and Return to Microsoft Excel.
Now press anywhere in the Excel sheet, and all cells will be autofitted. Any new text that you input will likewise be automatically autofitted.
Read More: How to Make a Cell Bigger in Excel
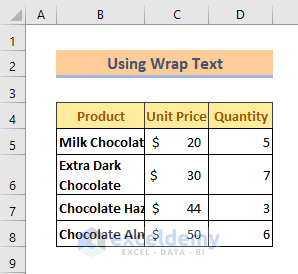
Method 6 – Using Wrap Text Command
An alternative method to make Excel cells expand to fit text automatically.
Steps:
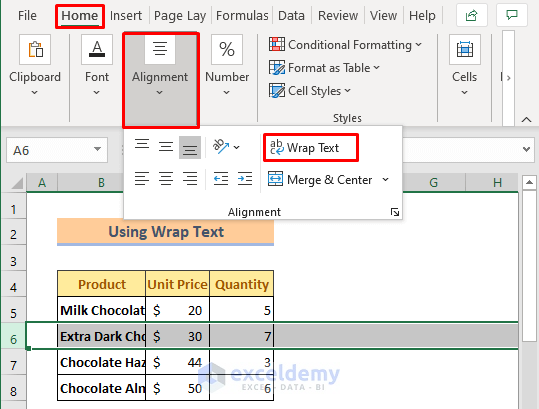
➤ Select the cell, then click Home > Alignment > Wrap Text.
The text is displayed in two lines.
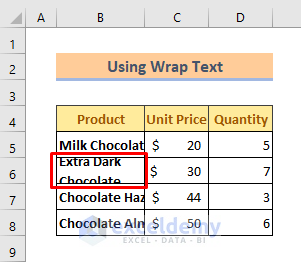
➤Double-click on that row, and it will be fitted.
Read More: How to Make Excel Cells With The Same Height and Width
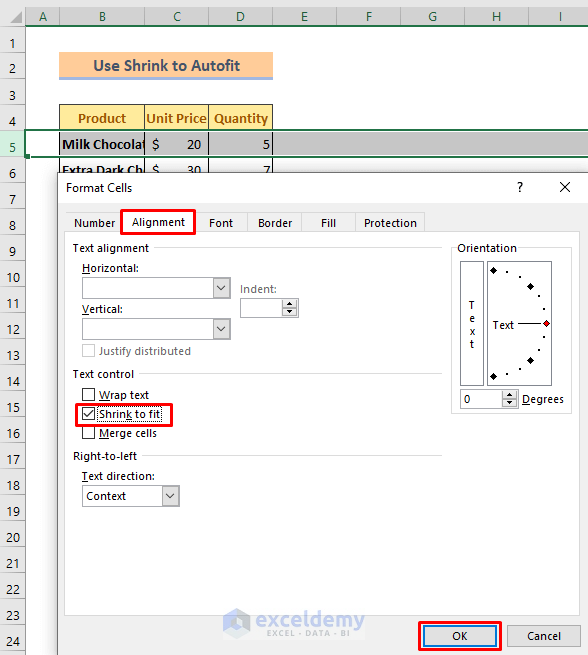
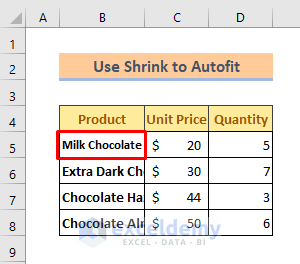
Method 7 – Using Shrink to Fit
Another approach is to shrink the text to autofit to cell dimensions.
Steps:
➤ Select the cells in which you want to shrink the text.
➤ Press Ctrl+1. A dialog box will open up.
➤ Click Alignment > Shrink to Fit > OK.
The text in the cell is now shrunk to fit.
Download Practice Book
Related Articles
- How to Change Cell Size in Excel
- How to Fix Cell Size in Excel
- [Fixed] AutoFit Row Height Not Working for Merged Cells in Excel
<< Go Back to Cell Size | Excel Cells | Learn Excel
Get FREE Advanced Excel Exercises with Solutions!

Hi
I have tried all of your solutions but on my spreadsheet (office 365) with merged cells none have worked
Hello TONIA.
Thanks for your feedback. Autofit doesn’t work in a protected sheet, so please check it. If it remains unprotected then your problem is a quite particular type. So if you would share your workbook with us, we hope to find out the problem and give you a possible solution.