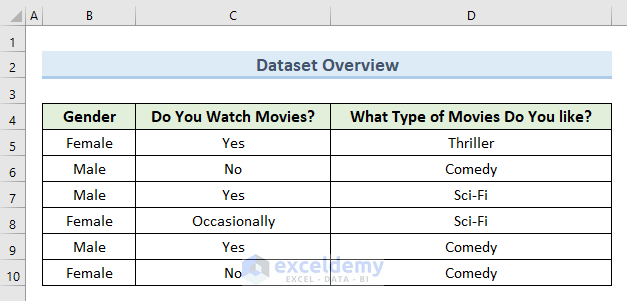
In the following dataset, we have qualitative data for two questions from a survey about people’s preferences in movies. We will convert this qualitative data to quantitative data.
Method 1 – Use the Excel Find and Replace Options to Convert Qualitative Data to Quantitative Data
Steps:
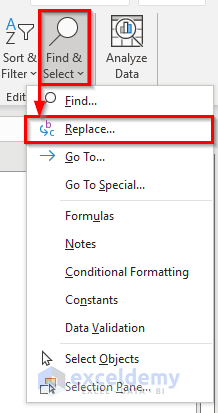
- Go to the Home tab.

- Select Replace from the Find and Replace option of the ribbon.
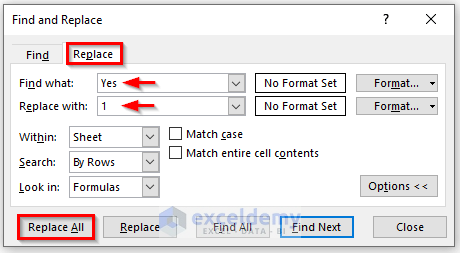
- A new dialogue box named Find and Replace will appear.
- Type Yes in the Find what field.
- Type 1 in the Replace with field.
- Click on the Replace All button.
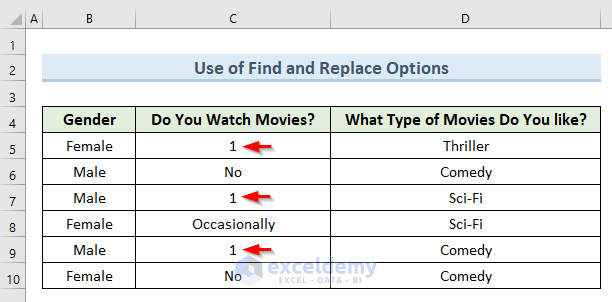
- Here’s the result of the first change.
- Type No in the Find what field and type 2 in the Replace with field, then click Replace All.

- The qualitative value No converts into quantitative value 2.
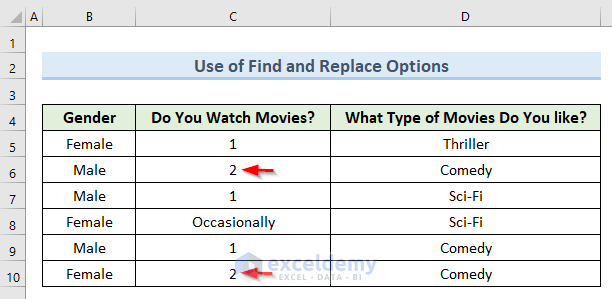
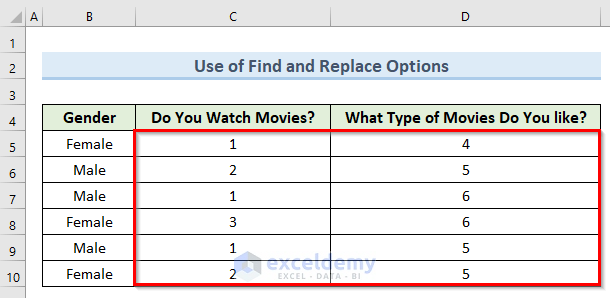
- Similarly, put 3, 4, 5, and 6 in the Replace with field for the values Occasionally, Thriller, Comedy, and Sci–Fi, respectively, in the Find what field, and apply Replace All.
- Here’s the final result.
Read More: How to Analyse Qualitative Data from a Questionnaire in Excel
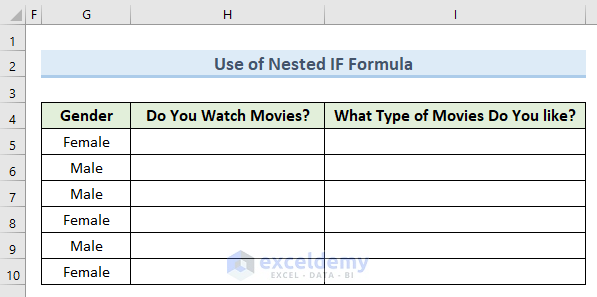
Method 2 – Convert Qualitative Data to Quantitative Data with a Nested IF Formula
We’ll use the same starting dataset and make a new table in the G:I range to put the new data.
Steps:
- Select cell H5.
- Use the following formula in that cell:
=IF(C5="Yes",1,IF(C5="NO",2,IF(C5="Occasionally",3,0)))- Press Enter.
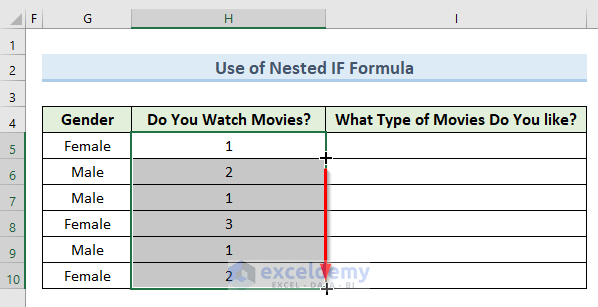
- In cell H5, we get the value 1.

- Drag the Fill Handle tool from cell H5 to H10.
- Here’s the result.
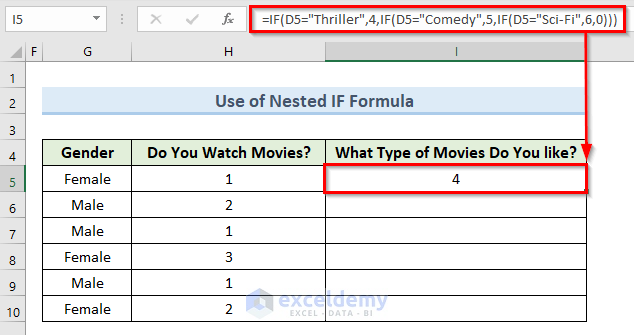
- Select cell I5.
- Insert the following formula in that cell:
=IF(D5="Thriller",4,IF(D5="Comedy",5,IF(D5="Sci-Fi",6,0)))- Hit Enter.
- We get the value 4 in cell I5.
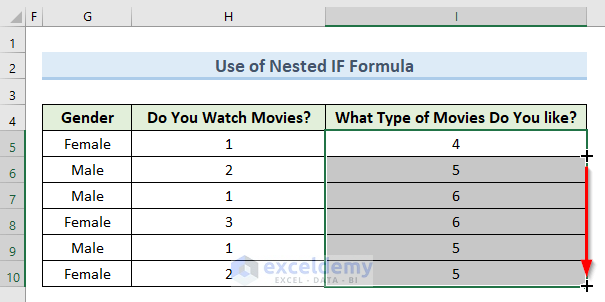
- Drag the Fill Handle from cell I5 to I10.
- Here are the results.
Read More: How to Analyze Qualitative Data in Excel
Method 3 – Apply VBA to Convert Qualitative Data to Quantitative Data in Excel
Steps:
- Go to the Developer tab.
- Select the option Visual Basic from the ribbon.

- A new VBA window will appear.
- Right-click on Sheet4 (VBA).
- Select Insert and Module.
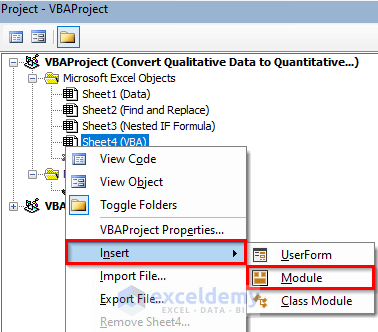
- This will open a blank VBA code window.
- Use the following code in that blank code window:
Sub Use_VBA()
Range("B4:D10").Replace What:="Yes", Replacement:="1", MatchCase:=True
End Sub- Click on the Run button.
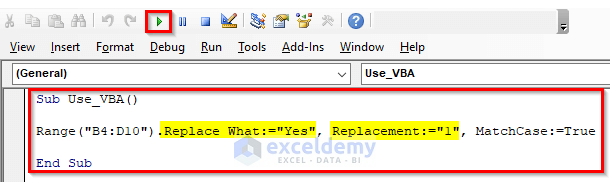
- This will replace Yes with 1.
- We can see the result in the following image.
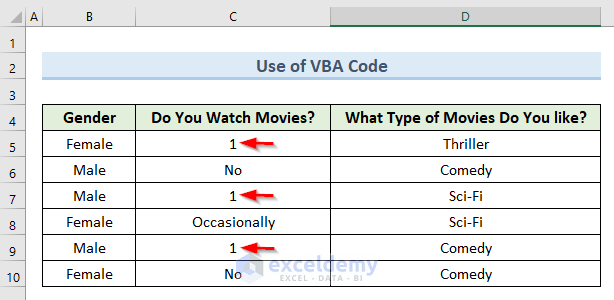
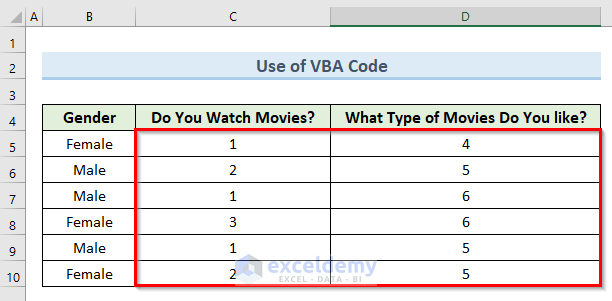
- In the VBA code, type 2, 3, 4, 5, and 6 in the ‘Replace with’ field for the values No, Occasionally, Thriller, Comedy, and Sci–Fi in the ‘Find what’ field.
Read More: How to Analyze Quantitative Data in Excel
Download the Practice Workbook
Related Articles
- How to Analyze Raw Data in Excel
- How to Analyze Large Data Sets in Excel
- How to Analyze Text Data in Excel
- How to Analyze Time Series Data in Excel
- How to Analyze Sales Data in Excel
- How to Analyze Likert Scale Data in Excel
- How to Analyze qPCR Data in Excel
<< Go Back to Data Analysis with Excel | Learn Excel
Get FREE Advanced Excel Exercises with Solutions!
