People like to have their things decorated. Header and Footer are one of the most amazing features to decorate Microsoft Excel worksheets. If you want to use Header and Footer, I must assure you that you have found the right place to fulfill your purpose. In this article, I am going to explain 3 amazing ways to use Header and Footer in Excel. I hope this article will be very helpful for all of you guys.
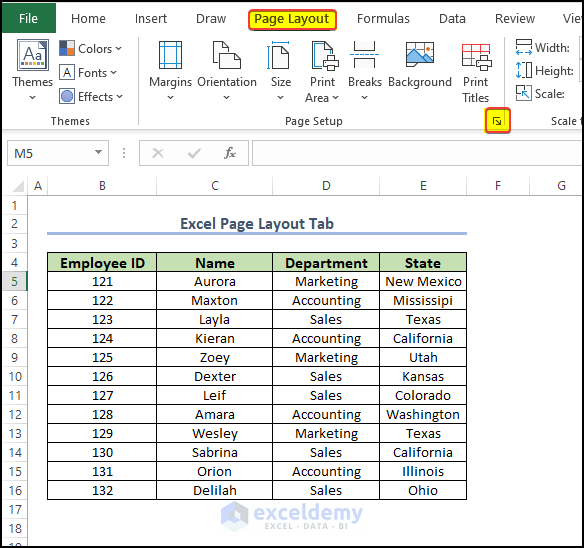
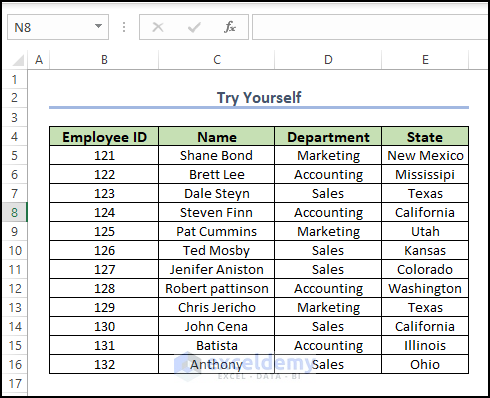
For more clarification, I am going to use a dataset where I have arranged the information of a company’s employees in the Employee Id, Name, Department, and State columns. And will use that dataset to demonstrate how we can use the insert tab to add the Header and Footer in Excel.
What Are Header and Footer in Excel?
A Footer is a text that is positioned at the bottom of a page, while a Header is text that is positioned at the top of a page. Usually, details about the document, such as the title, chapter heading, page numbers, and creation date, are inserted in these spaces.
Advantages of Using Header and Footer in Excel
- Consistency: By using headers and footers, you can provide consistent information throughout the workbook, such as the title, date, and page numbers. This makes the document more professional-looking and easier to read.
- Space-saving: Headers and footers can help save space on the worksheet. You can add repetitive information, such as column headings or footnotes, to the header or footer instead of repeating them on every page.
- Professionalism: Using headers and footers can enhance the appearance of your workbook and make it look more professional.
- Compliance: Some industries or organizations have specific requirements for the information that must be included in headers and footers. By using headers and footers, you can ensure compliance with these requirements.
- Customization: You can customize the content of the headers and footers to suit your needs. You can add text, images, and other elements to create a header or footer that meets your specific requirements.
- Ease of use: Headers and footers are easy to set up and use in Excel. You can quickly add, edit, or remove headers and footers as needed, making it a convenient feature to use.
How to Use Header and Footer in Excel: 3 Quick Methods
Below we are going to present 3 separate methods using which you can enter and edit the Header and Footer in the Excel worksheet in the Excel. Using them can be a great addition to the worksheet as they can improve the worksheet’s clarity and also make the worksheet more user-friendly. In order to avoid any compatibility issues, try to opt for the Excel 365 edition.
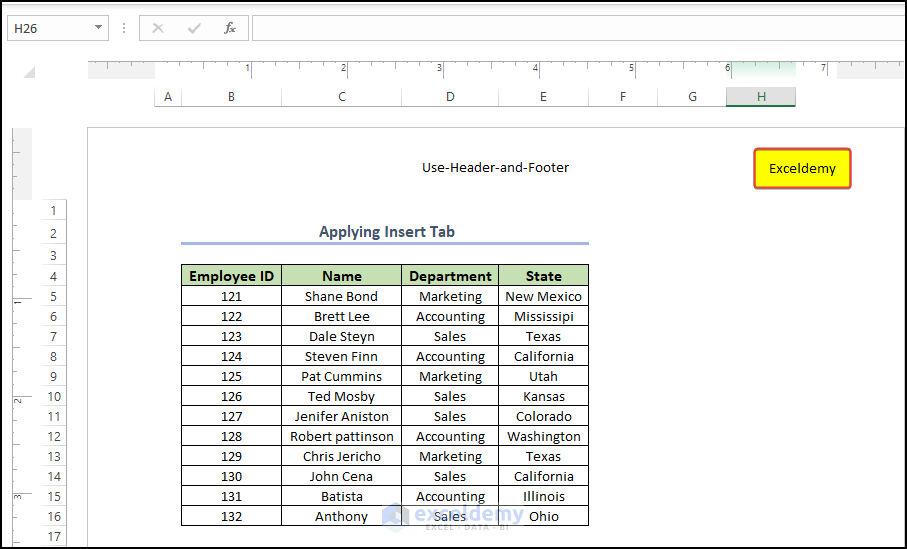
1. Applying Insert Tab to Use Header and Footer
In terms of talking about easy ways to use Header and Footer, the use of the Insert tab is just one of a kind. You just need to follow the following steps to do so.
Steps:
- First of all, go to the Insert
- Then, click on Text from the ribbon.
- Pick the Header & Footer option.
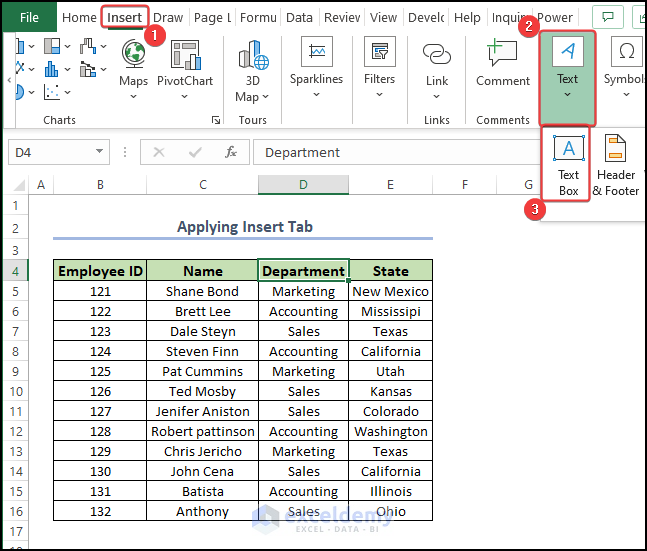
- You will be able to see the Header option at the top of the page and the Footer at the down.
- After applying the Insert tab to have Header and Footer options, you can customize them in two ways.
- Inserting Header and Footer Manually.
- Using Preset Feature
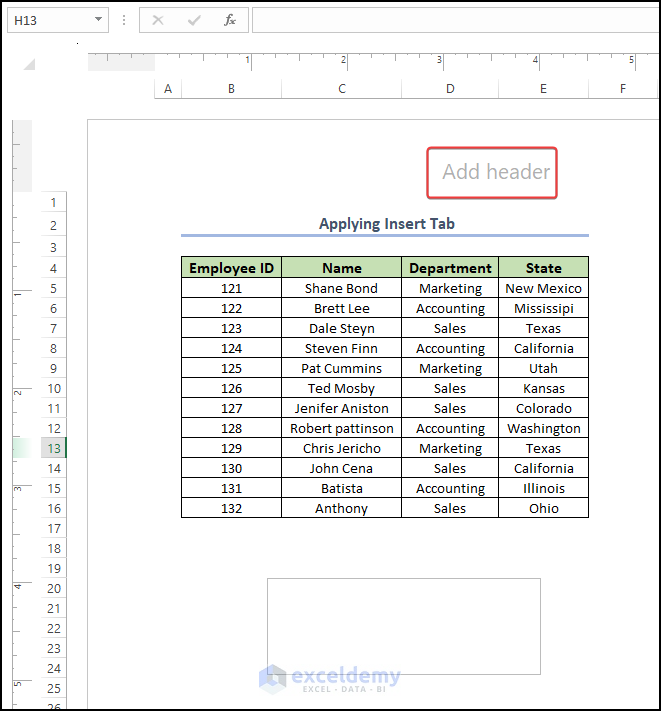
1.1. Inserting Header and Footer Manually
You have to insert the Header and Footer of your own choice and with your own effort. In this way, you can decorate the Header and Footer according to your needs.
Steps:
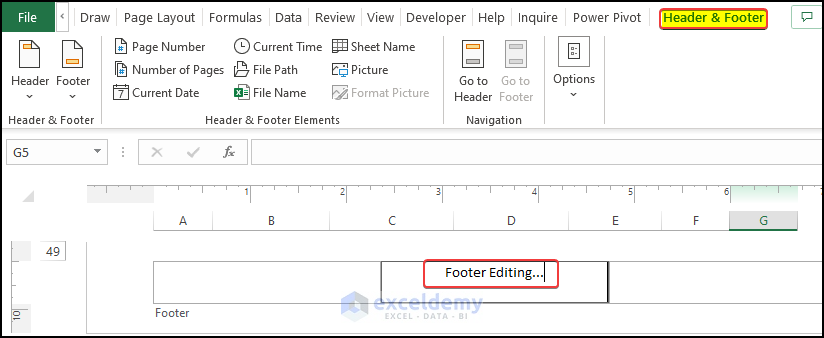
- Click on the Header
- Next, go to the Header & Footer option.
- Then, from the ribbon, there will be some options in the ribbon with which you can customize your header.
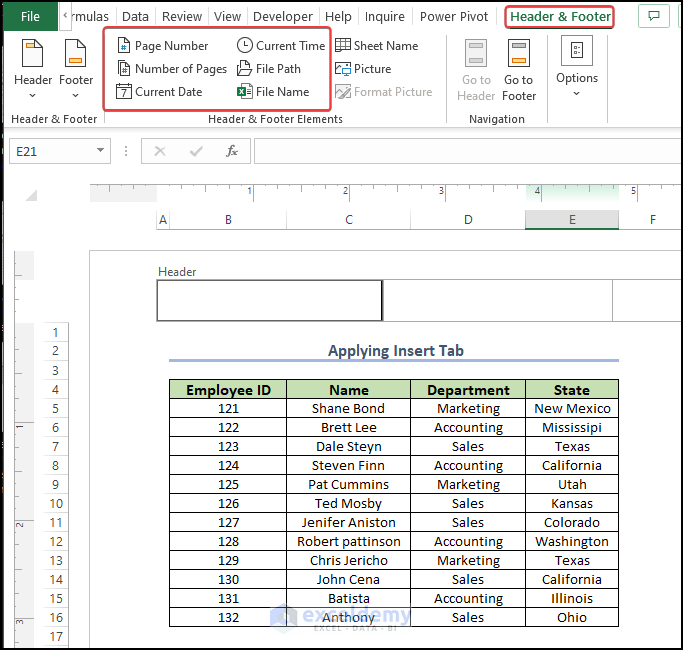
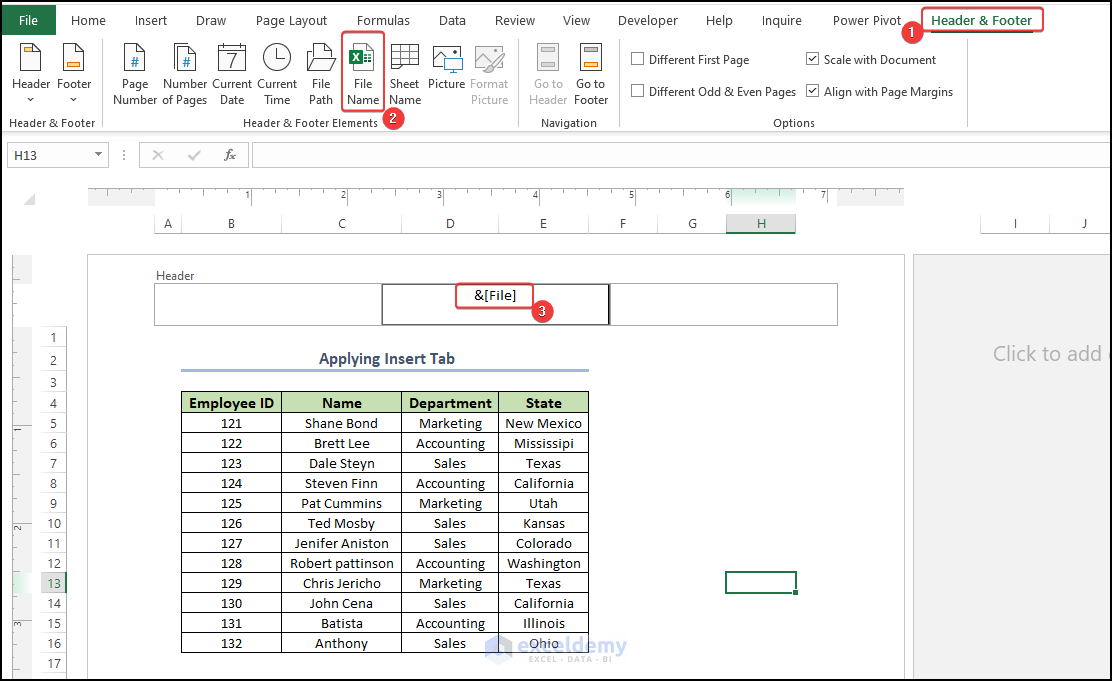
- In my case, I have decided to add a File Name in the middle of the Header. So, I select File Name from the ribbon.
- Thus, the File name is added as a Header.
- As it is a manual process, you can just write down what you want in the I input SOFTEKO in the last section of the Header. So, I write it down using the keyboard keys.
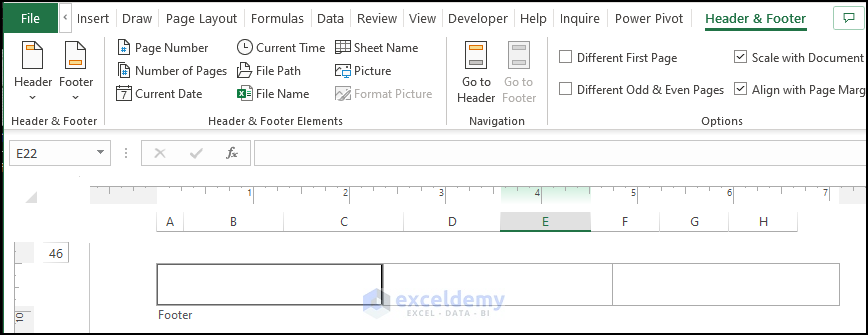
- To customize the Footer, click on Go to Footer from the ribbon.

- You can add the Footer following the same ways of adding the Header.
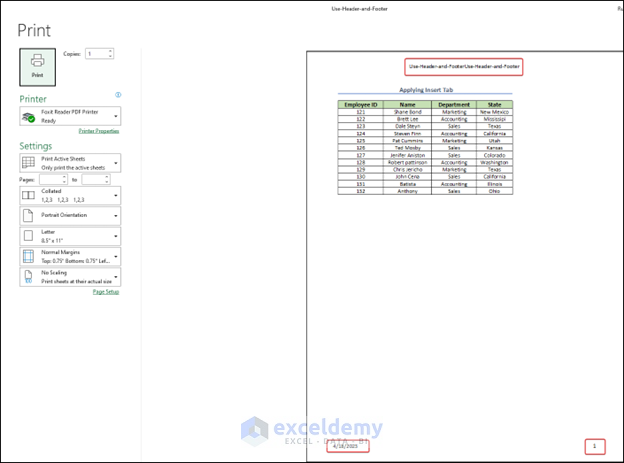
- For demonstration purposes, if we try to show the header and the footer in the worksheet using the print preview, then we can have an idea of how the sheet will look when it gets out for print.
Read More: How to Edit Footer in Excel
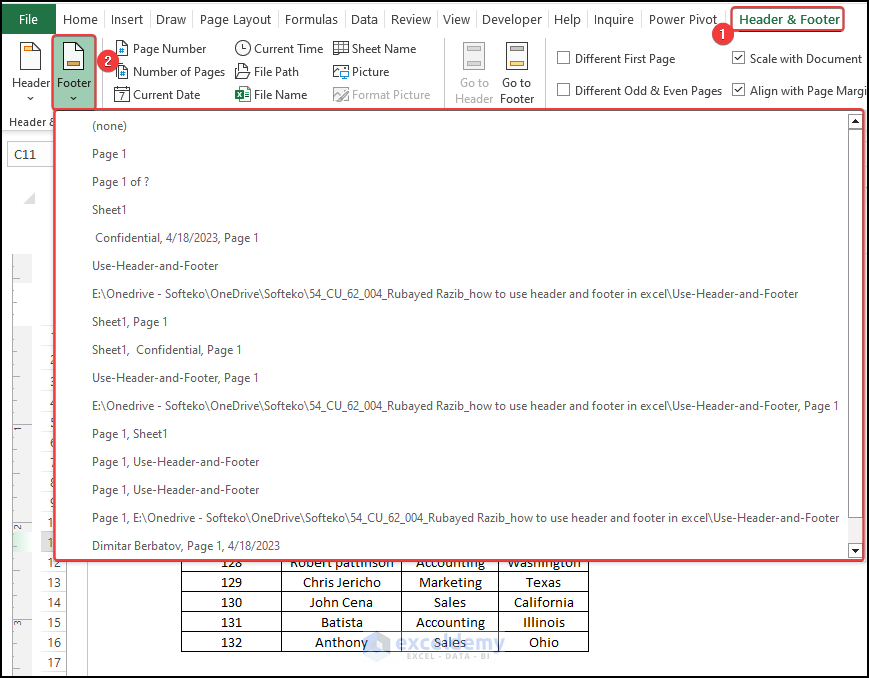
1.2 Using Preset Feature
There are some inbuilt features to add as a Header and Footer. We can use them too.
Steps:
- Firstly, click on the Header
- Next, go to the Header & Footer
- Select the Header feature.
- After that, there will appear some preset features. You can choose according to your choice.
- Similarly, you can click on the Footer option from the ribbon to add the preset footer.
2. Use Header and Footer with Excel Page Layout Tab
We can also use the Page Layout tab to add a Header and Footer.
Steps:
- First of all, go to the Page Layout
- Then, click on the extended button of the Page Setup group from the ribbon.
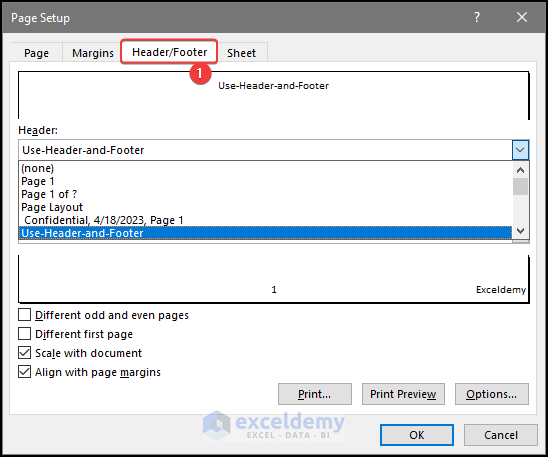
A Page Setup wizard will appear.
- Now, click on the Header/Footer
- From the Header box, you can select a header from the available options.
- Alternatively, you can also click on Custom Header.
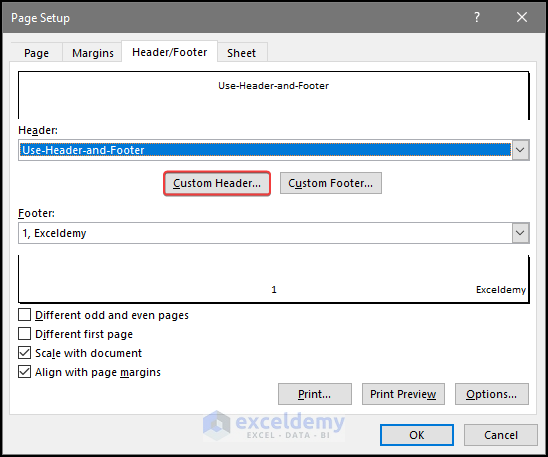
- A Header box will appear. There will be three sections where you can write the things you want in the left, center, and right sections.

- Similarly, you can select from the preset options as a footer from the Footer box.
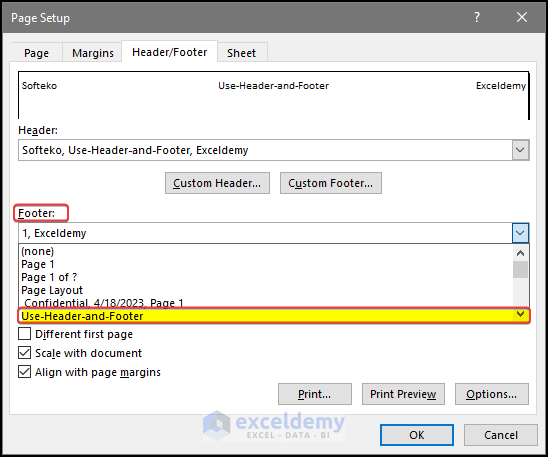
- Alternatively, you can customize your footer similar to the header customization process from the Customize Footer option.
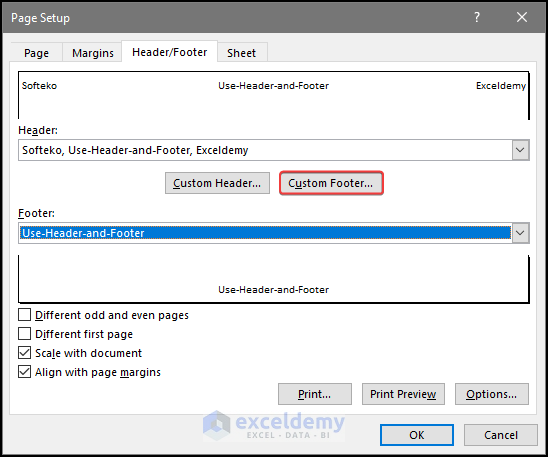
- In that custom footer, option enter your desired footer title and footer text and then press OK.

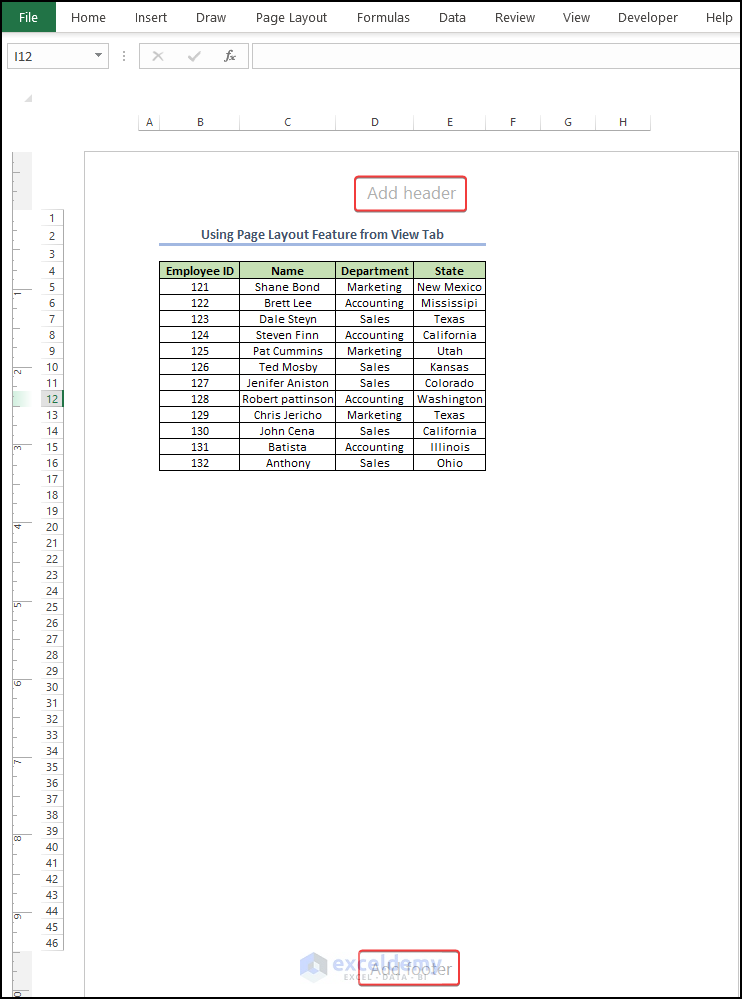
3. Using Page Layout Feature from View Tab
We can also use the Page Layout tab under the View tab to use Header and Footer.
Steps:
- Firstly, click on the View
- Then, select Page Layout from the ribbon.
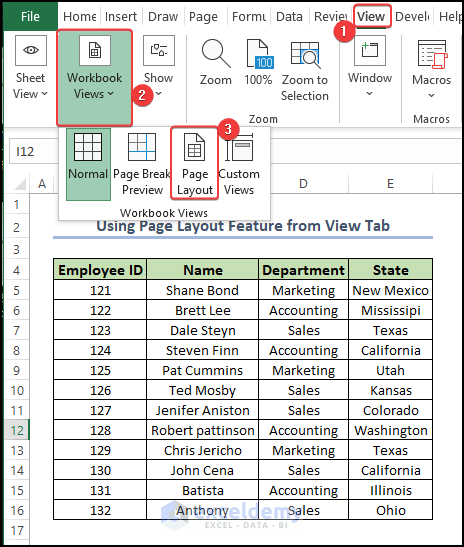
- Then, you will have the header option at the top and the footer option at the bottom. You can customize the Header and Footer according to your preferences.
How to Remove Header and Footer from Excel Sheet
You can simply remove the added Header and Footer too. For the removal of the Header, you just need to go to the Header option from the Header and footer tab and select (none). Thus, your Header will be removed.
Similarly, select (none) from the Footer option to remove the added Footer.
How to Assign Page Number in Excel Header or Footer Text?
Assigning a page in the header and footer is quite easy. The page addition is part of the Header and Footer property in Excel
Steps
- Select the header section and then hover over the Header and Footer Elements group.
- Then click on the Page Number
- You can see that the page number tag is now showing in the header right section.
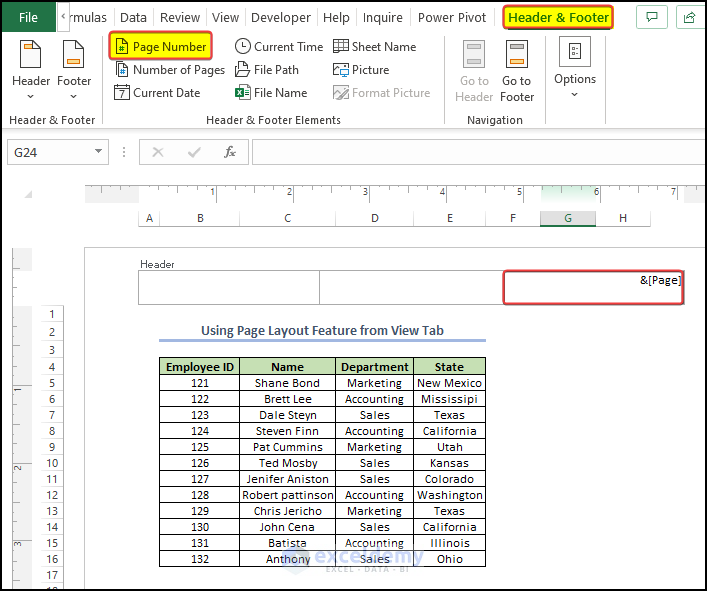
- After you get out of the header editing section, you will notice that the page number is now showing at the top of the header title.

Practice Section
For more expertise, you can practice here.
Frequently Asked Questions
How to Add Header in Excel in Every Page?
Shortcut Key for Header and Footer in Excel?
Unfortunately, there is no built-in header or footer shortcut key for the Header or Footer in Excel. You can use the screen reader functionality from Microsoft instead.
How to Edit a Footer in Excel?
- Open your Excel workbook and click on the “Insert” tab in the ribbon at the top of the screen.
- Click on the “Header & Footer” button in the “Text” section.
- In the “Header & Footer Tools” section of the ribbon, click on the “Footer” button.
- In the footer section, you can edit the existing text or delete it and add your own text. You can also insert page numbers, the current date or time, and other information using the buttons in the “Header & Footer Elements” section of the ribbon.
- When you are finished editing your footer, click on the “Close Header and Footer” button in the “Close” section of the ribbon.
- The footer you edited will now appear on every page of your Excel workbook. To preview how it will look when printed, click on the “File” tab in the ribbon, select “Print,” and then click on the “Print Preview” button.
Things to Remember
- Customize the header and footer: Excel offers a variety of options to customize the header and footer, including the ability to add text, images, page numbers, dates, and time stamps. Use these options to add the desired information and format it appropriately.
- Use different headers and footers for different sections: You can use different headers and footers for different sections of a workbook. For example, you might want to use a different header or footer for the first page of a report than you do for subsequent pages. To do this, use the “Different First Page” option in the Header & Footer Tools Design tab.
- Be aware of margin settings: Headers and footers take up space in the margins of your printed pages. Be sure to set your margins accordingly to avoid any overlapping of your content.
- Consider page orientation: Depending on your page orientation, headers, and footers may appear on the top or bottom of the page. Be aware of this when designing your headers and footers, as you may need to adjust the layout depending on the page’s orientation.
- Preview before printing: Always preview your workbook before printing to make sure that the headers and footers are displaying the correct information and are formatted correctly. This will help you catch any errors before you waste paper and ink.
Download Practice Workbook
Conclusion
In the end, I would like to add that I have tried to explain 3 amazing ways on how to use Header and Footer in Excel. Among those methods, using the Insert tab is the most convenient one for the user. Alongside we also discussed how we can remove the header and footer and also assign page numbers to the worksheet. It would be a matter of great pleasure for me if this article could help any Excel user even a little. For any further queries, comment below.
Related Articles
<< Go Back to Header and Footer | Page Setup in Excel | Print in Excel | Learn Excel
Get FREE Advanced Excel Exercises with Solutions!
