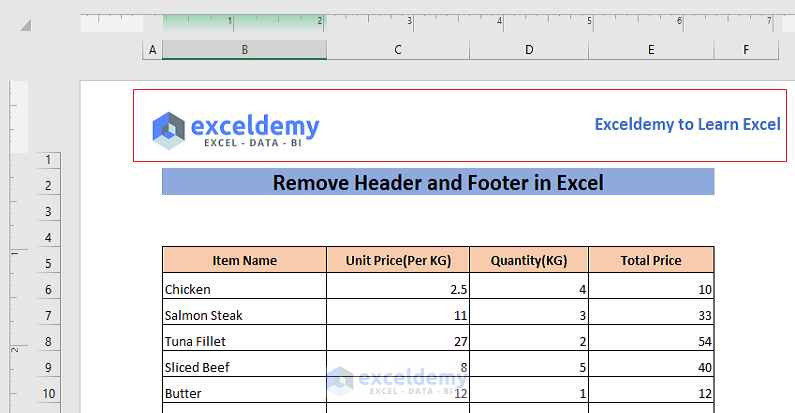
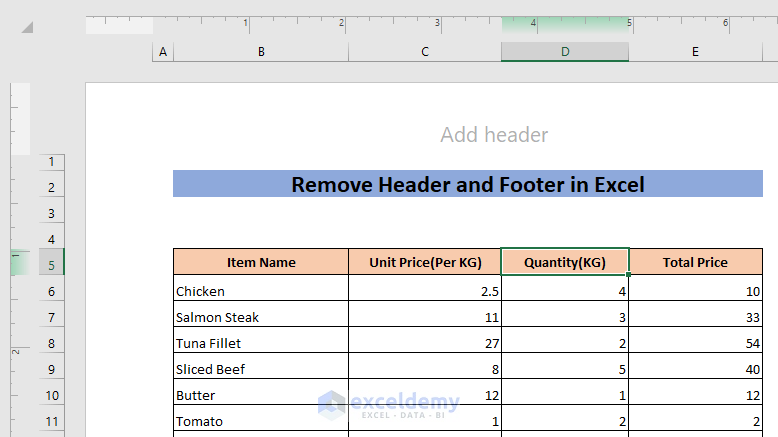
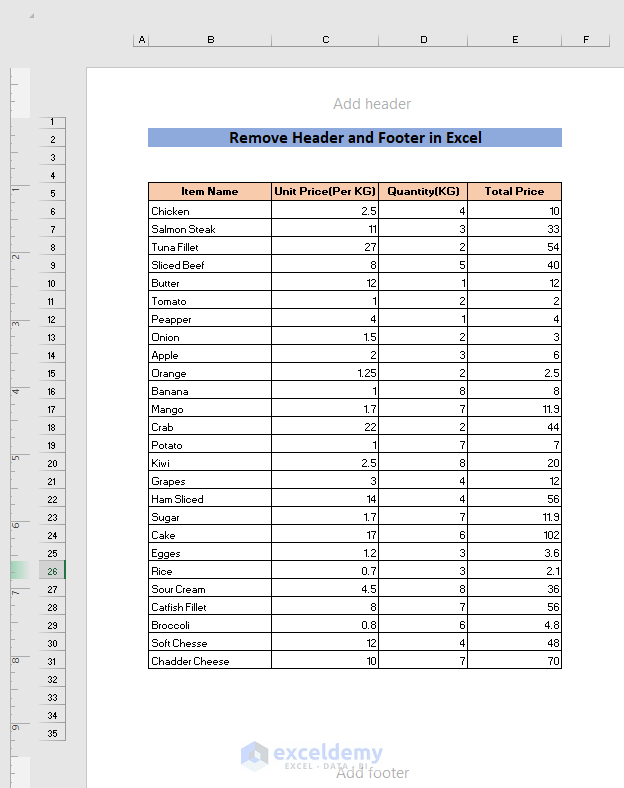
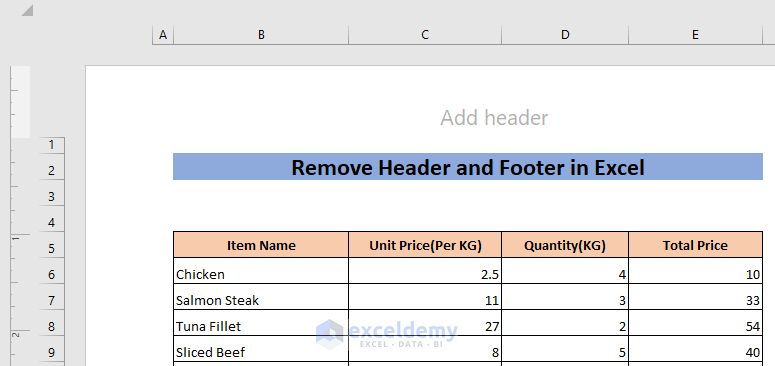
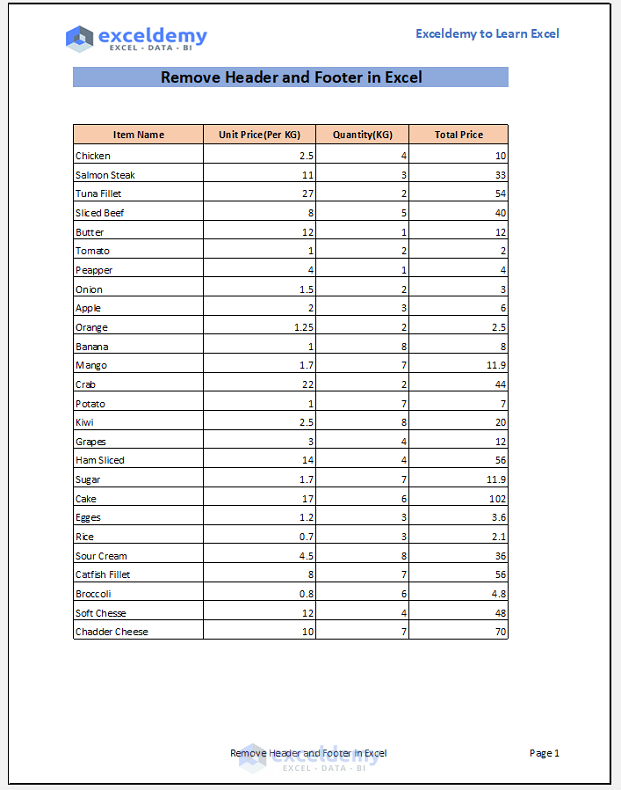
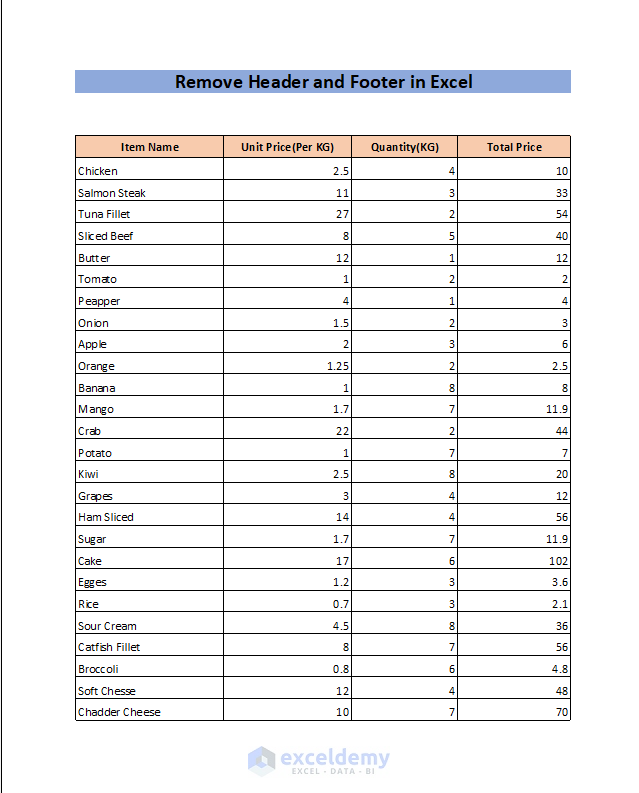
Consider you have the following dataset with a Header.
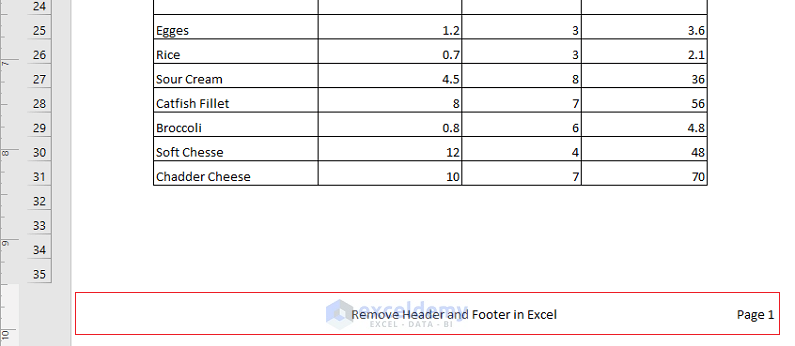
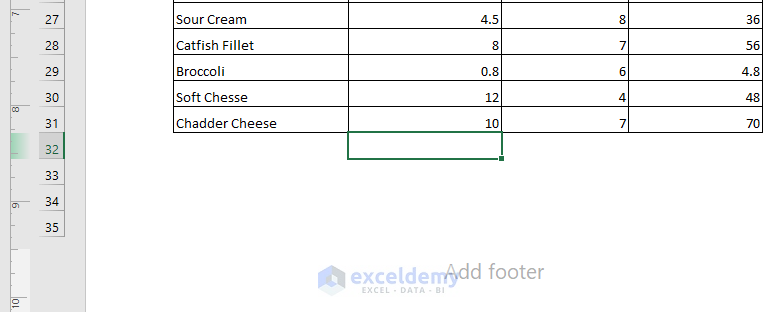
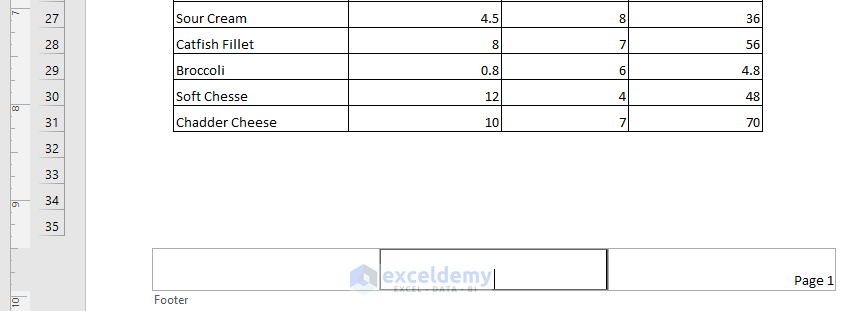
The dataset also has a Footer.
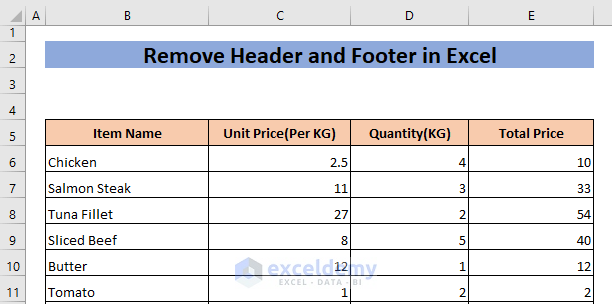
Let’s remove the Header and Footer from this dataset.
Find Header and Footer in Excel
If you look at your Excel sheet you won’t see any Header in normal view.
If you scroll down, you won’t see the Footer either.
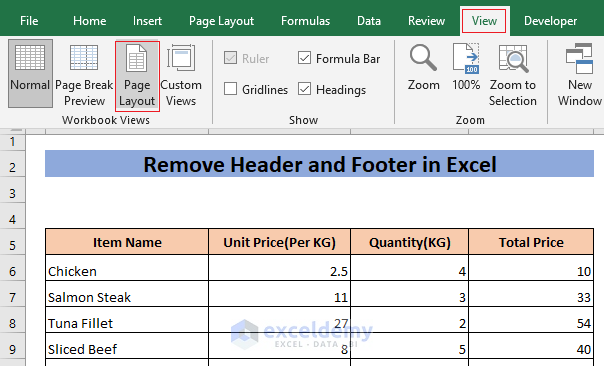
- Go to the View tab and select Page Layout from the Workbook Views ribbon.
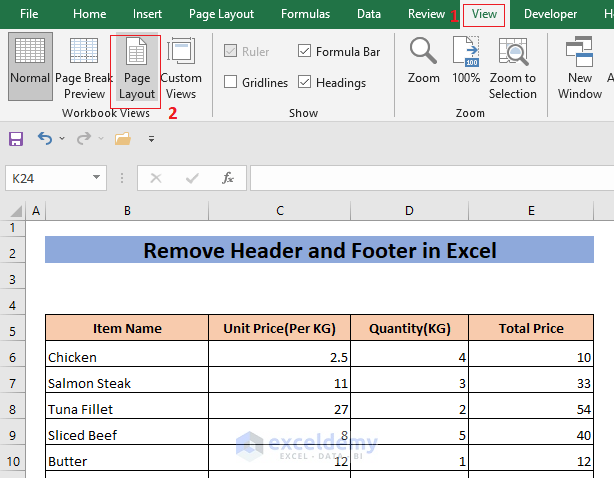
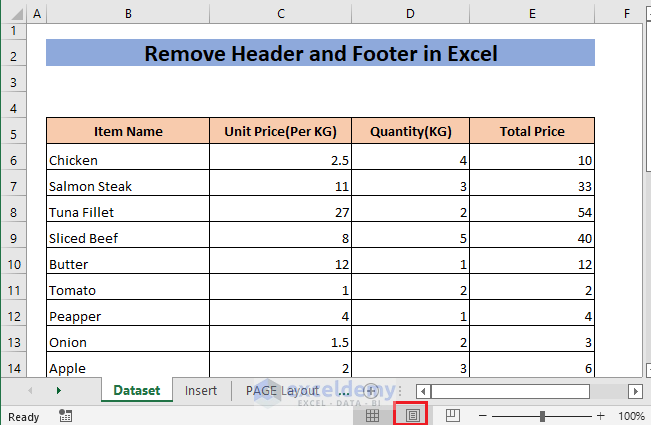
- You can also click on the Page Layout icon from the Status Bar.
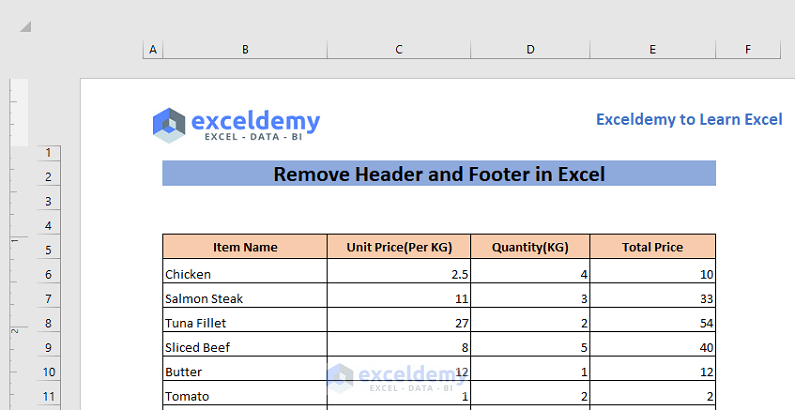
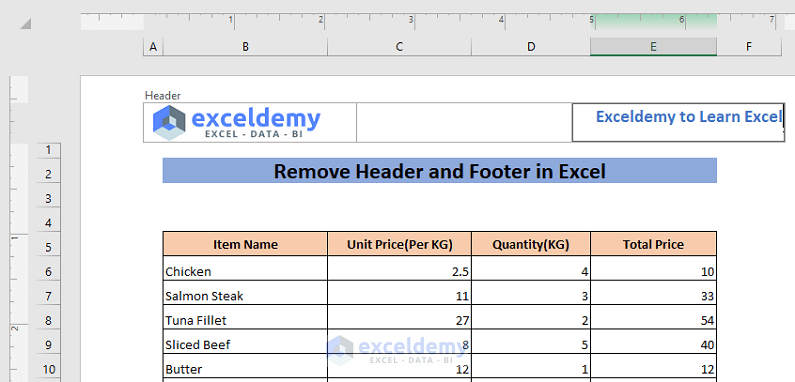
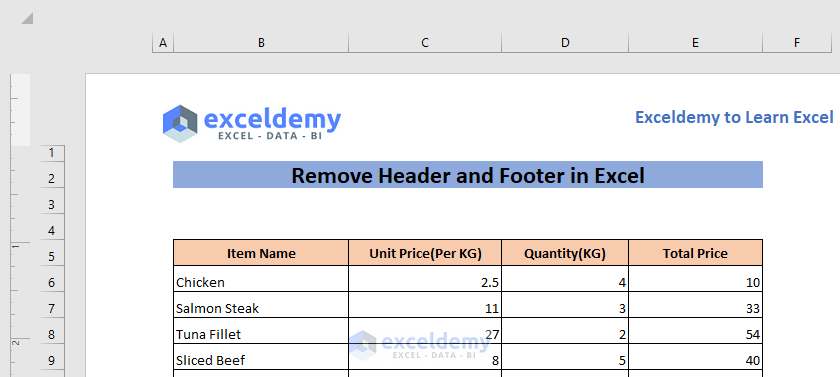
- You will see the Header at the top of your workbook.
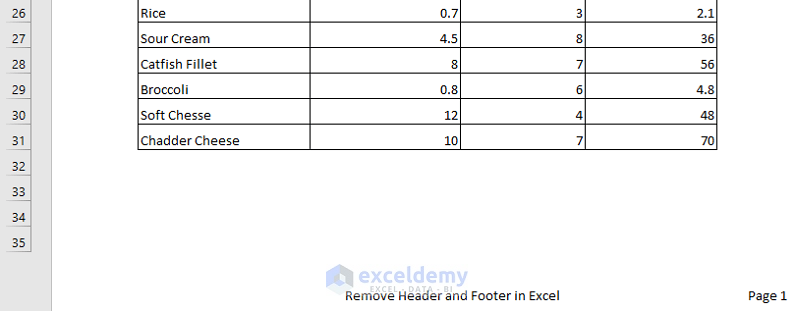
- Scroll down to see the Footer at the bottom of each page.
How to Remove the Header and Footer in Excel: 6 Ways
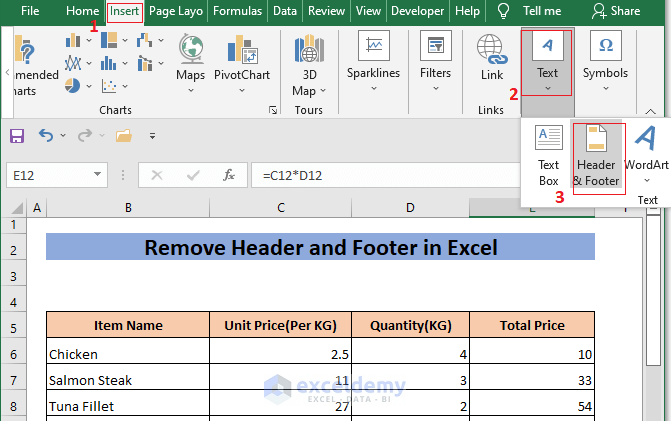
Method 1 – Remove the Header and Footer Using the Insert Tab
- Go to Insert, select Text, and choose Header & Footer.
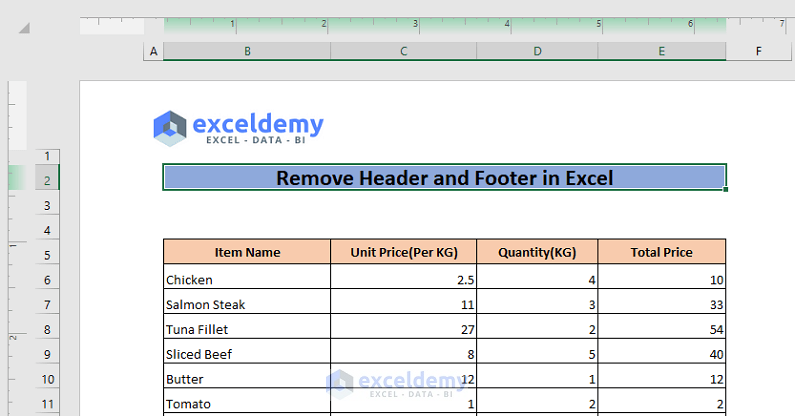
- Click on a Header and press Backspace to delete it.
- Click somewhere else in your worksheet.
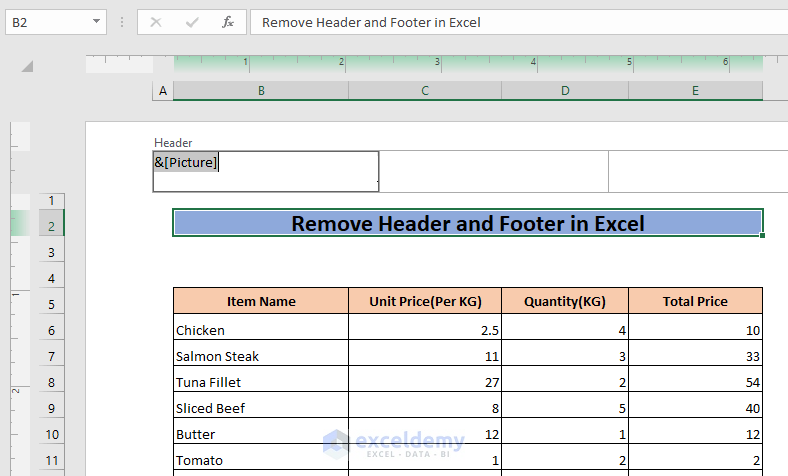
- Click on the image.
- The image will turn into a text in this format: &[Picture]
- Delete this text.
- Click somewhere else in your worksheet.
- You can also remove the Footer in a similar way.
 Read More: How to Hide Header and Footer in Excel
Method 2 – Use the Page Layout Tab to Remove the Header and Footer
- Go to the Page Layout tab and click on the little arrow from the bottom right corner of the Page Setup ribbon.
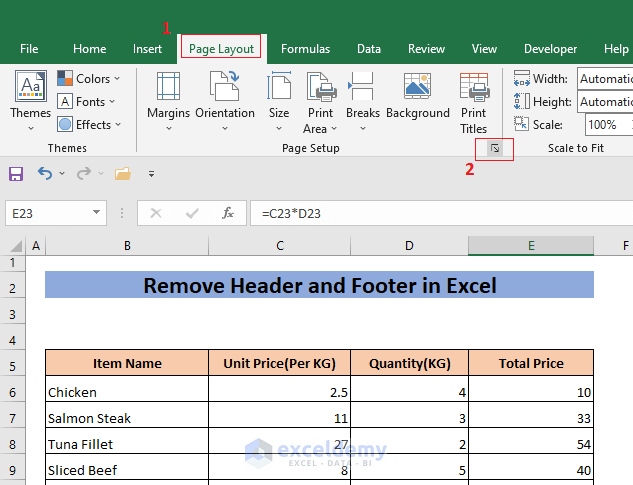
- This will open the Page Setup window.
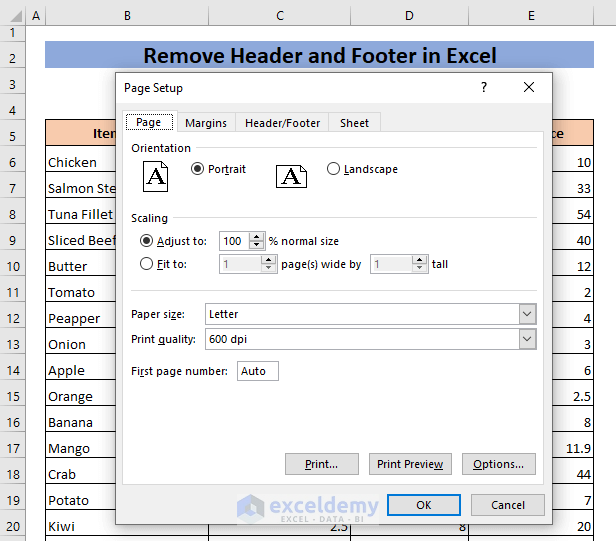
- Go to the Header/Footer tab in the Page Setup window.
- Select none in the Header box and none in the Footer box.
- Click on OK.
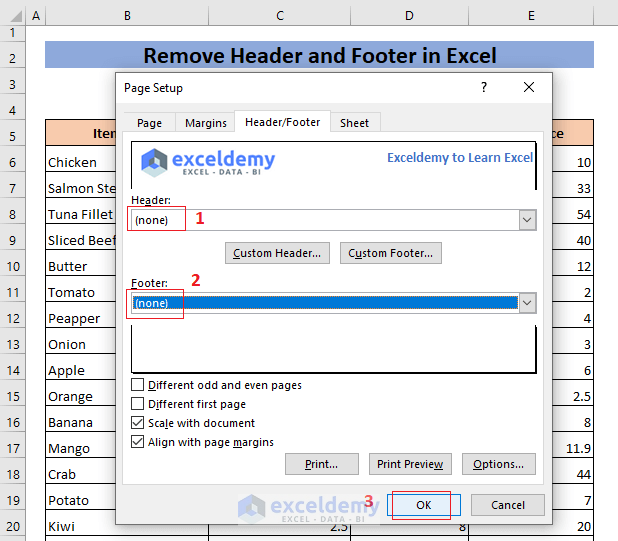
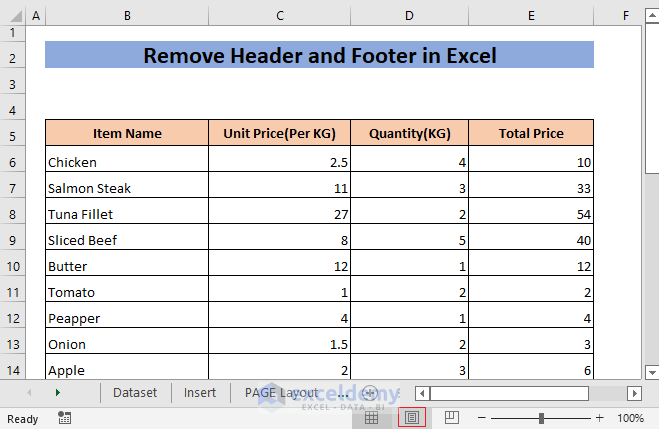
- All the Headers and Footers will be removed from your worksheet.
Method 3 – From the View Tab
- Go to the View tab and select Page Layout from the Workbook Views ribbon.
- Click at the end of a Header and press Backspace to delete it.
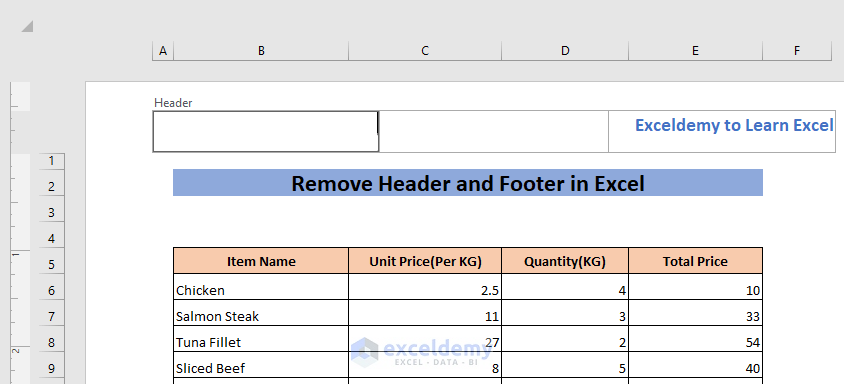
- Delete all the Headers.
- Repeat the process for the Footers.
- Here’s how the sheet should look once you select anything else.

Method 4 – Remove the Header and Footer Using the Status Bar
- Click on the Page Layout view icon from the bottom right corner of your Status Bar.
- This will change the worksheet view as Page Layout view.
- Follow the steps from the previous methods to remove the Header and Footer from your Excel worksheet.
Method 5 – Remove the Header and Footer When Printing
- Go to the File tab and select Print.
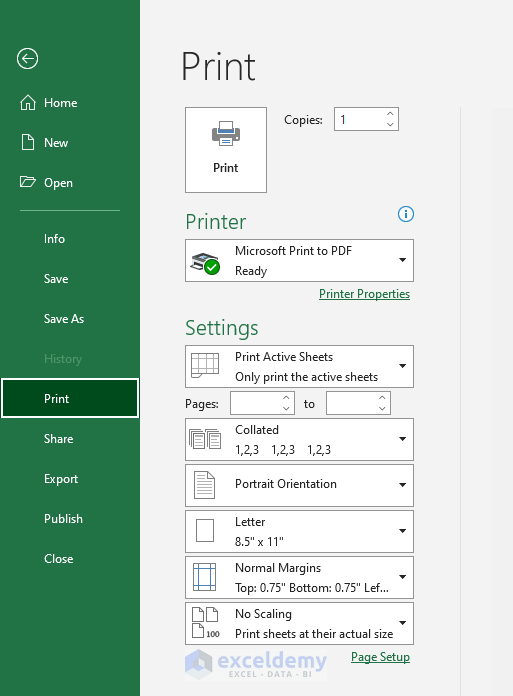
- You will see the current page of your worksheet in Print Layout.
- Click on Page Setup in the Print menu.
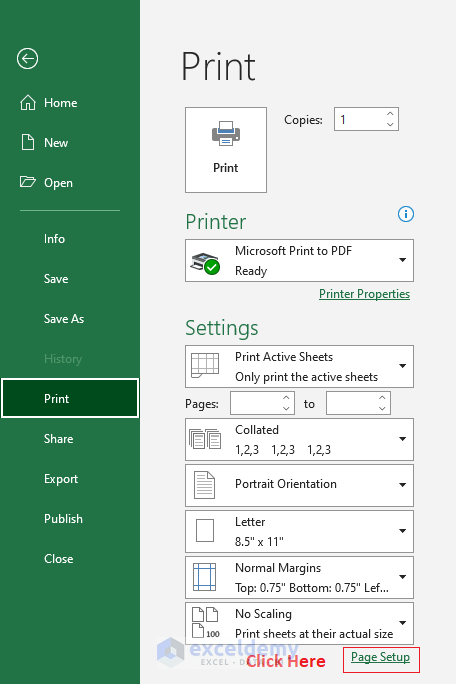
- This will open the Page Setup window.
- Go to the Header/Footer tab in the Page Setup window.
- Select none in the Header box and none in the Footer box.
- Click on OK.
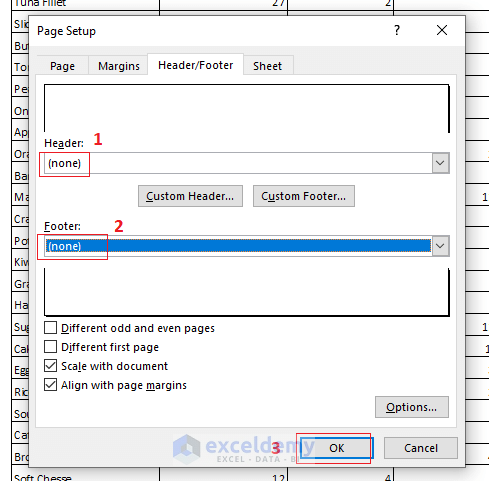
- The Header and the Footer of your worksheet will be removed.
Read More: How to Insert a Footer in Excel
Method 6 – Using VBA
- Press Alt + F11 to open the VBA window.
- Select the Insert tab and click on Module.
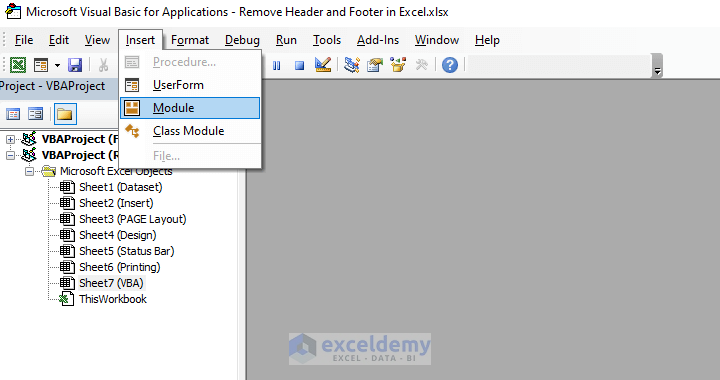
- This will open the Module(Code) window.
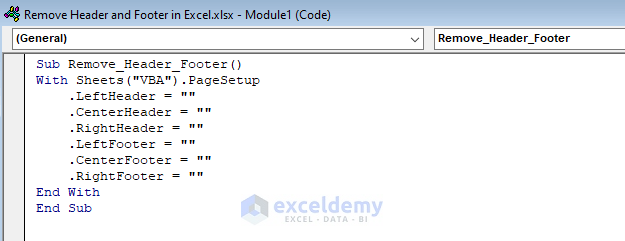
- Copy the following code in the window:
Sub Remove_Header_Footer()

With Sheets("VBA").PageSetup
    .LeftHeader = ""
    .CenterHeader = ""
    .RightHeader = ""
    .LeftFooter = ""
    .CenterFooter = ""
    .RightFooter = ""
End With

End Sub
In the above code, Sheets collection has been used to get the sheet (VBA) from where the Header and the Footer will be removed. After that, PageSetup has been assigned to hold all page setup properties (e.g. margins, Header & Footer, and so on).
At last, all types of Headers and Footers (left, right & right Header) have been set to blank for removing the Headers and Footers from the VBA worksheet.
- Press F5 and close the VBA window.
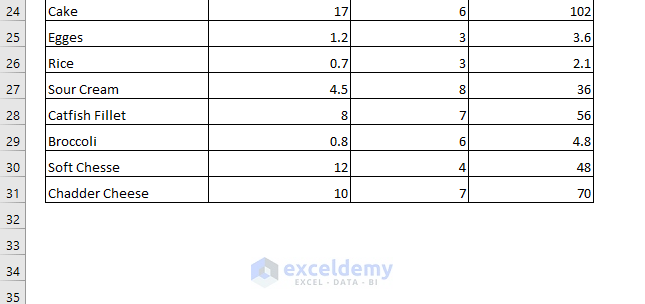
- The Headers have been removed from your Excel worksheet.
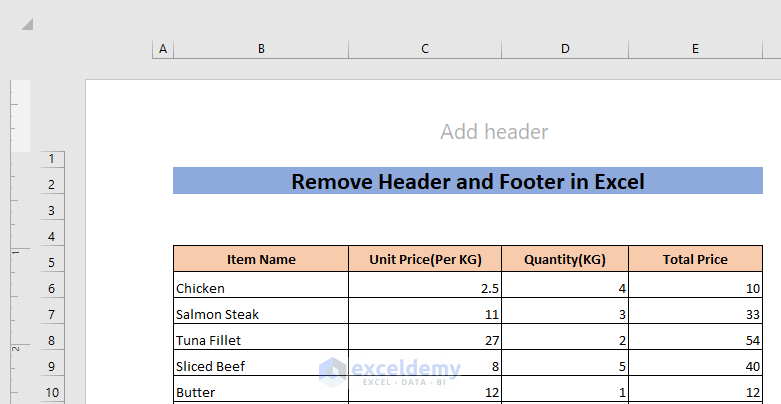
- The Footers are also gone.
Download the Practice Workbook
Related Articles
<< Go Back to Header and Footer | Page Setup in Excel | Print in Excel | Learn Excel
Get FREE Advanced Excel Exercises with Solutions!
