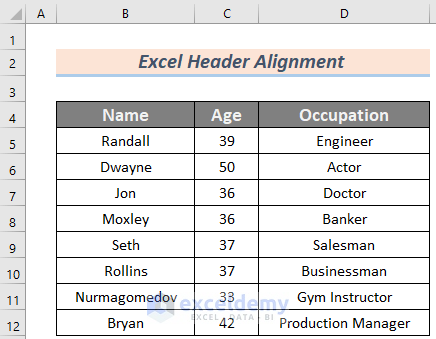
The sample dataset contains information about some people. We will put a header and maintain its alignment.
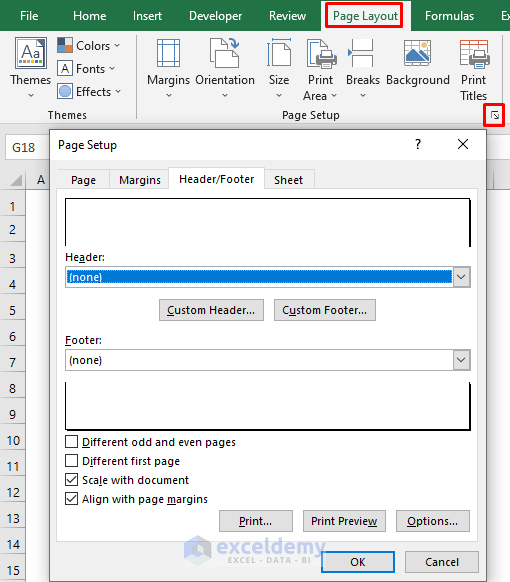
Step 1 – Opening the Page Setup Window
- Go to the Page Layout tab and then click on the marked icon in the following image.
- The Page Setup window will appear.
- Check Scale with document and Align with page margins.
- Click on Custom Header…
Read More: How to Add Header in Excel
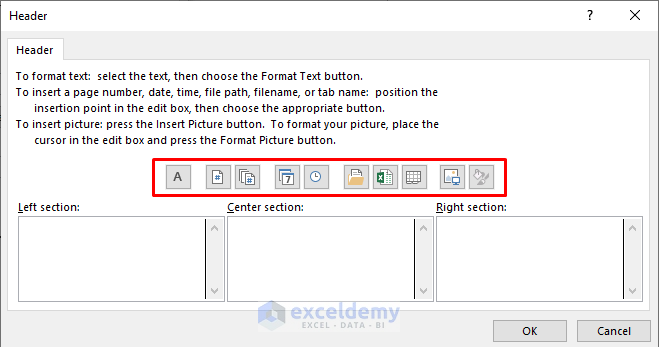
Step 2 – Inserting and Customizing Header Content+
- After clicking Custom Header, another window named Header will show up on your screen. You will see a variety of features in that window.
- These features are highlighted in the following image.
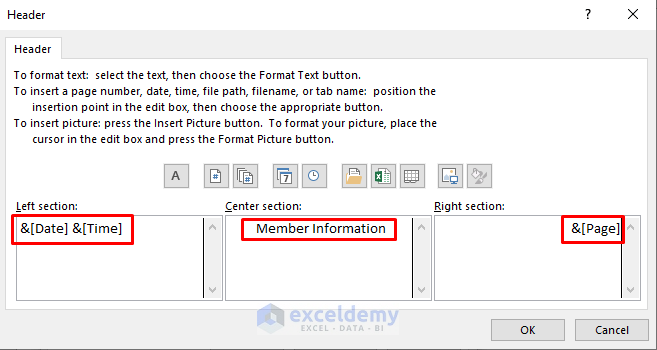
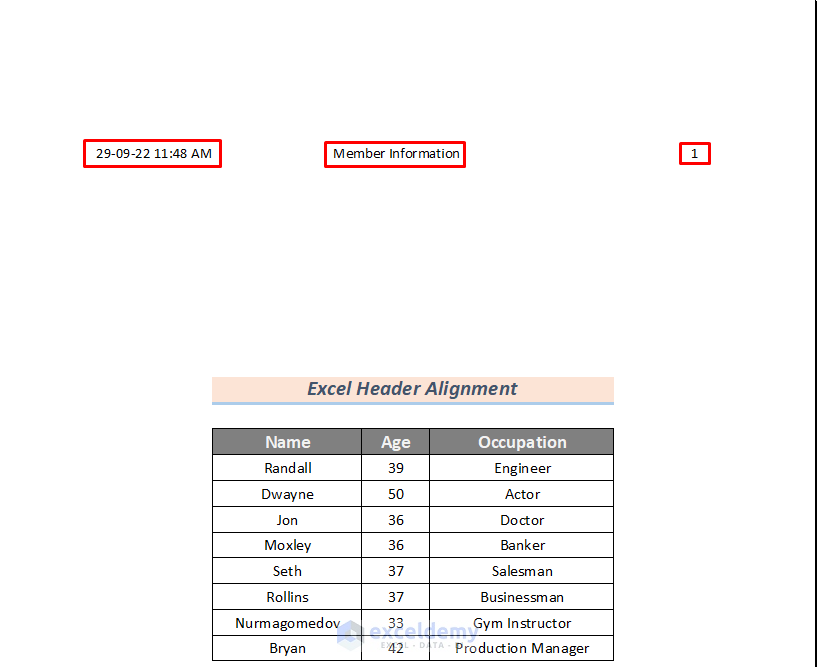
- Select Date and Time for the Left section.
- In the Center section, we’ve given the print copy the name ‘Member Information’.
- Put the Page Number in the Right section.
- Click OK.
Read More: How to Insert Logo in Excel Header
Step 3 – Aligning Header Content
- Go back to Page Setup.
- Select Margins. You will see some parameters to change the Header Alignment.
- Customize the values as needed (see image for a sample).
- Click on Print Preview.

- Your printing copy will have a Header Alignment.
Read More: How to Remove a Header in Excel
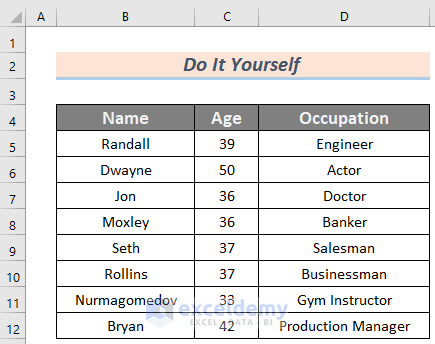
Practice Section
We’re giving you the dataset of this article so that you can practice these methods on your own.
Download the Practice Workbook
Related Articles
- How to Add Same Header to All Sheets in Excel
- How to Print Excel Sheet with Header on Every Page in Excel
- How to Edit Header in Excel
- How to Move Header in Excel
- How to Keep Header in Excel When Printing
<< Go Back to Header and Footer | Page Setup in Excel | Print in Excel | Learn Excel
Get FREE Advanced Excel Exercises with Solutions!
