There are many reasons you might want to move a header in Excel. Perhaps you want to change the order of the columns, or you want to move a header to a different sheet. Whatever the reason, it’s easy to do. In this article, I will show you how to move a header in Excel with ease. So, without having any further discussion, let’s jump straight into the topic.
What Is Header in Excel?
In Excel, a header is the topmost row of a worksheet. We use headers to label and identify the contents of each column in a worksheet. By default, you will find a header at the top of a worksheet when it is created.
A header can be customized to display text or graphics. Headers can also be customized to span multiple rows or columns. Headers can be hidden or displayed. When you print a worksheet, the header is printed at the top of each page. You can also add a Footer, which is printed at the bottom of each page.
Why Use Header in Excel?
One of the key features of Excel is the ability to add Headers, which can be used to identify and label data. Headers can be used to identify the purpose of a column of data or to label a row of data.
Headers can also be used to make data more visually appealing. For example, if you have a large data set, you could use headers to highlight key information or to make it easier to find specific data.
Overall, headers are a useful tool that can help to make data more understandable and visually appealing. If you are working with data in Excel, consider using headers to improve the clarity and presentation of your data.
How to Move Header in Excel: 2 Simple Steps
To demonstrate to you how to move the header in Excel, I’ve inserted a demo header with the following text “This Is a Header”. Right now the header is in the Normal position. Now I’m going to show you how to move the header to a different position with some easy steps.

Step-1: Open Page Setup Dialog Box
To move the header,
❶ First go to the Page Layout tab in the main ribbon.
❷ At the right-bottom corner of the Page Setup group, click on the dialog box launcher icon.
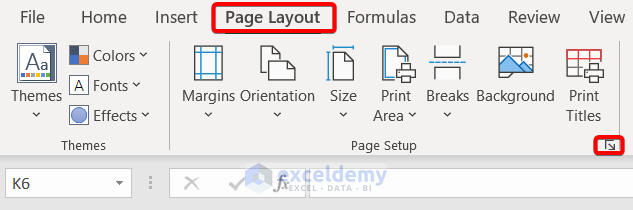
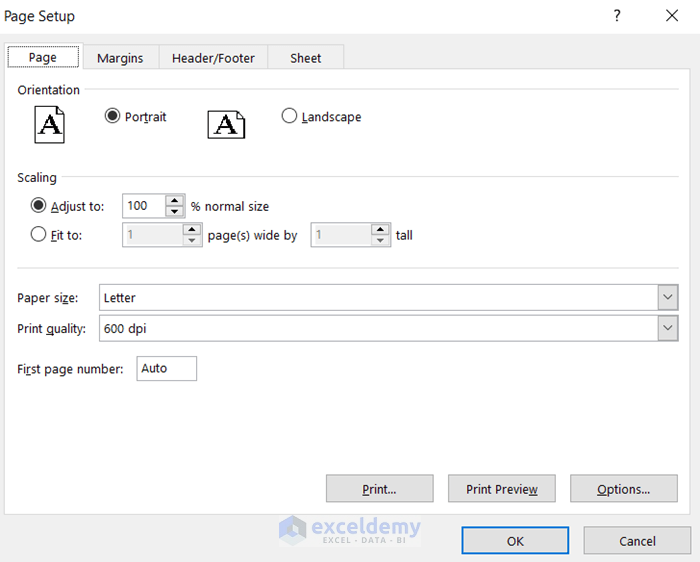
This will open the Page Setup dialog box with the Page tab selected by default.
Now I will use this dialog box to show you how to move the header in Excel.
Read More: How to Add Same Header to All Sheets in Excel
Step-2: Move Header Position in Page Setup Dialog Box
After opening the Page Setup dialog box,
- Select the Margins tab in the Page Setup dialog box.
Under the Header title, you will see a default position value set up which is 0.3.
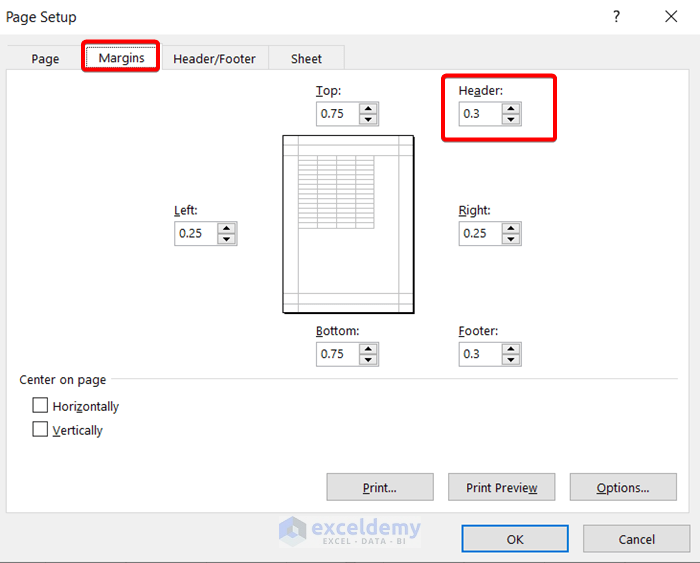
You can set the value from 0 to 100. The header value at 0 will keep the header at the top position of the worksheet. Let me show you that.
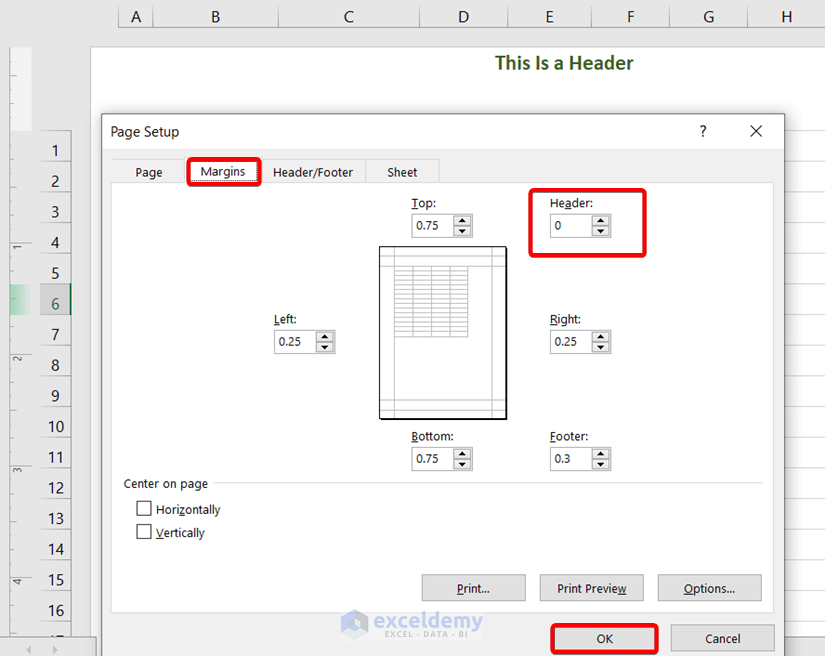
- Insert 0 in the Header box.
- Then click OK.
After that, you will see the Header located at the topmost position of the worksheet.
Let’s change the Header position from 0 to 0.5 and see what happens.
- Insert 5 in the Header box.
- Then press OK.
Now see the Header title has moved to just above the worksheet edge.
So, you’ve learned the technique to move the header in Excel.
Changing the value in the Header box, you can move the header to any place you like.

You can also use some presets in the Margins drop-down to move the header position in Excel.
To do that,
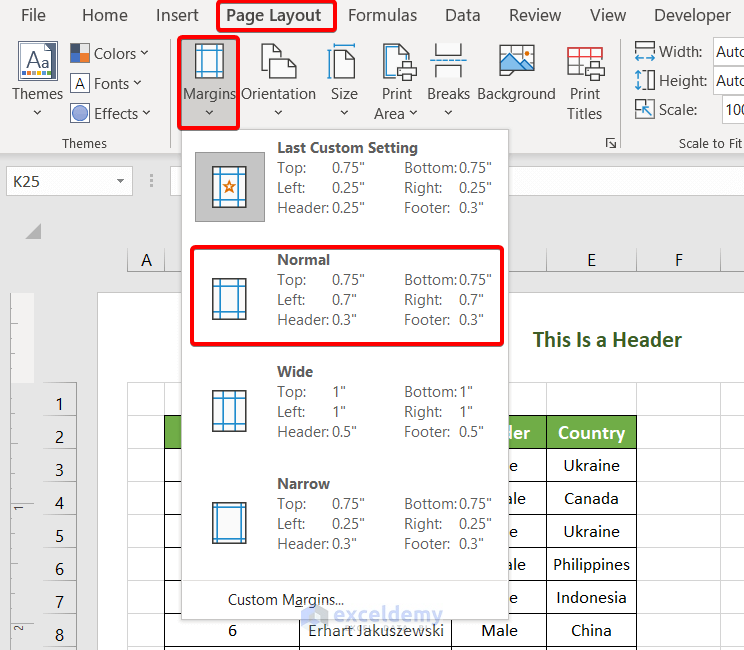
- Go to the Page Layout tab in the main ribbon.
- Click on the Margins drop-down in the Page Setup group.
- From the drop-down list, select any view such as Custom, Normal, Wide, or Narrow.
This will also move the header position in Excel.
Things to Remember
- Using the Page Setup dialog box, you can change the position of the Header vertically only.
- To change the position of the Header horizontally, you have to change the Page Layout.
- Press ALT + P + S + P to open the Page Setup dialog box.
Practice Section
You will get an Excel sheet like the following screenshot, at the end of the provided Excel file where you can practice all the topics discussed in this article.
Download Practice Workbook
You can download the Excel file from the following link and practice along with it.
Conclusion
To sum up, I have discussed steps to move the header in Excel. Please don’t hesitate to ask any questions in the comment section below. We will try to respond to all the relevant queries ASAP. And please visit our website Exceldemy to explore more.
Related Articles
- How to Edit Header in Excel
- How to Maintain Excel Header Alignment
- How to Insert Logo in Excel Header
- How to Remove a Header in Excel
- How to Keep Header in Excel When Printing
<< Go Back to Header and Footer | Page Setup in Excel | Print in Excel | Learn Excel
Get FREE Advanced Excel Exercises with Solutions!
