Method 1 – Edit Footer from Page Layout View
Steps:
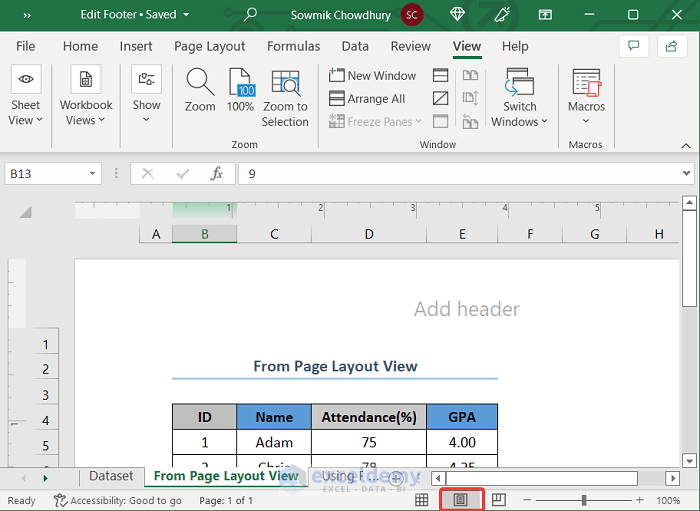
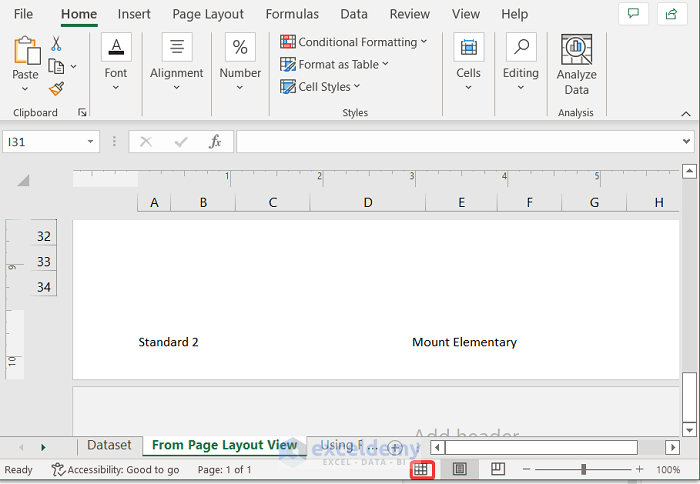
- Go to the View tab at the top of your screen.
- Select Page Layout to shift to the Page Layout view.

- Ignore the above steps and click the Page Layout button at the bottom right to directly shift to the Page Layout view.
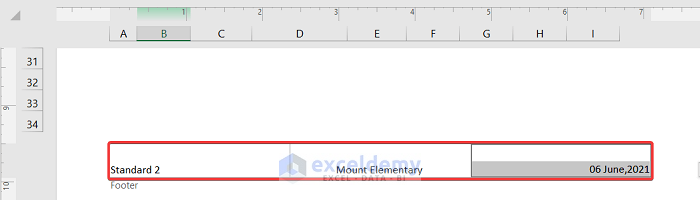
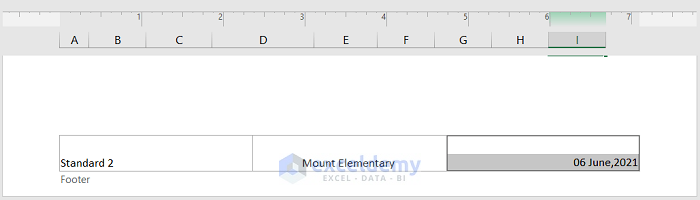
- Scroll down to the footer of the page and edit it as you wish. In this case, Left Footer = Standard 2, Center Footer= Mount Elementary & Right Footer= 06 June,2021.
Method 2 – Using Page Setup Dialog Box to Edit Footer in Excel
Steps:
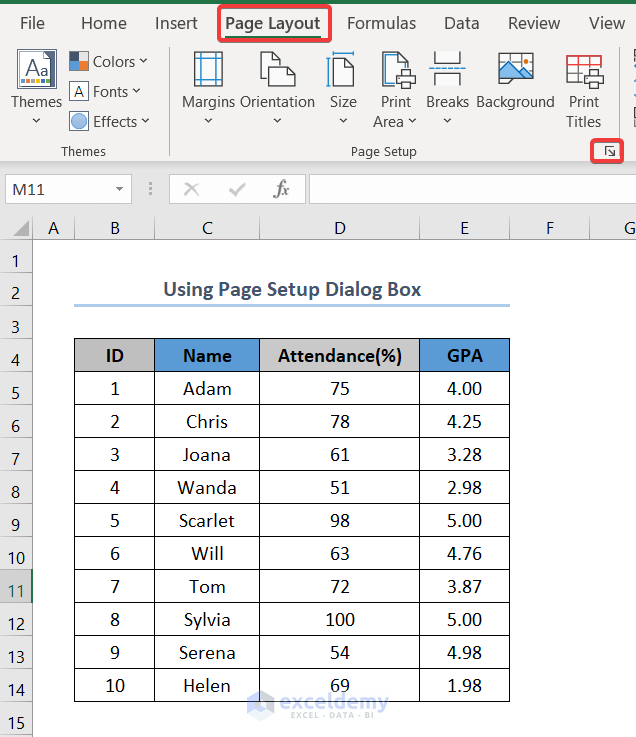
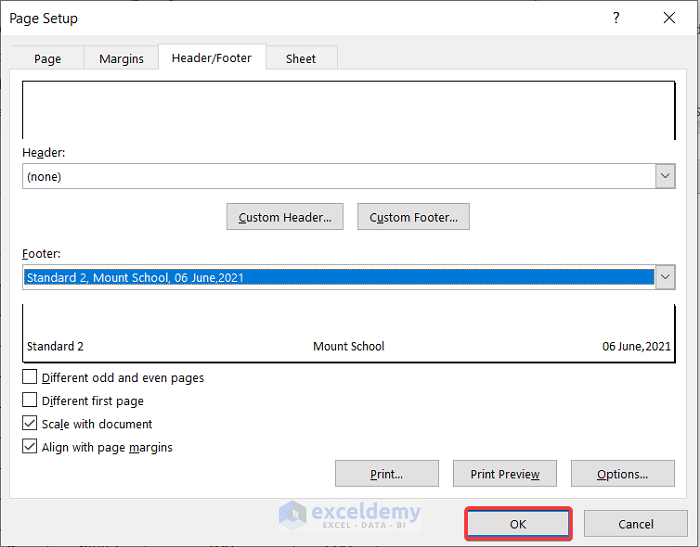
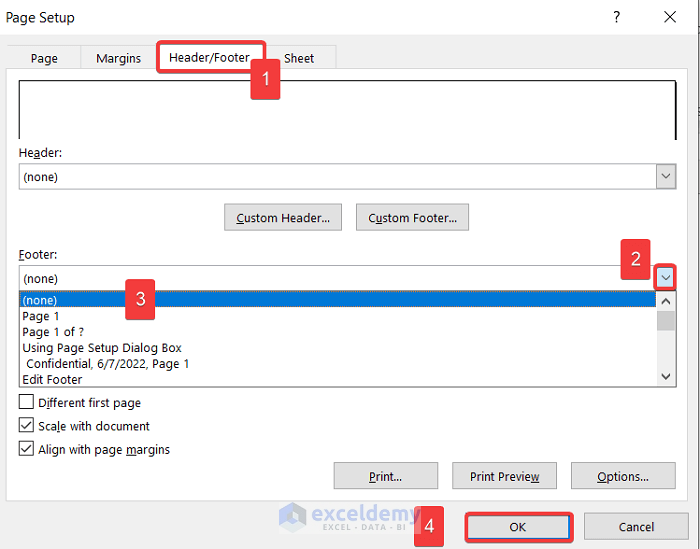
- Select the Page Layout tab at the top of the page.
- Click on the small Page Setup icon to open the dialog box.
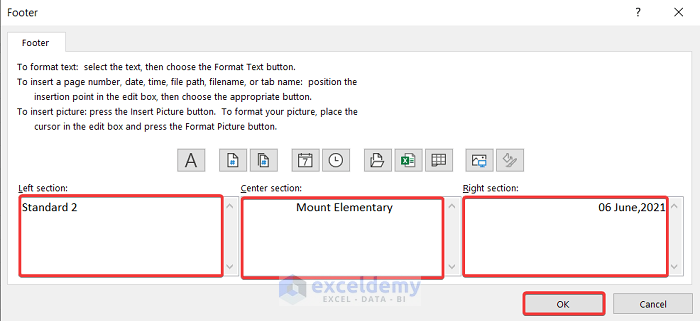
- Go to Header/Footer > Custom Footer…
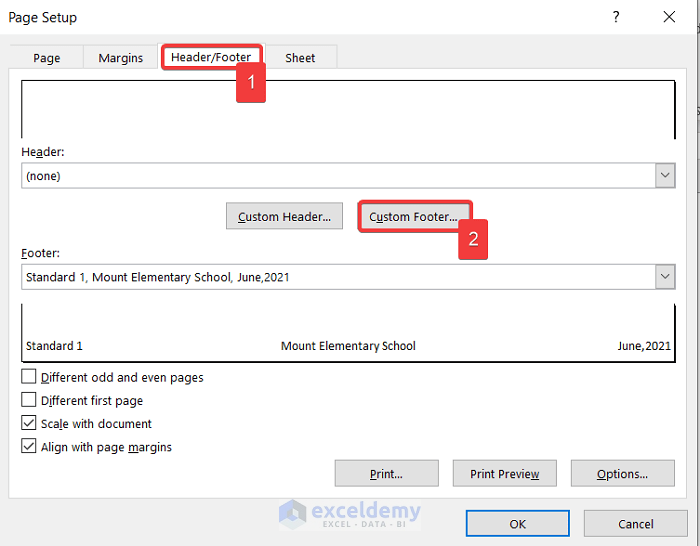
- Put your left, center, and right footers in the left, center, and right sections respectively.
- Click OK
- Click the OK button again, and you will be done editing your footer.
Method 3 – Applying VBA Code to Edit Footer in Excel
Steps:
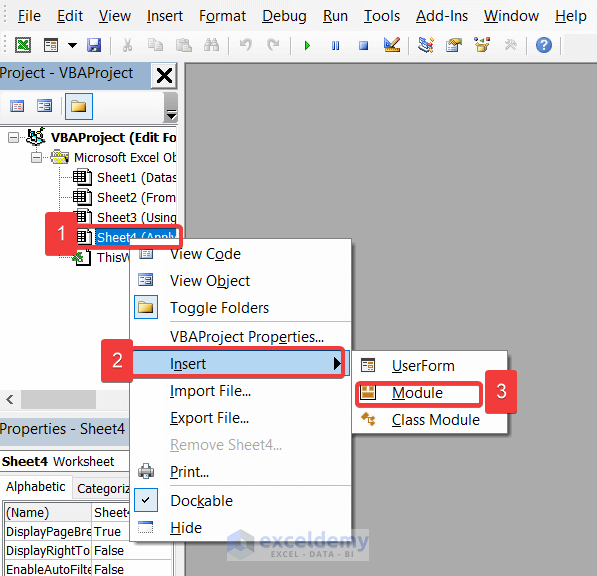
- Press ALT + F11 to open the VBA
- Right-Click on Sheet 4 or the sheet you are working on.
- Select Insert > Module.
'This Code Will Help You to Edit Footer in Excel
Sub EditFooter()
'Change "Standard 2" to give your Left Footer
 ActiveSheet.PageSetup.LeftFooter = "&L Standard 2"
 'Change "Mount School" to give your Center Footer
 ActiveSheet.PageSetup.CenterFooter = "&C Mount School"
 'Change "06 June,2021"  to give your Right Footer
 ActiveSheet.PageSetup.RightFooter = "&R 06 June,2021"
End Sub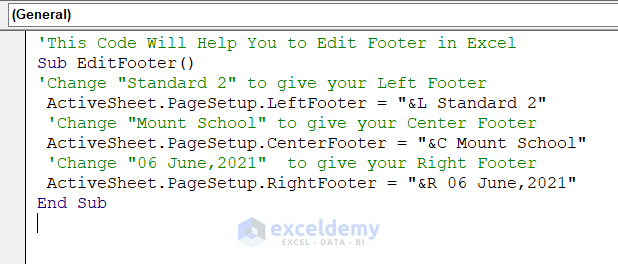
- Press F5 to run the code, and you have your footer edited.
How to Completely Remove Footer in Excel
Steps:
- Select the Page Layout tab at the top of the page.
- Click on the small Page Setup icon to open a Dialog Box.
- Go to Header/Footer.
- Click the down arrow on the Footer menu and select (none) from all the options.
- Click OK, and the footer will be removed completely.
Why Can’t I Access My Footer?
- You are in the Normal view. To access your footer, go to the Page Layout view.
- Your page’s margins may not be set correctly. To edit them, go to Page Setup>Margins.
Why Can’t I Exit My Footer?
We might not figure out how to exit the footer option. So, if you are stuck at the footer like the figure below, follow the steps to get out.
Steps:
- Press ESC on your keyboard.
- Switch to Normal view by clicking the Normal view button at the bottom right.
Download Practice Workbook
You can download the practice workbook from the link below.
Related Articles
<< Go Back to Header and Footer | Page Setup in Excel | Print in Excel | Learn Excel
Get FREE Advanced Excel Exercises with Solutions!
