For various Excel objectives, we occasionally change the names of cells and ranges to suit our needs. Finding and navigating to a specific named range might be challenging when working with a big dataset with lots of named ranges. In this article, we’ll go over four quick and simple ways to find a named range in Excel effectively with appropriate illustrations.
Introduction to Excel Named Range
A named range is just a human-readable name for a range of cells in Microsoft Excel. The benefit of using named ranges in your calculations is that you may utilize meaningful names without worrying about cell references. Use a named range the same way you would a cell reference once you have one.
How to Find a Named Range in Excel: 4 Suitable Ways
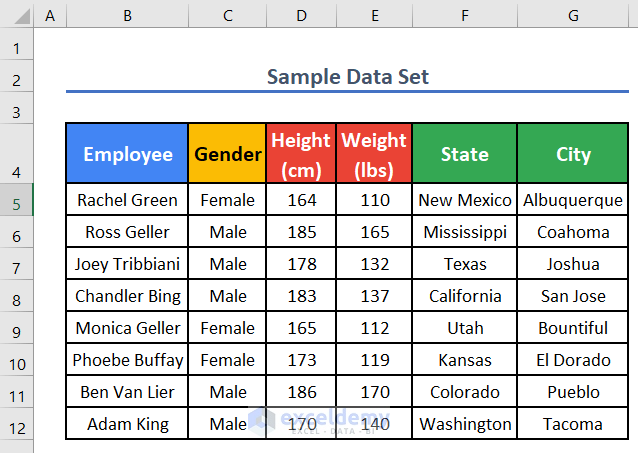
In this tutorial, we’ll go through four useful techniques for finding a named range in Excel. The dataset listed below will be used for this. I’m using several named ranges such as:
- B4 =Employee
- C5:C12 = Gender
- D5:D12 = Height
- ‘Go To’!E5:E12= Weight 2
- ‘Name Box ‘!G4:G12= “F”
1. Use Keyboard Shortcuts
In this section, we will apply the keyboard shortcuts to find a named range in Excel. This is an easy and time-saving task as well. Let’s follow the instructions below to learn!
Steps:
- After completing the dataset, first, select a cell. We selected L6. After that, press the F3 key on your keyboard. A dialogue box will appear before you like the following image.
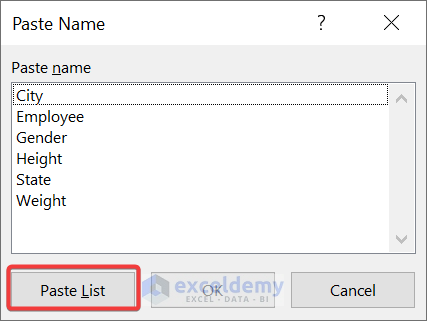
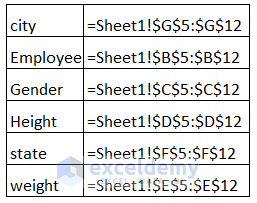
- Now, Click on the Paste List. You may see the sheet name and cell number in the figure below. It indicates the cell of the following Name Range
2. Perform Go To Feature to Find a Named Range
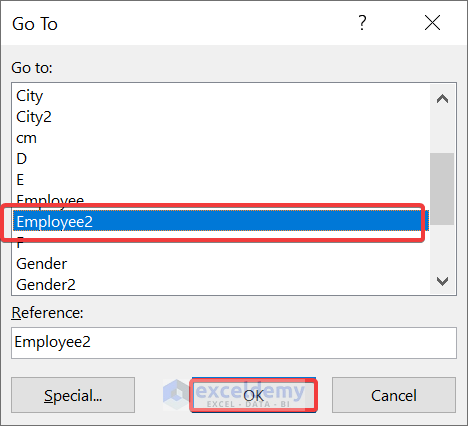
We will use the Go To feature in this section of the article to locate a named range in Excel. We will find “Employee2” by using the Go To feature. Let’s learn by doing the steps listed below!
Steps:
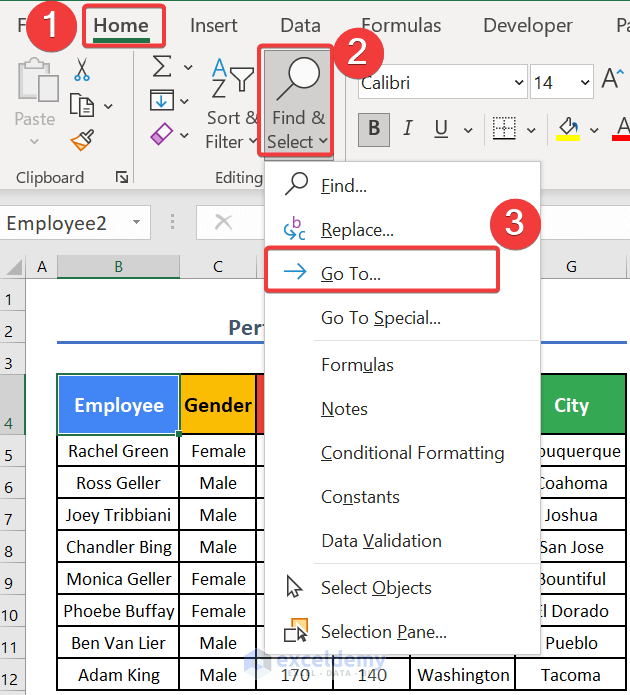
- To perform this feature, first, from the Home tab select Home >> Find & Select >> Go To.
- Afterward, select Employee2 from the pop-up window.
- As a result, the named range can be found on the datasheet as shown in the accompanying image.

Read More: How to Display Named Range Contents in Excel
3. Use Name Box Control to Find a Named Range
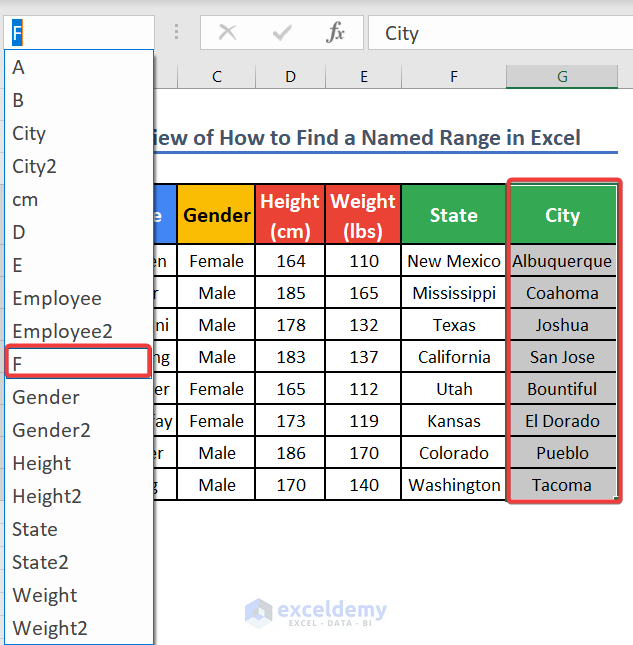
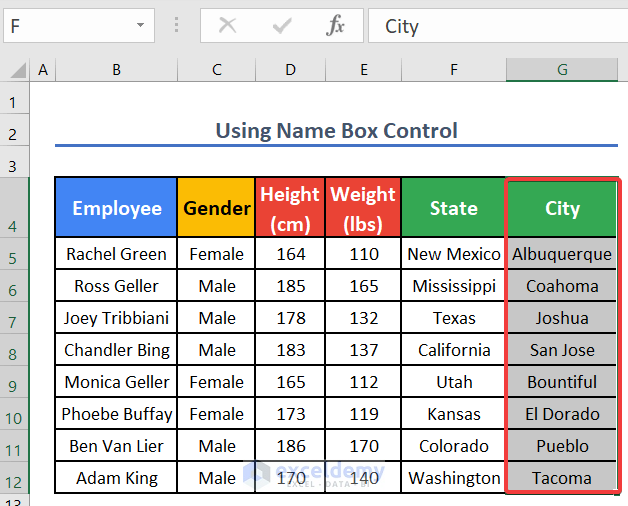
In this part, we’ll use Excel’s Name Box to find a named range in Excel. Using the Name Box tool, we will find F as the named range. This is a quick and simple task as well. Let’s learn by following the guidelines below!
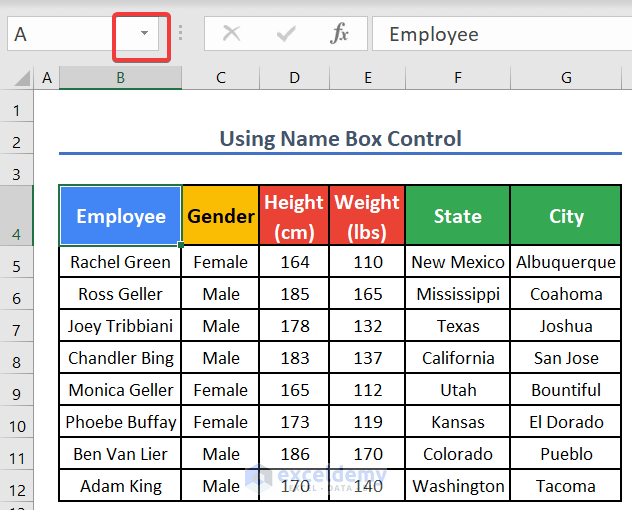
- First of all, select the Name Box drop-down list.
- After that, Select F from the list.
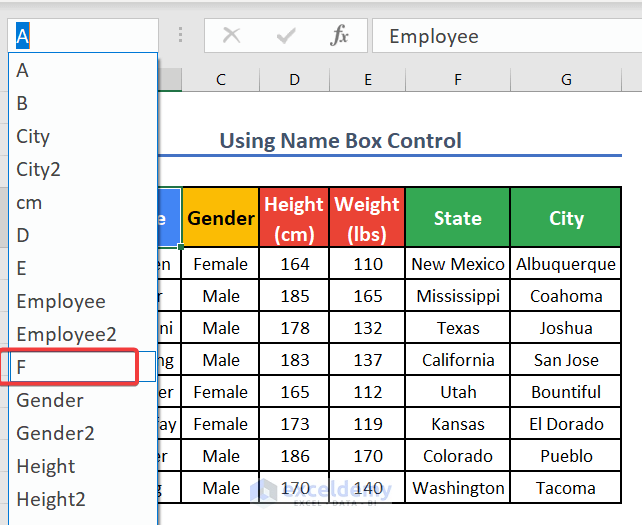
- Eventually, you’ll see the column containing “City” shown in the picture below.
Read More: How to Navigate to a Named Range in Excel
4. Utilize Name Manager Tool to Find a Named Range
Last but not least, The Name Manager tool for finding a named range in Excel will be used in this section. We will identify A as the named range by using the Name Manager tool. Additionally, this task is simple and quick. To learn, let’s stick to the guidelines below.
Steps:
- First, click on the Formulas tab and go to, Formulas >> Name Manager
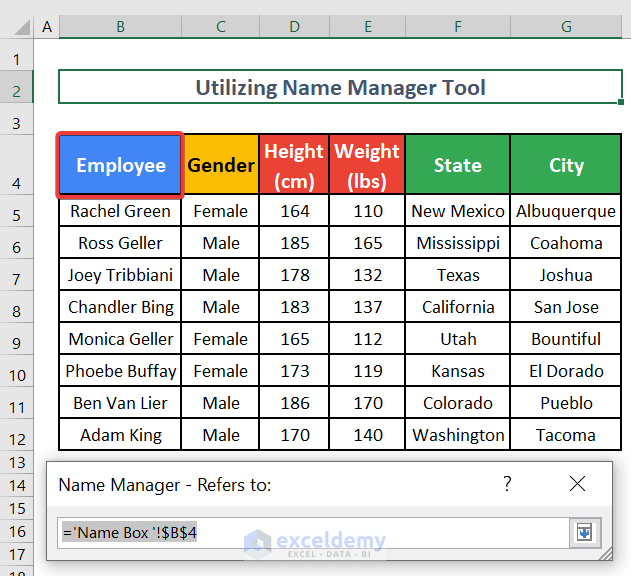
- Subsequently, select “A” from the dialogue box. Then select the Upward Arrow button from the box.
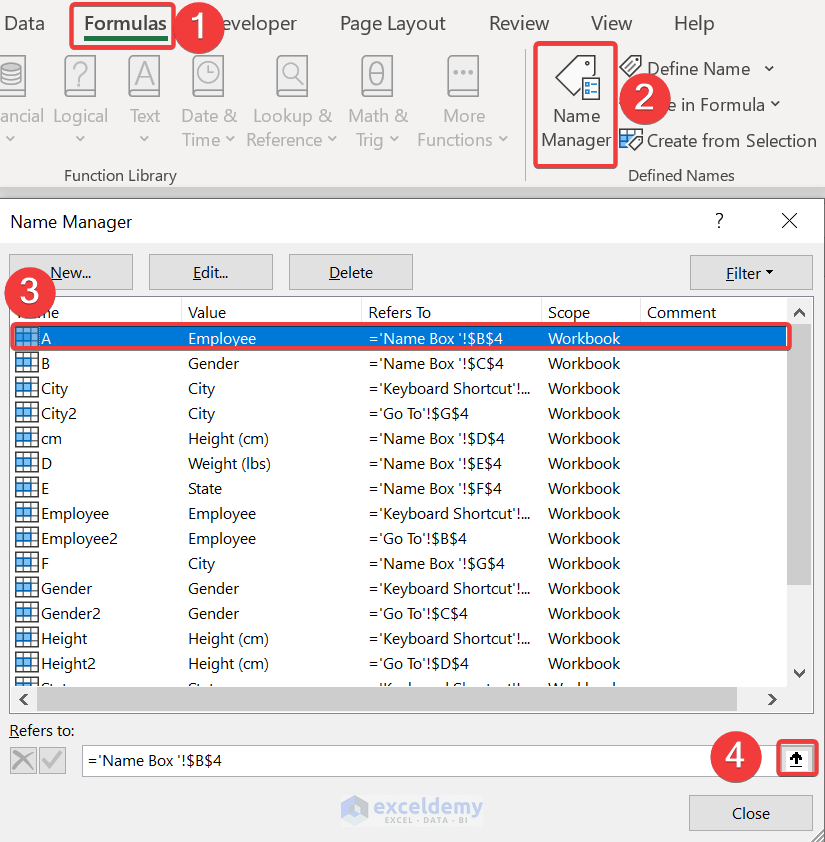
- Finally, it will show the range of the “A”
How to Delete a Named Range in Excel
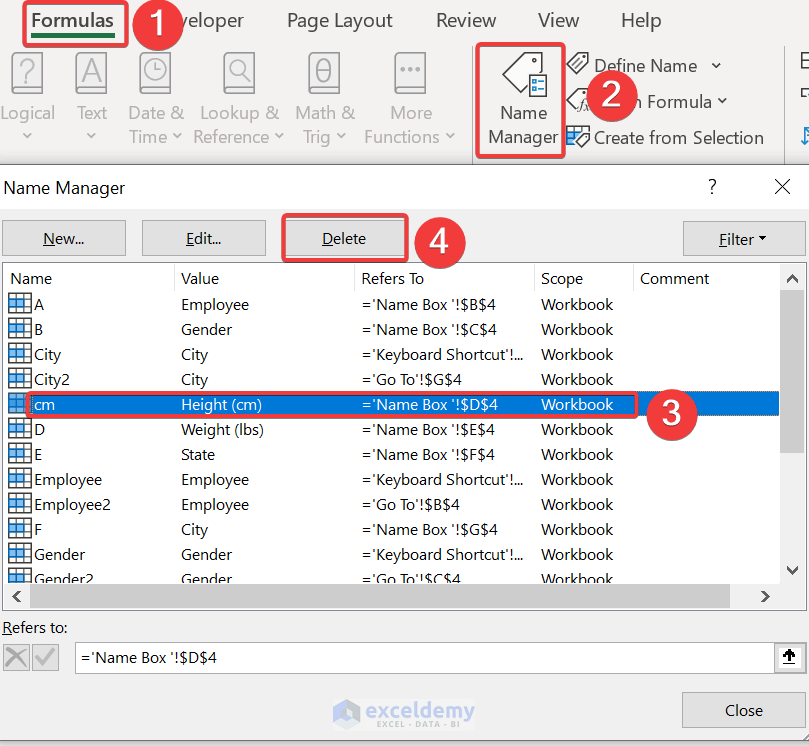
- First, go to the Formulas tab, then Formulas tab >> Name Manager
- Afterward, select the name from the dialogue box which you want to delete.
- Thus, press the Delete The name will be deleted.
Read More: How to Delete All Named Ranges in Excel
Download Practice Workbook
Download this practice workbook to exercise while you are reading this article.
Conclusion
We appreciate your reading thus far. I hope this essay was helpful to you. You are now aware of four quick techniques to find a named range in Excel. If you have any additional questions, kindly contact us. You are also welcome to provide suggestions in the comment box below.
Related Articles
- How to Name a Column in Excel
- How to Name a Group of Cells in Excel
- How to Change Scope of Named Range in Excel
- How to Paste Range Names in Excel
- How to Edit Named Range in Excel
<< Go Back to Named Range | Excel Formulas | Learn Excel
Get FREE Advanced Excel Exercises with Solutions!
