To mention the results of the formula or cell references, we use the named range. It makes our formula easy and dynamic. We can easily remember the data range reference. Also, we can use the named range to navigate between the Excel sheets swiftly. Today we are going to learn how to delete this named range in an Excel spreadsheet.
How to Delete Named Range in Excel: 3 Quick Techniques
1. Delete Named Range Manually by Using Name Manager
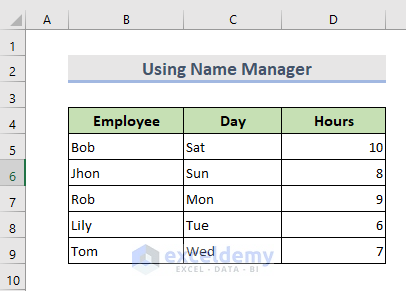
Assuming that we have a worksheet with lots of named ranges. We want to delete some of them manually.
Steps:
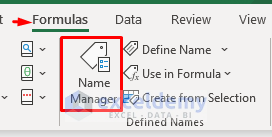
- Go to the Formulas tab from the ribbon.
- Click on the Name Manager.
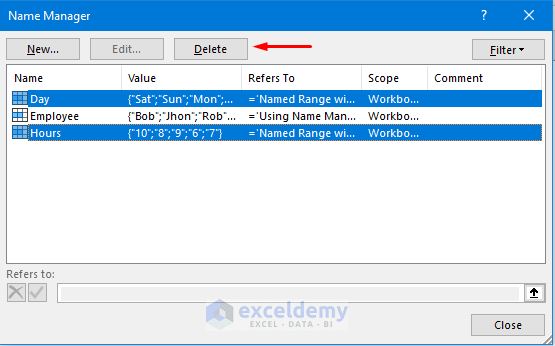
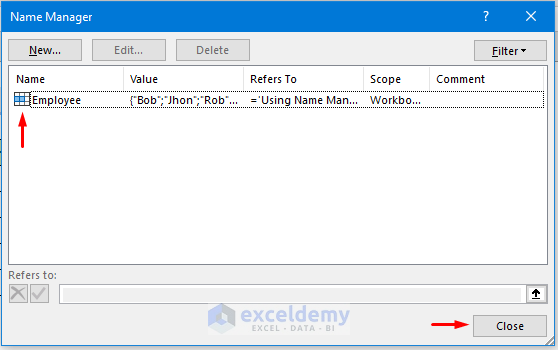
- The Name Manager window opens up. We can also press Ctrl+F3 to open the Name Manager window.
- Pick the named range we want to delete by pressing the Ctrl key or the Shift key.
- Click on the Delete.
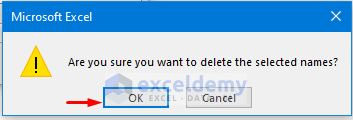
- A dialogue box pops up for confirmation. Select OK.
- Now we can see that the name ranges are deleted.
Read More: How to Delete All Named Ranges in Excel
2. Remove Named Range with Errors in Excel
We can simply delete the named range with errors by using the Filter drop-down from the Name Manager box to filter out the names.
STEPS:
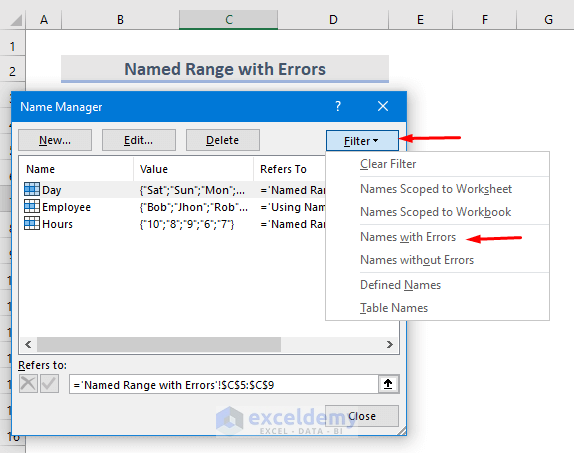
- Go to the Formulas > Name Manager.
- From the Name Manager window click on the Filter drop-down.
- Select Names with Errors and we can see the result.
3. Insert VBA Codes to Delete Name Ranges
Hereby, using VBA Code we can easily delete Name Ranges.
3.1 To Delete All Named Ranges
To delete all named ranges quickly we can follow these steps.
STEPS:
- Right-click on the mouse of the active sheet from the sheet tab.
- Now select View Code.

- Microsoft Visual Basic for Applications window pops up. We can get it by pressing the Alt+F11 key.
- After that in the VBA Module copy the codes below and paste them.
Option Explicit
Sub DeleteAllRanges()
Dim Range As Name
For Each Range In ActiveWorkbook.Names
If Range.Visible Then Range.Delete
Next Range
End Sub- Select the Run option.
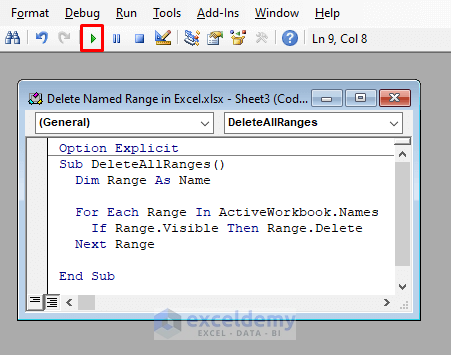
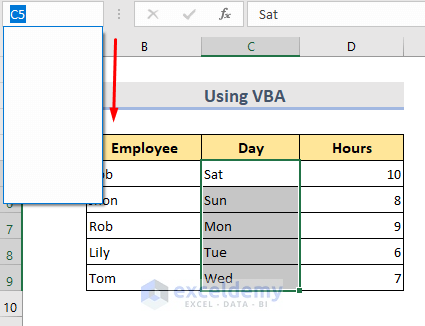
- Now we can see that all the name ranges are deleted.
3.2 To Delete All Hidden Name Ranges
Sometimes, we can see several hidden named ranges in the worksheet. We can follow this instruction to sort out the problem.
STEPS:
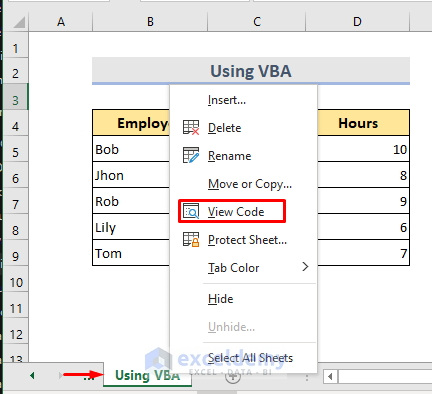
- From the sheet tab, Right-click on the sheet > View Code.
- In Microsoft Visual Basic for Applications Module Window, copy the codes and Run the codes.
Option Explicit
Sub HiddenRanges()
Dim Ranges As Name
For Each Ranges In ActiveWorkbook.Names
If Ranges.Visible = False Then Ranges.Delete
Next Ranges
End Sub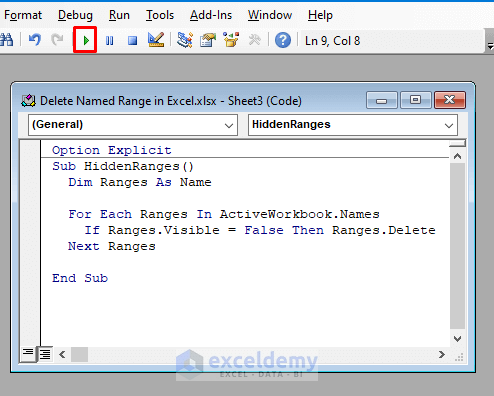
- At last, we will see that all the hidden named ranges are gone.
Download Practice Workbook
Download the following workbook and exercise.
Conclusion
By following these methods, we can easily delete named ranges in Excel. There is a practice workbook added. Go ahead and give it a try. Feel free to ask anything or suggest any new methods.
Related Readings
- How to Edit Named Range in Excel
- How to Navigate to a Named Range in Excel
- How to Paste Range Names in Excel
- How to Display Named Range Contents in Excel
- How to Change Scope of Named Range in Excel
- How to Name a Group of Cells in Excel
- How to Find a Named Range in Excel
- How to Name a Column in Excel
<< Go Back to Named Range | Excel Formulas | Learn Excel
Get FREE Advanced Excel Exercises with Solutions!
