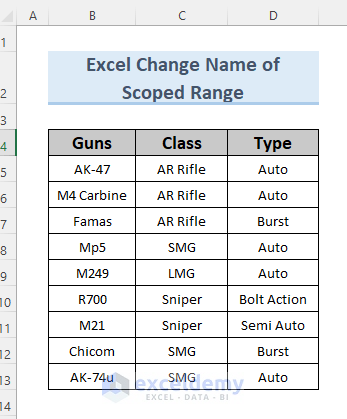
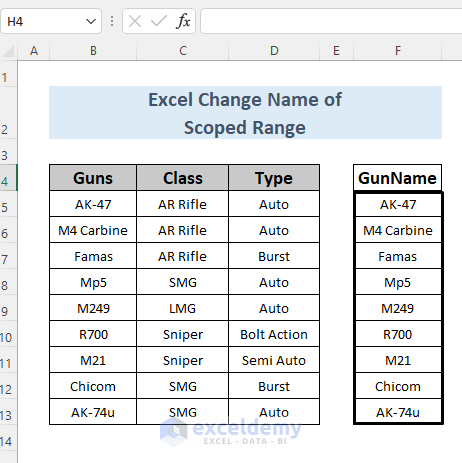
This is the sample dataset.
Method 1. Using the Define Name Feature to Change the Scope of a Named Range
Steps:
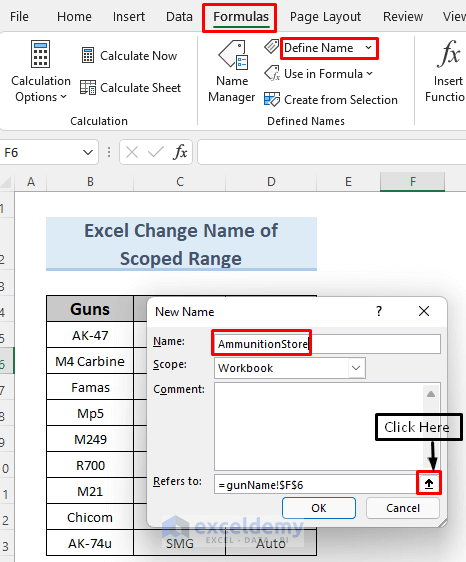
- Go to Formulas >> Define Name.
- A dialog box will open. Enter AmmunitionStore(here) in Name.
- Click the upward arrow as shown below.
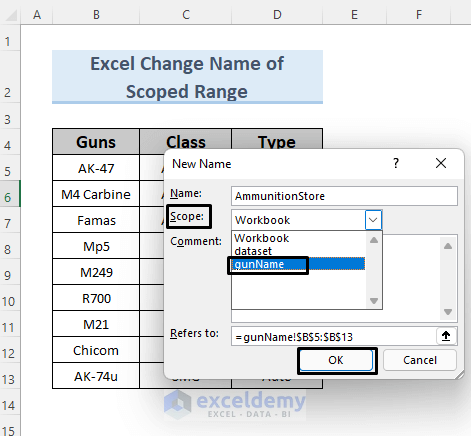
- Select B5:B13 in gunName (the name of the sheet, here).
- Click the downward arrow as shown below.

- Select the sheet name (gunName) in Scope.
- Click OK.
- Enter the following formula in any cell. Here, F7.
=AmmunitionStore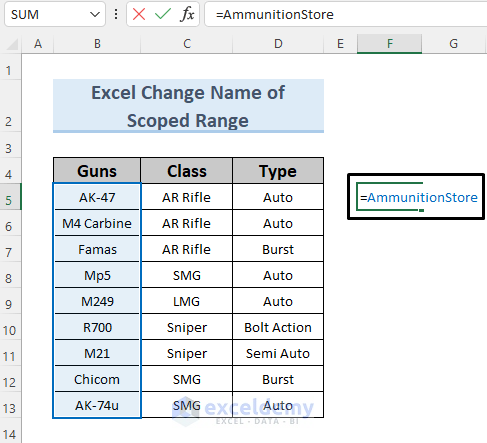
- Press ENTER button and you will see the range in B5:B13.
Note: You cannot use this range in another worksheet in your Excel file.
Read More: How to Paste Range Names in Excel
Method 2 – Changing the Scope of a Named Range in the workbook
Steps:
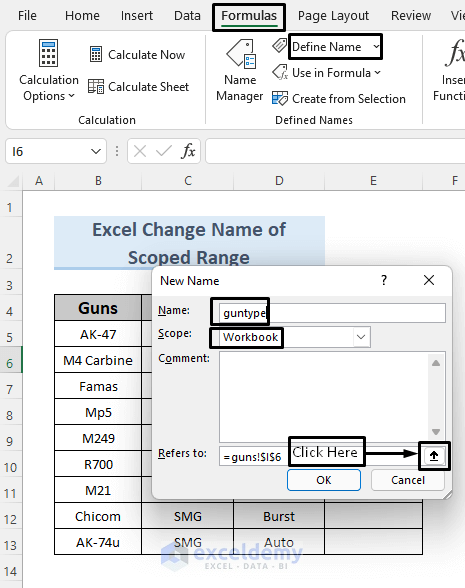
- Go to Formulas >> Define Name.
- In the dialog box, enter guntype (here) in Name.
- Select Workbook in Scope.
- Click the upward arrow as shown below.
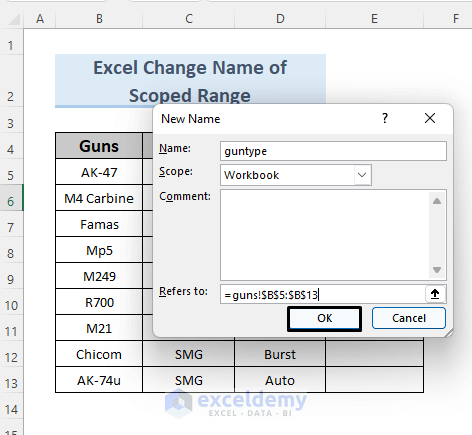
- Select B5:B13.
- Click the downward arrow as shown below.

- Click OK.
- Go to Formulas >> Name Manager.
- Select guntype in Name
- Enter the following formula in Refers to:.
=FILTER(guns!$B$5:$B$13,guns!$D$5:$D$13="Auto")- Click Close.
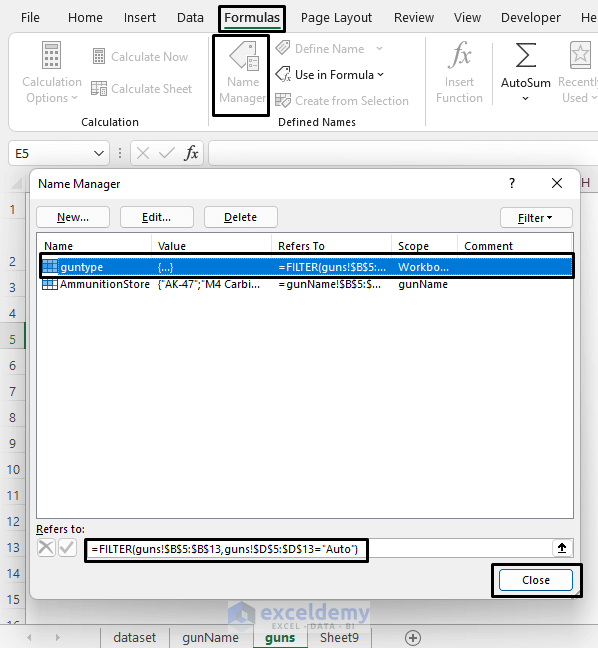
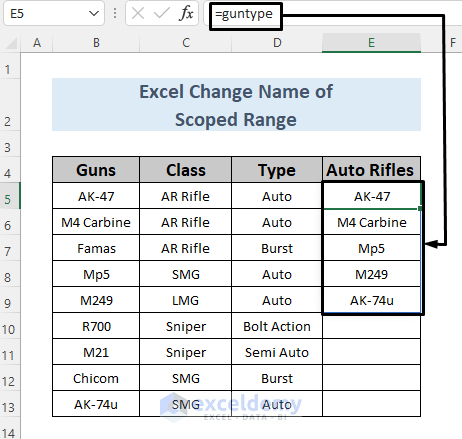
The FILTER function searches for the automatic types in D5:D13, compares and filters the types with the guns in B5:B13.
- Enter the following formula in E5.
=guntype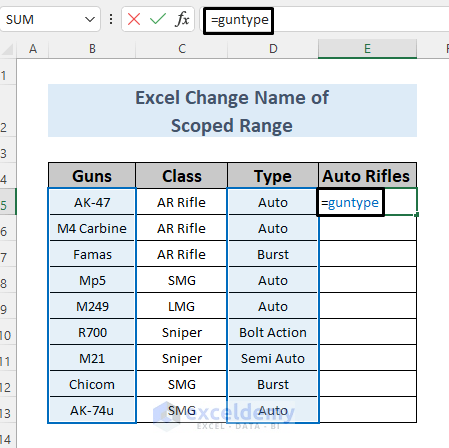
- Press ENTER and you the output in column E.
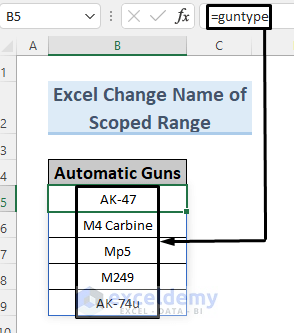
You can use this formula to copy the automatic guns to other sheets in your file.
- Open a new sheet and enter the formula in any cell. Here,B5.

‘auto guns’ is the new sheet.
- Press ENTER button and you will see the output in column B.
Read More: How to Name a Column in Excel
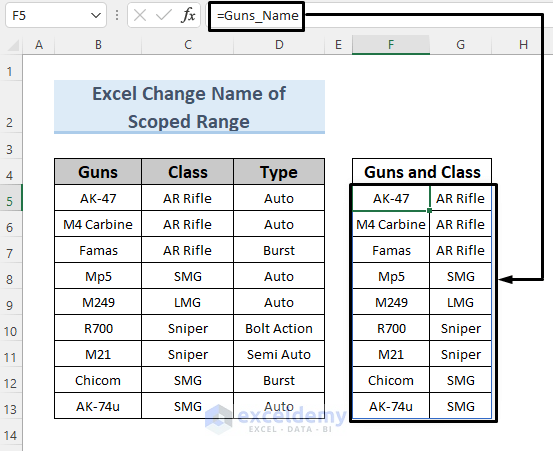
Method 3 – Applying a VBA to Change the Scope of a Named Range in Excel
Steps:
- Select B5:D13 and name it Guns_Class.

- Open Visual Basic in the Developer Tab.

- In Insert, click Module.

- Use the following code in the Module.
Sub Change_Scope_Name()
Application.Calculation = xlManual
Names("Guns_Class").Delete
Range("vba!$B$5:$C$13").Name = "vba!Guns_Name"
Application.Calculation = xlAutomatic
End Sub
The code deleted the Name range Guns_Class and replaced it with a new range Guns_Name using the Name method.
- In Macros, click Run.

- Enter the following formula in any cell.
=Guns_Name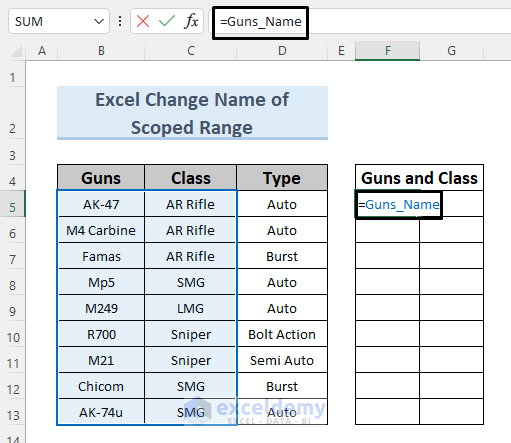
- Press ENTER and you will see the selected range in F5:G13.
Read More: How to Delete All Named Ranges in Excel
Practice Section
Practice here.

Download Practice Workbook
Related Articles
- How to Find a Named Range in Excel
- How to Navigate to a Named Range in Excel
- How to Name a Group of Cells in Excel
- How to Display Named Range Contents in Excel
- How to Edit Named Range in Excel
<< Go Back to Named Range | Excel Formulas | Learn Excel
Get FREE Advanced Excel Exercises with Solutions!
