In Microsoft Excel, we often use a Text Box for indicating certain instructions. It is a very handy tool with different types of elements. We can edit this Text Box in various ways according to preference. In this article, let us learn in 2 simple ways how to edit Text Box in Excel.
How to Edit Text Box in Excel: 2 Simple Ways
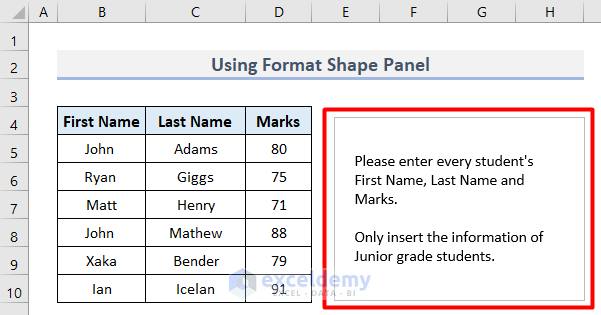
To describe the process, here is a sample dataset with the information of First Name, Last Name, and Marks of a few Junior Section students.
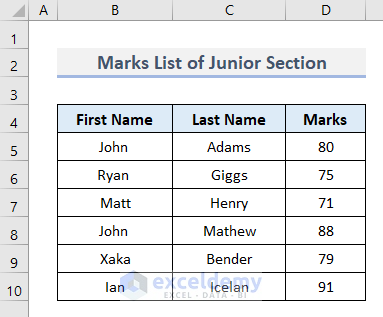
Now, we want to give an instruction to insert this information for the rest of the students in a Text Box. Therefore, follow the methods below to create and edit a Text Box for this purpose.
1. Edit Text Box Using Format Shape Panel in Excel
In this first method, let us insert a Text Box from the Text section first.
- First, go to the Insert tab and select Text.
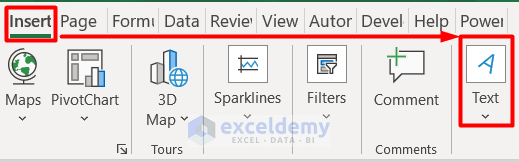
- Then, choose Text Box from the drop-down menu.

- Next, you will see an Anchor icon as shown below.

- Then, left-click and drag this icon to create a box on your worksheet.
- Afterward, type your required text inside it.
- Finally, the output will look like this.

- Now, select the Text Box and right-click on it to select Format Shape.

- Lately, you will notice the Format Shape panel on the right side.

Now, we will edit this Text Box in this Format Shape panel under the Text Options and Share Options. There are many features in these sections. You may try all of them or a few according to your choice.
1.1. Change Alignment
Let us change the alignment of the text in the Text Box following the process.
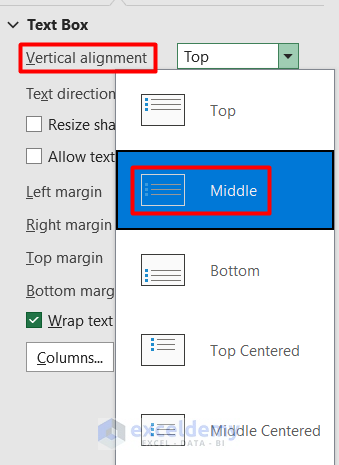
- To do this, select any option from the Vertical alignment list.
- For example, we chose the Middle.
- As a result, the output will look like this.

Read More: How to Align Text Boxes in Excel
1.2. Change Text Direction
We can also change the text direction inside the box following the steps below.
- First, select any option from the list of Text direction in the Format Shape panel.
- For instance, we selected Rotate all text 90°.

- Finally, the text will be rotated like this.

1.3. Resize & Move Box Shape
To edit the size of the Text Box and move it to anywhere on the worksheet, go through these steps.
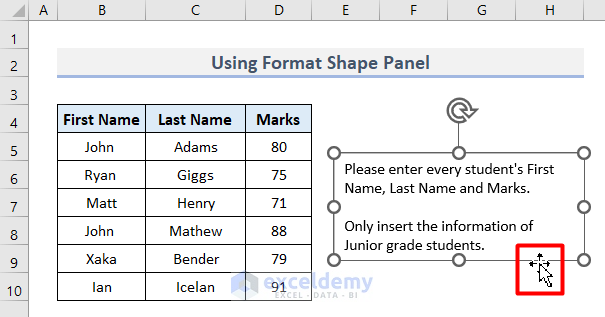
- To resize the box, click on it and you will see a both-sided arrow on the edge points of the box.
- Here, holding the right-click button move directionally and resize it.

- Along with it, you can fit the box size as per the text length.
- To do this, select the Resize shape to fit text option in the Format Shape panel.

- Therefore, it will be in a compact shape like this.

- On the other hand, to move the Text Box, select it and you will notice this 4-directional arrow.
- Then, hold it and move the box anywhere.
1.4. Change Margin
For adjusting the margins of the text inside the Text Box, follow these instructions.
- In the Text Option, enter any value for each type of margin according to your preference.
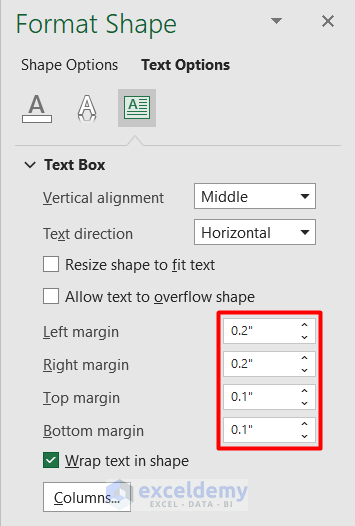
- As a result, the Text Box text will look more organized than before.
1.5. Separate Text in Columns
You may need to split the text into several columns, according to the pattern of the text. To do this, follow the process below.
- In the beginning, select Columns under the Text Options in the Format Shape panel.

- Then, type the number of columns that you need to separate the text in the Number box.
- Along with it, you can also manually specify the gap between columns in the Spacing box.

- Afterward, press OK.
- Finally, you will notice the text is separated into 2 columns.

1.6. Adjust Line Spacing
To add spaces between lines within a textbox, apply this process.
- Firstly, select all texts inside the Text Box.
- Secondly, right-click on it and select Paragraph.

- Next, change the values in the Spacing section according to your requirements.

- Lastly, press OK.
- Finally, you will notice spacing among the lines in the text.

1.7. Format Text Box Outline & Color
We can ornament the Text Box with these steps. We will do it under the Shape Options of the Format Shape panel.
- First, change the pigment of the Text Box in the Color box and adjust the opacity in the Transparency box under the Fill section.
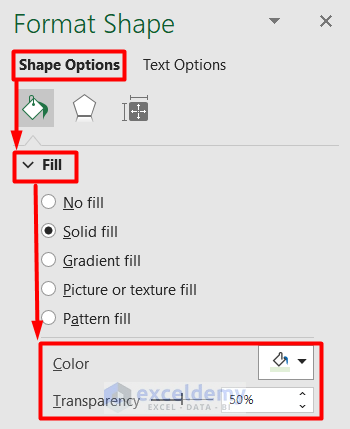
- Then, just below it, under the Line section, make changes according to your preference.

- Finally, the Text Box will look like this.

Read More: Formatting Text Box in Excel: All Properties to Explore
2. Insert & Edit Text Box Utilizing Excel Ribbon
The Shape Format tab in the Excel Ribbon also benefits us in editing Text Box. For this, let’s create a Text Box in a new process.
- First, go to the Insert tab and select Shapes.

- Then, choose Text Box in the drop-down menu.

- Now, just like before, drag the Anchor icon on your worksheet to anchor the text box.
- After this, type your required text and it will look like this.

Now, go through these features and edit this text as you like.
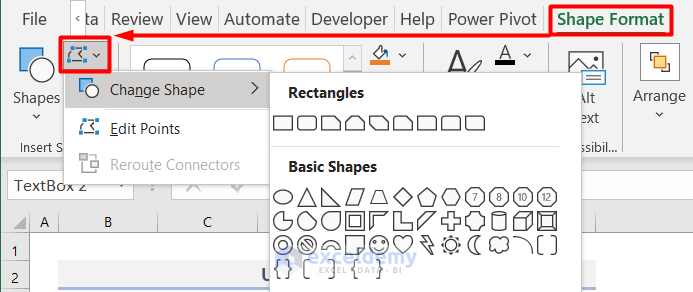
2.1. Change Shape
To change the Text Box shape, go through this instruction.
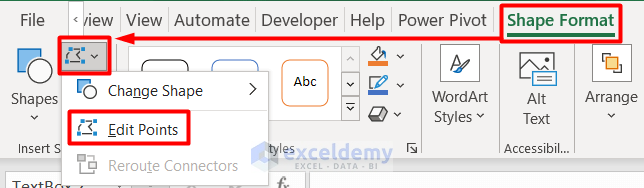
- To do this, go to the Shape Format tab and select the Edit Shape icon.
- Hereafter, select any shape from the list of Change Shape.
- For instance, we chose Rectangular: Rounded Corner.
- As a result, the Text Box will look like this.

Read More: How to Get a Text Box Linked to Cell in Excel
2.2. Edit Points
The Edit Points feature helps to shape the Text Box more dynamically.
- To do this, select Edit Points under the Insert Shapes group in the Shape Format tab.
- As a result, you will notice some black points on each corner of the box.
- Now, put the cursor on any of them and you will see a 4-directional arrow.

- Lately, left-click on this arrow and drag to any direction for making a free-formed Text Box.
Read More: How to Link Textbox to Multiple Cells in Excel
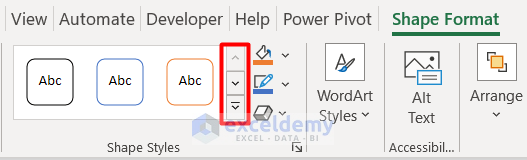
2.3. Format Shape Style
There are many options to format the shape of the Text Box. Let’s see them in brief.
- To change the style, choose any option from the list by clicking the arrows as shown below.
- To change the color or add any image, explore the options in the Shape Fill section.

- Along with this, format the outline of the box from the Shape Outline section.

- Lastly, you can make it more dramatic by adding some effects from the Shape Effects feature.

- Finally, the Text Box looks like this.

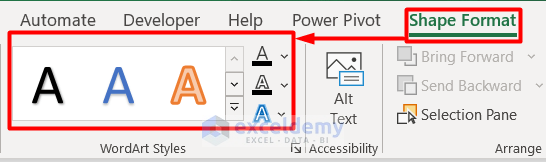
2.4. Edit Text Font
You can edit the text inside the Text Box with this process.
- For changing the style of text, explore the options in the WordArt Styles on the Shape Format tab.
- Otherwise, select all texts and right-click to select Font from the Context Menu.

- Afterward, change the parameters in the Font tab.
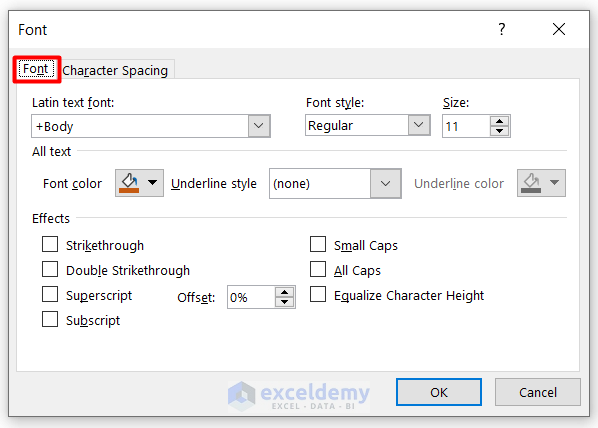
- Along with it, you can also change the spacing of text from the Character Spacing tab.

- Lastly, press OK to see the final output.

2.5. Rotate Text Box
Follow these instructions to rotate the Text Box in Excel.
- To rotate the Text Box, simply choose any rotation option from the Rotate section in the Shape Format tab.
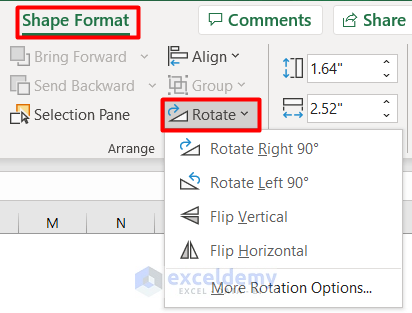
- Therefore, the Text Box will be rotated successfully.

2.6. Resize Text Box
You can resize the Text Box by dragging the 2-directional arrow as shown in this image.
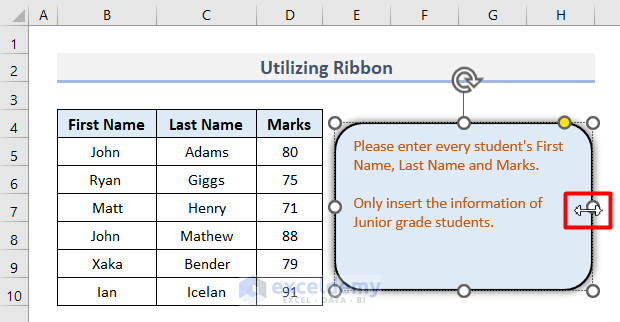
Otherwise, you can resize it with numerical values in the Size section of the Shape Format tab.

Download Practice Workbook
Download this sample file to practice by yourself.
Conclusion
Finally, we are at the end of our article. In 2 simple ways, we tried to illustrate how to edit Text Box in Excel. Explore all the features that we described above and let us know your opinion.
Related Articles
<< Go Back to TextBox | Learn Excel
Get FREE Advanced Excel Exercises with Solutions!
