Method 1 – Text Box Removed from Main Tab
Solution:
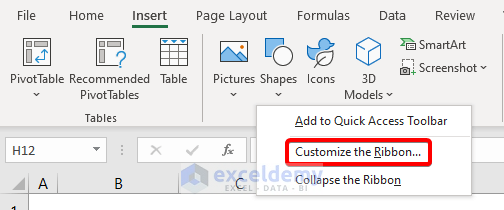
- We will show how to retrieve this option.
- Move the cursor to the main tab. Press the right button of the mouse.
- Choose the Customize the Ribbon option.
- The Excel Options window appears.
- Choose the Main Tabs option from the Choose commands from the section.
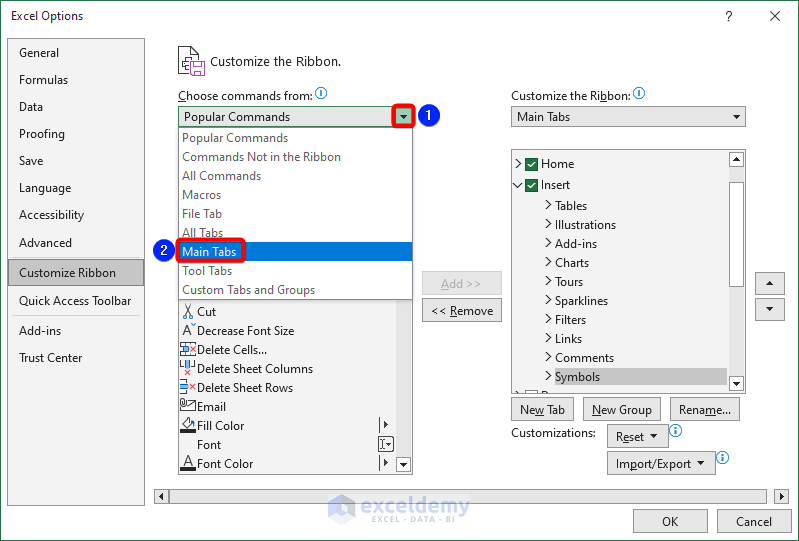
We can also avail this section from File >> Options >> Customize Ribbon.
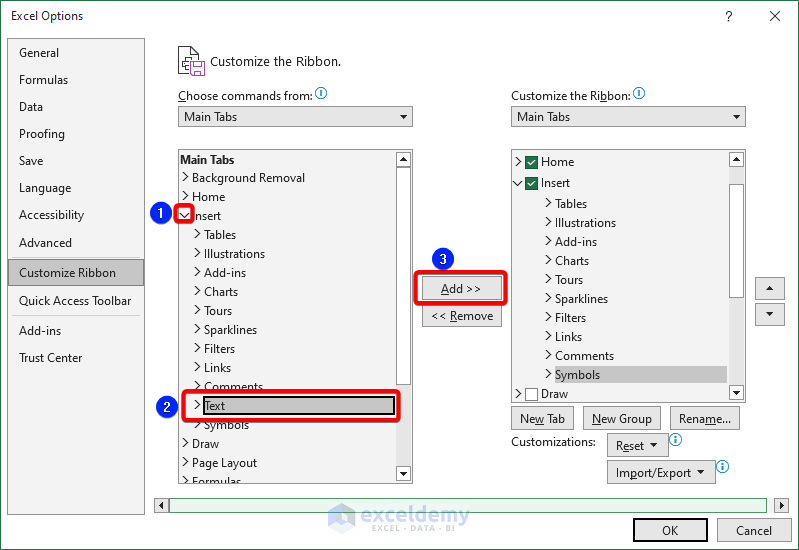
- Choose the Insert >> Text from the Main Tabs section.
- Press the Add button after that.
- The Text option has been added in the Insert tab.
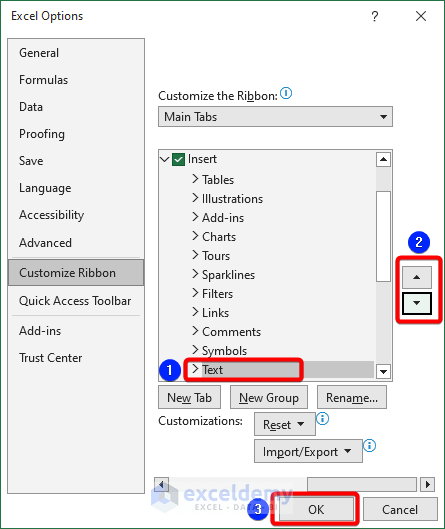
Scroll up or down the Text option from the left-sided arrows.
- Press the OK button and look at the main tab.

We can see the Text group and the Text Box option in the ribbon.
Method 2 – No Outline Command Makes Text Boxes Invisible
Solution:
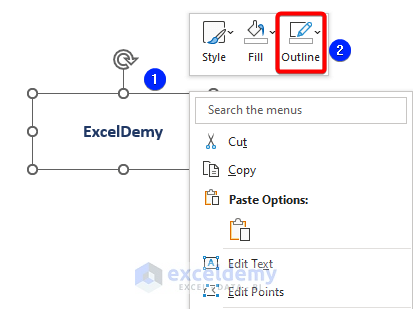
- Move the cursor around the text written in the dataset.
- When getting to the text box, press the right button of the mouse.
- Choose the Outline option.
- Select the Theme Color from this list.
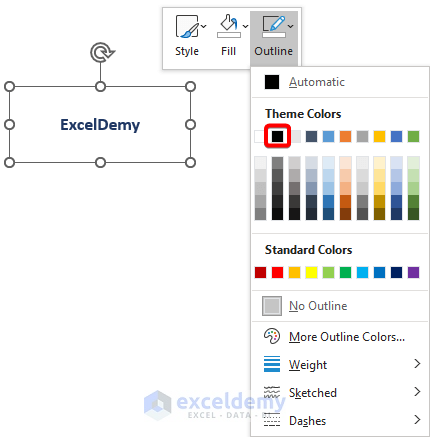
- Look at the dataset now.
The text box is visible now.
Method 3 – Text Box from the Shapes Menu Is Not Visible
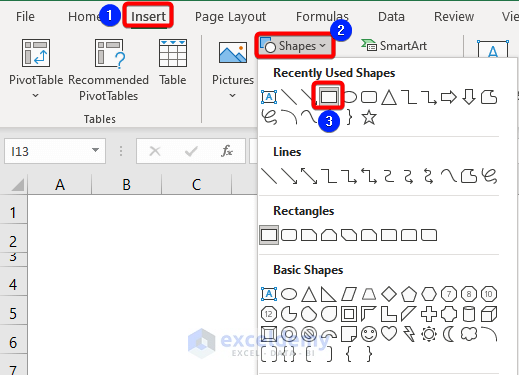
- Go to the Insert tab.
- Choose the Shapes option from the Illustrations group
- We select the shape from the list.
- Place the shape in the dataset.
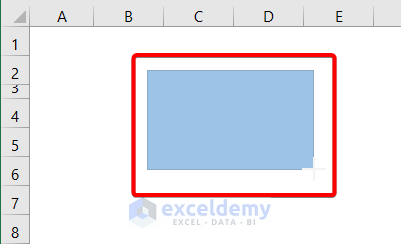
- Insert text inside the shape.
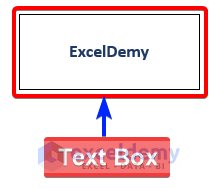
The text is there, but the box is not invisible.
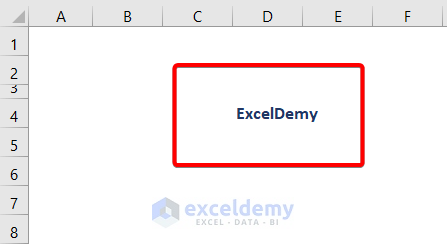
Solution:
- Move the cursor around the text and identify the shape.
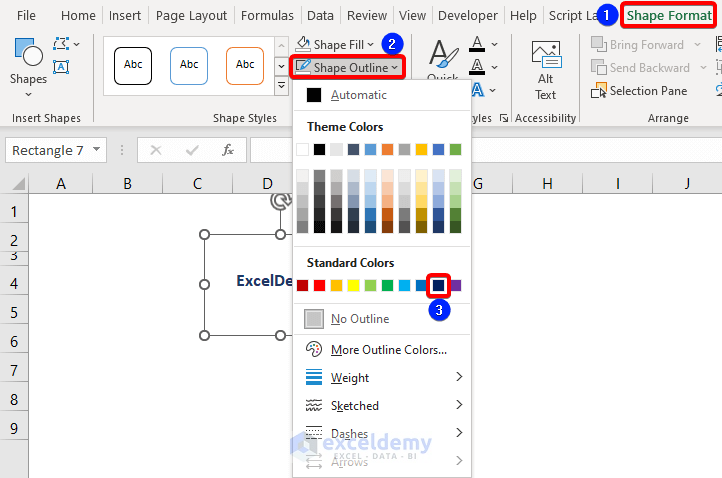
- Go to the Shape Format tab.
- Choose Shape Outline from the Shape Styles group.
- Select the desired color from the list.
- Look at the dataset.
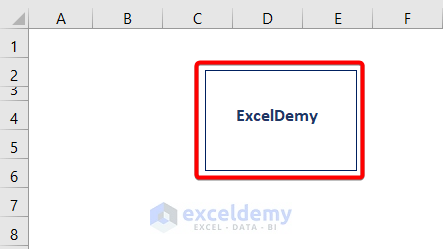
The shape is visible, and it works as the text box.
Related Articles
- How to Edit Text Box in Excel
- How to Delete Text Box in Excel
- How to Link Textbox to Multiple Cells in Excel
<< Go Back to TextBox | Learn Excel
Get FREE Advanced Excel Exercises with Solutions!
