Method 1 – Using Text Box Command from Insert Tab
Steps:
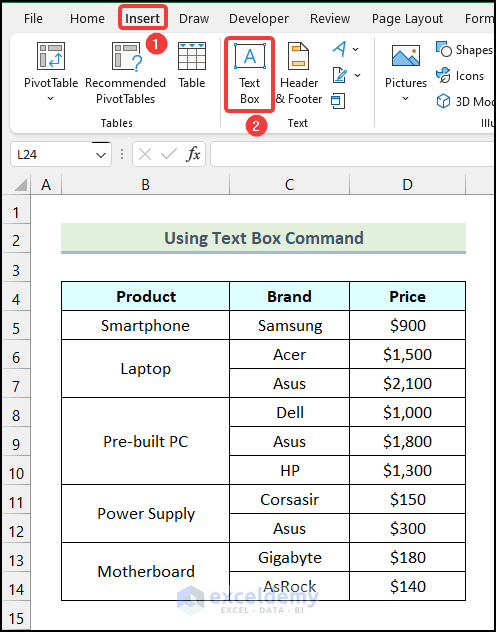
- Go to the Insert tab from Ribbon.
- Choose the Text Box option from the Text group.
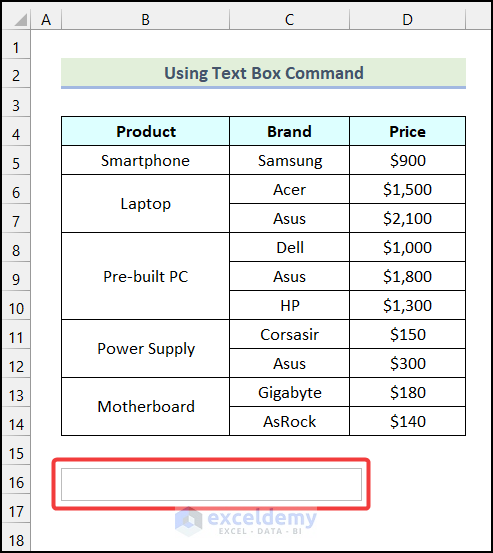
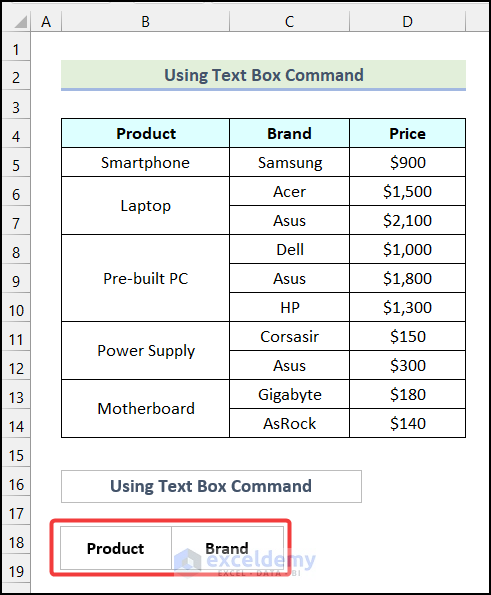
- Click and hold the left mouse button and draw your desired text box. We inserted the following text box.
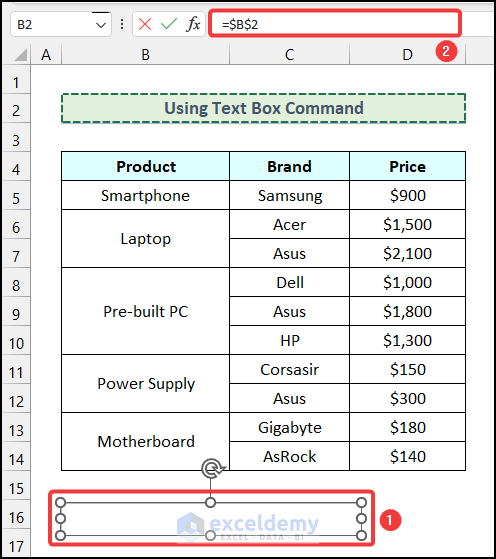
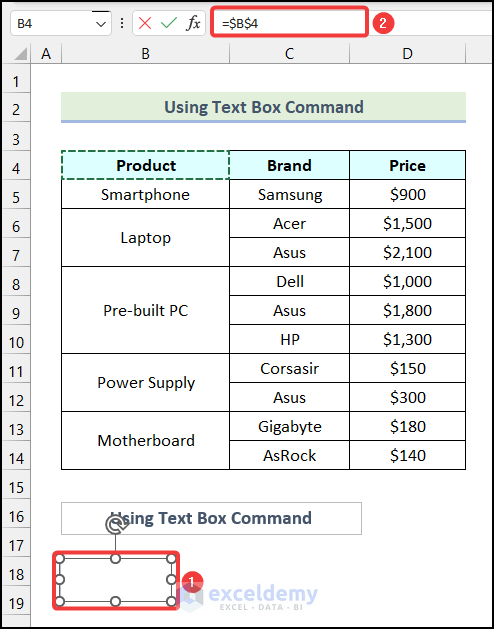
- Click on the newly created text box.
- Go to the formula bar and type equal (=).
- Click on the cell that you want to show in the text box. In this case, we used cell B2.
Your final formula will be like this.
=$B$2- Press ENTER.
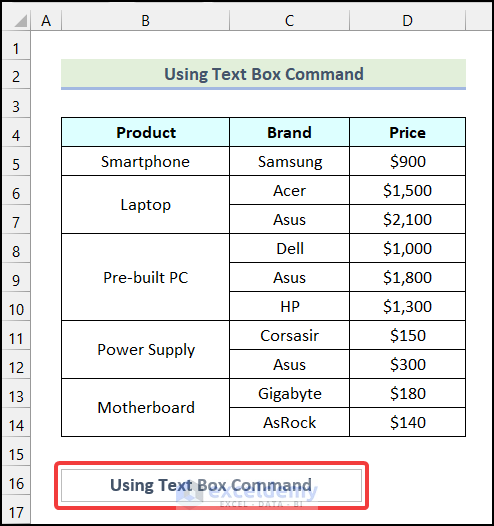
The content of cell B2 will be shown in the text box as shown in the following image.
- Follow the same process and create another text box.
- Click on the text box and insert the following formula in the formula bar.
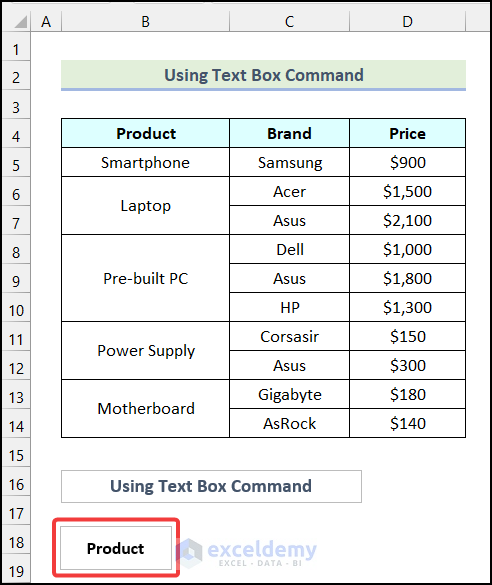
=$B$4Cell B4 indicates the heading of the Product column.
- Hit ENTER.
The contents of cell B4 will be visible in the second text box.
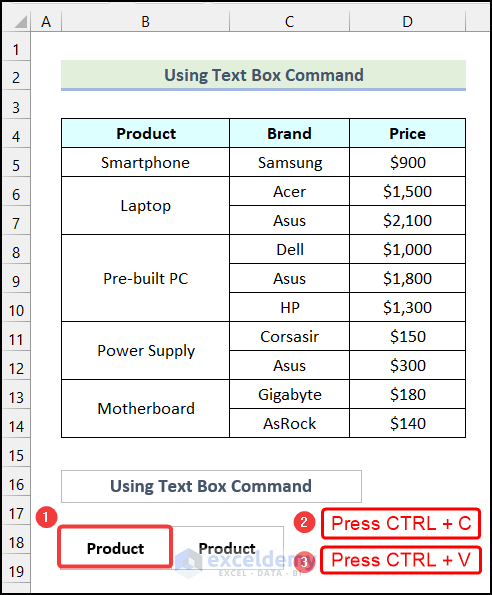
You don’t need to create text boxes in this way every time. You can simply copy a text box and then paste it. You can edit the text boxes.
- Select the text box you want to copy.
- Use the keyboard shortcut CTRL + C to copy the text box.
- Press CTRL + V to paste it.
- Resize the new text box and reposition it according to your needs.
- After you have placed the new text box in its position, click on the text box.
- Apply the following formula in the formula bar.
=$C$4Cell C4 refers to the heading of the Product column.
- Press ENTER.
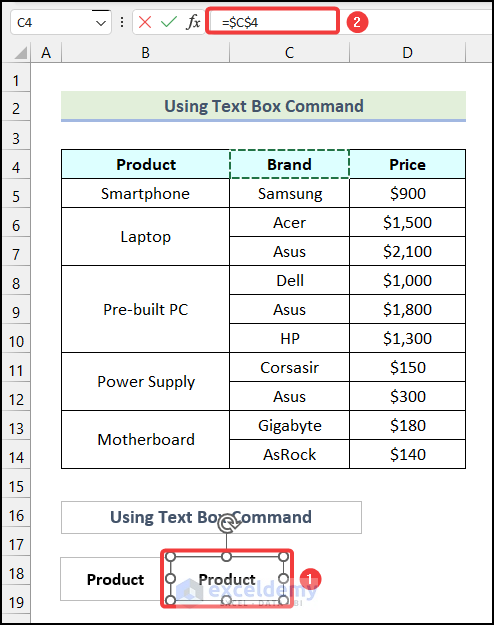
You will have the following output inside the new text box.
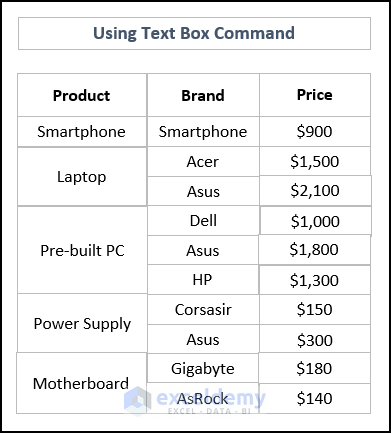
- Follow the same procedure for the rest of the cells to get the following output.
We will group them together so that all of these text boxes can float together.
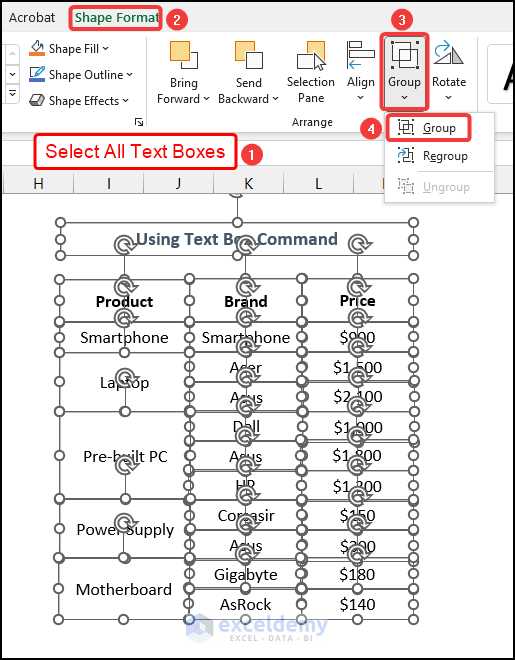
- Click on any text box and then press CTRL + A to select them all.
- Go to the Shape Format tab from Ribbon.
- Click on the Group option from the Arrange group.
- Click on the Group option from the drop-down.
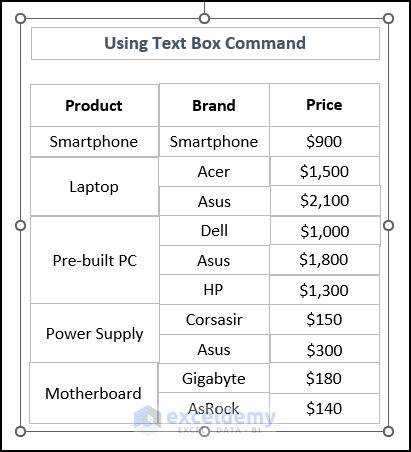
You will have a set of floating text boxes, as demonstrated in the following picture. Drag these text boxes anywhere in your worksheet.
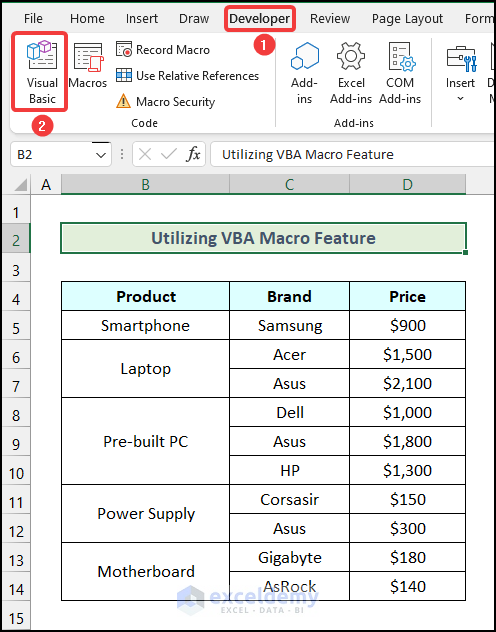
Method 2 – Utilizing VBA Macro Feature
Steps:
- Go to the Developer tab from Ribbon.
- Choose the Visual Basic option from the Code group.
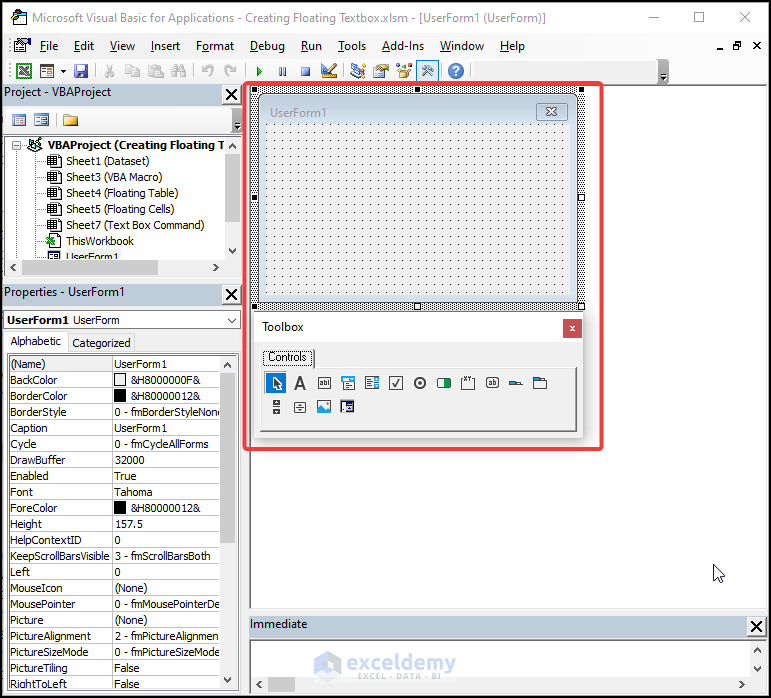
The Microsoft Visual Basic window will open on your worksheet.
- In the Visual Basic window, go to the Insert tab.
- Choose the UserForm option from the drop-down.

The following UserForm window will be available along with a Toolbox, as shown in the image below.
- Click on the Text Box icon inside the Toolbox, as marked in the following picture.
- Drag it inside the UserForm1 window.
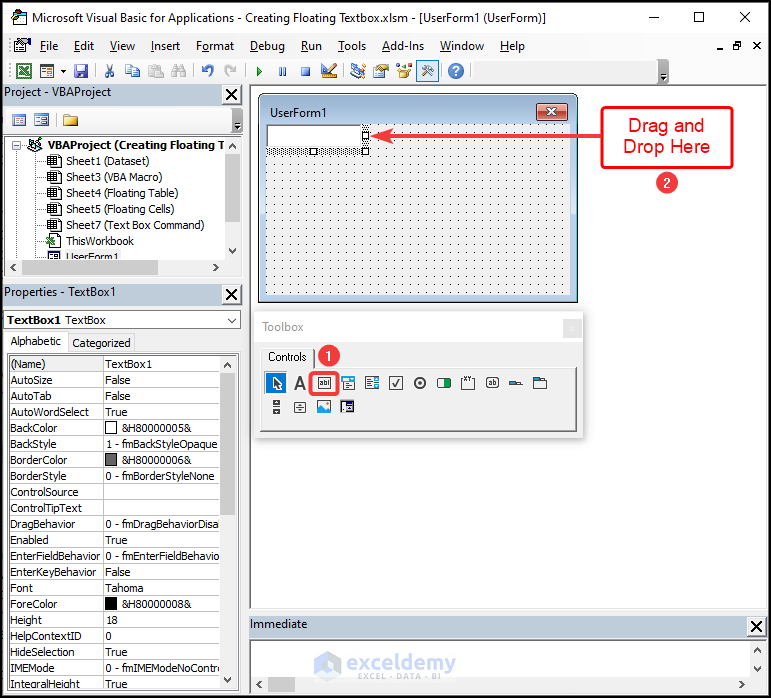
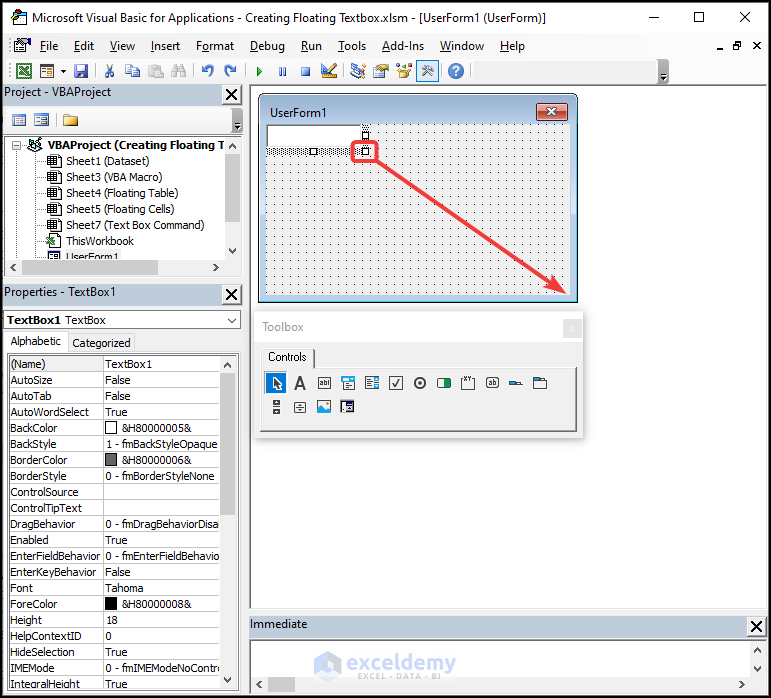
- Resize the text box so that it matches the edges of the UserForm1 window.
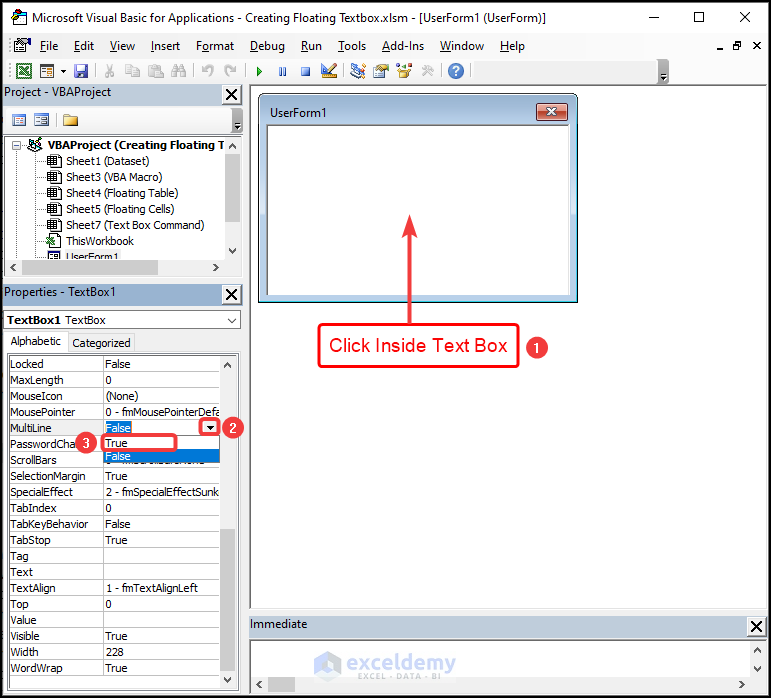
- Click on anywhere inside the text box.
- Search for the Multiline option in the Properties – TextBox1 section on the left side of your screen.
- Click on the drop-down icon beside the Multiline option and choose the True option.
Note: If you can’t find the Properties section, go to the View tab in the Visual Basic window and select the Properties Window option.
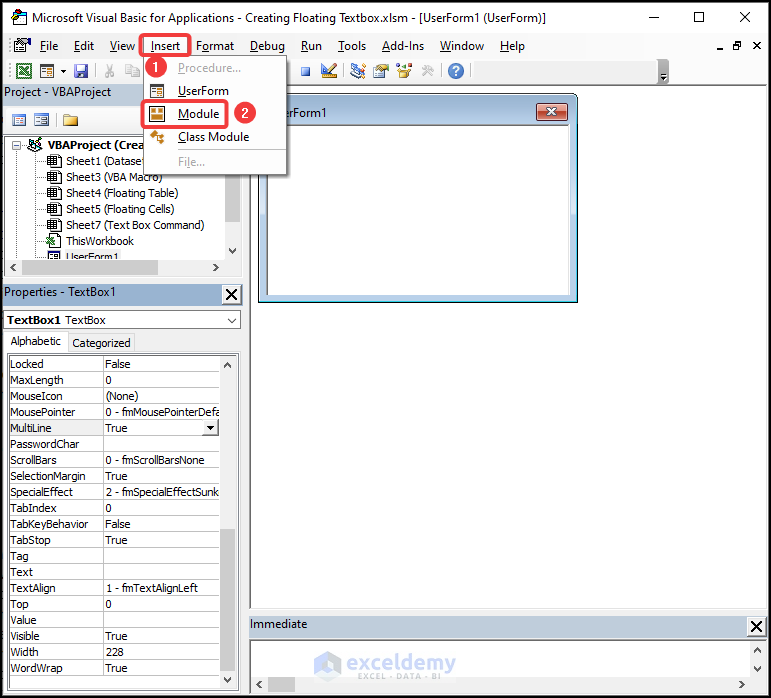
- Go to the Insert tab and choose the Module option from the drop-down.
- Write the following code in the newly created Module.
Sub floating_text_box()
UserForm1.TextBox1.Text = "Product Brand Price" & vbLf & "Laptop Acer $1,500"
UserForm1.Show vbModeless
End Sub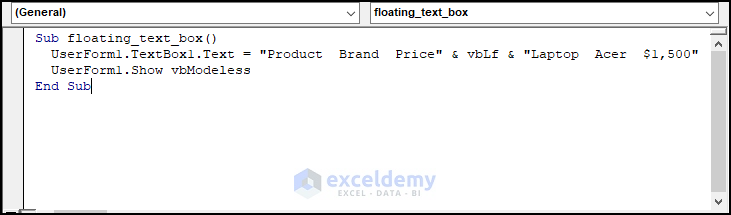
Code Breakdown
- We initiated a sub-procedure named floating_text_box.
- We specified what should be displayed inside the text box.
- We used the vbLf character to go to the next line. Add more vbLf characters to add more lines.
- We ended the sub-procedure.
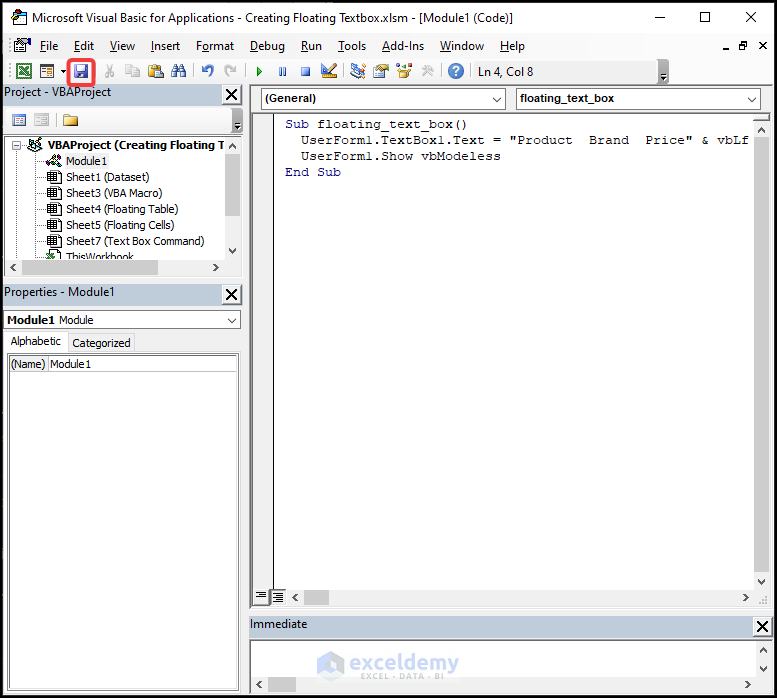
- After writing the code, click the Save option.
- Press the keyboard shortcut ALT + F11 to redirect to the worksheet.
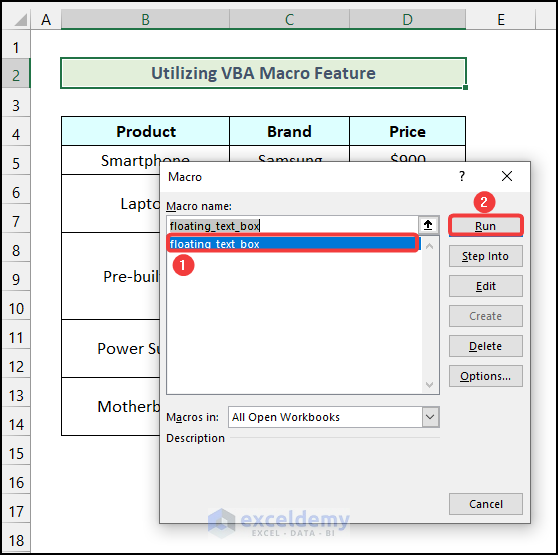
- Use another keyboard shortcut ALT + F8 to open the Macro dialogue box.
- In the Macro dialogue box, choose the floating_text_box option.
- Click Run.
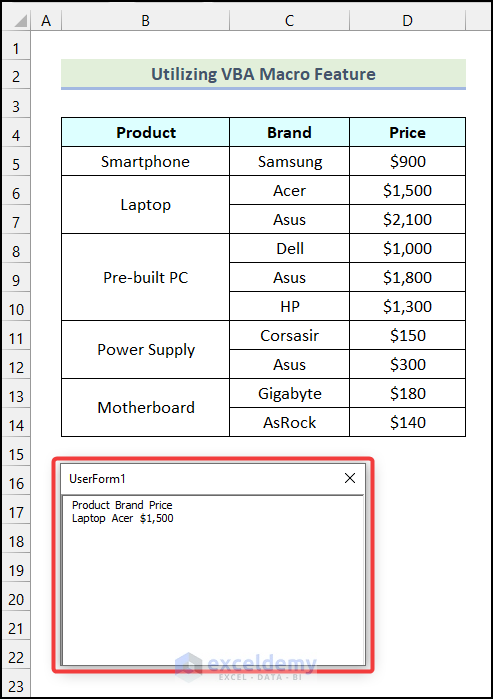
The following floating text box will pop up on your worksheet, as shown in the following image.
How to Create a Floating Table in Excel
Steps:
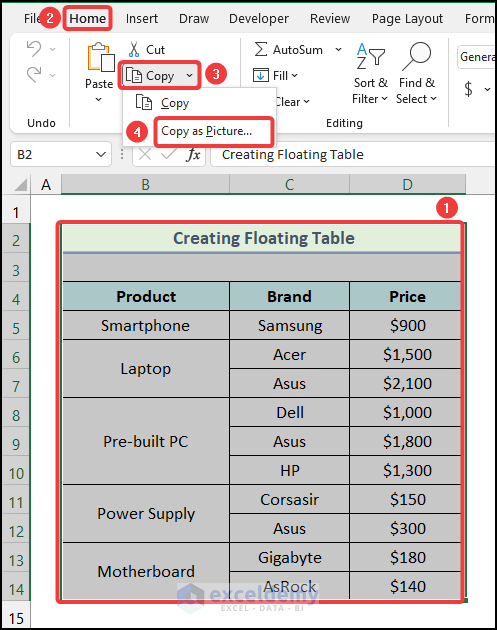
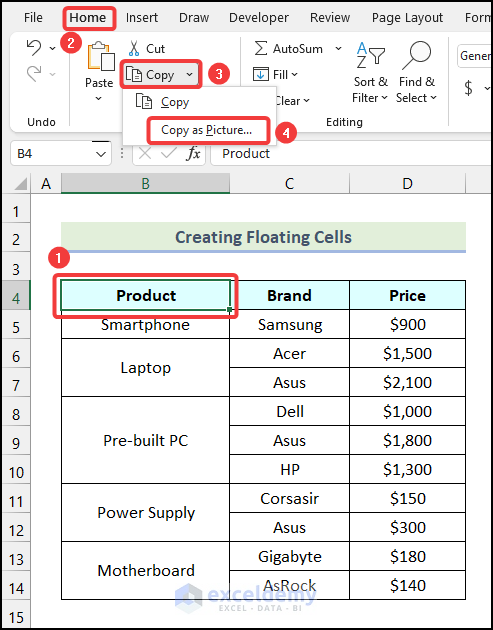
- Select the entire table and go to the Home tab from Ribbon.
- Click on the Copy option from the Clipboard group.
- Choose the Copy as Picture option from the drop-down.
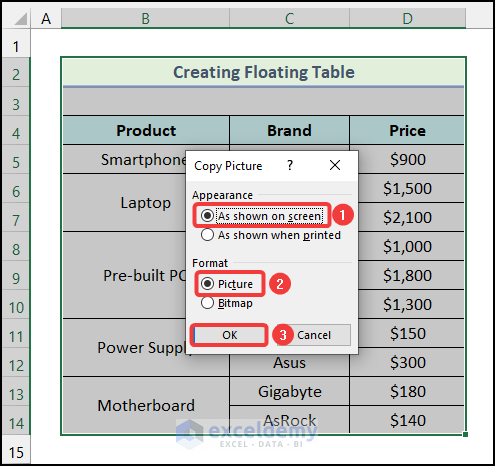
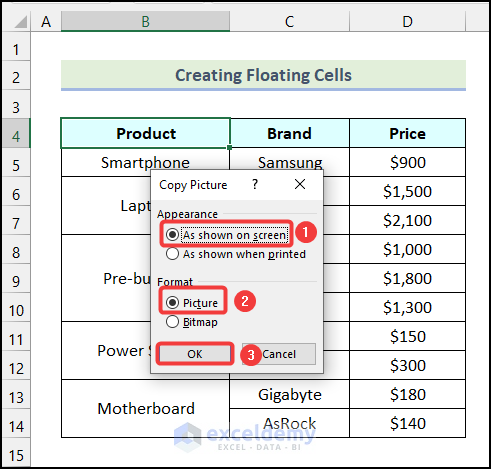
- Choose the As shown on screen option in the Appearance field.
- From the Format field, select the Picture option.
- Click OK.
- Select the destination cell where you want to paste the floating table.
- Press the keyboard shortcut CTRL + V.
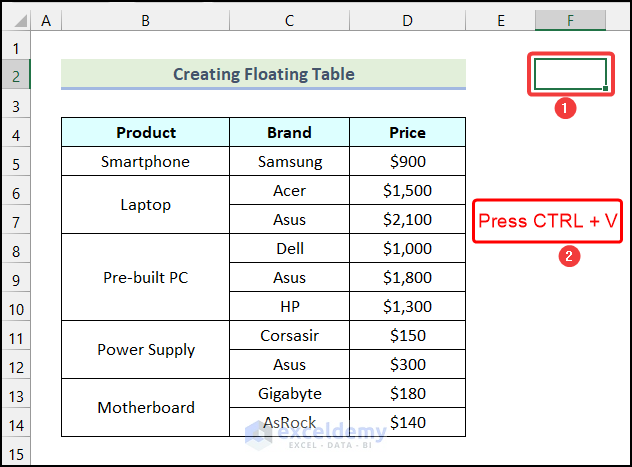
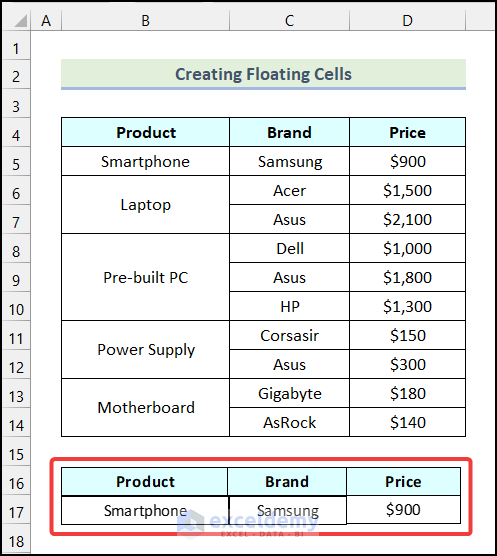
You will have a floating table on your worksheet, as demonstrated in the image given below.

How to Create Floating Cells in Excel
Steps:
- Select a cell from your dataset and go to the Home tab from Ribbon.
- Choose the Copy option from the Clipboard group.
- Select the Copy as Picture option from the drop-down.
- Choose the As shown on screen option in the Appearance field.
- From the Format field, select the Picture option.
- Click OK.
- Select your destination cell and then press the keyboard shortcut CTRL + V to paste the copied cell as a picture.
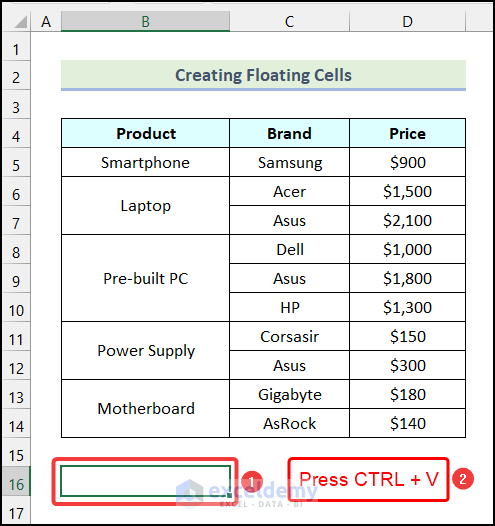
You will have your selected cell as a floating cell on your worksheet, as shown in the following picture.
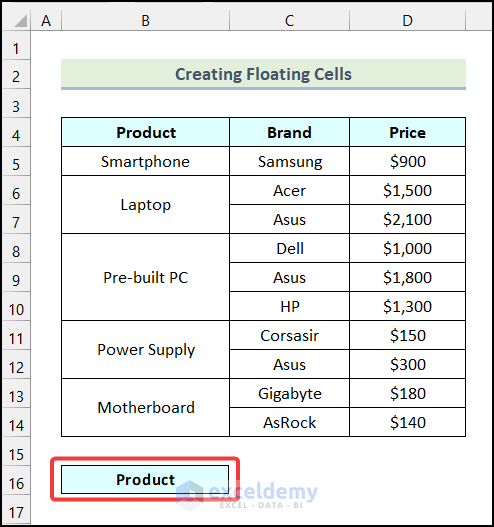
- You can use the same steps and create as many floating cells as you want.
Download Practice Workbook
Related Articles
<< Go Back to TextBox | Learn Excel
Get FREE Advanced Excel Exercises with Solutions!
