Method 1 – Changing Space Between Lines in an Excel Text Box
⏩ Steps:
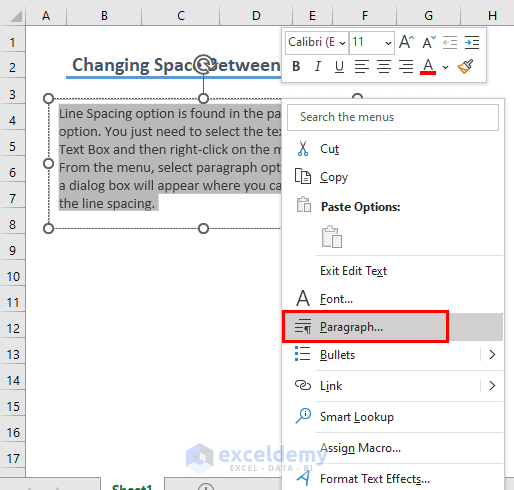
- Click on the Text Box.
- Select the whole text of the box and right-click on it.
- A menu list will appear on the window.
- Select Paragraph from the menu list.
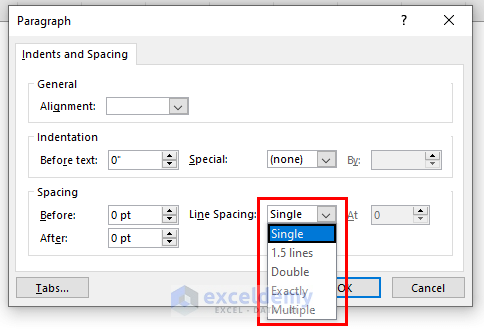
- In the Paragraph dialog box, there is a segment Spacing at the lower side.
- The Line Spacing field is set to Single by default. Click the dropdown of this field to display the options.
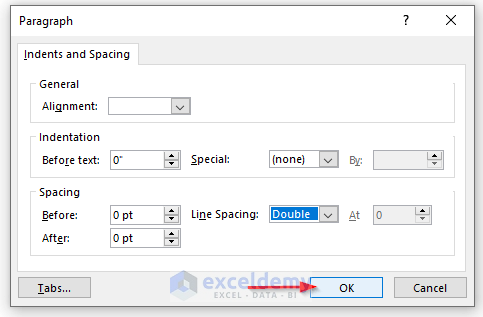
- Select the Line Spacing field as Double and click OK.
- The space between the lines will become double the normal default settings. If your text box is fitted for the normal situation, the texts will cross the borderline of the box.
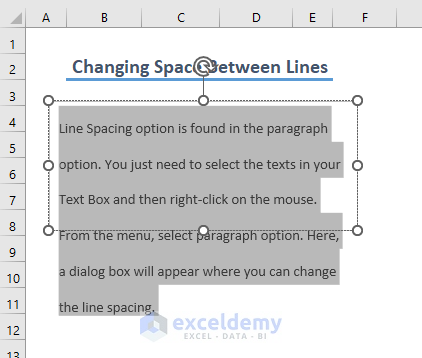
- You have to adjust the borders of the box to display the whole text.

You can utilize the other options for line spacing in the Text Box as per your requirements.
Read More: How to Insert Scrolling Text Box in Excel
Method 2 – Evenly Space Text Boxes in Excel
⏩ Steps:
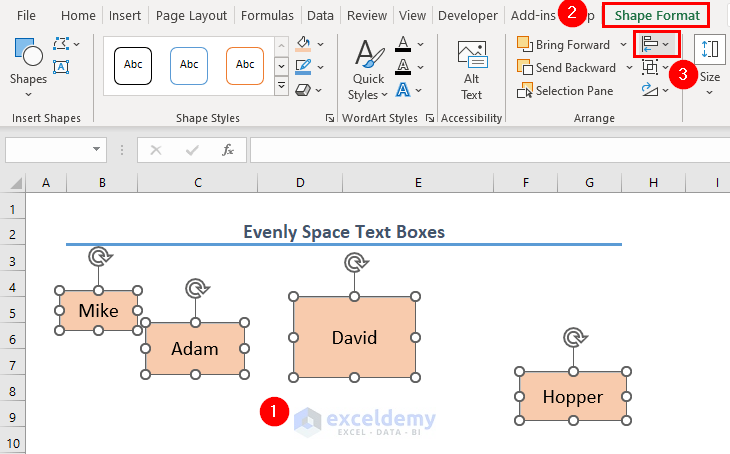
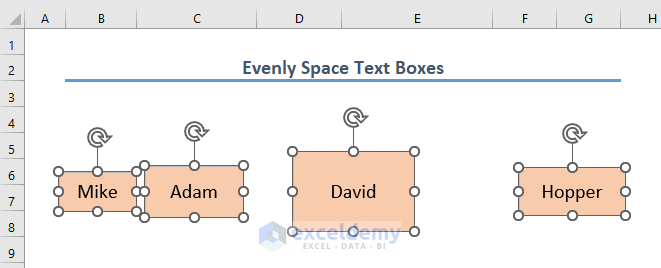
- Hold the SHIFT key and select all the Text Boxes.
- A new tab named Shape Format will appear on the Ribbon.
- Go to the Shape Format tab and click the dropdown arrow of the Align menu under the Arrange group.
- The Align menu will provide a list of options.
- If you want to distribute the even spaces horizontally, select Distribute Horizontally.
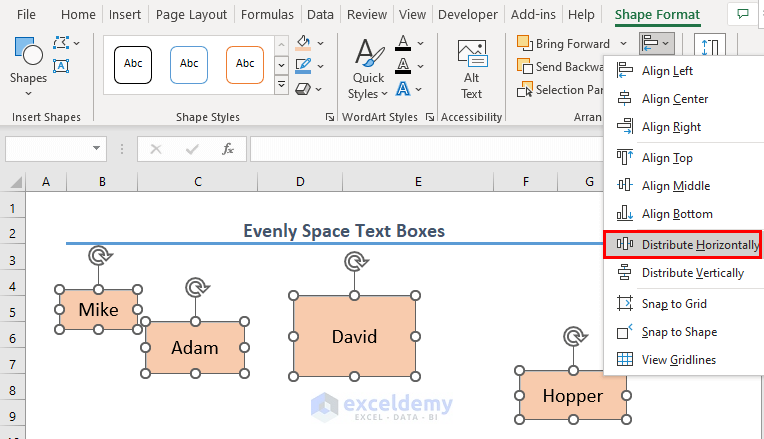
- The boxes will be rearranged horizontally with equal spacing.
- If you want center alignment, click Align Middle.
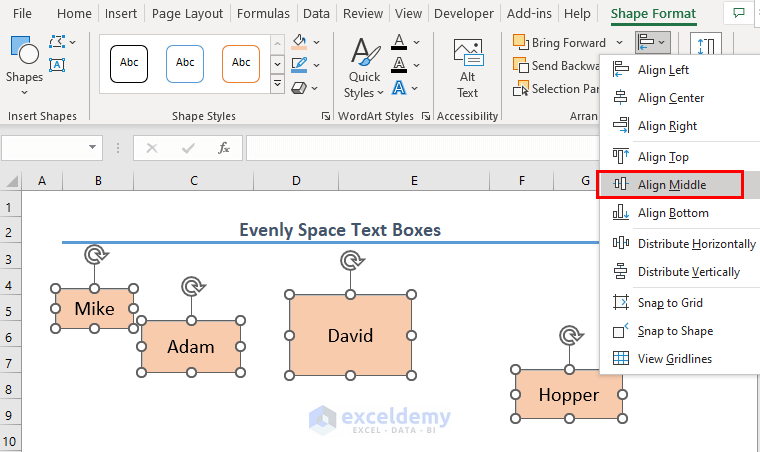
- The boxes will be aligned horizontally but the spacing between them will not be equal.
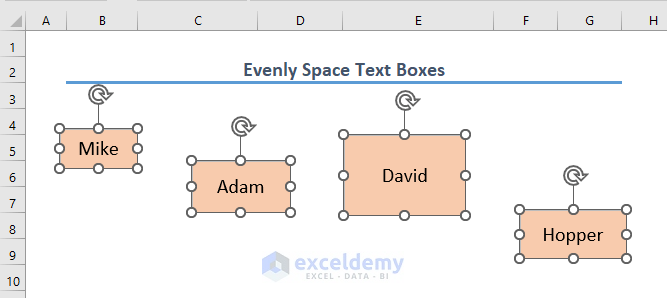
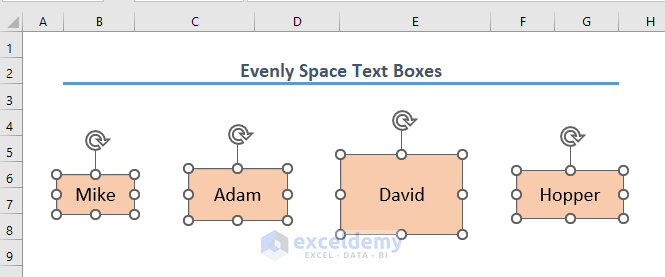
If you want the boxes both equally spaced and centrally aligned, apply both of the two options (i.e. Align Middle, Distribute Horizontally). The result will be as shown in the image below.
Read More: How to Create Floating Text Box in Excel
Things to Remember
- If you want to tighten the text, select the text of the box and reduce the font size with the menu.
- Distribute Horizontally option in the Alignment menu doesn’t mean it will align the boxes horizontally, rather it will distribute spaces horizontally (and vice versa for Distribute Vertically).
- To match one Text Box with another, use the Format Painter tool.
Download Practice Workbook
Related Articles
- How to Anchor Text Box in Excel
- How to Convert Text Box to Cell in Excel
- How to Add a Dynamic Text Box in Excel
<< Go Back to TextBox | Learn Excel
Get FREE Advanced Excel Exercises with Solutions!
