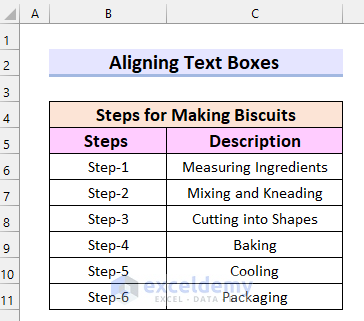
This is the sample dataset.
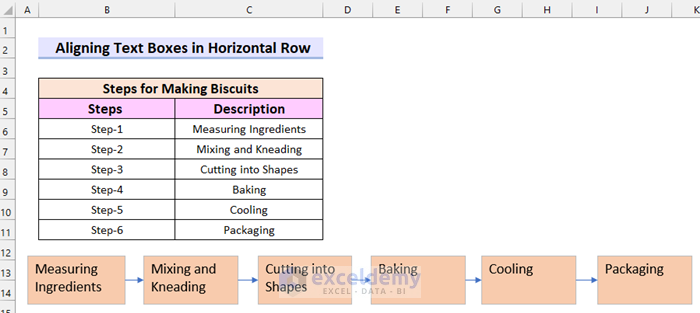
Example 1 – Align Excel Text Boxes in a Horizontal Row
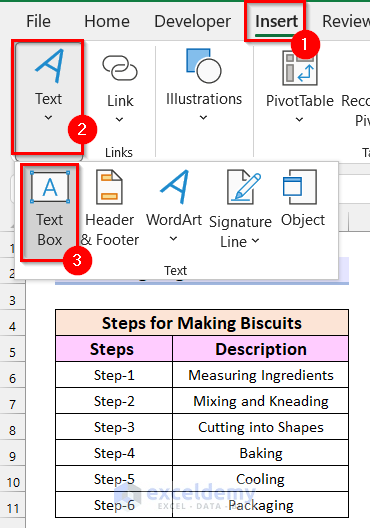
Step 1: Insert Text Boxes
- Go to the Insert tab.
- Select Text.
- Select the Text Box.
- Click and drag the cursor to place the text box.
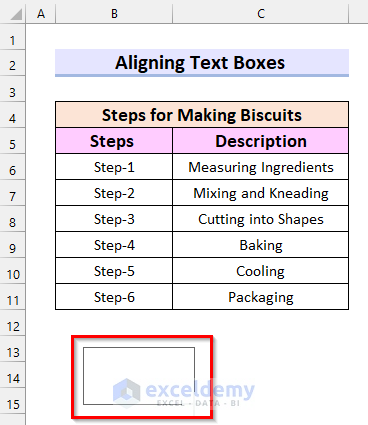
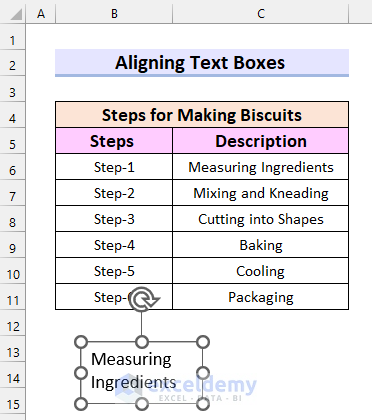
A text box is inserted.
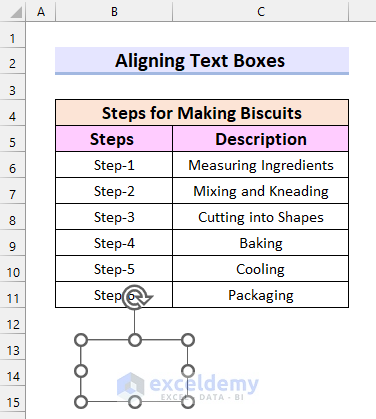
- Select the text box and add your text.
- Enter the following formula:
=$C$6 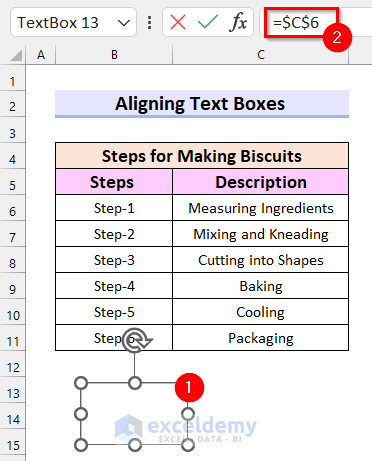
- Press Enter and you will see the text in C6 in the text box.
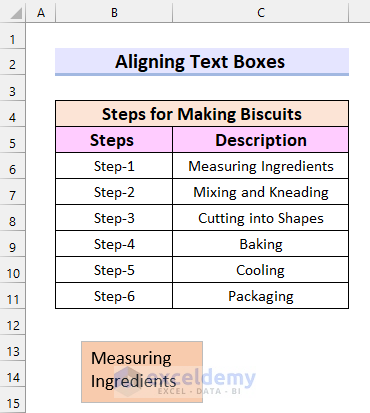
Step 2: Color the Text Box
- Select the text box.
- Go to the Shape Format tab.
- Select Shape Fill.
- Select a color.

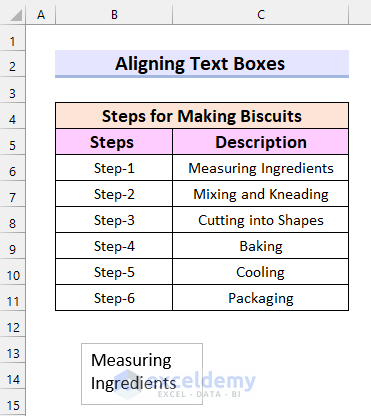
This is the output.
- Enter other text boxes and follow the previous Steps.

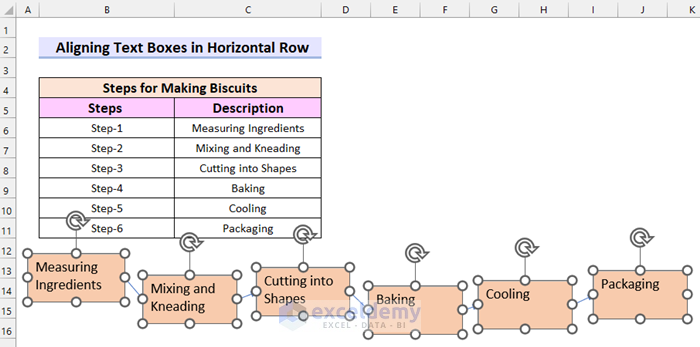
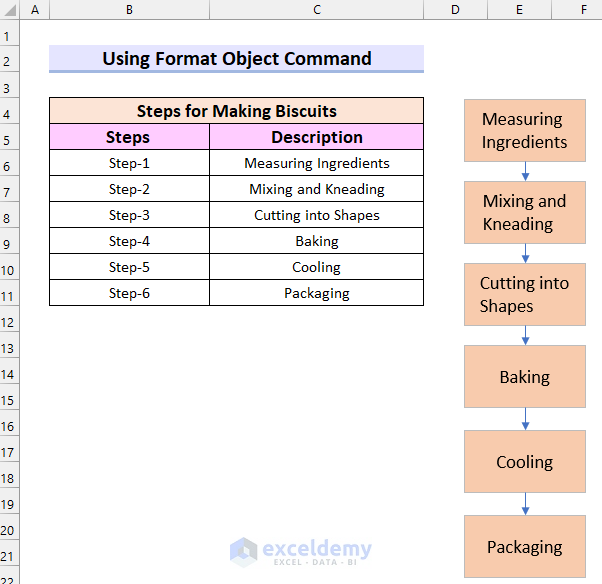
Step 3: Connect the Text Boxes
- Go to the Insert tab.
- Select Illustrations.
- Select Shapes.
- Select Line Arrow.
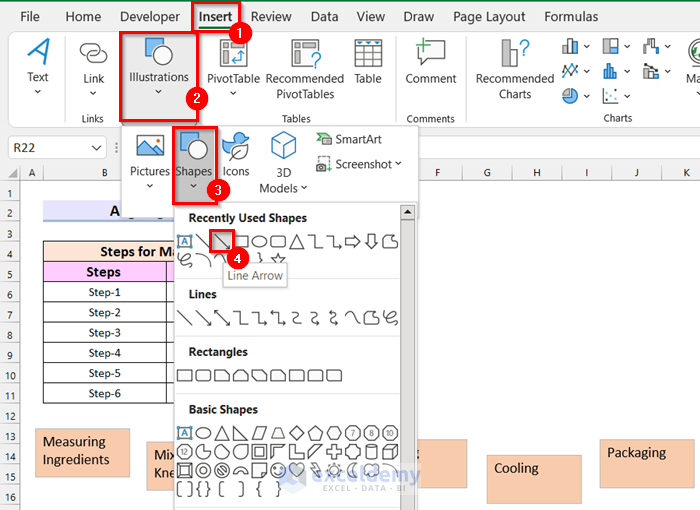
- Join the first text box with the second one.
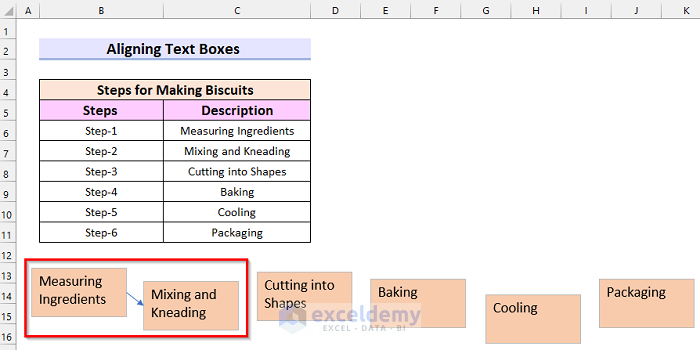
- Join all text boxes to get the flow chart.
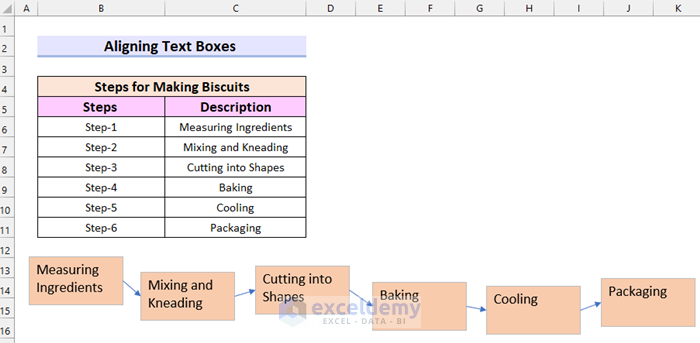
Step 4: Text Boxes Alignment
- Select all text boxes holding Shift.
- Go to the Shape Format tab.
- Select Align.

- Select Align Top.
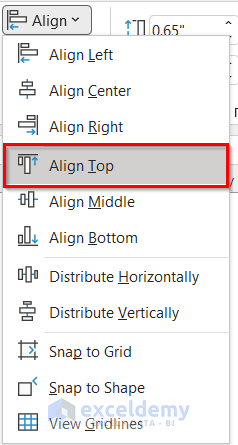
This is the output.
Read More: How to Link Textbox to Multiple Cells in Excel
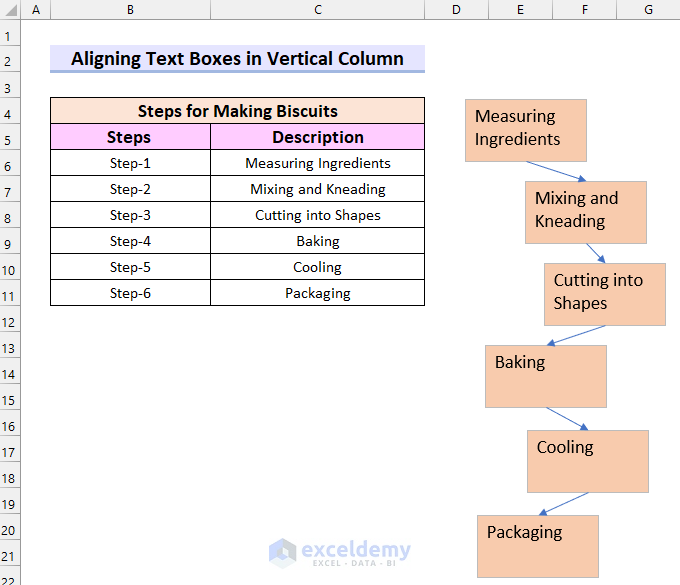
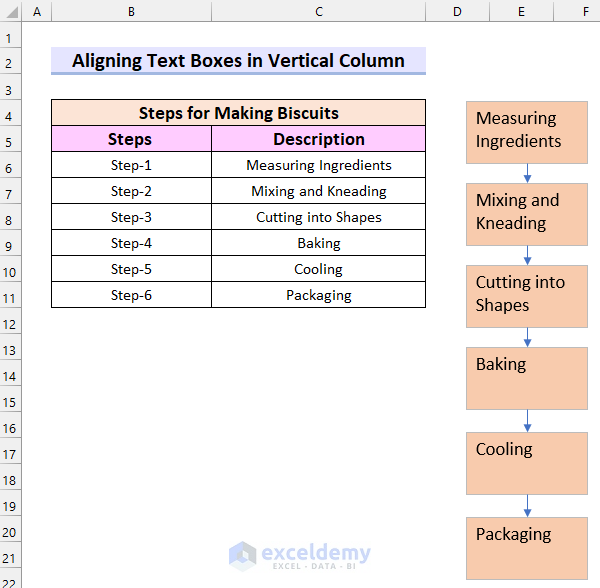
Example 2 -Text Boxes Alignment in a Vertical Column
Steps:
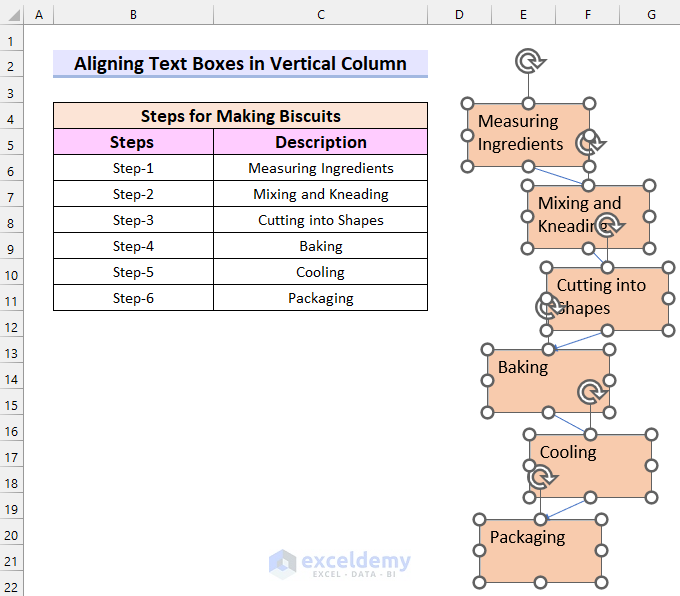
- Enter the text boxes (follow Step 1 in Example 1).
- Format the text boxes.
- Select the text boxes holding Shift.
- Go to Shape Format.
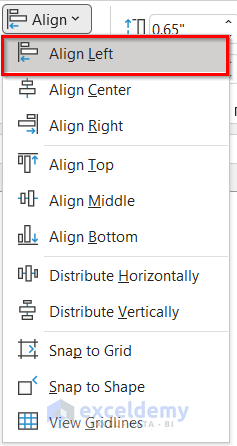
- Select Align.

- Select Align Left.
This is the output.
Read More: How to Edit Text Box in Excel
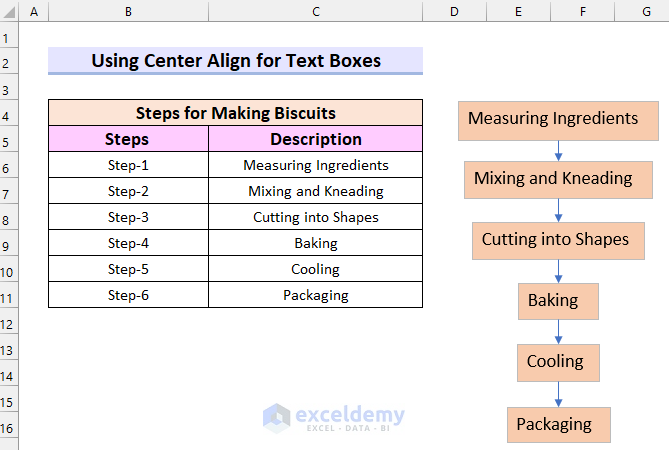
Example 3 – Center Align Text Boxes in Excel
Steps:
- Insert text boxes (follow Step 1 in Example 1) and format them.
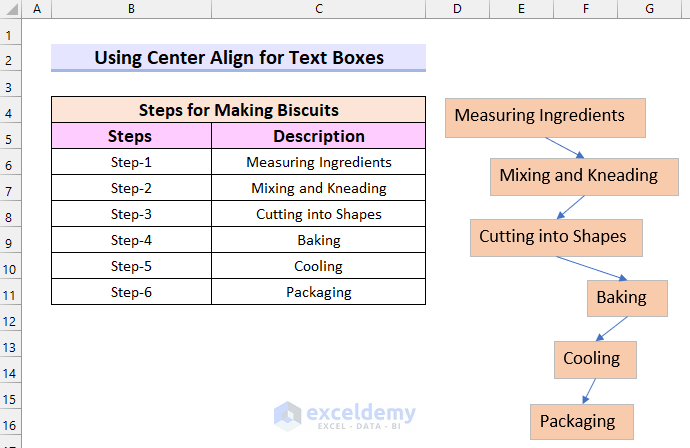
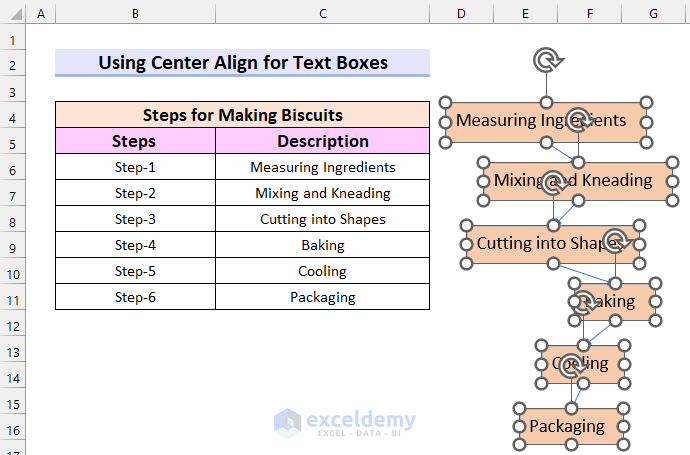
- Select all text boxes holding Shift.
- Go to the Shape Format tab.
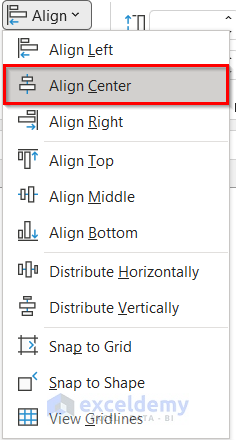
- Select Align.
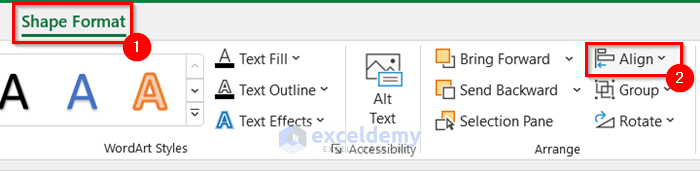
- Select Align Center.
The alignment changed.
How to Align Text Within Text Boxes in Excel
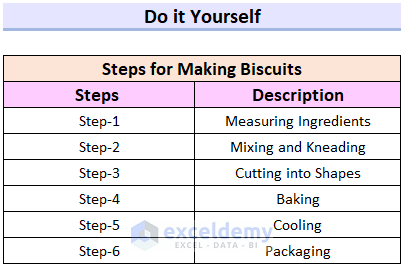
This is the sample dataset.
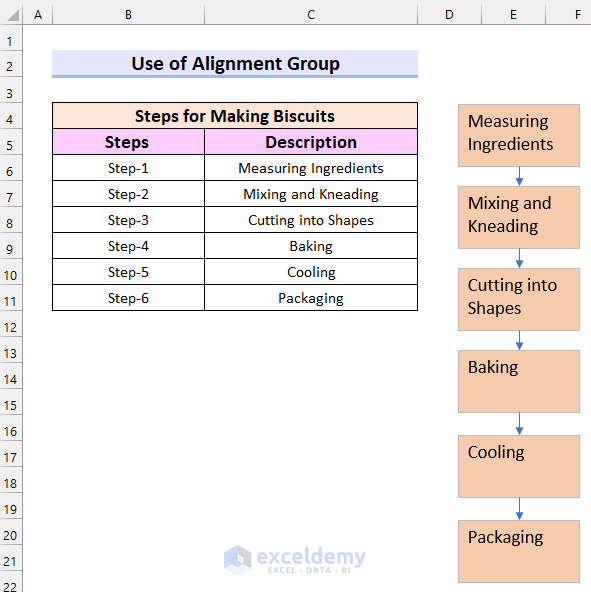
1. Use the Alignment Group to Align Text Within Text Boxes
Steps:
- Select all text boxes holding Shift.
- Go to the Home tab.
- In Alignment, select Center and Middle Align.
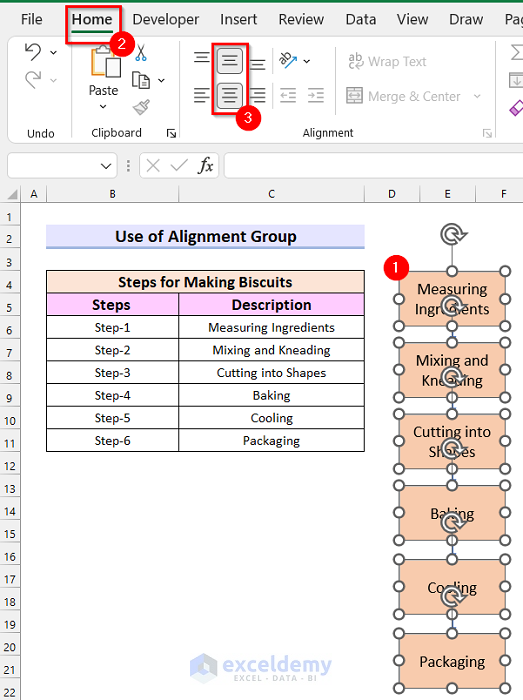
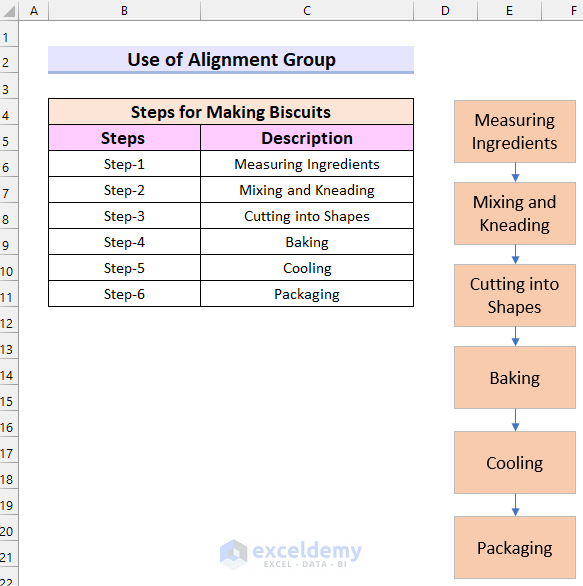
This is the output.
Note: You can also use keyboard shortcuts.
- Top Align: Alt + H, A, T
- Middle Align: Alt + H, A, M
- Bottom Align: Alt + H, A, B
- Align Left: Alt + H, A, L
- Center: Alt + H, A, C
- Align Right: Alt + H, A, R
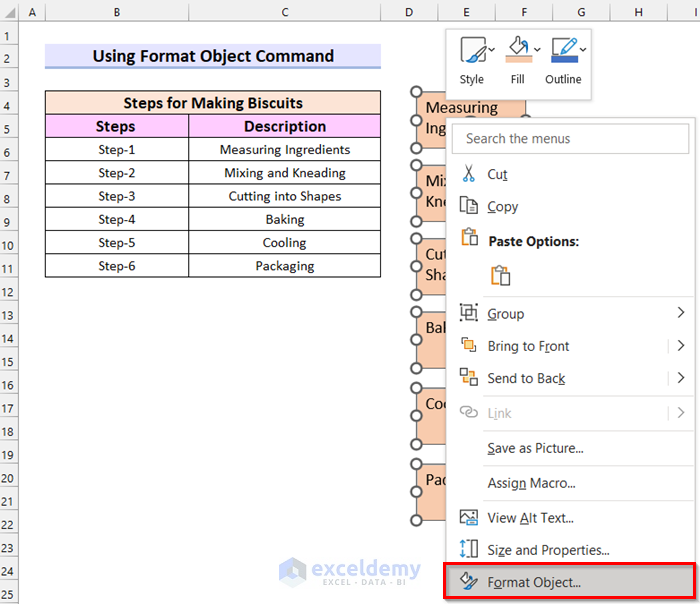
2. Align Text Within Text Boxes using the Format Object Command
Steps:
- Select all text boxes holding Shift.
- Right-click the selected text boxes.
- Select Format Object.
- In Format Shape, select Text Options.
- Select Textbox.
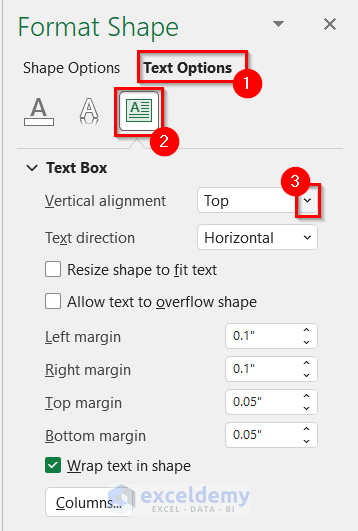
- In Vertical Alignment, select Middle Centered.
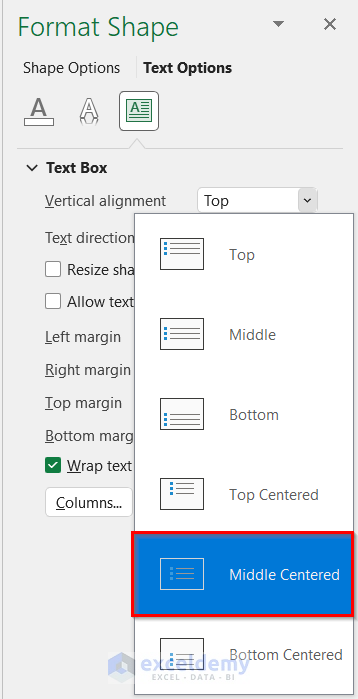
This is the output.
Practice Section
Practice here.
Download Practice Workbook
Download the practice workbook.
Related Articles
- How to Delete Text Box in Excel
- [Solved] Excel Text Box Not Showing
- How to Get a Text Box Linked to Cell in Excel
<< Go Back to TextBox | Learn Excel
Get FREE Advanced Excel Exercises with Solutions!
