Method 1 – Add a Text Box using the Insert Tab
Steps:
- Go to the Insert tab.
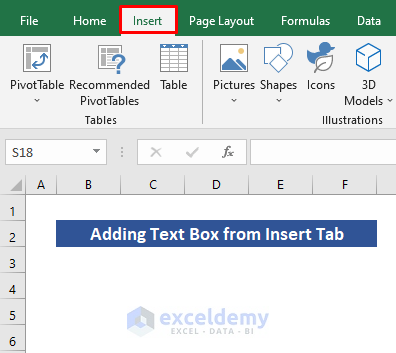
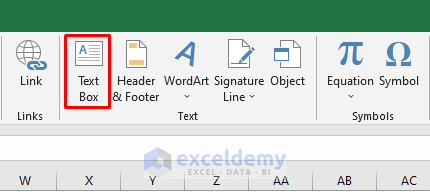
- Click Text Box..
- The cursor will show a cross.
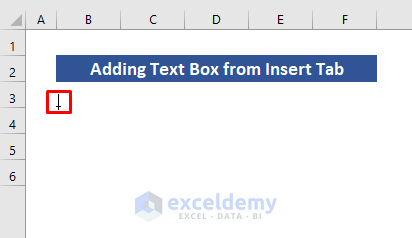
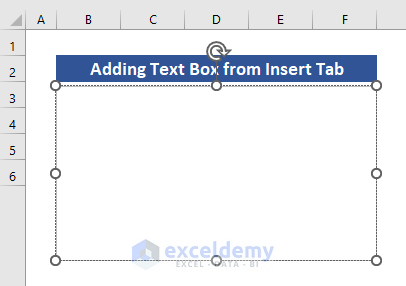
- Left- click and drag the cursor to create a text box.
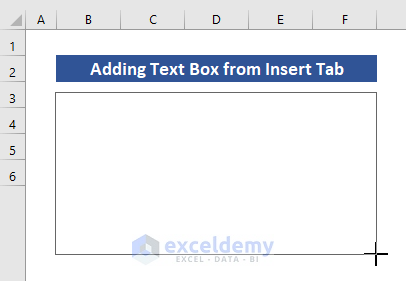
This is the output.
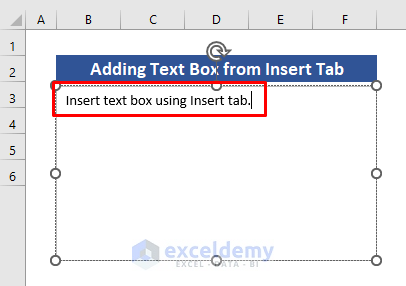
- Click inside the text box to enter text.
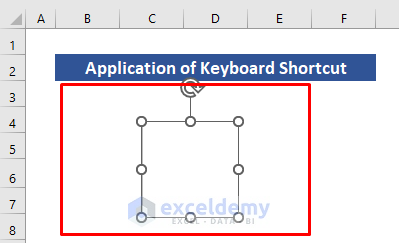
Method 2 – Applying a Keyboard Shortcut
Steps:
- Press Alt.
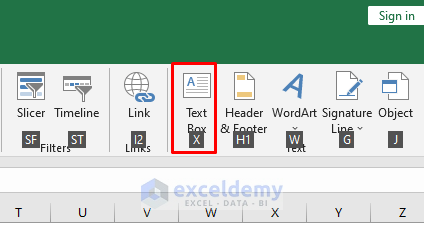
- Press N to open the Insert tab.
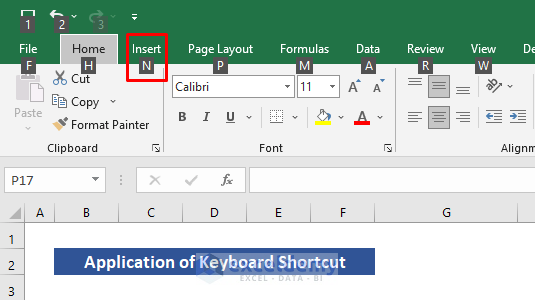
- Press X to insert a text box.
The text box is created.
Read More: How to Get a Text Box Linked to Cell in Excel
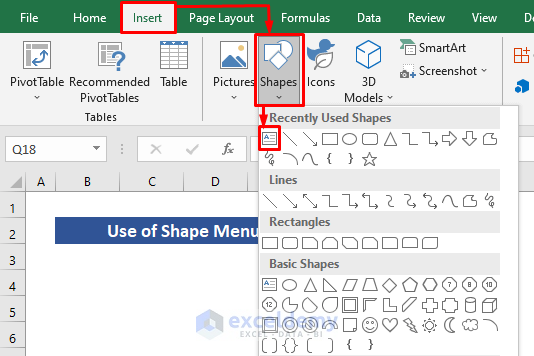
Method 3 – Using the Shape Menu
Steps:
- Click Insert and go to Shapes.
- Select Text Box in Basic Shapes.
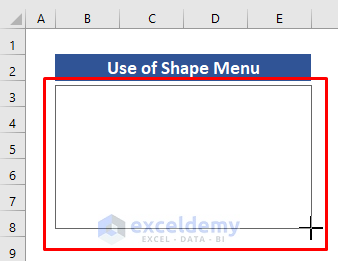
- Drag your cursor to create a text box.
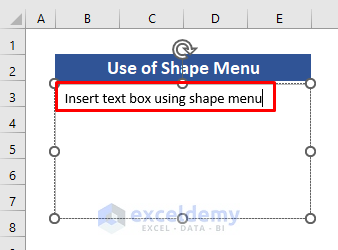
- Enter your text.
Read More: How to Link Textbox to Multiple Cells in Excel
Method 4 – Create an ActiveX Text Box using the Developer Tab
Steps:
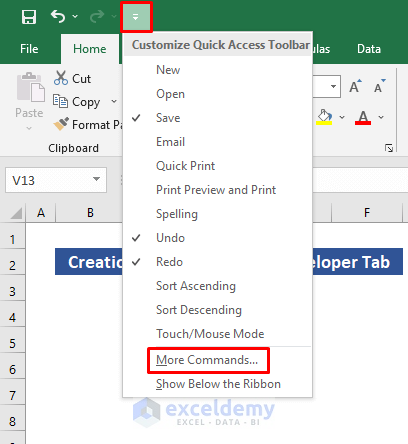
- Enable the Developer tab: click Customize Quick Access Toolbar.
- Select More Commands to go to Excel Options.
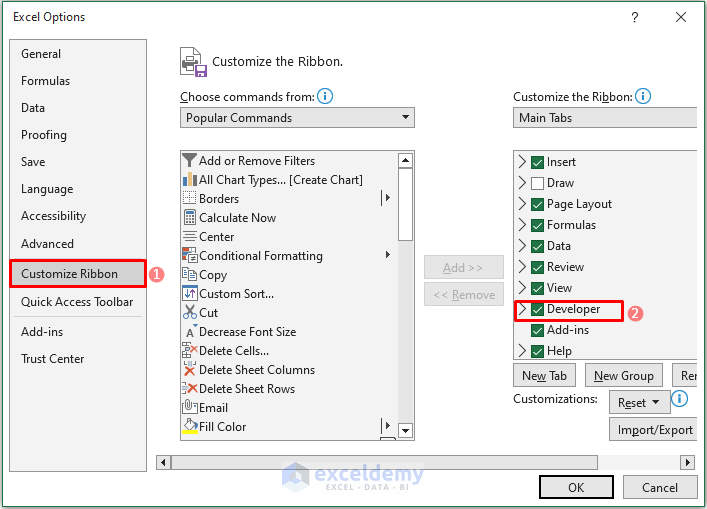
- Select Customize Ribbon.
- Check Developer.
- Press Enter.
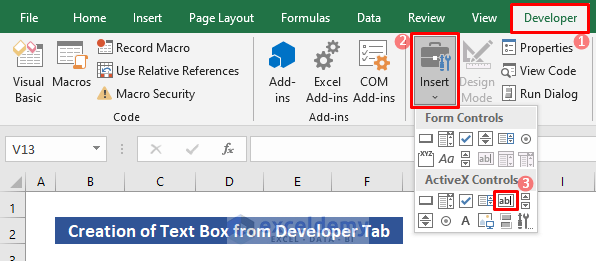
- Click the Developer tab.
- Choose Insert and select Text box.
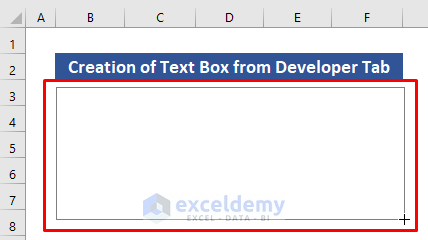
- Drag your cursor to create a text box.
- The Design Mode is enabled by default. Enable the Type Mode.
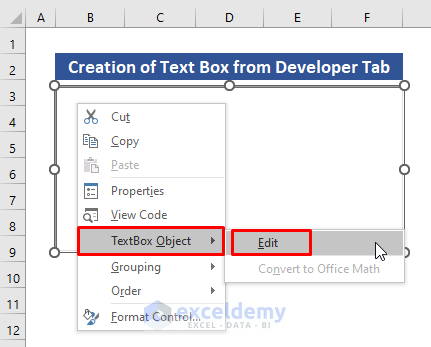
- Right-click the text box.
- Select TextBox Object and click Edit.
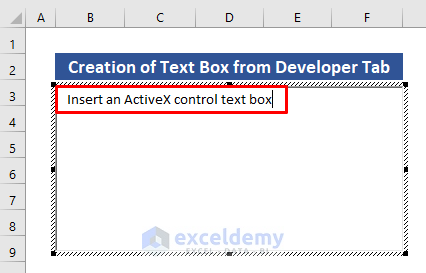
- The Type Mode is enabled.
- Enter your text.
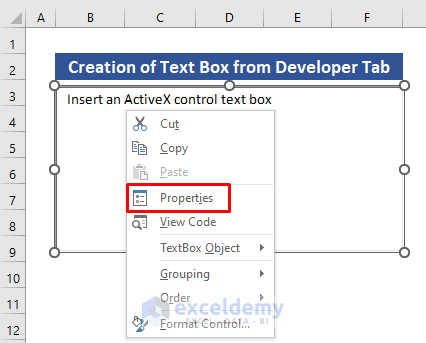
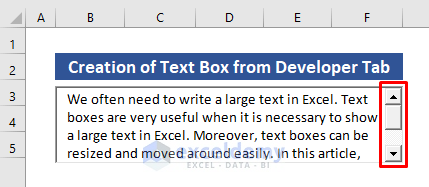
- To add a scrollbar to the text box, right-click it and select Properties.
- Change Multiline to True.
- Change the ScrollBars option to 2-fmScrollBarsVertical to add a vertical scrollbar.
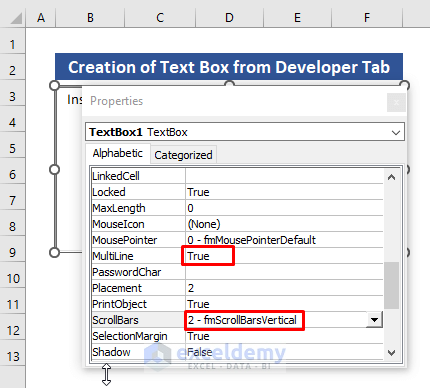
A scrollbar will be displayed.
Read More: How to Edit Text Box in Excel
Method 5 – Insert a Text Box with VBA
Steps:
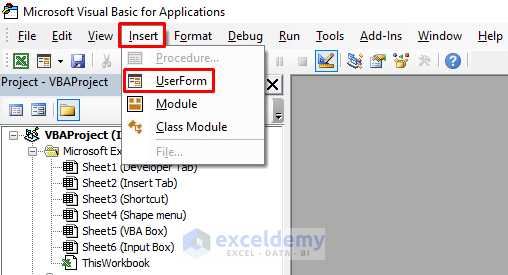
- Press Alt+F11 to open the Microsoft Visual Basic window.
- Click Insert and select UserForm.
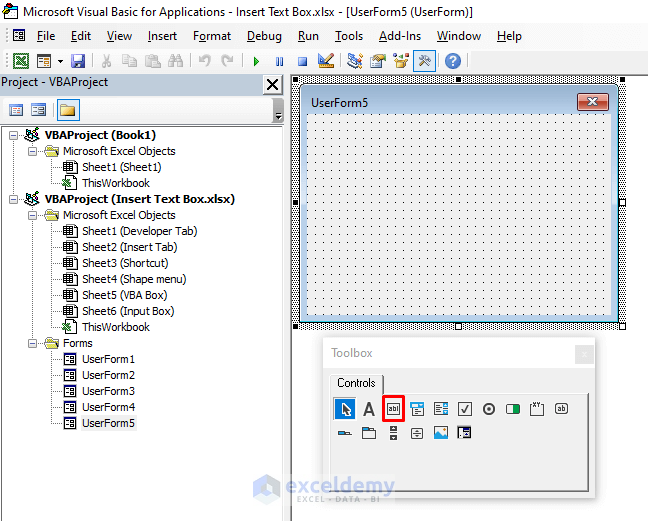
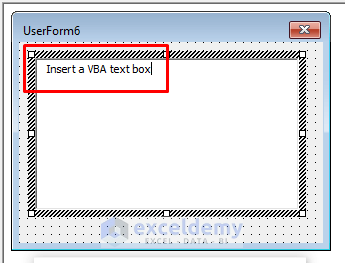
- A UserForm window will be displayed.
- Click Text Box in the Toolbox.
- Go to the UserForm and drag your cursor to insert a text box.
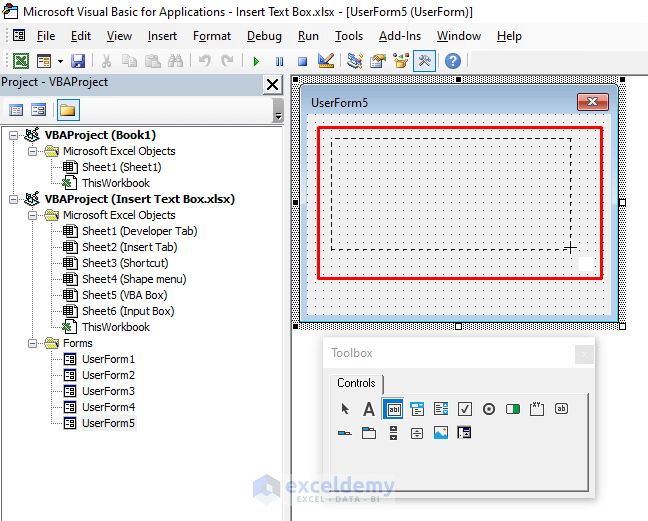
The text box is created, and you will be able to enter your text.
How to Create an Input Box in Excel
Steps:
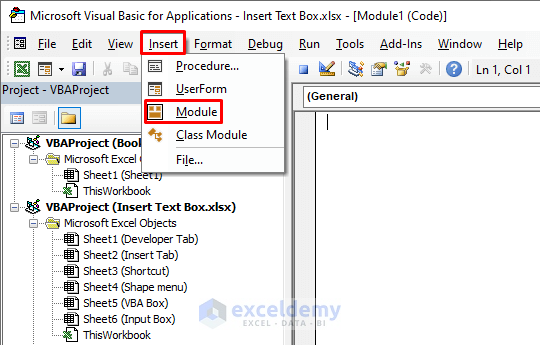
- Go to the Microsoft Visual Basic window by pressing Alt+F11.
- Select Module in the Insert tab.
- Enter the the code:

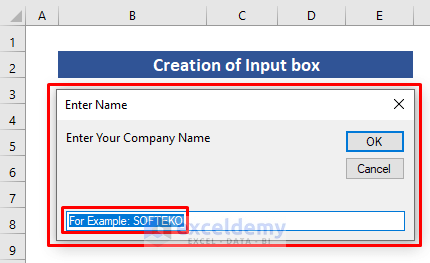
- You can add the location to see the text. Here, Range
- B5 is the location, “Enter Your Company Name” is the Prompt.
- “Enter Name” is the Title and “For Example: SOFTEKO” is used as Default.
Sub Create_Input_Box()
 Range(B5) = InputBox("Enter Your Company Name", "Enter Name", "For Example: SOFTEKO")
End Sub
- Press F5 to run the code and go back to your worksheet.
- An input box is displayed. Enter data and click OK.
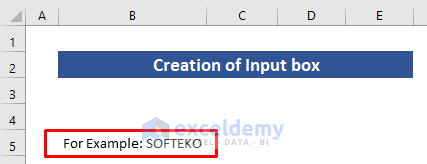
The text will be displayed in B5.
Download Practice Workbook
Download the practice workbook.
Related Articles
- How to Align Text Boxes in Excel
- How to Delete Text Box in Excel
- [Solved] Excel Text Box Not Showing
<< Go Back to TextBox | Learn Excel
Get FREE Advanced Excel Exercises with Solutions!
