Certainly, Excel is a popular and useful tool for arranging and analyzing data. Oftentimes, we may need to insert a Text Box to leave a helpful note for other users, so they can easily understand the process. Keeping this in mind, this article demonstrates the process of formatting a Text Box in Excel. In addition, we’ll also learn to change the height and width of a Text Box and convert Text Boxes to cells in Excel.
Formatting Text Box in Excel: 6 Properties
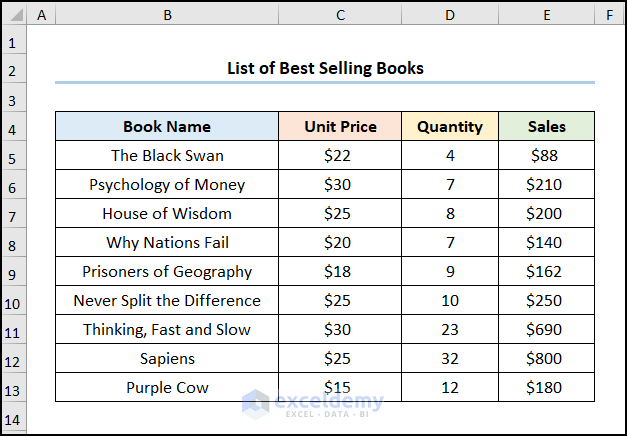
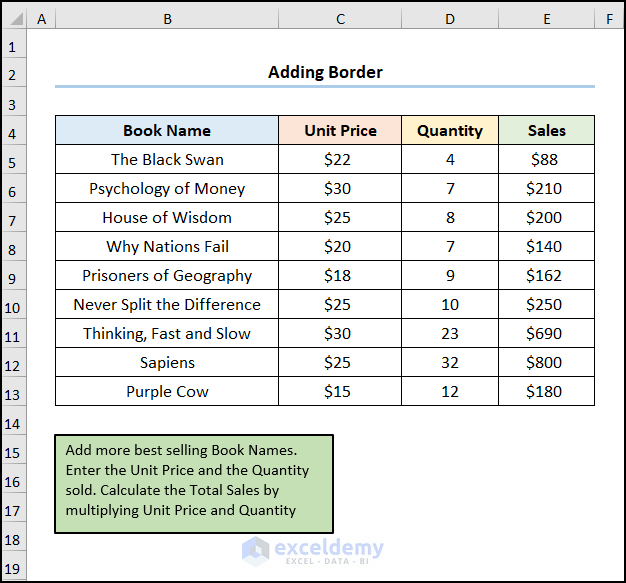
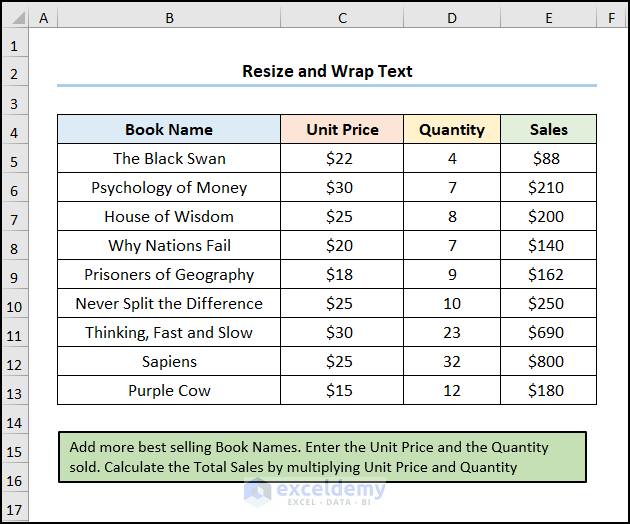
First, let’s consider the List of Best Selling Books dataset shown in the B4:E13 cells, which contains the “Book Name”, “Unit Price”, “Quantity”, and “Sales” columns respectively. Here, we want to leave a note within a Text Box so that other users can understand how the “Sales” value is calculated. Henceforth, let’s explore the process of inserting and formatting a Text Box in Excel.
Here, we have used the Microsoft Excel 365 version; you may use any other version according to your convenience.
1. Changing Fill Color
First and foremost, let’s begin with the most basic and obvious formatting, namely changing the fill color of the Text Box.
📌 Steps:
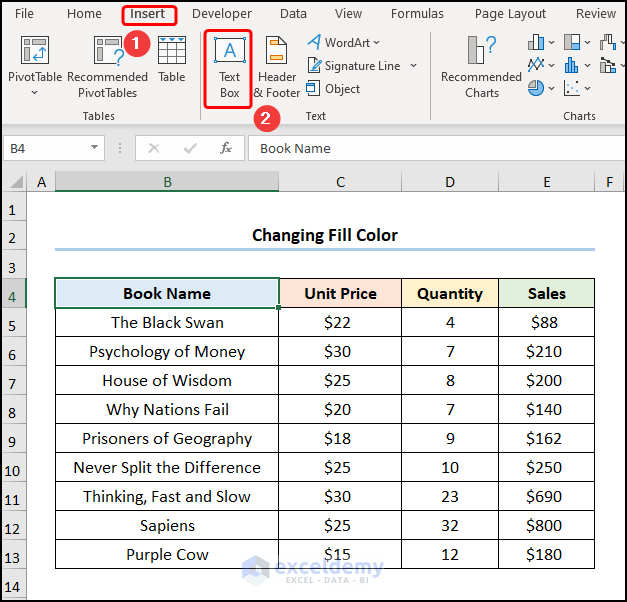
- In the first place, go to the Insert tab >> click the Text Box option.
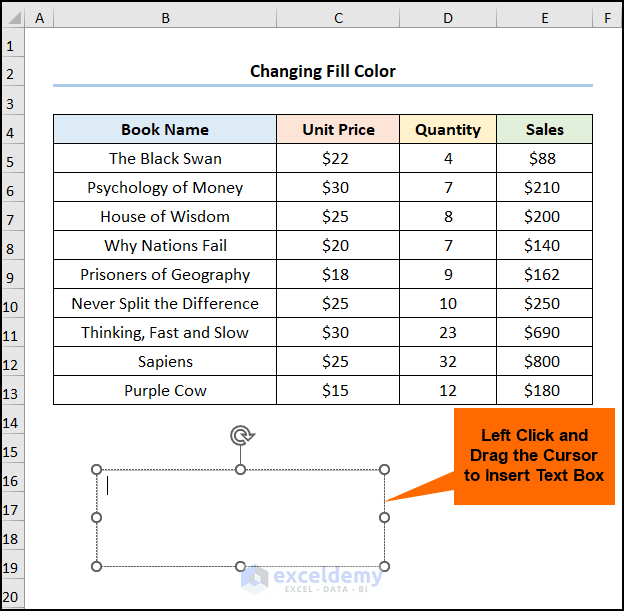
- Next, left-click on the mouse and drag the cursor to insert a Text Box.
📃 Note: We can also insert a Text Box by pressing the ALT key, then N, followed by the X key on the keyboard.
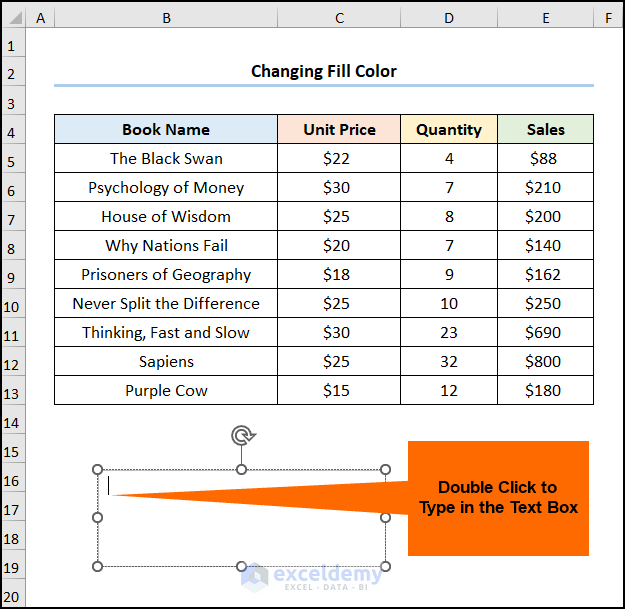
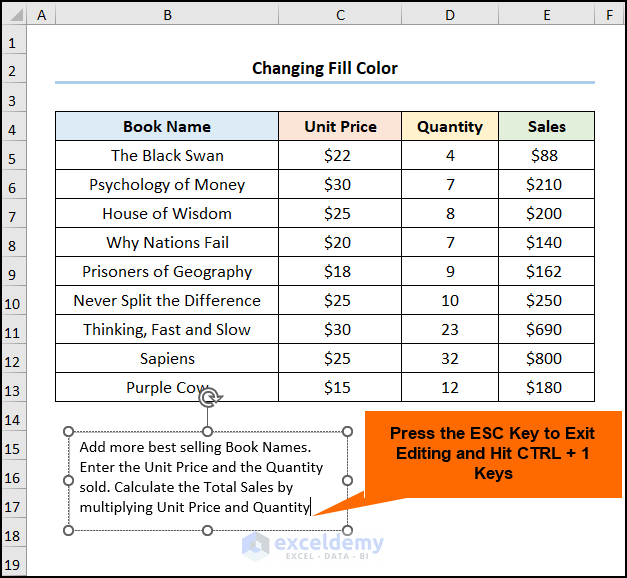
- Then, double-click to enter the Text Box >> type in text into the box.
- Later, press the ESC key >> hit the CTRL + 1 keys to open the Format Shape window.
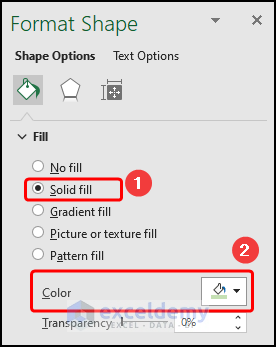
- Following this, select Solid Fill >> choose a Color, here, we’ve chosen a light green color.
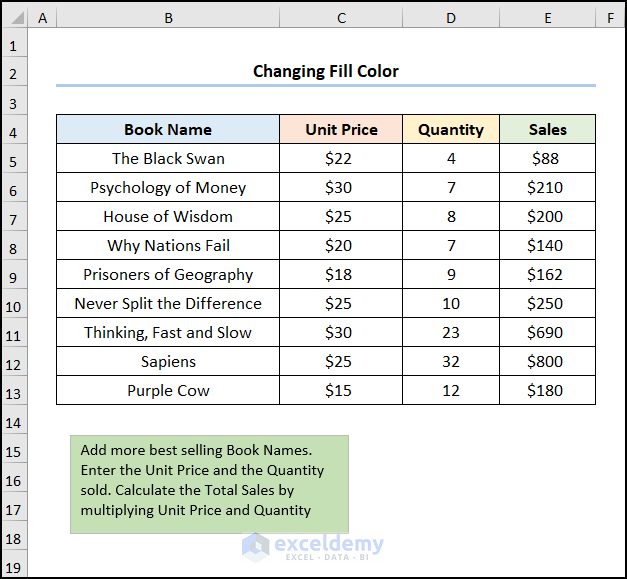
Finally, the results should look like the image shown below.
Read More: How to Insert Text Box in Excel
2. Adding Border
For one thing, we can add a border around the Text Box to make it more eye-catching. So, just follow the steps shown below.
📌 Steps:
- To begin with, select the Text Box >> press CTRL + 1 to launch Format Shape.
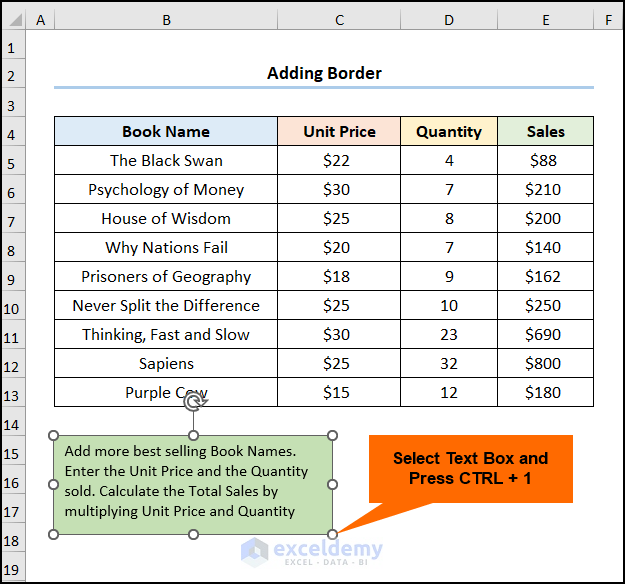
- Not long after, select the Solid Line option >> set the line Width to “1.5pt”.
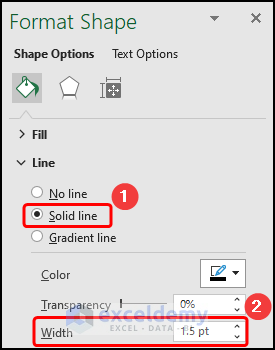
Lastly, the output should look like the picture shown below.
3. Resizing and Wrap Text
Moreover, we can resize and enable the Wrap Text option to adjust the Text Box according to our requirements.
📌 Steps:
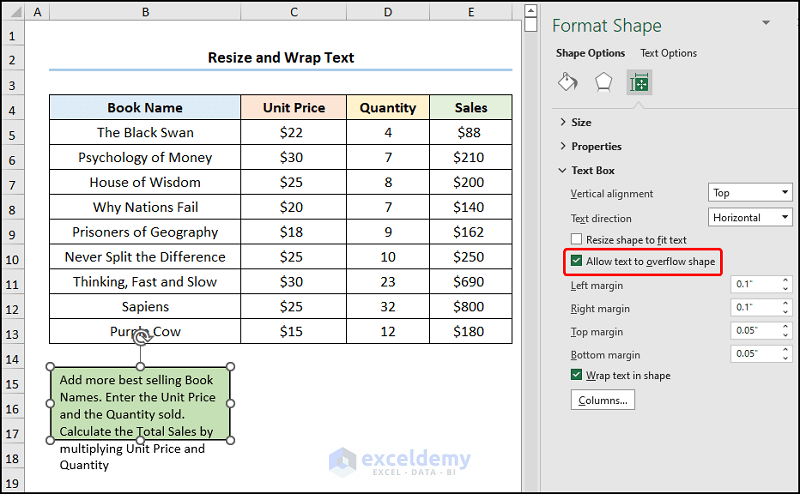
- To start with, hover the cursor at the corner of the box until a resizing handle appears >> drag the handle to resize the Text Box.
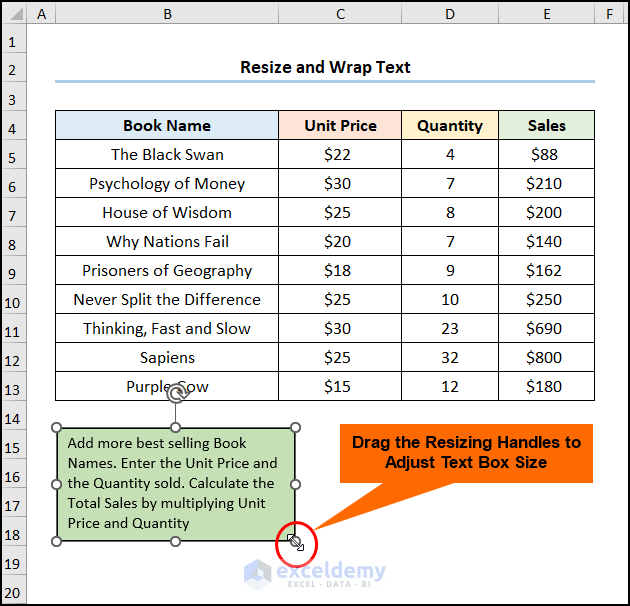
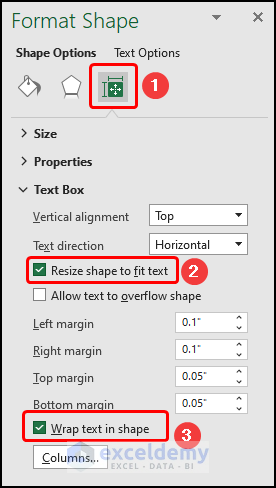
- In turn, check the Resize shape to fit text and the Wrap Text options, respectively.
Eventually, the final output appears in the screenshot shown below.
- Similarly, checking the Allow text to overflow shape returns the output shown below.
4. Changing Alignment and Text Direction
In Excel, we have the privilege of changing the alignment of the text box. Alternatively, we can also specify the text alignment and direction of the text within the Text Box.
📌 Steps:
- Initially, jump to the Format Shape wizard >> select the Vertical Alignment, in this case, “Middle Centered” >> choose the Text direction, which is “Horizontal”.
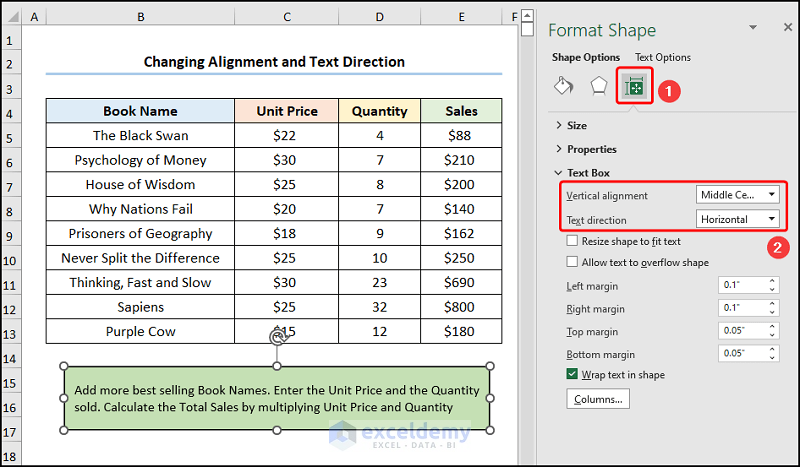
- Apart from this, choosing the “Stacked” Text direction yields the following output.

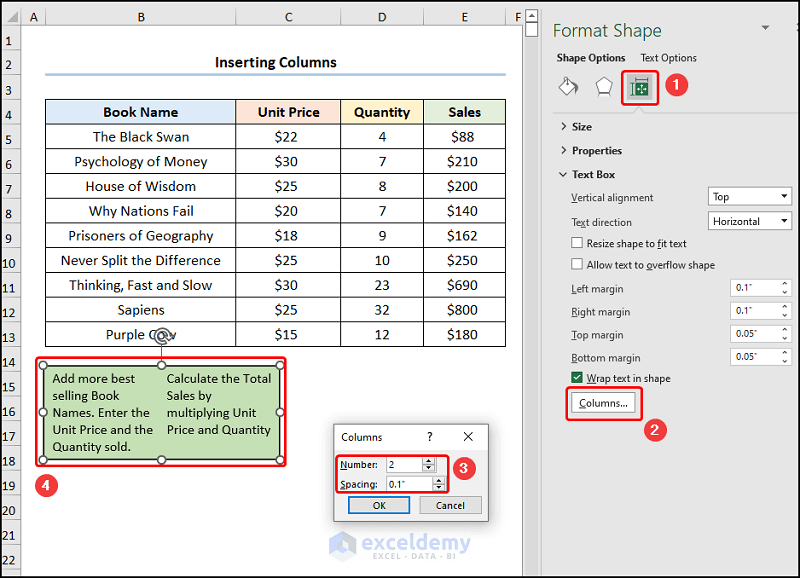
5. Inserting Columns
Last but not least, we can also insert columns inside the Text Box in Excel to break up long pieces of text into easy-to-read sections.
📌 Steps:
- At the very beginning, select the Text Box >> hit the CTRL + 1 keys to proceed to Format Shape.
- From this point, click the Columns option >> enter the Column Number and Spacing, for instance, we’ve chosen “2” columns with a spacing of “0.1”.
Read More: How to Get a Text Box Linked to Cell in Excel
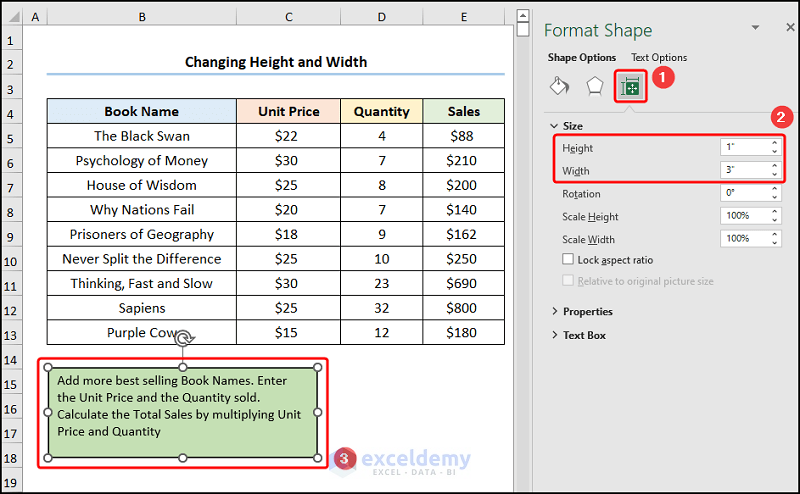
6. Changing the Height and Width of a Text Box
Conversely, we can set the height and the width of a Text Box according to our choice. Now, allow us to demonstrate the process in the steps below.
📌 Steps:
- First, navigate to the Format Shape pane >> click the Size drop-down >> enter the Height and Width of the box in inches, for example, here it is “1 inch by 3 inches”.
Read More: How to Edit Text Box in Excel
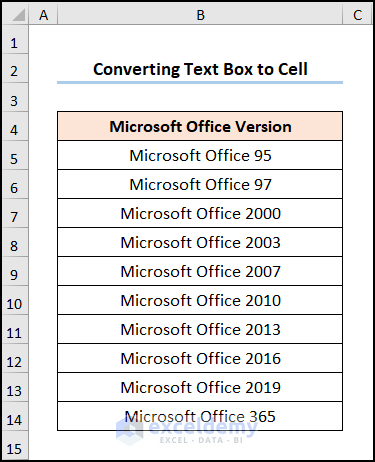
How to Convert Text Box to Cell in Excel
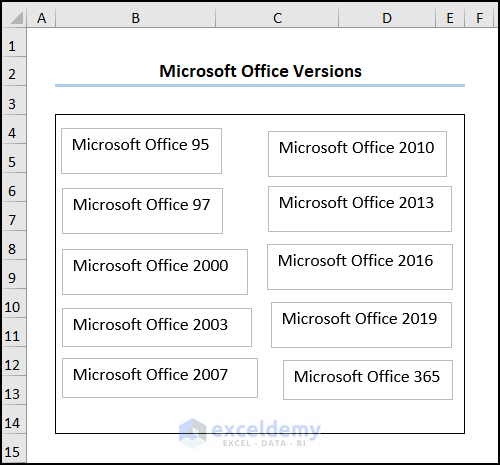
Lastly, we can convert a Text Box to a cell by applying the VBA Code. Now, it’s simple and easy, so let’s see the procedure in action. On this occasion, let’s assume the Microsoft Office Versions dataset in the B4:E14 cells, which depicts a handful of Text Boxes containing the various versions of the popular Office application.
📌 Steps:
- First, navigate to the Developer tab >> click the Visual Basic button.
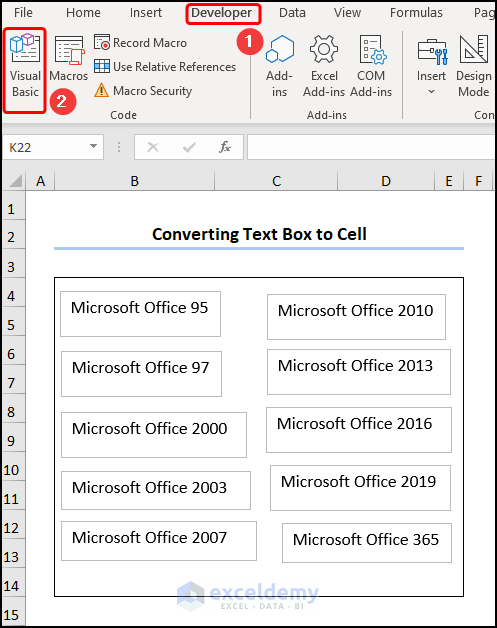
Now, this opens the Visual Basic Editor in a new window.
- Second, go to the Insert tab >> select Module.
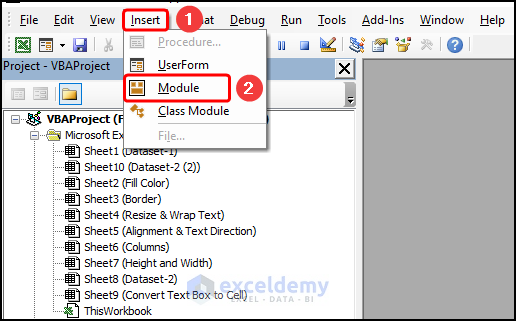
For your ease of reference, you can copy the code from here and paste it into the window as shown below.
Sub Convert_Text_Box_To_Cell()
    Dim rng As Range
    Dim row As Long
    Dim column As Long
    Dim text_box As TextBox

    Set rng = Application.InputBox("Choose a destination cell):", "Convert Text Box to Cell", _
                                    ActiveWindow.RangeSelection.AddressLocal, , , , , 8)
    row = rng.row
    column = rng.column

    For Each text_box In ActiveSheet.TextBoxes
        Cells(row, column).Value = text_box.Text
        text_box.Delete
        row = row + 1
    Next

End Sub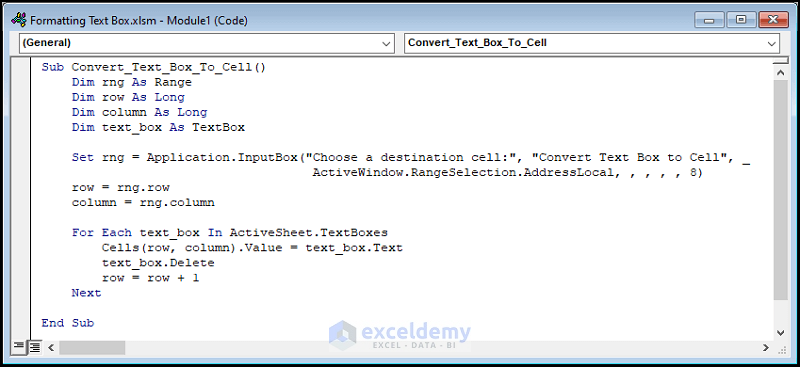
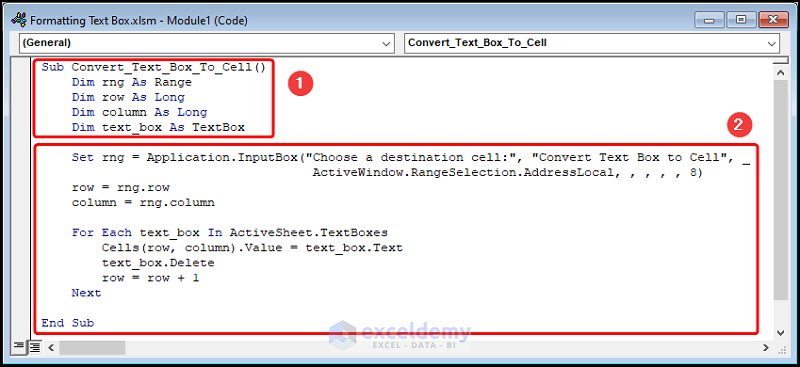
⚡ Code Breakdown:
Here, we’ll explain the VBA code used to convert Text Box into a cell which is divided into 2 parts.
- In the first portion, the sub-routine is given a name, here it is Convert_Text_Box_To_Cell().
- Next, define the variables rng, row, column, and text_box.
- Then, assign Range, Long, and TextBox data types respectively.
- In the second potion, use the Set statement to prompt an InputBox asking the user to enter the cell reference of the result.
- Finally, use the For Loop to iterate through all the Text Boxes, extracting their texts and entering them into the specified cell.
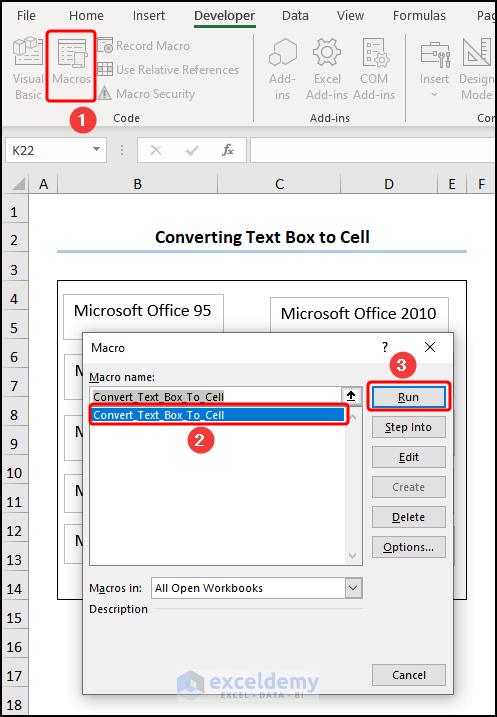
- Third, close the VBA window >> click the Macros button.
This opens the Macros dialog box.
- Following this, select the Convert_Text_Box_To_Cell macro >> hit the Run button.
- Afterward, enter a cell reference to return the results, in this case, we’ve chosen the B5 cell >> hit the OK button.
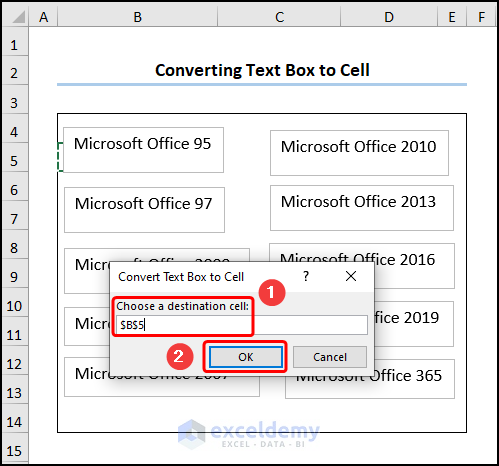
Subsequently, the results should look like the figure given below.
Read More: How to Link Textbox to Multiple Cells in Excel
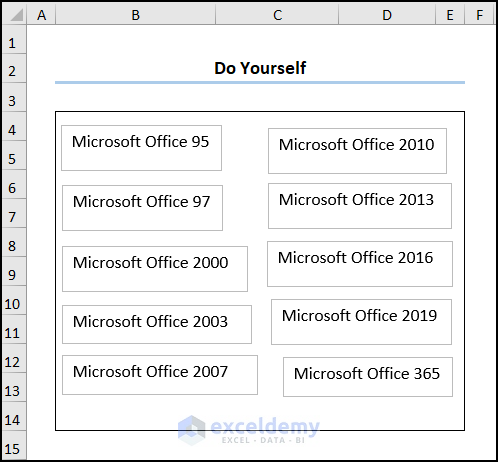
Practice Section
We have provided a Practice section on the right side of each sheet, so you can practice yourself. Please make sure to do it by yourself.
Download Practice Workbook
Conclusion
In essence, this article describes the process of formatting a Text Box in Excel. So, read the full article carefully and download the free workbook to practice. Now, we hope you find this article helpful and if you have any further queries or recommendations, please feel free to comment here.
Related Articles
<< Go Back to TextBox | Learn Excel
Get FREE Advanced Excel Exercises with Solutions!
