In the following sample, we have applied wrap text to the Excel cell.
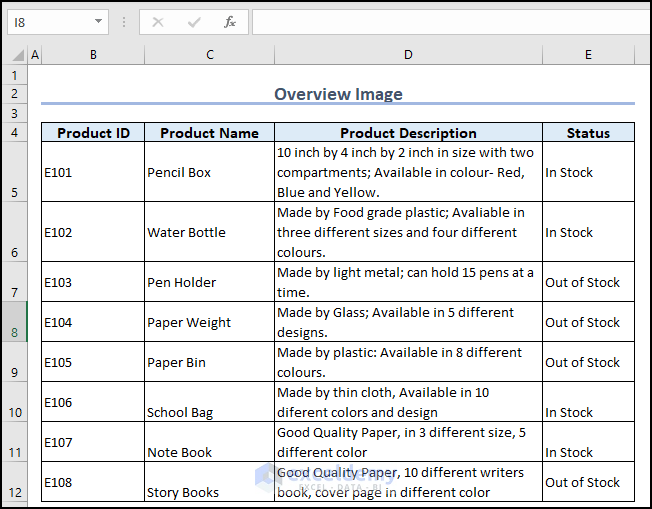
What Is Wrap Text in Excel?
Wrapping text means enclosing long text or sentences in a cell or merged cells. While preparing a report, or maintaining a database, we often have to type long text in Excel cells. Excel shows these long texts over the borders of the cells.
The Wrap Text option provides us with the facility to display this kind of large content within the designed size of Excel cells.
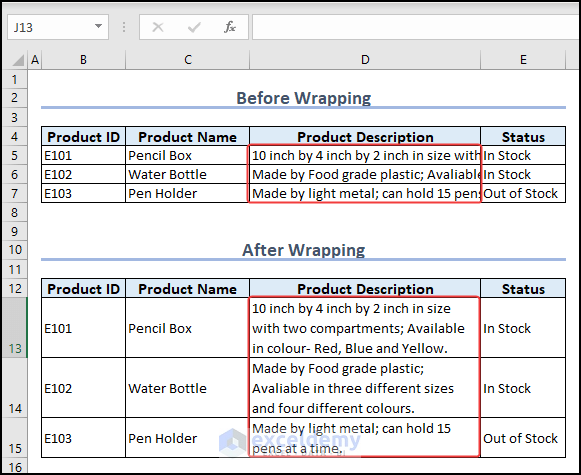
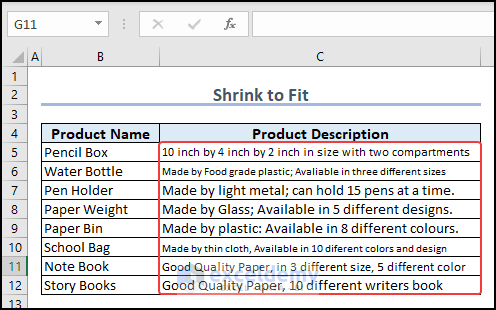
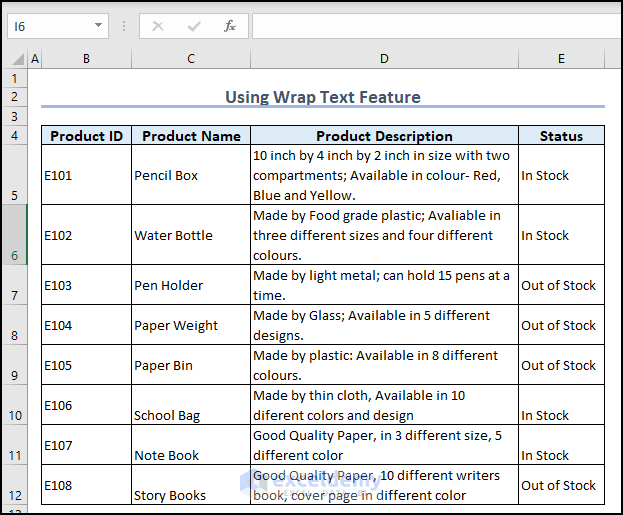
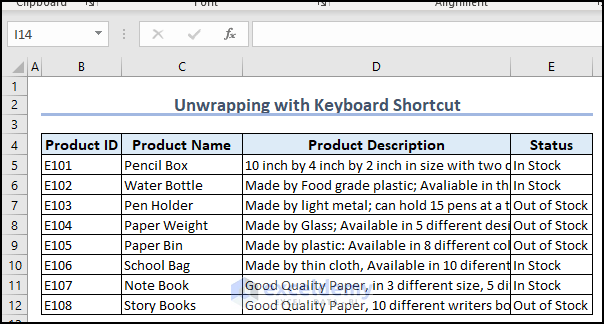
In the following image, you can see that the Product Description column before wrapping text looks messy and unclear to read. When we wrap the text in the Product Description column, the column looks more presentable and readable.
Three Formats to Display Text Data That Exceeds Excel Cell
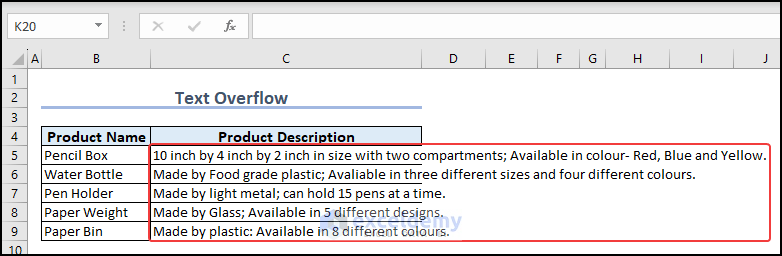
There are 3 ways to display text data that exceeds a cell’s width in an Excel spreadsheet.
- Overflow: When using this default format, the excess text extends into adjacent cell boundaries. The text appears to be distributed across numerous cells visually, however, only the first cell contains the content.
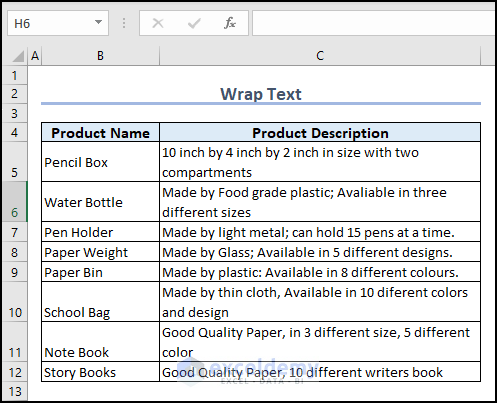
- Wrap: The wrapped text allows the cell to expand vertically to fit the contents. The cell appears to have numerous lines of text, similar to writing a paragraph in an Excel cell.
- Shrink to Fit: This option decreases the font size of text data automatically so that it fits within the cell’s bounds without wrapping.
How to Wrap Text in Excel Cell: 5 Easy Ways
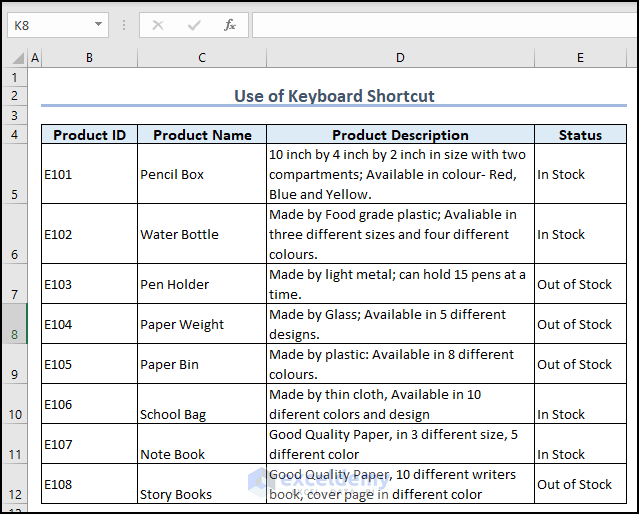
In the following dataset, the cells of the Product Description column contain some long texts. The Product Description column is not properly readable, and it is making the column unnecessarily wide.

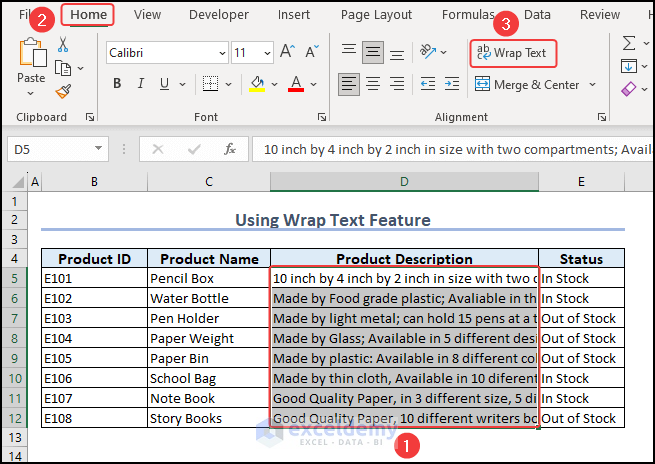
Method 1 – Using the Wrap Text Feature to Wrap Texts
- Select cells D5:D12 and go to the Home tab.
- From the Alignment group, click on Wrap Text.
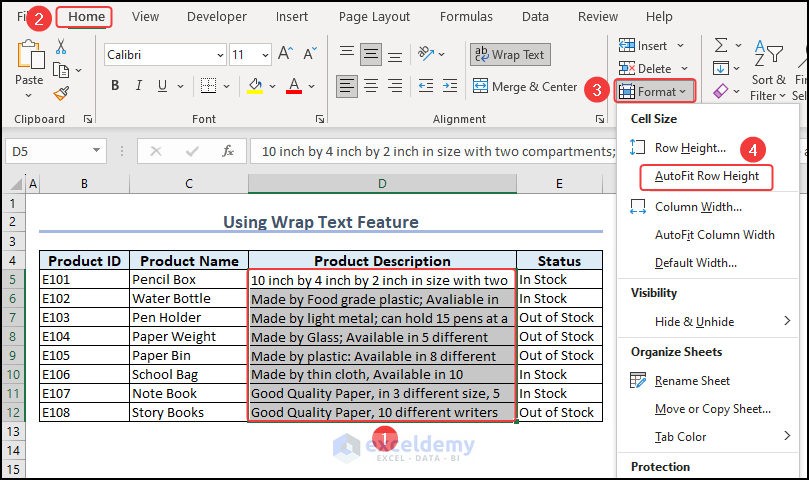
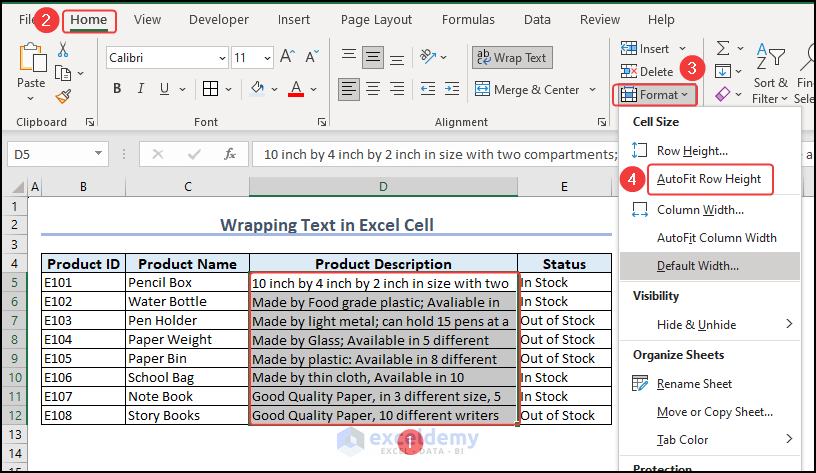
- Select cell D5:D12.
- Go to the Home tab and, from the Format group, select AutoFit Row Height.
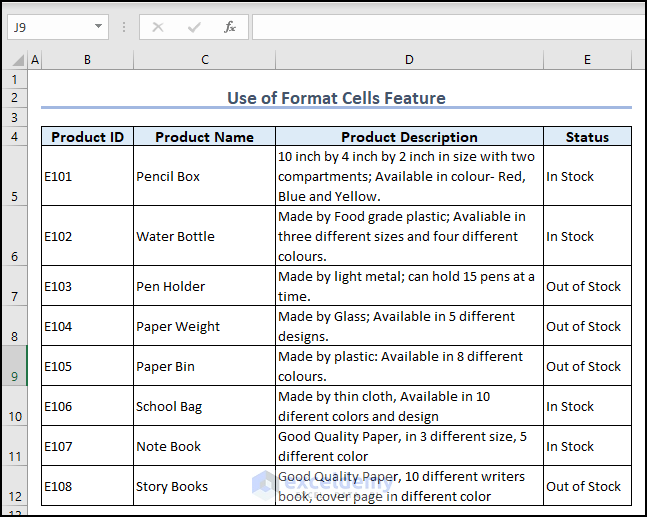
You can see the wrapped text in the Excel cell.
Method 2 – Wrapping Text in Excel with the Format Cells Feature
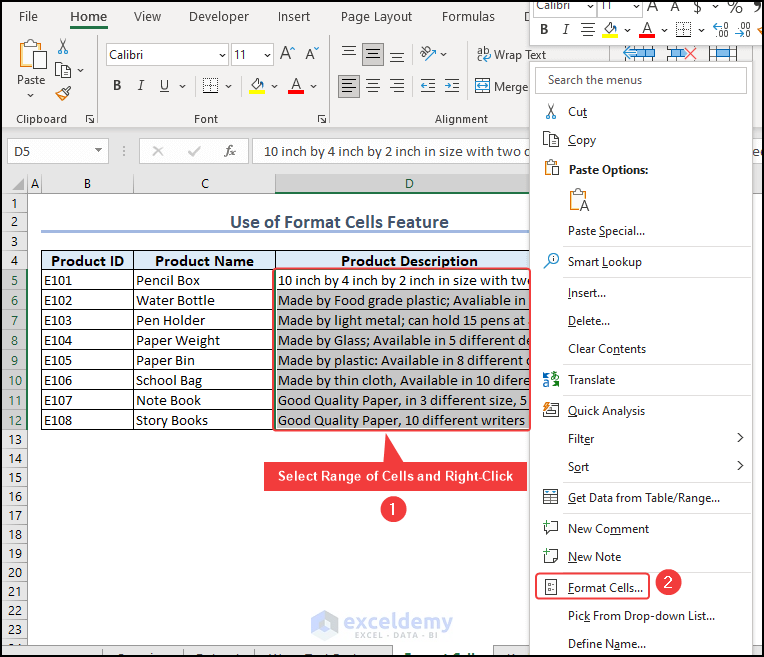
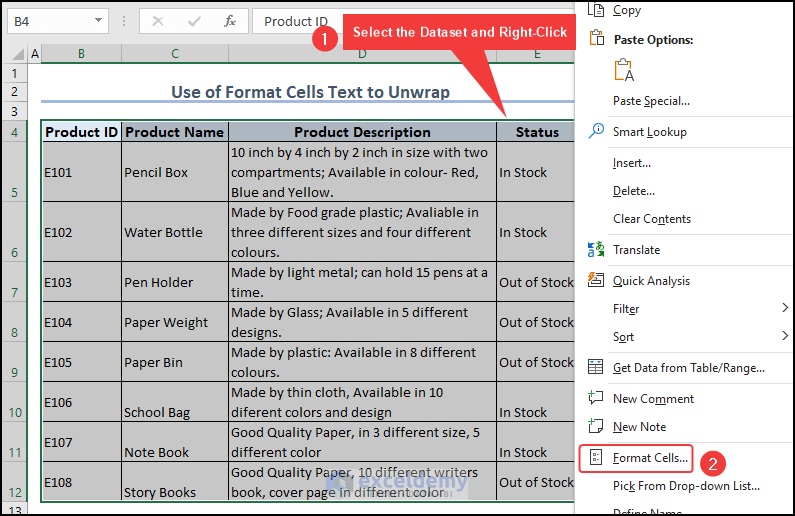
- Select the cells D5:D12 and right-click on them.
- From the Context Menu, select Format Cells.
You can also press Ctrl + 1 to bring the Format Cells dialog box.
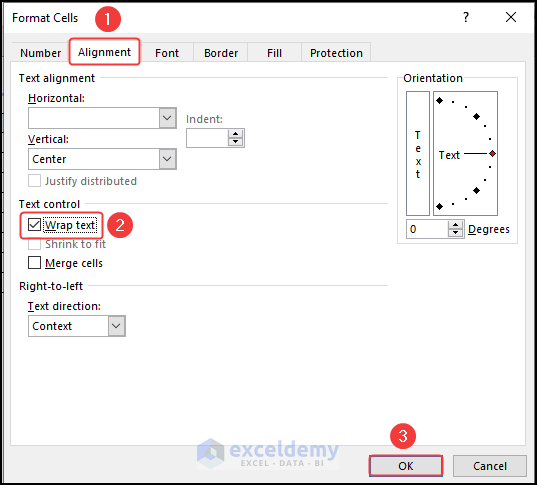
A Format Cells dialog box will appear.
- From the Alignment group, mark Wrap text and click OK.
- Press Alt + H + O + A to autofit the row height.
Method 3 – Using a Keyboard Shortcut to Wrap Text
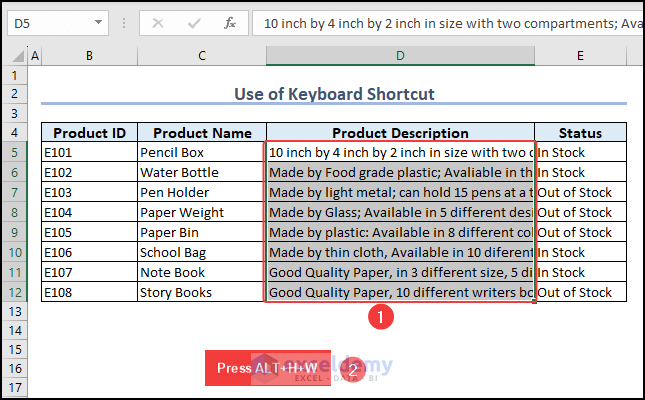
- Select cells D5:D12.
- Press Alt + H + W.
- Press Alt + H + O + A to autofit the row height.
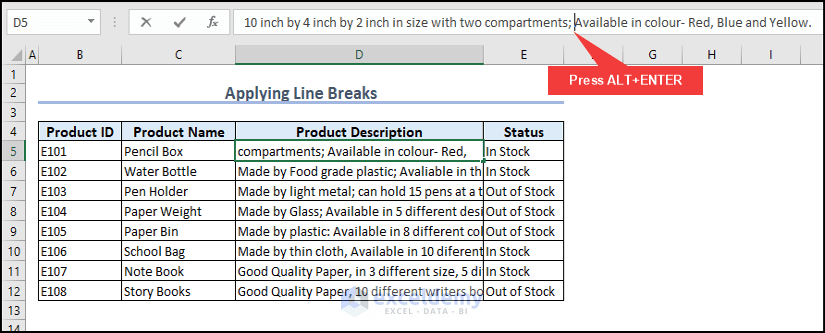
Method 4 – Applying Line Breaks to Wrap Text in Cell
- Double-click the cell containing the text in which you need to enter a line break.
- Press Alt + Enter.
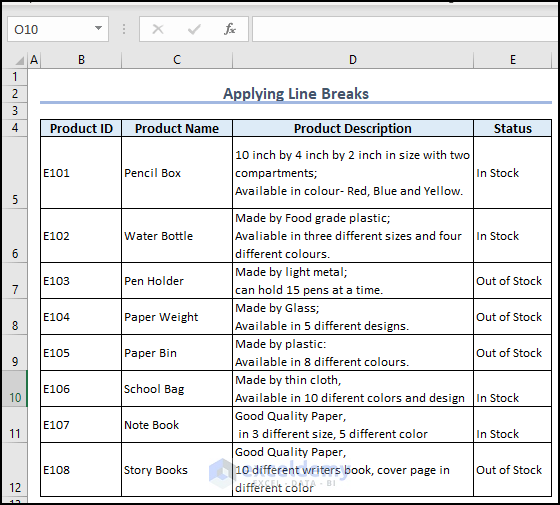
- Press Alt + H + O + A to autofit the row height.
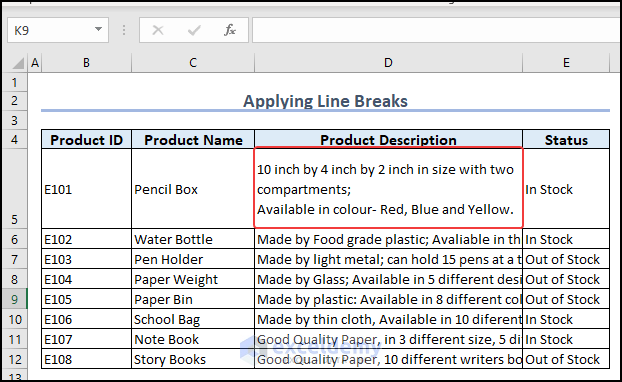
- Repeat for all the other cells.
Method 5 – Wrapping Texts of a Merged Cell
- Select the merged cell D5:E5.
- Go to the Home tab and click on Merge & Center.
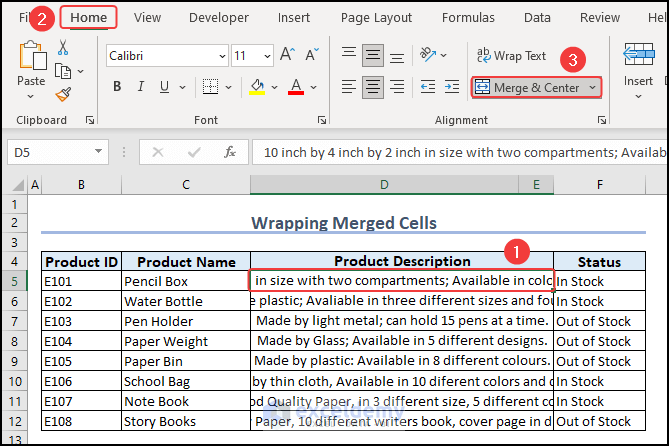
- Do the same for all the merged cells.
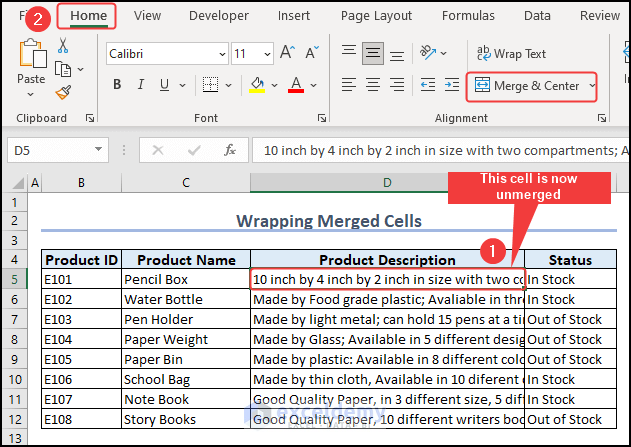
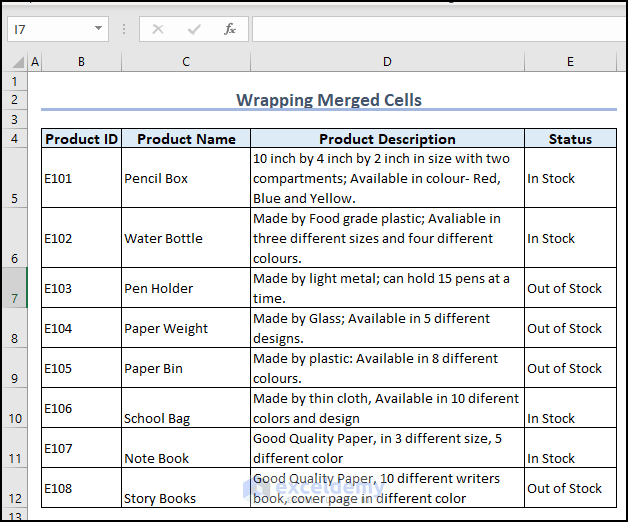
- We wrapped the cells by following Method 3.
How to Undo Wrap Text in Excel: 3 Easy Ways
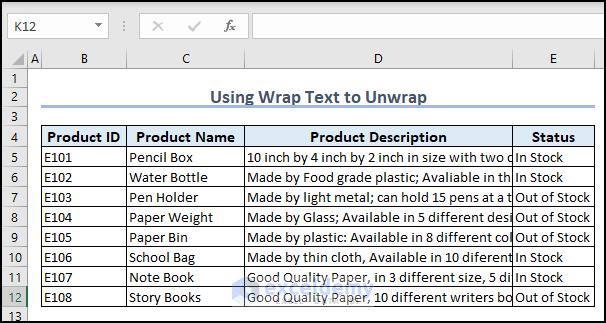
Method 1 – Using the Wrap Text Option to Unwrap in Excel
- Select cells D5:D12 and go to the Home.
- From the Alignment group, click on Wrap Text.

You can see the unwrapped text in the Excel cell.
Method 2 – Use the Format Cells Feature to Unwrap Text in an Excel Cell
- Select cells D5:D12 and right-click on them.
- From the Context Menu, select Format Cells.
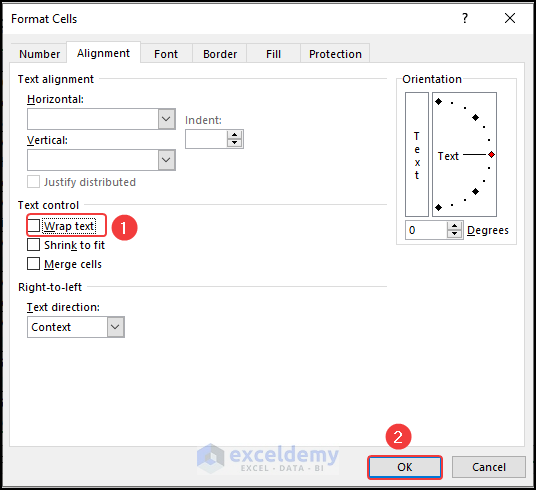
A Format Cells dialog box will appear.
- From the Alignment group, unmark Wrap text and click OK.
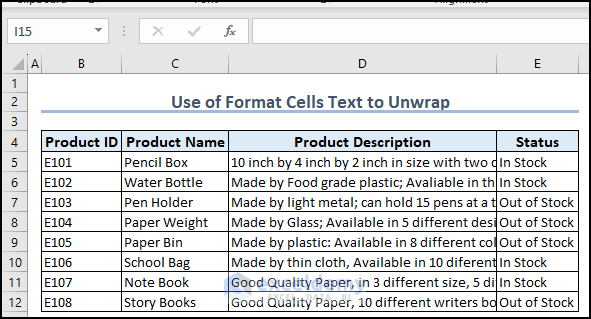
You can see the unwrapped text in the Excel cell.
Method 3 – Unwrapping with Keyboard Shortcuts
- Select cells D5:D12 and press Alt + H + W.
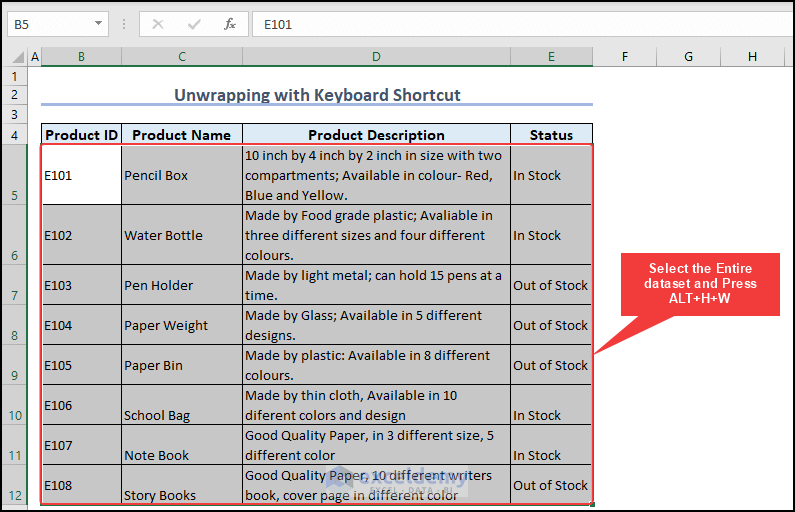
You can see the unwrapped text in the Excel cell.
What to Do When Wrap Text Is Not Working in Excel?
Fix 1 – AutoFit Row Height
- Select the cells D5:D12 and go to the Home tab.
- Click on Format.
- From the drop-down menu, select AutoFit Row Height.
You can select cell D5:D12 and press Alt + H + O + A to visualize the wrapped cells.
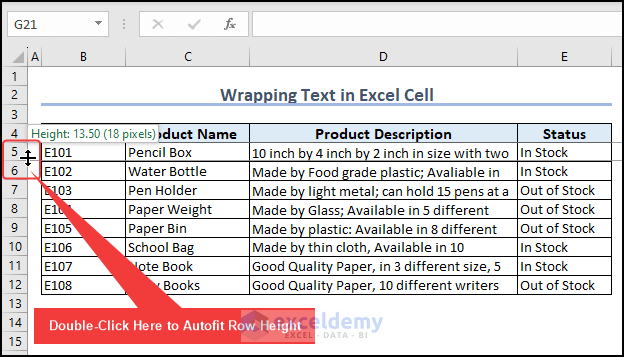
You can also autofit the row height by double-clicking on the intersection of Rows 5 and 6. This will autofit Row 5.
Fix 2 – Merge & Center
- Select the merged cell D5:E5.
- Go to the Home tab and click on Merge & Center.
- Do the same for other merged cells as well.
- Wrap the text in your Excel cells.

Fix 3 – Fill for Horizontal Alignment
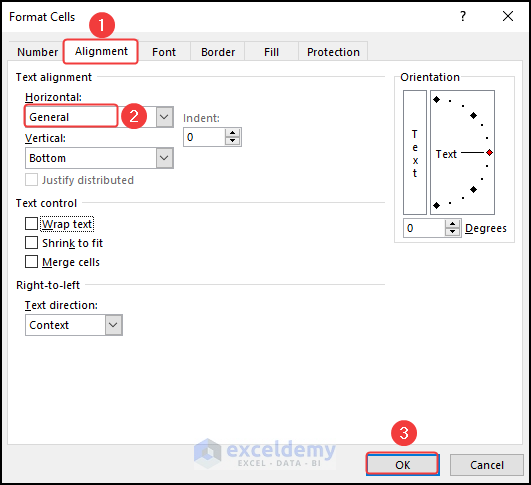
- Open the Format Cells dialog box by pressing the Ctrl + 1 buttons.
- Go to the Alignment tab.
- For the Horizontal option, choose General.
- Hit OK.
Fix 4 – Keep the Cell Wide Enough to Display Its Value
If your cell is already wide enough to showcase long text, then wrap text will now work. If you try to get rid of this situation by making the column too narrow, wrap text will still not work.
To wrap the text, you have to turn off the wrapping and turn it on again.
Read More: [Fixed] Wrap Text Not Showing All Text in Excel
Benefits of Wrapping Text in Excel
- When you print the spreadsheet, wrapping text can decrease the number of pages.
- It makes cells look more homogeneous, improving the scalability and aesthetics of your database.
- It helps increase the compatibility of your spreadsheet. It guarantees all the information shown in a PowerPoint.
Things to Remember
- All the Wrap Text methods just enclose the texts within the cell with the current column width and row height. But you have to autofit the row height using the methods described in this article (Alt + H + O + A hotkeys or the Format option) to make the texts completely visible.
- If you change the column width and the text becomes difficult to see, autofit the row height again in the same way.
- You can open up the Format Cells dialog box by pressing Ctrl + 1.
- Press the Alt +H + W keys together to wrap texts by shortcut.
Download the Practice Workbook
Related Articles
- How to Make Text Automatically Wrap Around in Excel
- [Fix] Wrap Text Not Working in Excel: 4 Possible Solutions
- [Fix]: Excel Wrap Text Cutting off Words
<< Go Back to Wrap Text | Text Formatting | Learn Excel
Get FREE Advanced Excel Exercises with Solutions!
