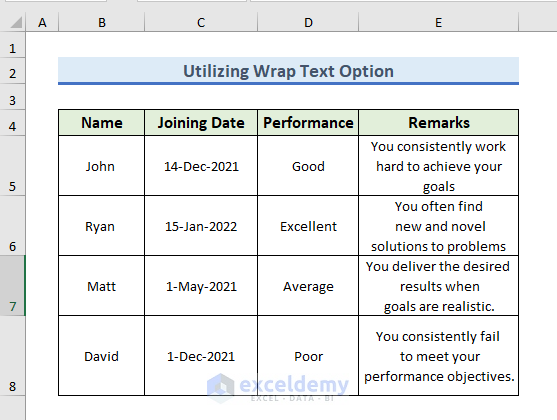
To demonstrate the method, we will use the dataset of the Performance of the employees of a Company. The following methods all help you to fill out the Remarks section of this dataset.

Method 1 – Use the ALT Key to Write a Paragraph in Excel Cell
STEPS:
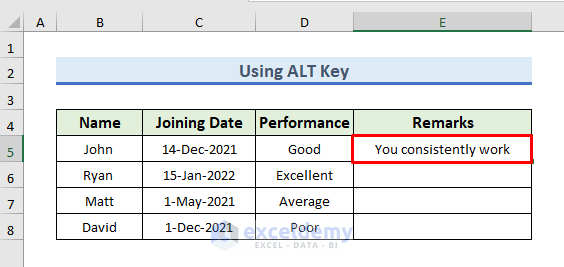
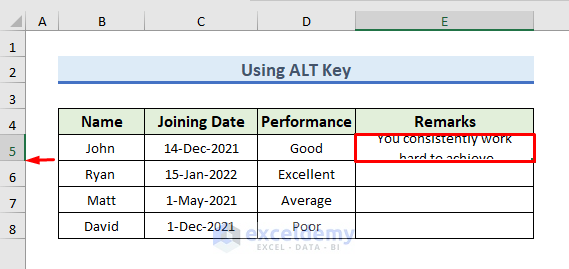
- Select the E5 cell to highlight John’s Remarks column.
- Write three words.
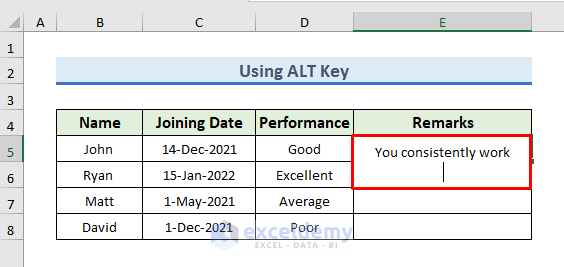
- Press Alt + Enter to go to the next line in the same cell. You should see the cursor on the next line.
- Write three more words.
- Press Alt + Enter to go to the next line.
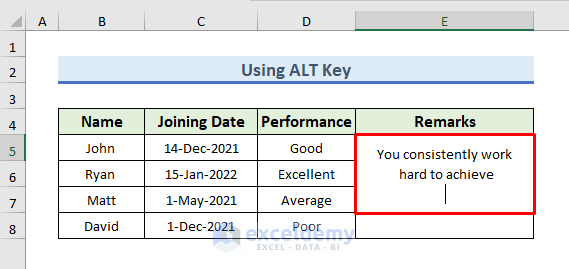
- Repeat this process until you’ve filled the Remarks field with your comments.
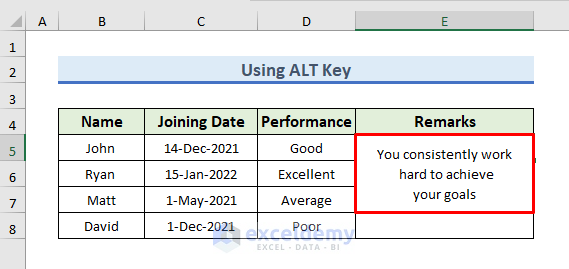
- Press Enter to get out of editing mode.
- Put the cursor on the division line between two rows and double–click it.
- You can now see the entire paragraph in the E5 cell.
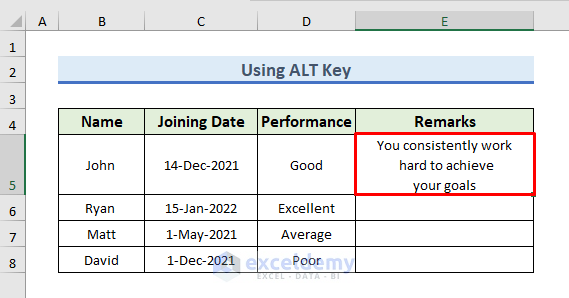
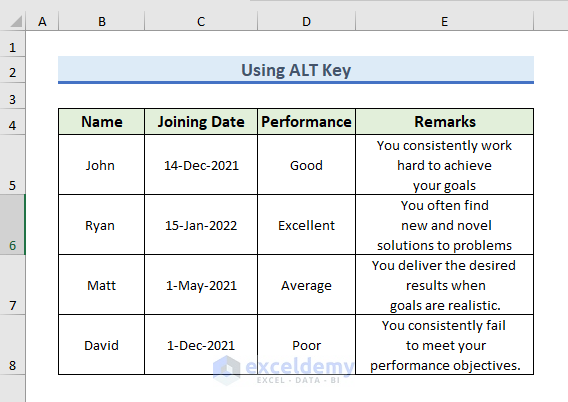
- Repeat for the remarks of the remaining employees of the company.
Method 2 – Utilize the Wrap Text Option to Make a Paragraph in Excel Cell
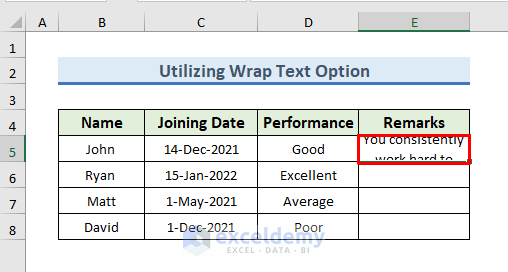
- Select the E5 cell and write the Remark.
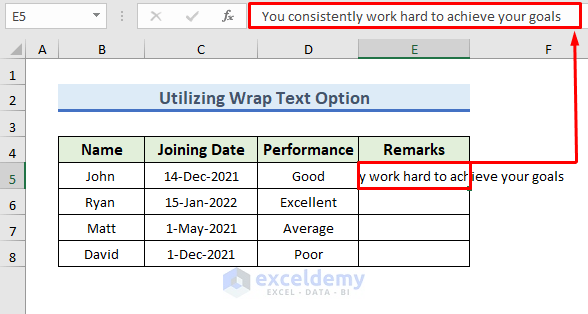
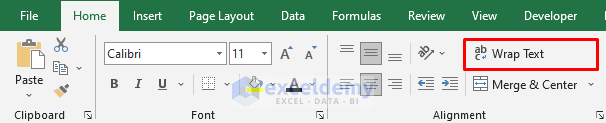
- Highlight the E5 cell and click on the Home tab of the workbook.
- Select Wrap Text from the Alignment group.
- The paragraph is now wrapped up in the E5 cell.
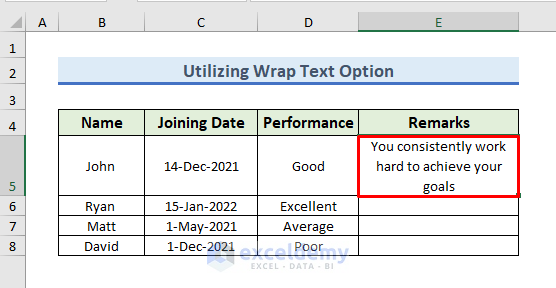
- Place the cursor on the division line between two rows and double–click it.
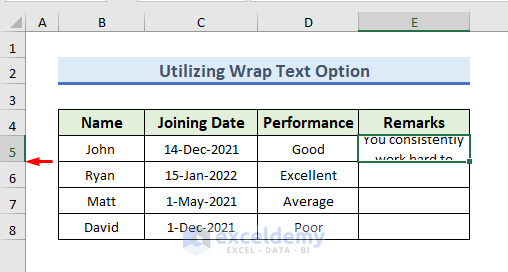
- You can now see the entire paragraph in the E5 cell.
- Repeat the steps for each Remarks entry.
Read More: How to Wrap Text in Excel Cell
Method 3 – Apply the Fill Justify Command to Type a Paragraph in Excel
STEPS:
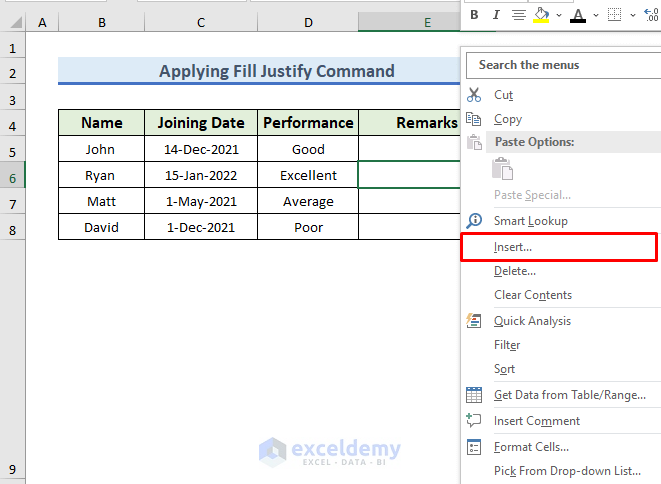
- Select the E6 cell.
- Right-click your mouse and select Insert from the menu.
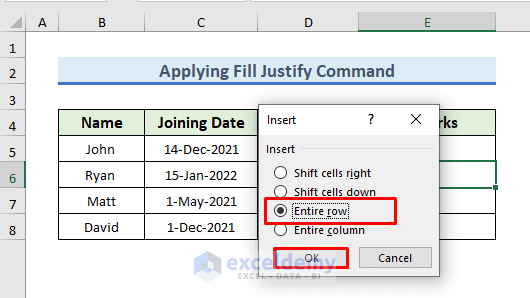
- Select Entire row from the Insert window and click OK.
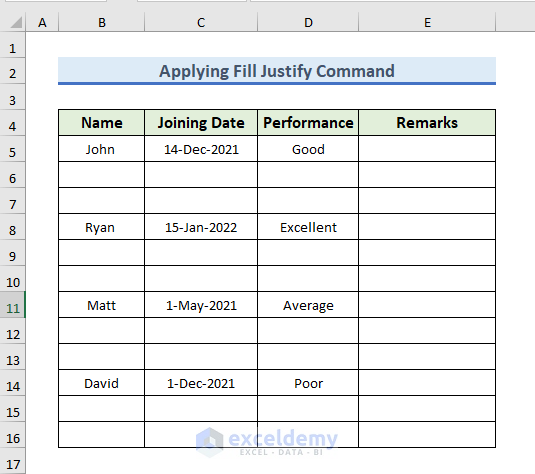
- You should see the below result in your spreadsheet.
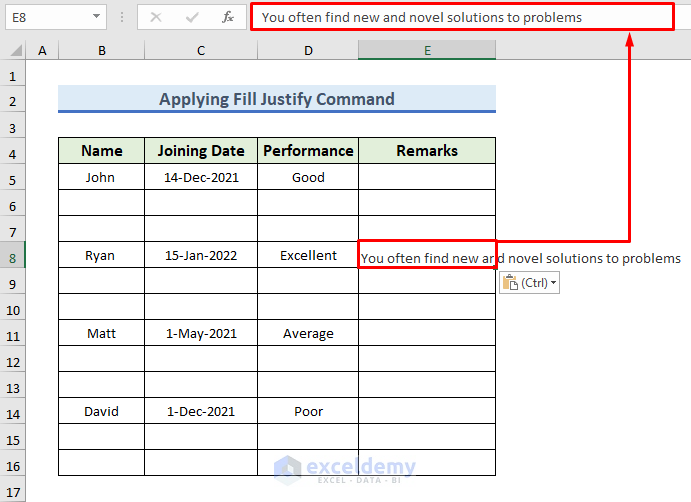
- Select the E8 cell and write Remarks about Ryan.
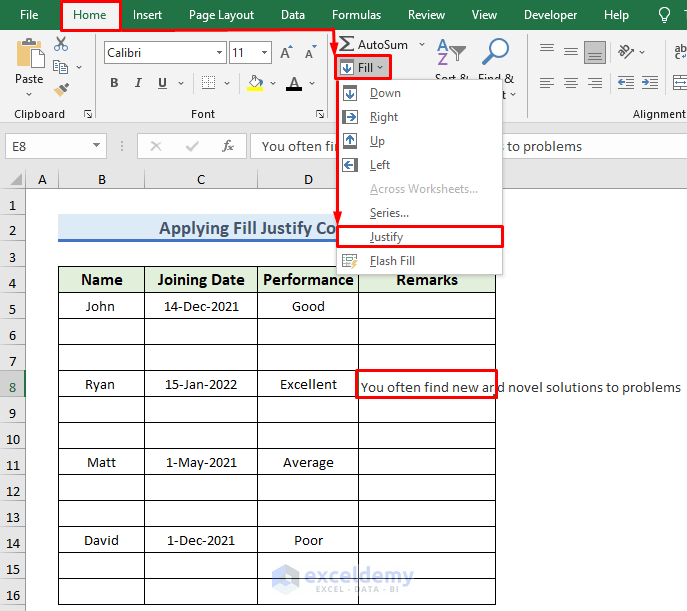
- Choose the Home tab.
- Select Fill >> Justify from the Editing group of the Home tab.
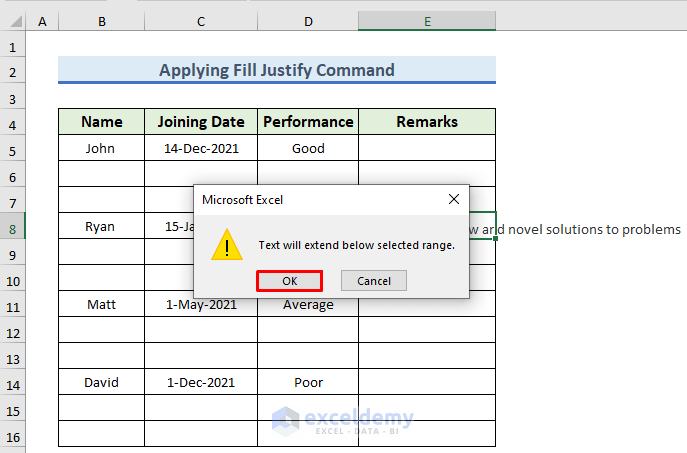
- Click OK in the message box.
- You should now see the Remarks on Performance of Ryan.
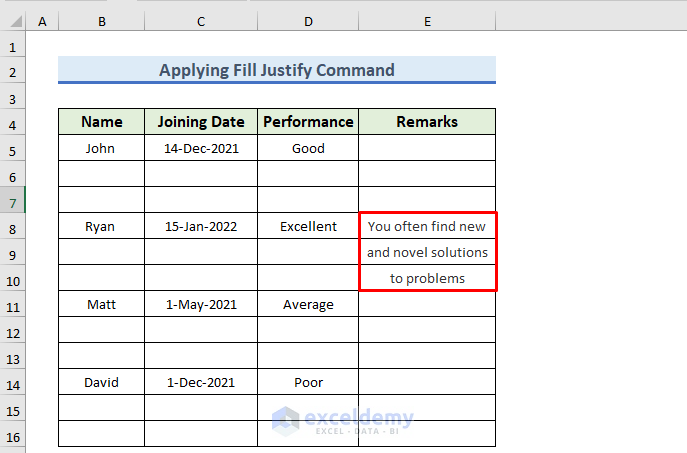
- Write the remarks of the remaining employees of the company.

Method 4 – Write a Paragraph in an Excel Cell Using Microsoft Word
STEPS:
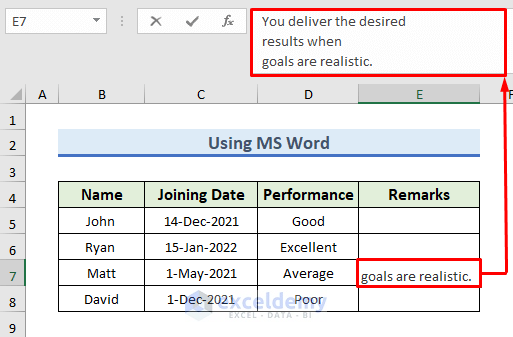
- Write a remark for Matt in Word using the format you want it to appear in Excel.

- Copy the remark by pressing Ctrl + C.
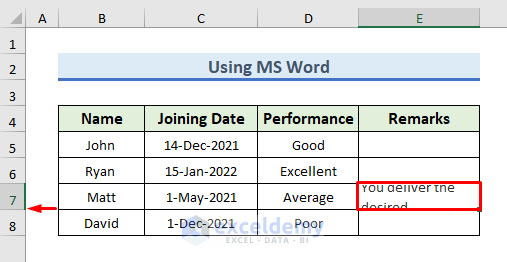
- Paste the remark into the E7 Excel cell using Ctrl + V.
- Press Enter to exit editing mode.
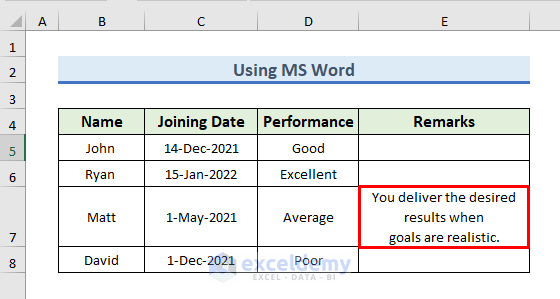
- Place the cursor on the division line between two rows and double–click it.
- You should now see the entire paragraph in the E7 cell.
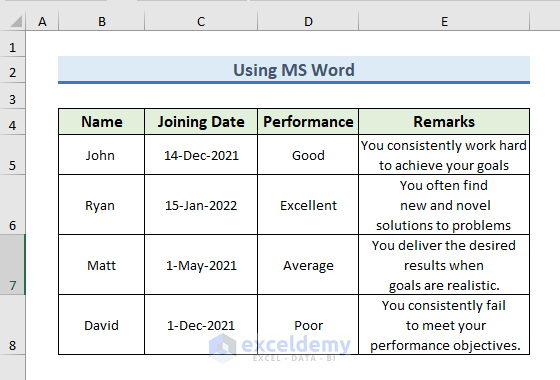
- Repeat for all other employees.
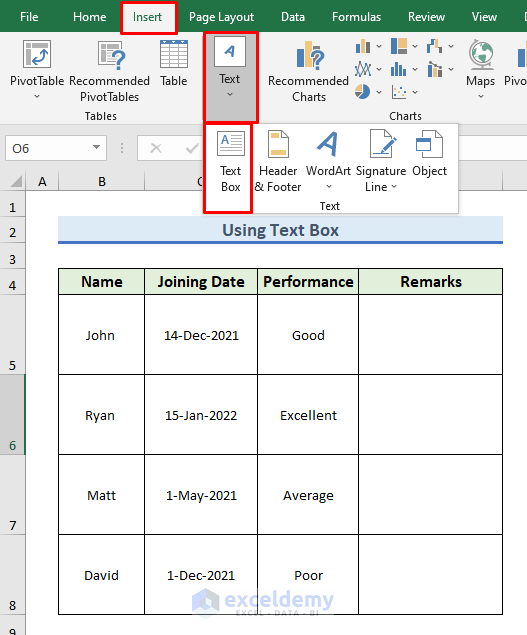
Method 5 – Use a Text Box to Write a Paragraph in Excel Cell
STEPS:
- Go to the Insert tab.
- Select the drop-down menu of the Text.
- Choose Text Box from the floating wizard.
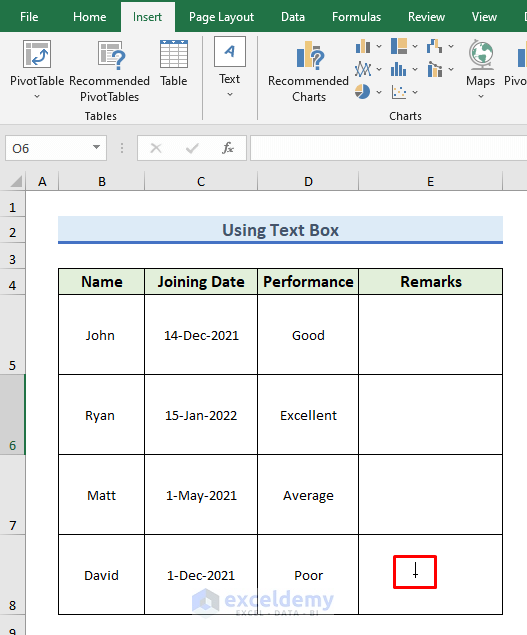
- Left–click and drag the Anchor icon to create a text box in the E8 cell.
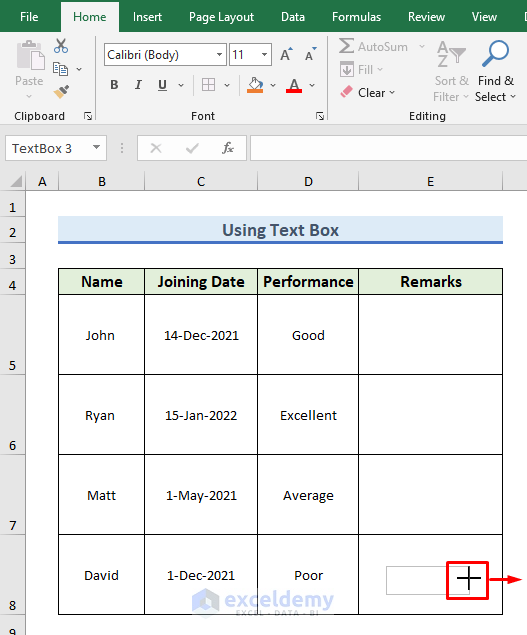
- Drag the radio button of the Text Box to adjust its size.
- Type your required text inside it.
- Write the remarks on the performance of David.
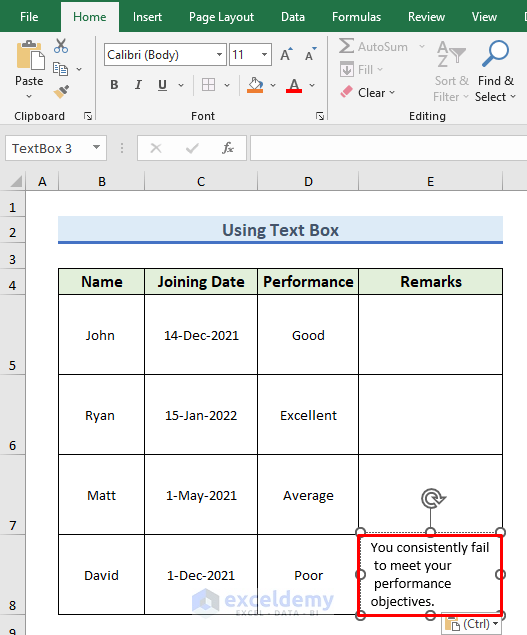
- Write the remarks of the remaining employees of the company.

Download Practice Workbook
To practice by yourself, download the following workbook.
Related Articles
- How to Wrap Text in Merged Cells in Excel
- How to Wrap Text across Multiple Cells without Merging in Excel
- Excel Auto Fit Row Height for Wrap Text
- [Solution:] Excel Wrap Text Not Working for Merged Cell
- Excel VBA to Wrap Text
- VBA to Wrap Text for Entire Sheet in Excel
<< Go Back to Wrap Text | Text Formatting | Learn Excel
Get FREE Advanced Excel Exercises with Solutions!
