Method 1 – Using the Format Cells Feature
Steps:
- Highlight the cells along with the text you want to wrap text across.
- Go to the Home tab > Click on the Font Setting icon (as shown in the below image).
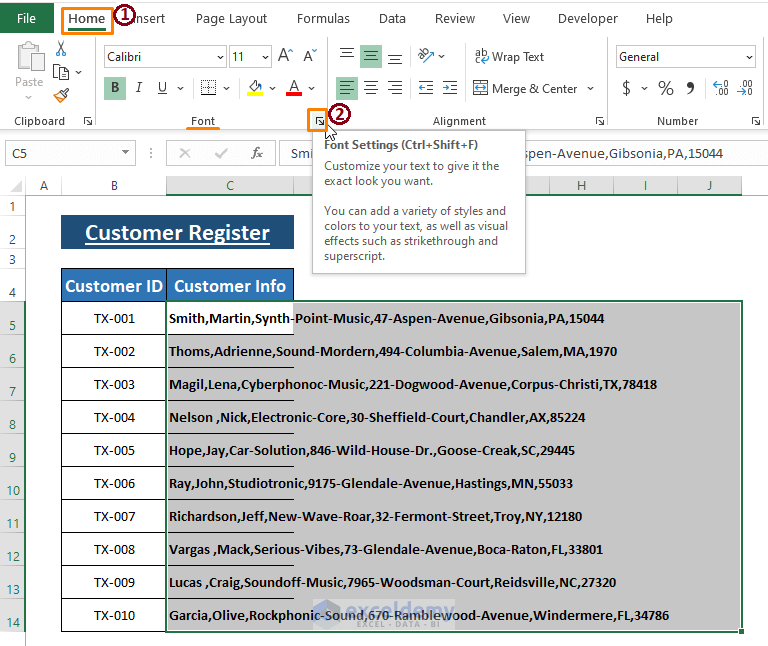
- The Format Cells window opens up.
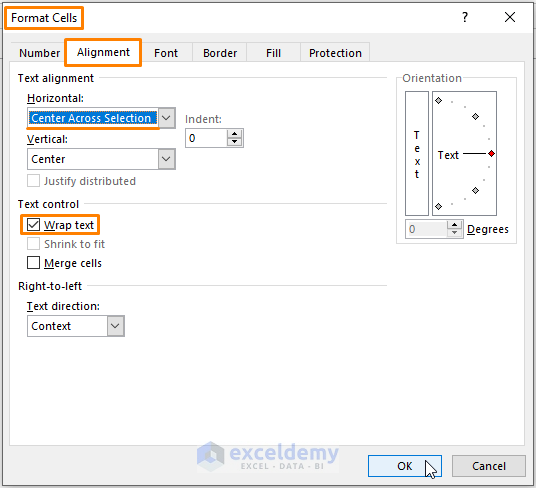
- Choose the Alignment section.
- Select Cross Across Selection as Horizontal Text alignment.
- Choose any option (i.e., Center) as Vertical Text alignment.
- Tick Wrap Text as Text Control.
- Click on OK.
Clicking OK takes you to the worksheet.
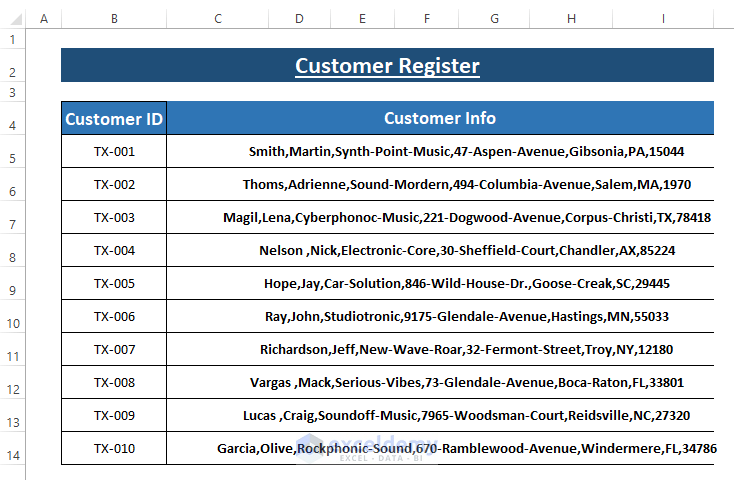
If you highlight the data to cross-check whether they are wrapped text, you see only the Wrap Text option and the vertical position Center are enabled. Excel spreads out the data across multiple cells.
Method 2 – Custom Cell Style to Wrap Text without Merging
Steps:
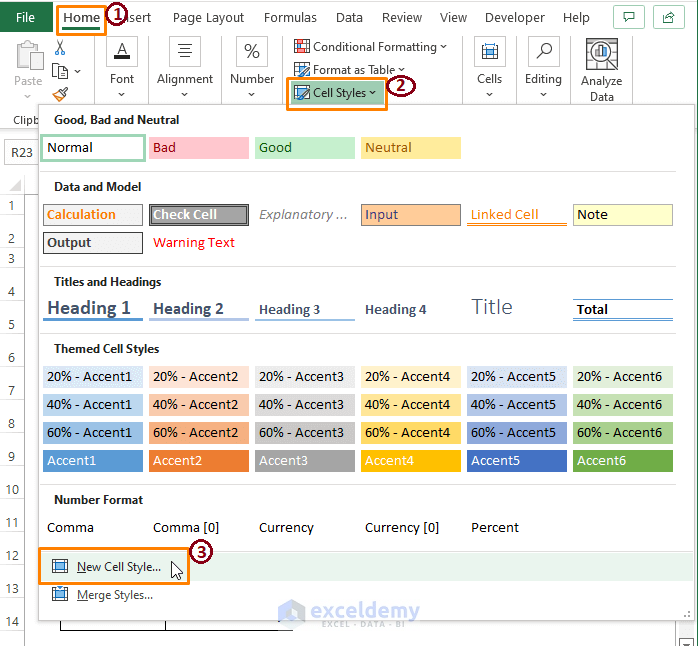
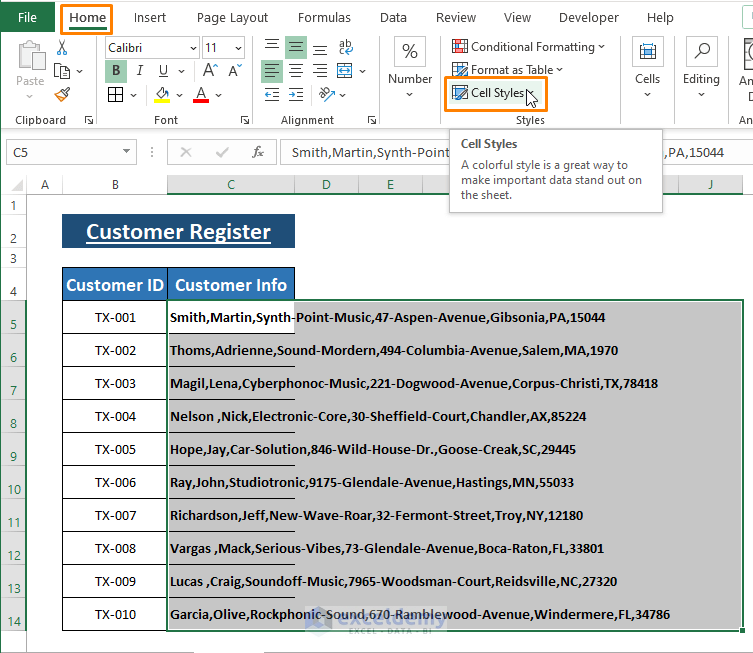
- Go to Home > Click on Cell Styles. Excel displays the offered Cell Styles.
- Click on New Cell Style.
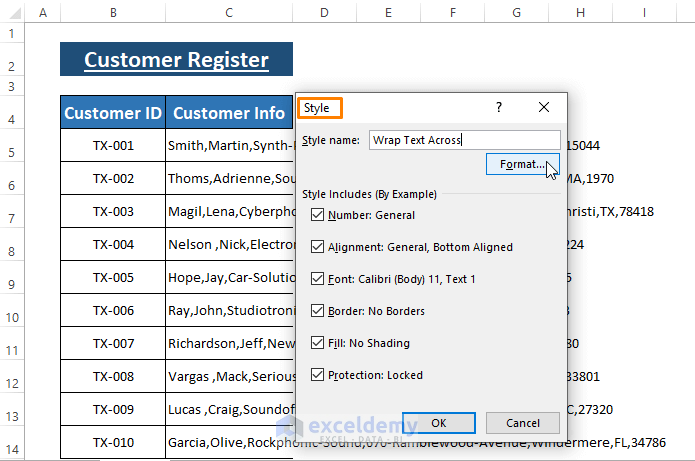
- The Style dialog box opens up.
- In the dialog box, assign a name in the Style Name command box.
- Click on Format.
Excel brings up the Format Cells window.
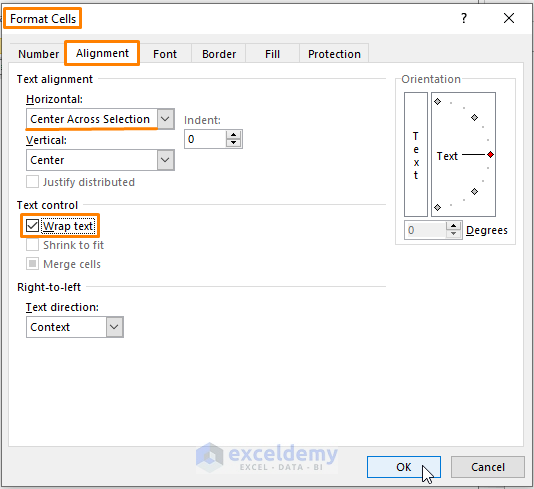
- In the window, choose the Alignment section.
- In the Horizontal Text alignment command box, Choose Center Across Selection.
- Select any of the options (i.e., Center) in the Vertical Text alignment command box.
- Enable the Wrap Text option as Text Control.
- Click on OK.
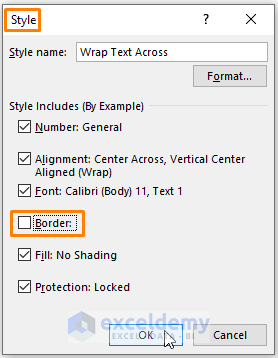
Excel takes you to the Style dialog box.
- In the dialog box, you can apply other options such as Border, Shading, etc.
- Click on OK.
- Highlight the cells you want to wrap the texts across.
- Go to the Home tab > Click on the Cell Styles.
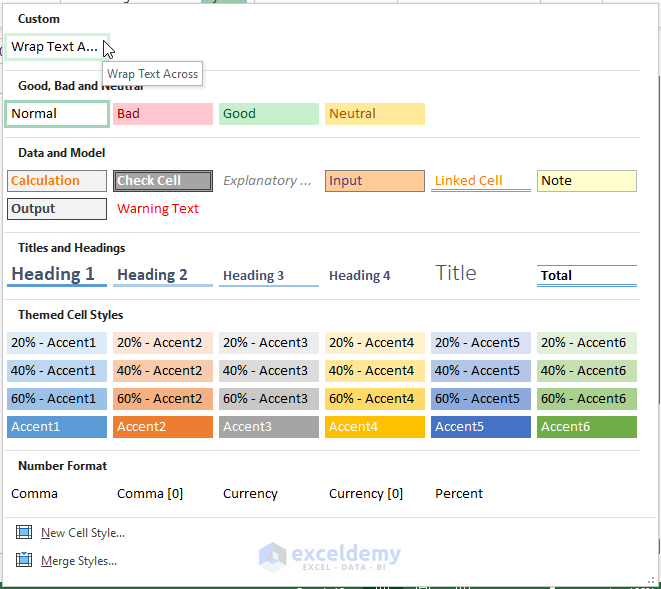
In the Cell Styles window, there is a Custom option as Wrap Text Across. You can recall you earlier created the custom cell style in Steps 1, 2, and 3.
- Click on the Wrap Text Across option.
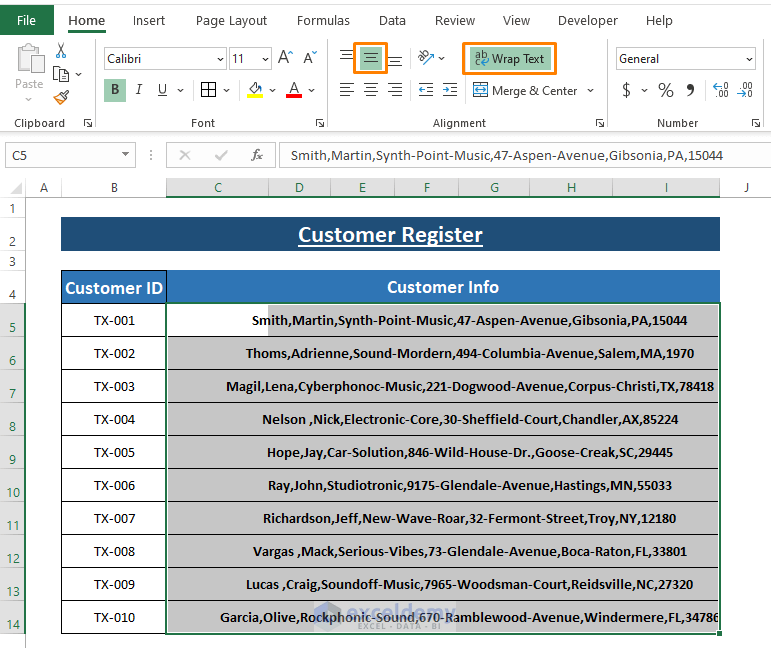
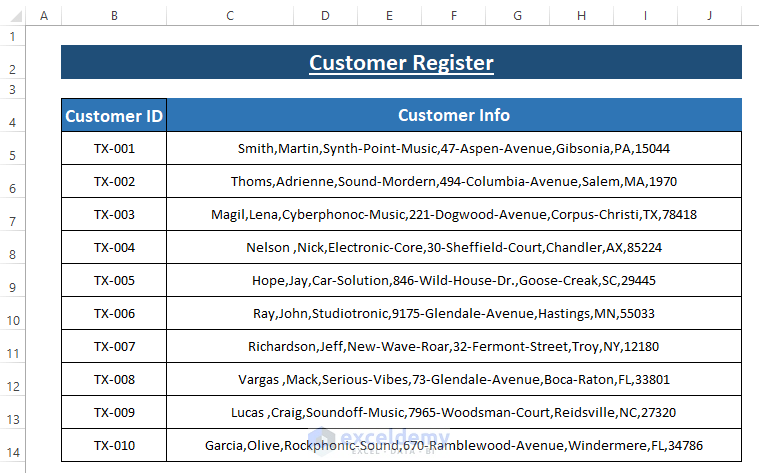
After applying the custom cell style (i.e., Wrap Text Across), Excel takes you to the worksheet, and you see Excel wrap text all the data across multiple cells without merging.
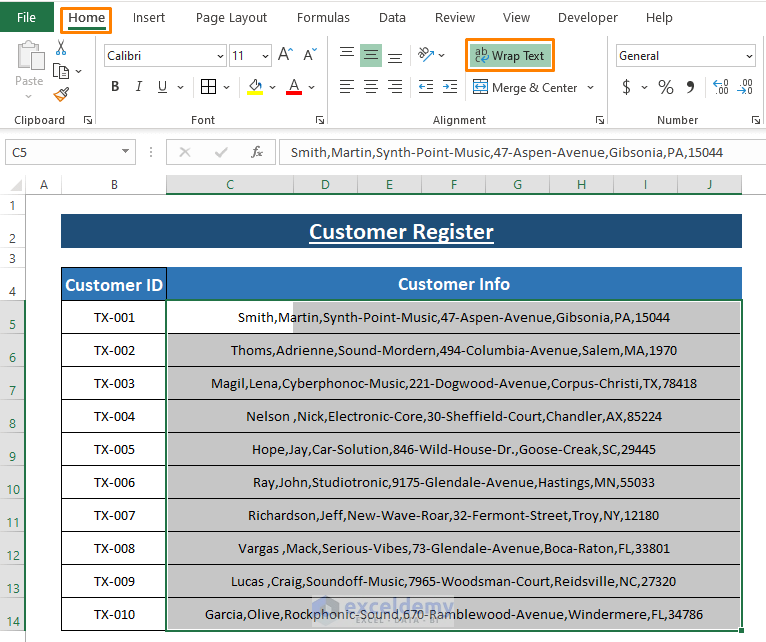
If you want to verify the texts, highlight the text; you see only the Wrap Text option is enabled. Excel highlights all the column indicators as proof of wrap text across the selection.
Download the Excel Workbook
Related Articles
- Excel Auto Fit Row Height for Wrap Text
- How to Write a Paragraph in Excel Cell
- [Solution:] Excel Wrap Text Not Working for Merged Cell
- Excel VBA to Wrap Text
- VBA to Wrap Text for Entire Sheet in Excel
<< Go Back to Wrap Text | Text Formatting | Learn Excel
Get FREE Advanced Excel Exercises with Solutions!
