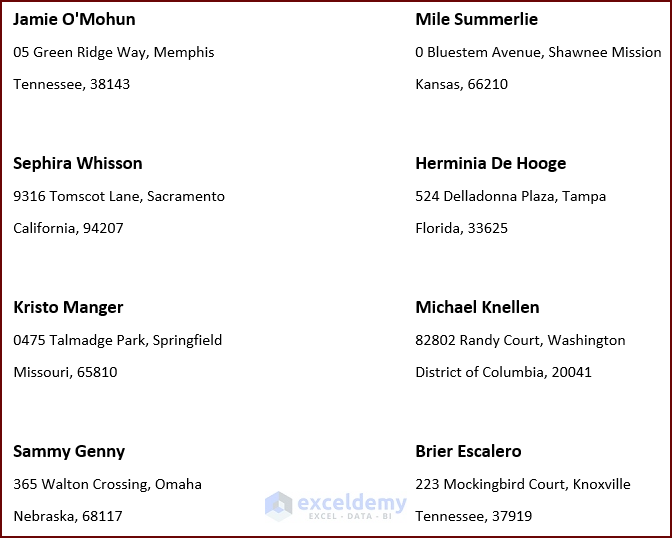
Address labels are an essential aspect of any business or personal correspondence, and creating them in Excel can save time and effort. However, formatting them can be a challenge for those who are not familiar with the software. In this article, we will provide 2 methods with step-by-step instructions on how to format address labels in Excel. From selecting the appropriate label size to inserting the necessary fields, we will cover everything you need to know to create professional-looking address labels. So, whether you are mailing out invitations or sending packages, this guide will help you streamline the process and ensure that your labels are formatted correctly. Here’s an output overview of formatted address labels using Word.
When Should You Make an Address Label Using Excel?
Using Excel to create address labels can be a great option for businesses or individuals who frequently send out correspondence. It can save time and ensure accuracy, especially when dealing with a large volume of addresses.
Excel’s ability to store and organize data makes it easy to create address labels that can be used repeatedly, with just a few clicks. Additionally, if you need to make changes to the addresses, you can do so easily in Excel, rather than having to update each label individually.
Overall, making address labels in Excel is a great solution for those who need to streamline their mailing processes and ensure accuracy and consistency in their correspondence.
How to Format Address Labels in Excel: 2 Easy Approaches
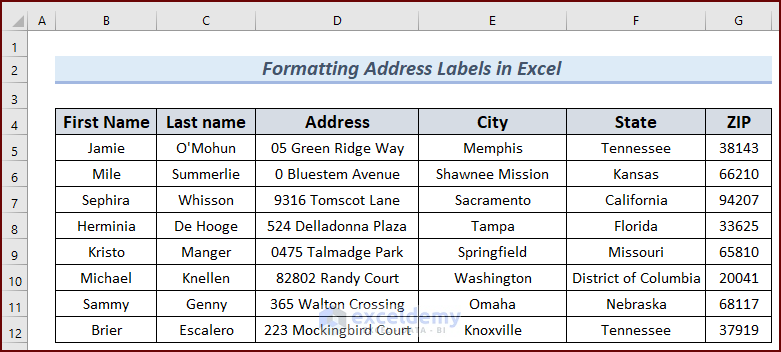
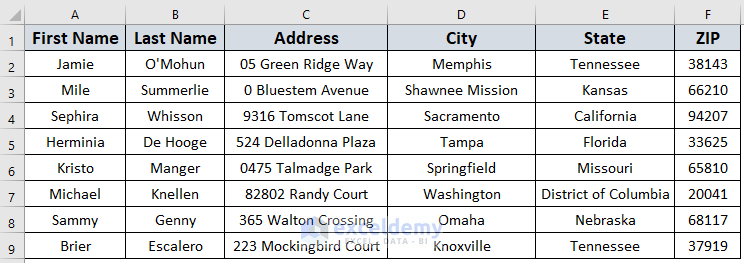
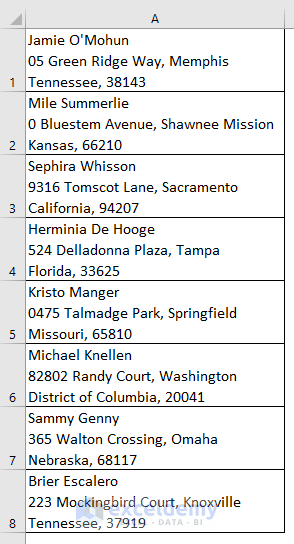
In the dataset, we have information about some people with their names, addresses, states, and ZIP codes. We will show you how to format these labels step by step.
1. Format Address Labels from Excel Using Word
The best feasible way of formatting address labels from Excel is to use Microsoft Word. So in our first method, we’ll show it with easy steps and clear illustrations.
Step 1. Inserting Data of Address Labels in Excel
When you want to format address labels in Excel, you have to maintain some procedures. Let’s go through the discussion below.
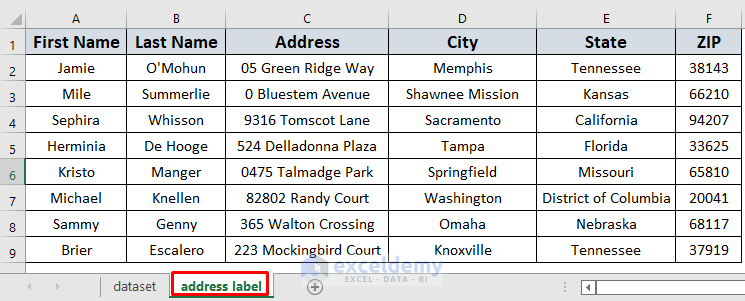
- Start your data from the A1. Otherwise, Microsoft Word won’t format your address labels. Notice that the Sheet name for the edited dataset is ‘address label’.
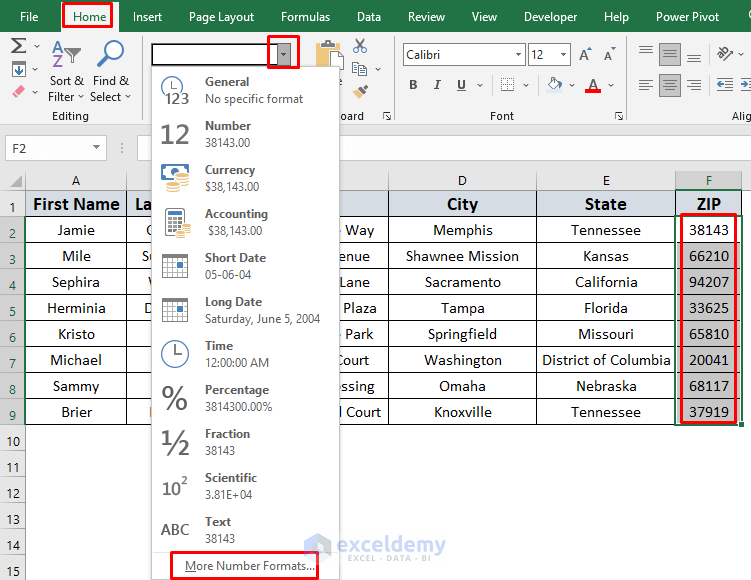
- Next, format the ZIP codes as ZIP from the Number Group. Although it is not necessary, it’s a good practice. Sometimes, Word may return some unnecessary errors while working with this data.
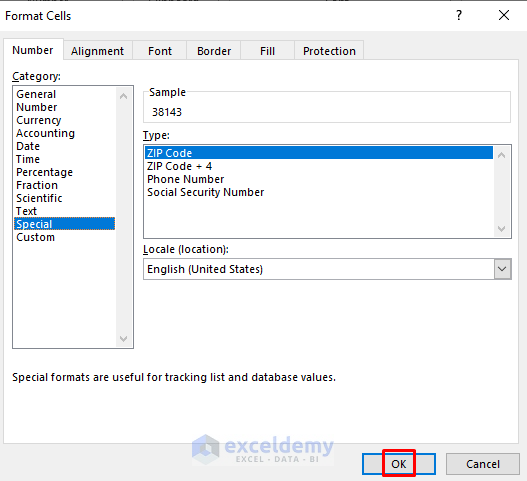
- To do that, select the ZIP codes, click on the drop-down icon of the Number Group and select More Number Formats…
- Later, in the Format Cells window, select Special >> ZIP Code and then click OK. As the addresses of this dataset are in the USA, we set the location as English (United States).
- Now your Excel sheet is ready for formatting address labels. Press CTRL+S to save your Excel Workbook.
Read More: How to Change Date Format in Excel Mail Merge
Step 2. Processing in Microsoft Word
In this section, we will be discussing how we will format the address labels in a Word Document. Please go through the discussion below for a better understanding.
- First, open a Microsoft Word Document.
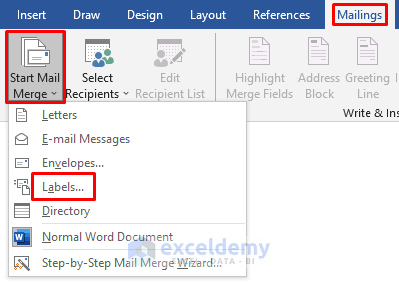
- After that, select Mailings >> Start Mail Merge >> Labels…
Step 3. Selecting Label Options
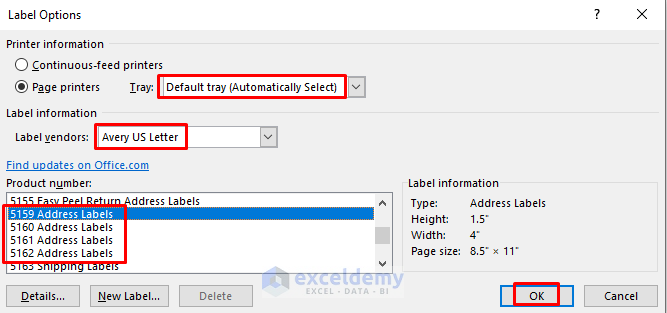
- Later, the Label Options window will show up. Keep the Page printers Tray as Default tray.
- After that, select Label vendors of your choosing. In my case, I selected Avery US Letter as my Label vendor.
- Select any of the Address Labels from the Product number: section marked in the following image. You can select any other Product number But as we are formatting address labels, it’s convenient to select Address Labels. In my case, I selected the 5159 Address Label.
- Next, just click OK.
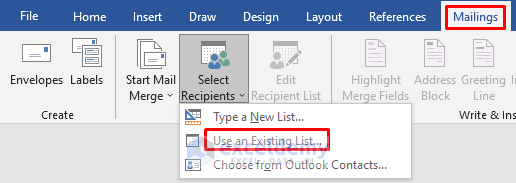
- After that, select Mailings >> Use an Existing List… As we already made a list in our Excel Workbook.
Read More: How to Mail Merge from Excel to Outlook
Step 4. Importing Excel Workbook for Address List
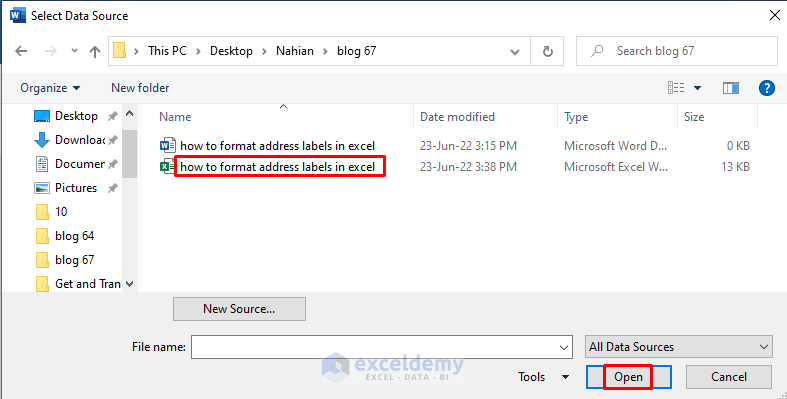
- The previous command will open the Select data Source dialog box to browse your Excel Workbook, select the Excel Workbook that contains the addresses and click Open.
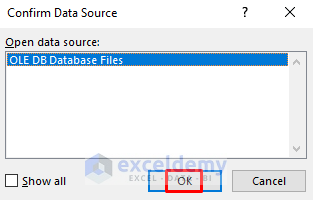
- You will get a warning message which tells you to confirm the data source. Just click OK.
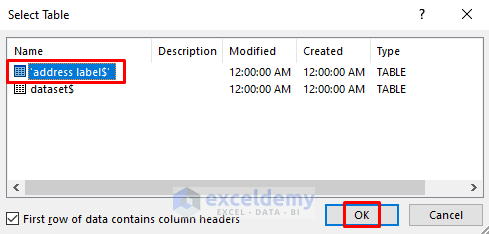
- After that, a dialog box will appear which will tell you to select the Sheet of your Excel Workbook. Remember, our addresses were stored in the ‘address label’ Sheet. So we select it and click OK.
Step 5. Formatting Excel Address Labels in Word
This is the final step of formatting the address labels from our Excel Workbook to Microsoft Word. Let’s follow the instructions below.
- Next, you will see the following labels in your Word Document.

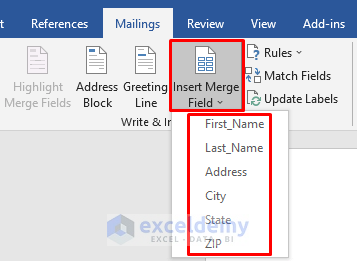
- After that, select the first cell and insert the headers one by one from Insert Merge Field.
- Next, select Update Labels. You can format the labels if you want. I changed the font of the names to size 14 and made it bold. Also, I change the font size of the other labels to 12.
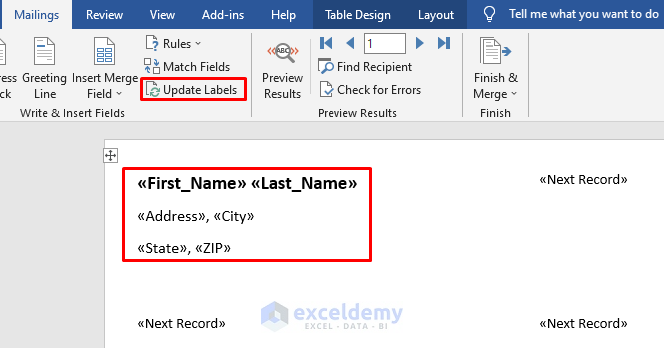
- You will see the following image after this operation. This means your address labels data from the Excel Workbook will be stored in the following format.

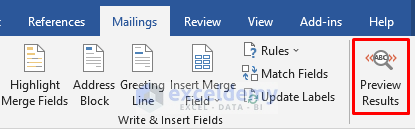
- Select Preview Results after that.
Finally, you will see the address labels from the Excel Workbook nice and clean.
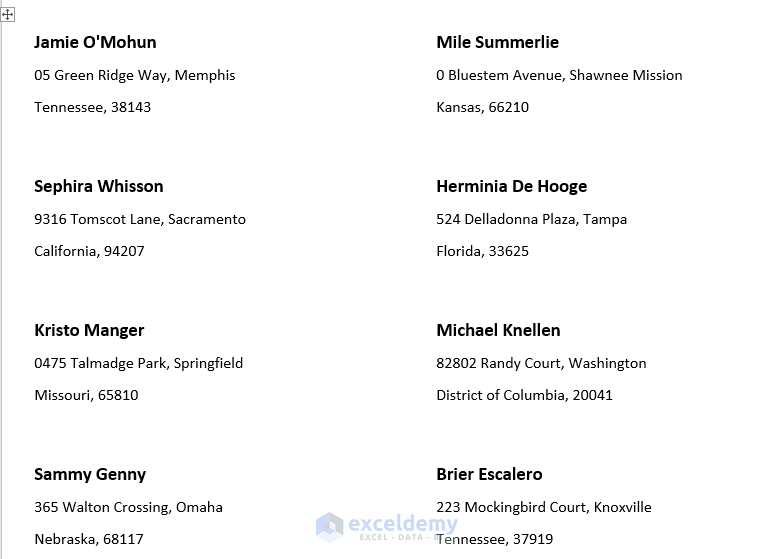
Thus you can format Excel address labels in a Word Document.
Read More: How to Mail Merge from Excel to Outlook with Attachments
2. Format Address Labels in Excel Without Word
In the previous method, we had to use Microsoft Word but it’s not feasible all the time to use multiple apps for a particular work. So if you have problems using Word to format address labels then you can use VBA which will offer you an easy and quick way. Let’s see how we can do it.
Step 1. Manage Address List in Excel
- First, arrange your addresses like the following dataset, you must have to place the addresses in Column A.
Step 2. Create a VBA Macro
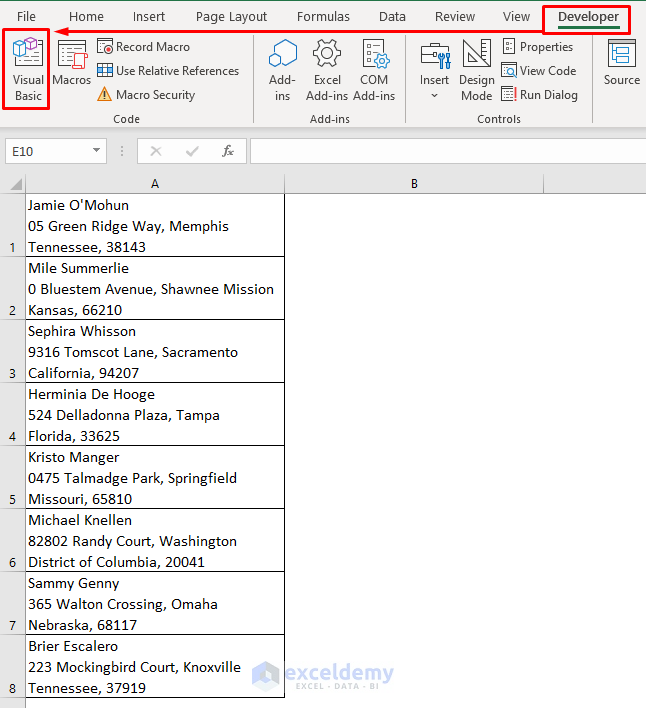
- Next, click on Visual Basic from the Developer ribbon to open the VBA window.
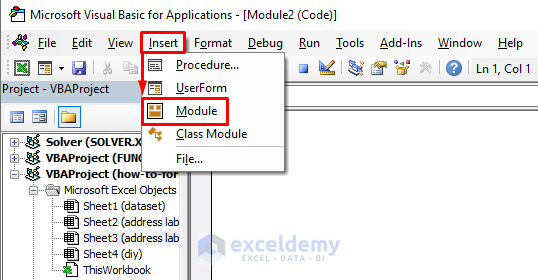
- Then insert a new module by clicking: Insert > Module.
- After that, insert the following VBA codes in the module and run the codes-
Sub Format_Labels()
    Application.Run "Call_Column"
    Cells.Select
    Selection.RowHeight = 75.75
    Selection.ColumnWidth = 34.14
    With Selection
        .HorizontalAlignment = xlCenter
        .VerticalAlignment = xlBottom
        .WrapText = False
        .Orientation = 0
        .AddIndent = False
        .IndentLevel = 0
        .ShrinkToFit = False
        .ReadingOrder = xlContext
        .MergeCells = False
    End With
    With Selection
        .HorizontalAlignment = xlCenter
        .VerticalAlignment = xlCenter
        .WrapText = False
        .Orientation = 0
        .AddIndent = False
        .IndentLevel = 0
        .ShrinkToFit = False
        .ReadingOrder = xlContext
        .MergeCells = False
    End With
End Sub
Sub Call_Column()
Dim xRange As Range
Dim xVar As Long
Dim xData As Long
Set xRange = Cells(Rows.Count, 1).End(xlUp)
xData = 1
On Error Resume Next
incolno = InputBox("Insert Required Column Number")
For xVar = 1 To xRange.Row Step incolno
Cells(xData, "A").Resize(1, incolno).Value = Application.Transpose(Cells(xVar, "A").Resize(incolno, 1))
xData = xData + 1
Next
Range(Cells(xData, "A"), Cells(xRange.Row, "A")).ClearContents
End Sub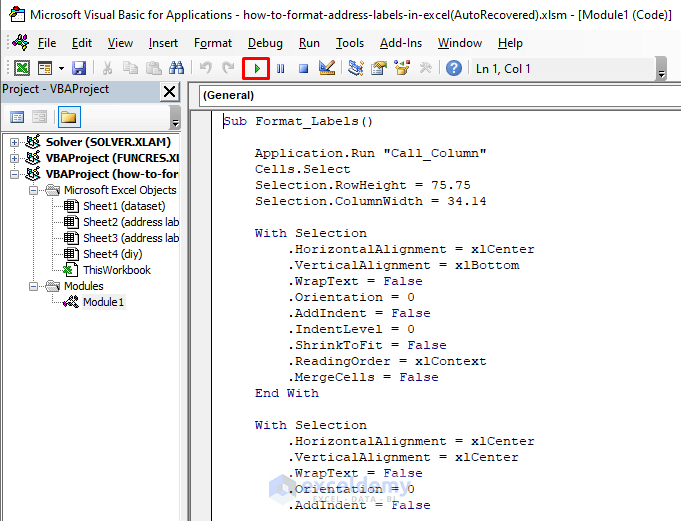
Read More: How to Copy and Paste Excel Table into Outlook Email
Step 3. Get Formatted Address Labels
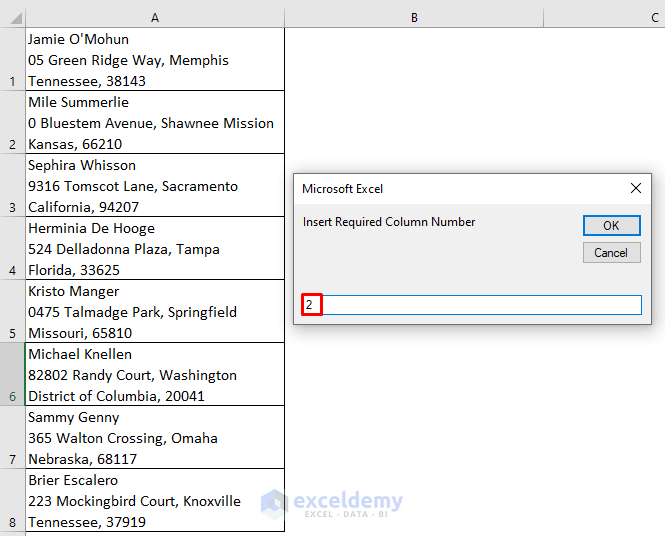
- An input box will open up to insert the number of columns where you want to format your address labels. We inserted 2. Press OK.
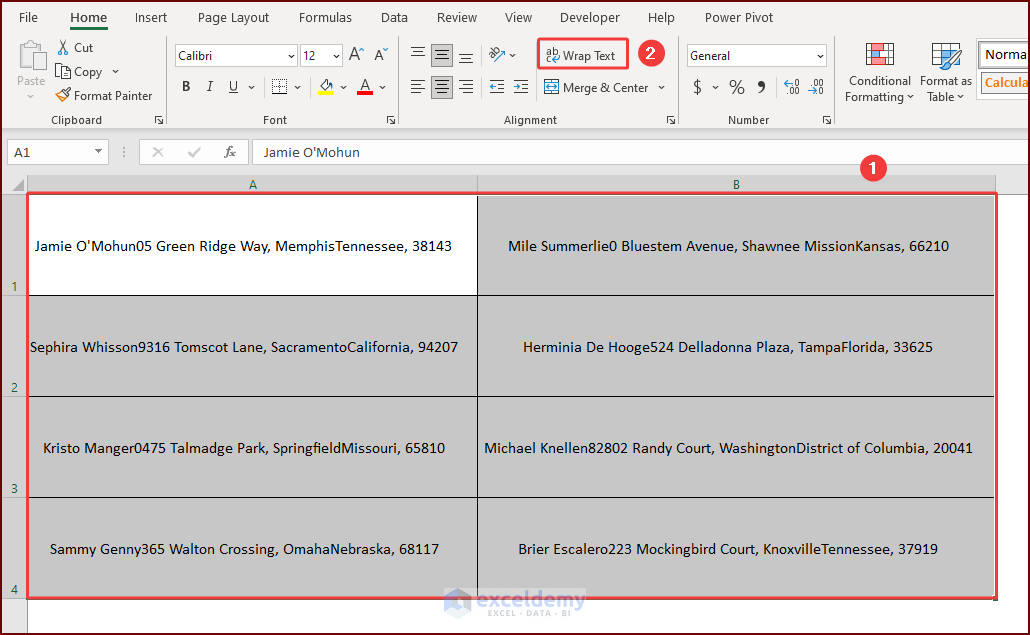
- The output will return in two columns without line breaks. Select the data range and click on the Wrap Text option from the Alignment section of the Home ribbon.
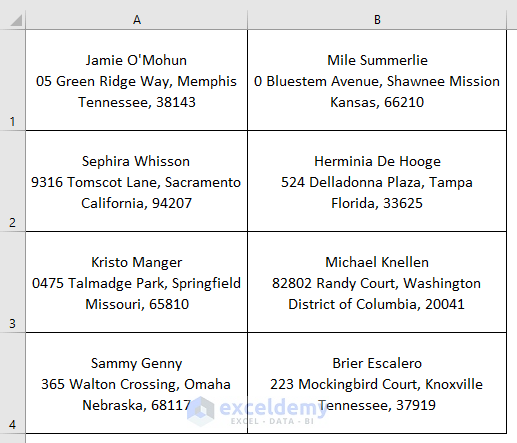
- Now see, we got the standard address labels format.
How to Print Labels Using Page Layout in Excel Without Word
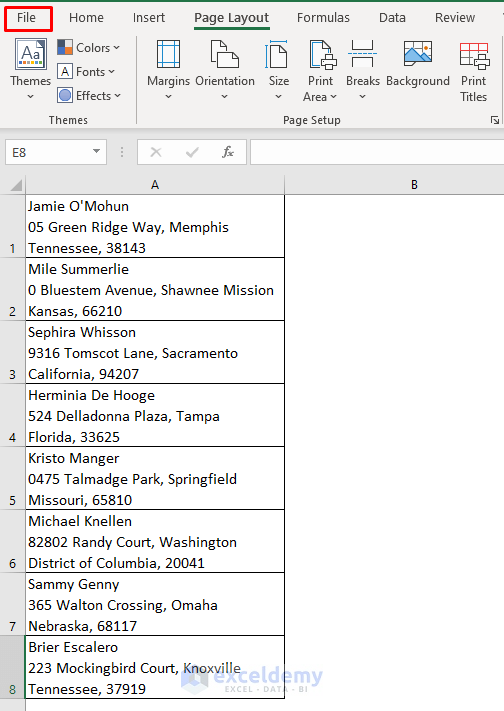
While printing labels, we can use the Page Layout settings to format the address labels on a page. You can arrange your page by setting your required customized margins. We’ll use the previous dataset here.
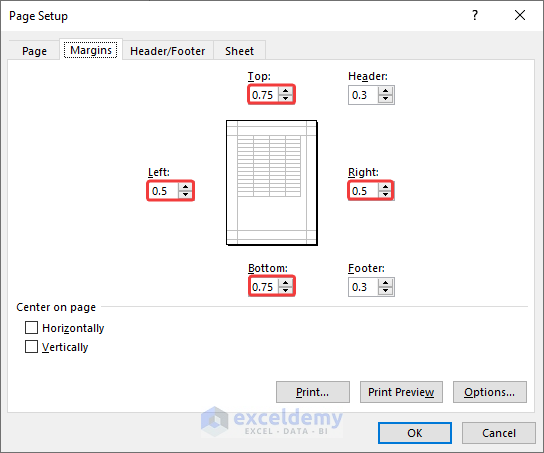
- Click as follows: Page Layout > Margins > Custom Margins.
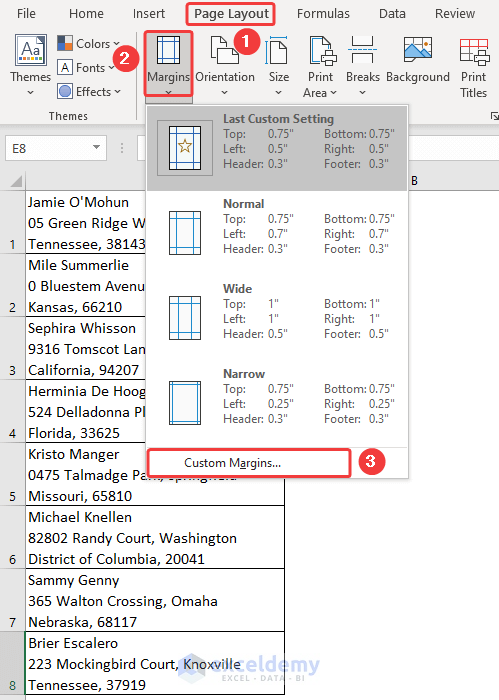
- Then set your preferred margins and press OK, we set 0.75 for the top and bottom, and 0.5 for the left and right.
- Now to print, first, click on the File tab.
- Next, select Print Or you can use the shortcut keys CTRL+P to open the print window at once.

- Select the Fit All Columns on One Page command from Settings, and then press the Print button.
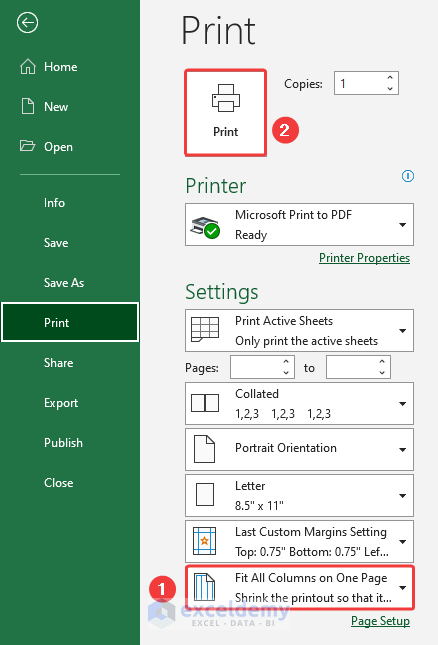
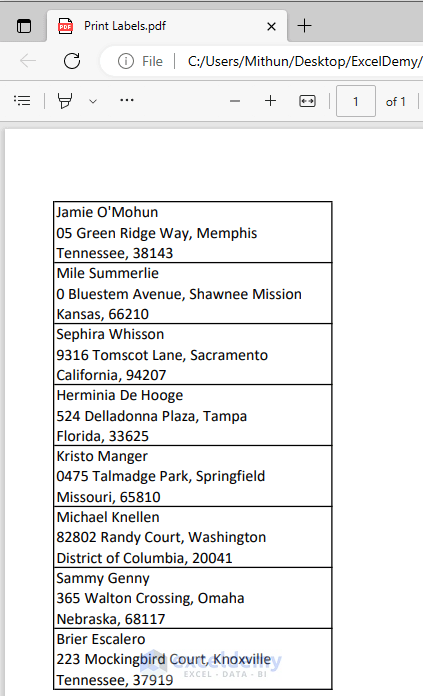
- We have no printer right now, so we printed in PDF format.
Things to Remember
- Address labels created by Word are the best feasible way, it saves time and is effective for a huge number of addresses.
- You should save the label formats for further use, it will save you from doing repetitive work.
- Create a separate column for each item and give the heading name properly.
- Make sure there are no blank rows, columns, or cells otherwise, it may cause problems while merging.
- To import information from your Excel spreadsheet, you can use the Text Import Wizard to build a new spreadsheet by importing information from a comma-separated value (.csv) or a text (.txt) file.
Frequently Asked Questions
1. Can you make Avery labels from an Excel spreadsheet?
Sure, you can make standard Avery labels from Excel using Microsoft Word.
2. Can you print labels with a regular printer?
Yes, the regular inkjet or a laser printer can print labels on a standard full label sheet of 8.5” x 11” or on a half sheet.
3. What is the best label size for addresses?
The most common size for address labels is 4×6 inches or 10×15 centimeters. It’s standard and enough to hold all the shipping information properly.
4. What margins for address labels?
The standard Margin for the address labels is 0.1875 inches on top and 0.5 inches on left. The Space Between Rows is 0.125 inches and no space between columns.
5. What is the standard main label size?
The standard main label size is 8.5″ × 11” (Letter), 8.5″ × 14” (Legal) 11″ × 17″ (Tabloid).
6. What size is an address label template?
For an address label template, the standard size is 8.5″ x 11″.
7. How many address labels per page?
For laser or inkjet printers, 80 labels per page are standard and optimized.
Practice Section
Here, I’m giving you the dataset of this article so that you can practice these steps on your own.

Download Practice Workbook
You can download the practice workbook from the download button below.
Conclusion
Creating address labels in Excel can save time and ensure accuracy when sending out correspondence. By following the step-by-step instructions outlined in this article, now you know how to format address labels in Excel and create professional-looking labels. Remember to select the appropriate label size, insert the necessary fields, and adjust the formatting as needed. With Excel’s ability to store and organize data, you can streamline your mailing processes and ensure that your correspondence is accurate and consistent. Whether you are sending out invitations, packages, or other types of correspondence, Excel can help you create address labels quickly and easily.
Related Articles
- Creating a Mailing List in Excel
- Mail Merge from Excel to Excel
- How to Mail Merge from Excel to Powerpoint
- How to Send Email from Excel List
<< Go Back To Mail Merge Excel | Learn Excel
Get FREE Advanced Excel Exercises with Solutions!
