Method 1 – Copying and Pasting an Excel Table Directly from Clipboard Command
Steps:
- Select the table on your Excel spreadsheet.
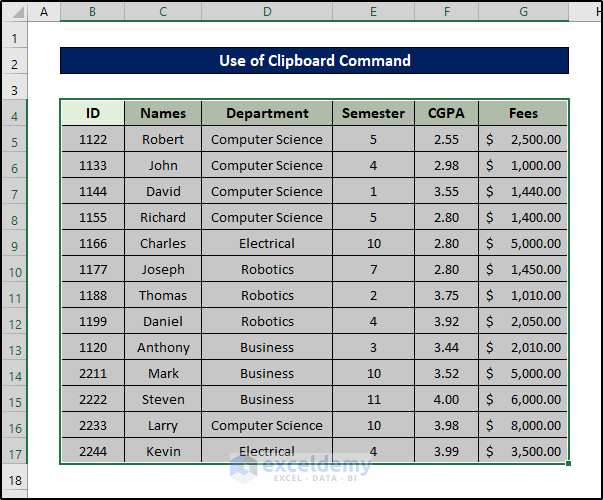
- Press Ctrl+C.
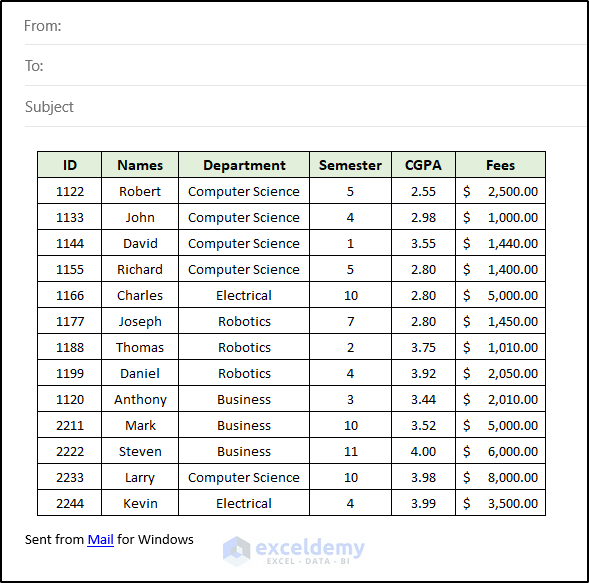
- Open Outlook email and go to the section where you want to paste the table (main body of the email).
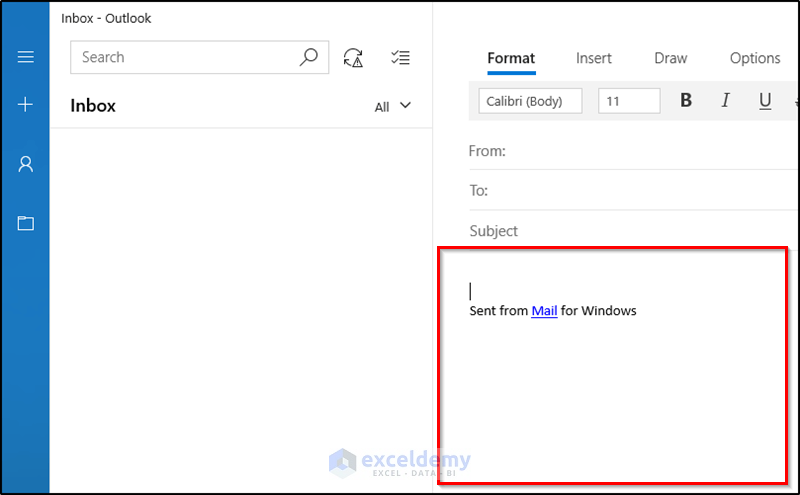
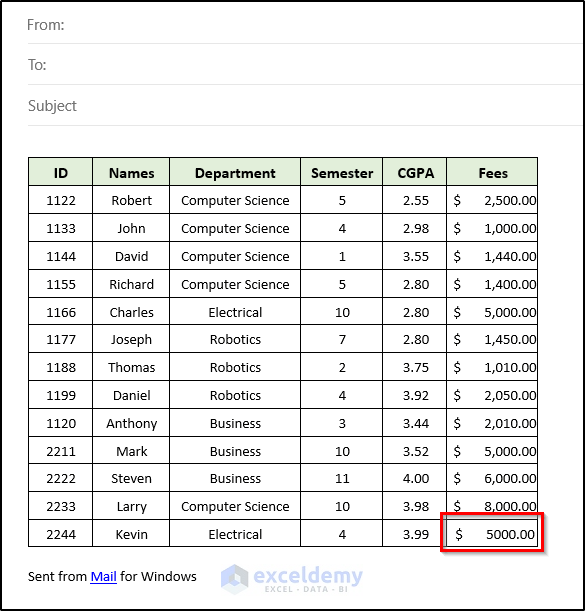
- Press Ctrl+V to paste the chart on the email client.

- You can also edit the table in the email client now if you want. For example, look at the value marked in the following figure and the previous one.
Read More: How to Mail Merge from Excel to Outlook with Attachments
Method 2 – Adding Excel Table as a Non-Editable Picture in Outlook Email
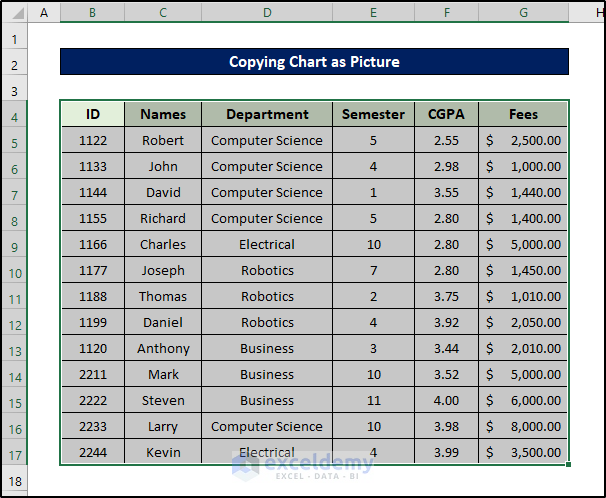
2.1 Copying a Chart as a Picture and Pasting into Outlook Email
Steps:
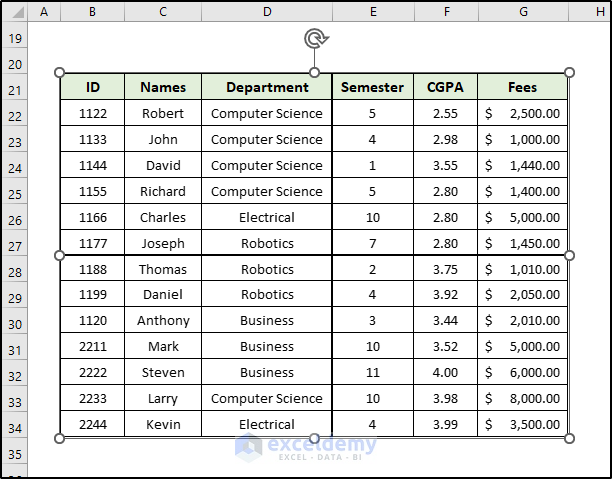
- Select the whole Excel table on the spreadsheet.
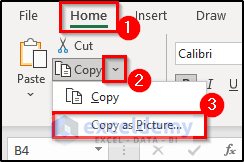
- Go to the Home tab on your ribbon first.
- Select the downward-facing arrow beside Copy in the Clipboard group section.
- Select Copy as Picture from the drop-down menu.
- Another box will appear. Select your preferred options here. In this case, we opt for As shown on screen as the Appearance option and Picture as the Format.
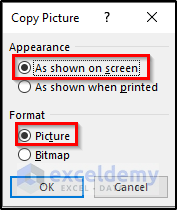
- Click on OK. Excel will now copy the table as a picture and store it on the clipboard.
- Paste the picture somewhere on the spreadsheet.
- Copy the picture with Ctrl+C.
- Paste it into the Outlook email client’s main body section by pressing Ctrl+V.
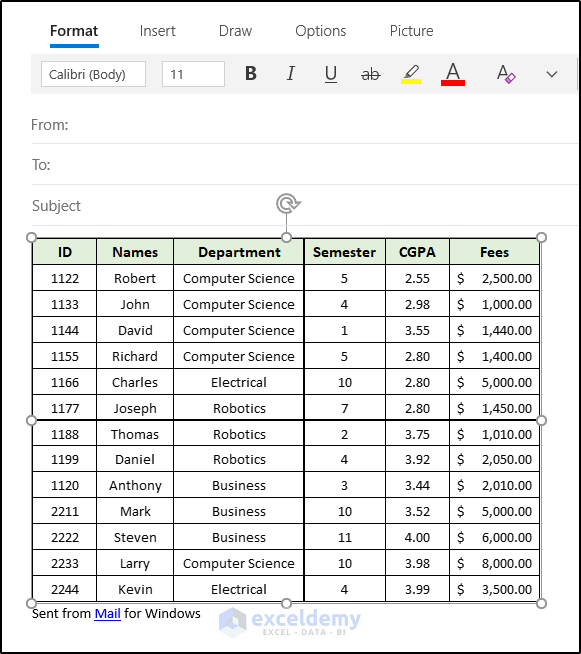
You can copy and paste the Excel table into Outlook email as a picture.
2.2 Copying the Snip of a Table
Steps:
- Open up the spreadsheet and press Win+Shift+S.
- Select the area you want over the table.

- Open the Snip & Sketch window (or the one you are using) and press Ctrl+C to copy the image on your clipboard.
- Select the main body of the email client and press Ctrl+V to paste that in.
Read More: How to Mail Merge from Excel to Outlook
Method 3 – Attaching an Excel File in Outlook Email
Steps:
- Open the new mail section of the Outlook email client.
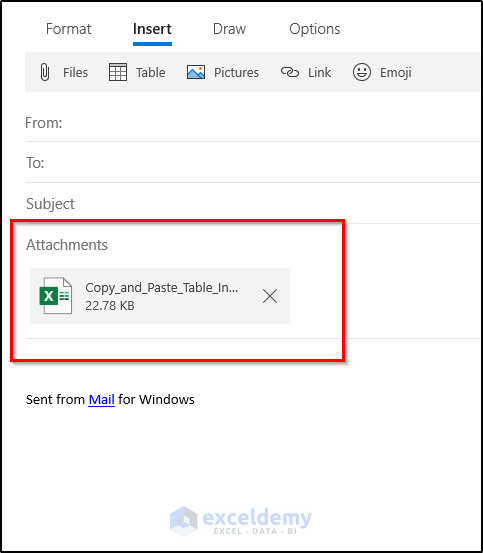
- Go to the Insert tab.
- Select Files under the tab options.

- Go to the file Explorer to the location where your file is saved and select the file.
- You will find that the file is now attached to the email client.
Read More: How to Send Email from Excel List
Download the Practice Workbook
You can download the workbook used for the demonstration from the link below.
Related Articles
- Creating a Mailing List in Excel
- Mail Merge from Excel to Excel
- How to Mail Merge from Excel to Powerpoint
- How to Change Date Format in Excel Mail Merge
- How to Format Address Labels in Excel
<< Go Back To Mail Merge Excel | Learn Excel
Get FREE Advanced Excel Exercises with Solutions!

Hi Abrar,
I have a problem with Copy Excel Range and Paste in MS Outlook Body.
Pasted Table have compressed Columns
The column widths are about twice as narrow as in the original table, so the column heights are greatly elongated.
The same happens when I copy the Excel Range manually or via VBA.
Note: Via VBA, if I use DataType:=wdPasteHTML, the width of all cells gets very narrow, and if I use DataType:=wdPasteRTF, then most of the cells are transferred properly, and some are very deformed in width.
Do you have any ideas?
Best Regards
Cheers
Andrija
Greetings Andrija,
There might be two reasons for your query. First, your default Outlook mail compose settings may not be in HTML format. Another one is that the table is pasted as Paste text and merge format (M).
First solution:
Go to the View tab in your Outlook app.
Click on View Settings > Mail > Compose and reply.
Select the HTML format for the Compose messages option.
Second Solution:
Your table might be compressed if you paste it as Paste text and merge format (M).
Change it to Paste as is (P).
We hope your issue will be resolved. Please let us know whether your issue is solved or not. The ExcelDemy team always welcomes your valuable feedback.
Best regards,
Bhubon Costa
Thank you very much , Bhubon.
In the meantime, I fi x theproblem (via VBA)
rngTable = Table Range reference, OutMail = Outlook Email object.
rngTable. Copy
OutMail.GetInspector.WordEditor.Windows(1).Selection.PasteSpecial Link:=False, DataType:=wdPasteHTML ‘ Not OK. The width of all cells is very narrow
OutMail.GetInspector.WordEditor.Windows(1).Selection.PasteSpecial Link:=False, DataType:=wdPasteRTF ‘ Not OK. Some Columns extremely deformed in width
I found that simplest solution work correctly:
OutMail.GetInspector.WordEditor.Windows(1).Selection.Paste ‘ works correctly
Thank you for your effort! Your solutions will help me in understanding and manual work.
Best Regards
Andrija
Dear Andrija,
You are most welcome.
Regards
ExcelDemy
Good Day
I copied an excell table in mircosoft outlook body.
Once mail is forwarded I`m unable to edit the sheet, What do I need to do to keep the format. I`m working with a lot of numbers and would liek to keep the table on auto calculation.
Hello Keith,
Good day,
When you copy an Excel table into the Outlook email body, it only pastes as a static table or image – not as a live Excel sheet. That’s why you can’t edit or auto-calculate after forwarding.
If you need to keep the calculations and editable format, here are a few options:
1. Attach the Excel file directly to the email instead of pasting it.
2. Or use Insert > Object > Create from File in Outlook to embed the workbook. This way the recipient can open and edit it in Excel.
3. Another option is to share the file via OneDrive/SharePoint and include the link, so the table remains dynamic and auto-calculation works.
Unfortunately, the email body itself cannot maintain Excel’s formulas or live calculations.
Regards,
ExcelDemy