What Is Mail Merge?
Mail merge helps create a group of profiles for each address, where every individual profile carries an address on our mailing list and other personalized information.
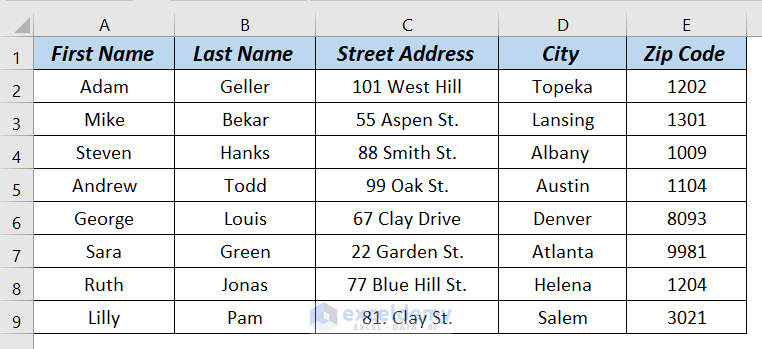
The following table has First Name, Last Name, Street Address, City, and Zip Code columns. We will use this table to mail merge from Excel to Word Envelopes.

Method 1 – Using the Envelope Option to Mail Merge from Excel to Word Envelopes
Steps:
- Open Word.
- Go to the Mailings tab and, from Start Mail Merge, select Envelopes.

An Envelope Options dialog box will appear.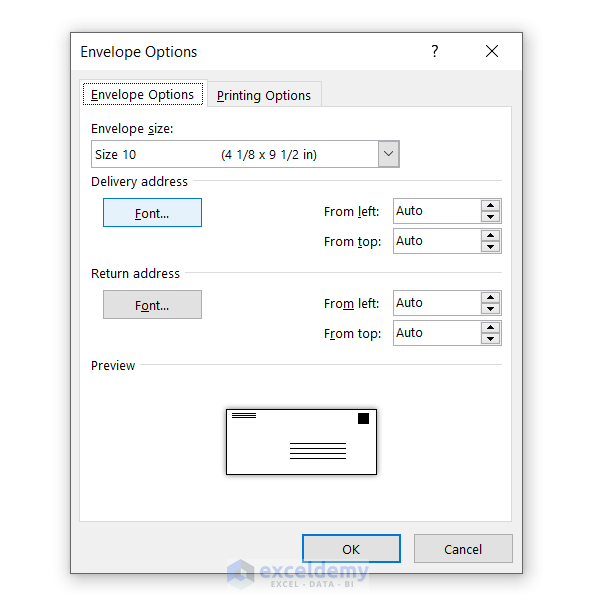
You can change the envelope size by clicking on the drop-down arrow of the Envelope size box. We kept the Envelope size as it is.

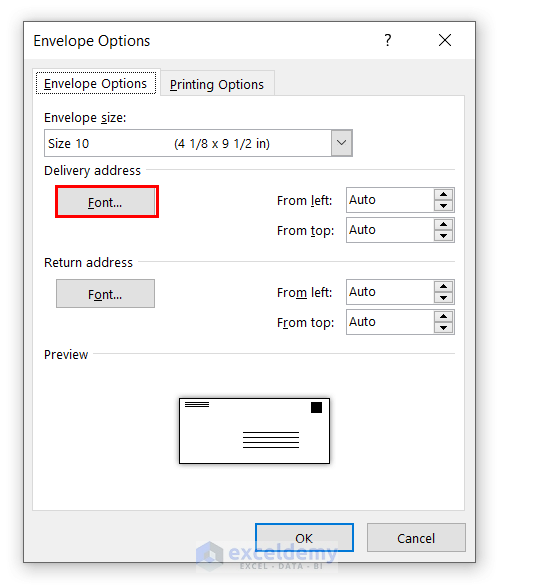
- Click on the Font of the Delivery address.
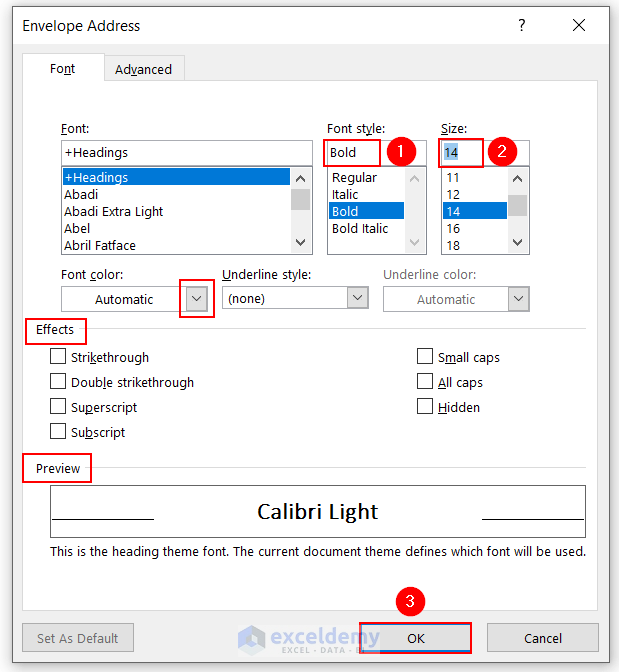
 An Envelope Address dialog box will appear.
- Select Bold as Font style and 14 as Font size.
- You can select Font color, and Underline style by clicking on the drop-down arrow, and choose Effects. We kept the Font color, Underline style, and Effects as-is.
You will see the Preview.
- Click OK.
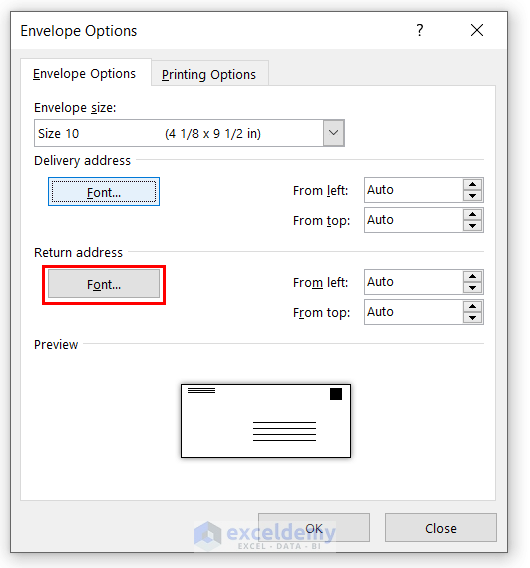
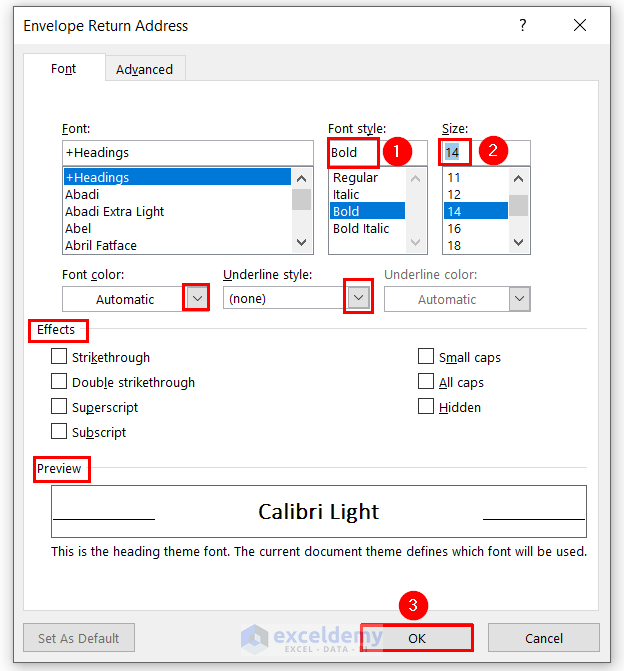
- Click on the Font of the Return address.
An Envelope Return Address dialog box will appear.
- Select Bold as Font style and 14 as Font size.
- We kept the Font color, Underline style, and Effects as-is.
You will see the Preview.
- Click OK.

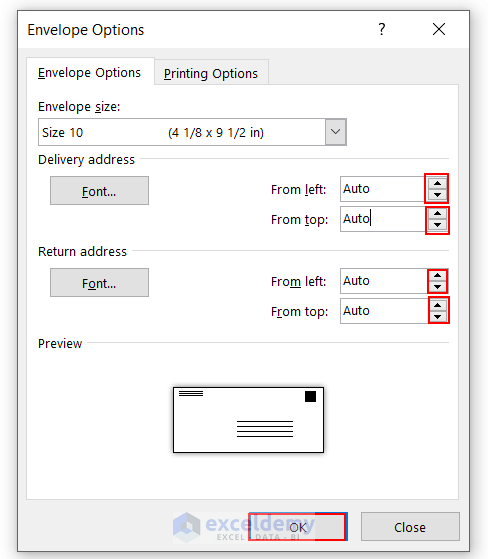
- Click OK on the Envelope Options dialog box.
An Envelope has been created.
- Click on the top-left corner to write the Return address.
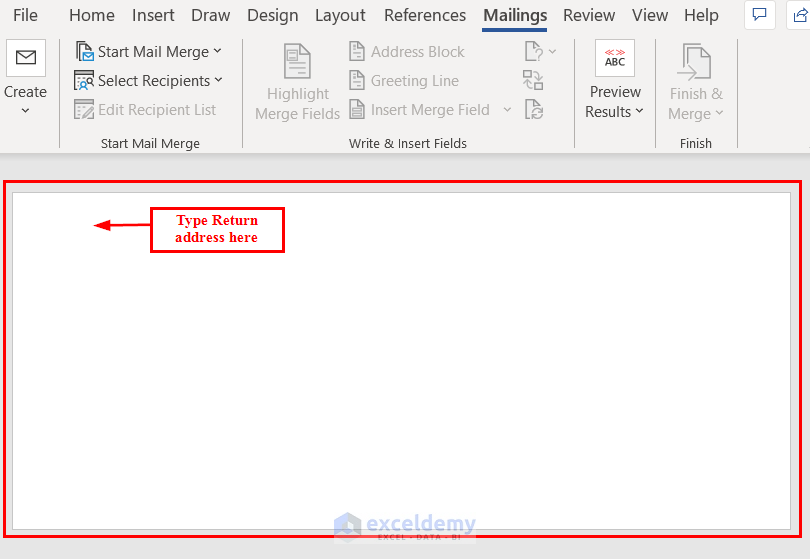
You will see the Return address.
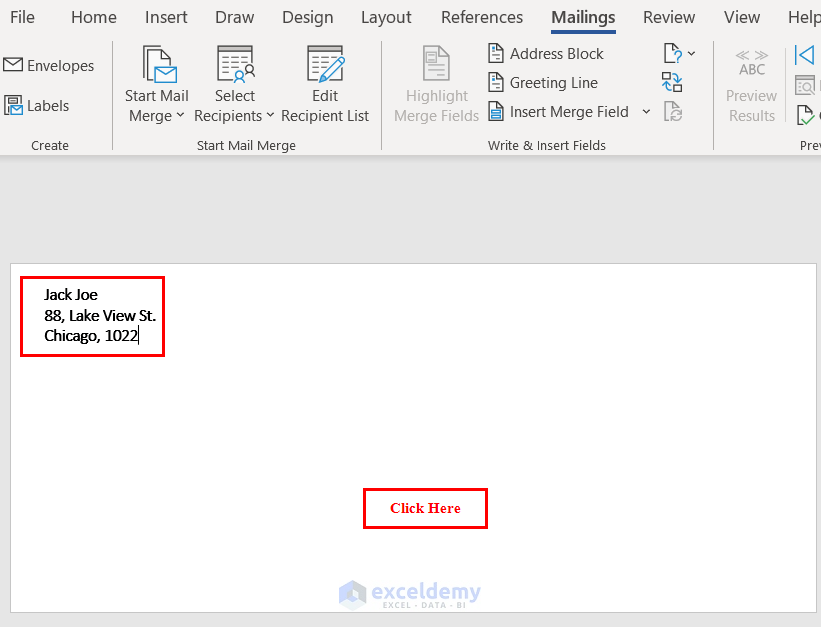
- Click on the Envelope to insert the Delivery address box.
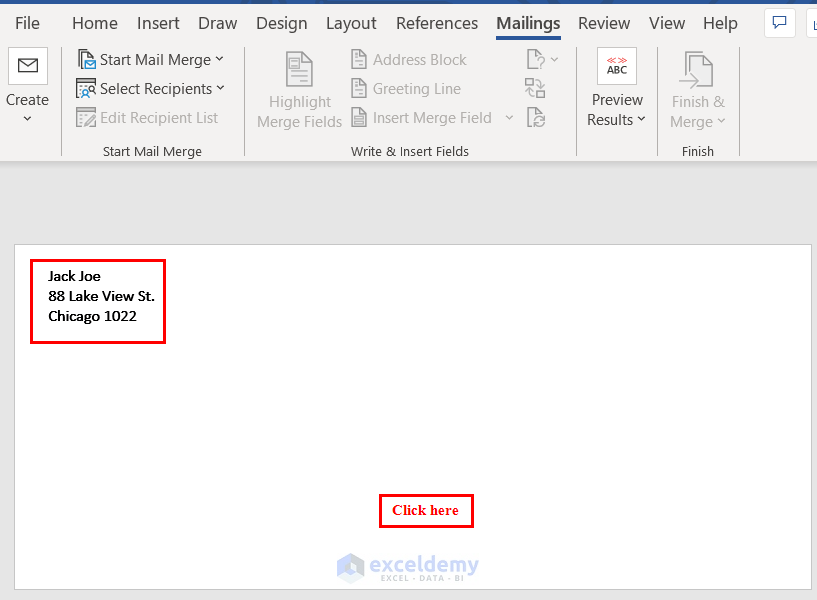
You will see the Delivery address box in the Envelope.
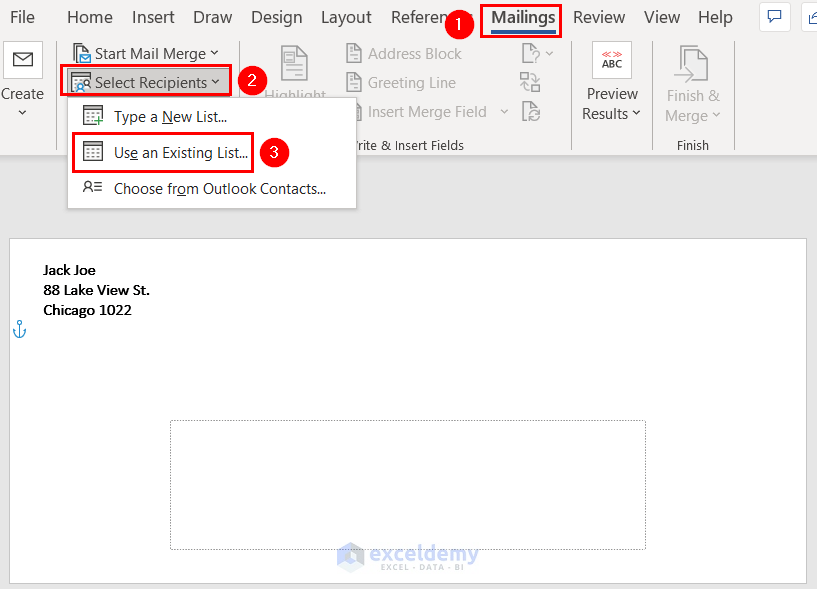
- Select the Excel file for the address recipients list.
- Go to the Mailings tab and, from Select Recipients, select Use an Existing List.
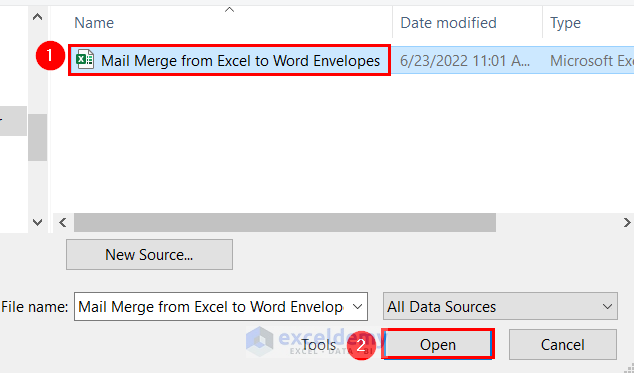
- Go to the Excel file. We selected the Excel file named Mail Merge from Excel to Word Envelopes.
- Click Open.
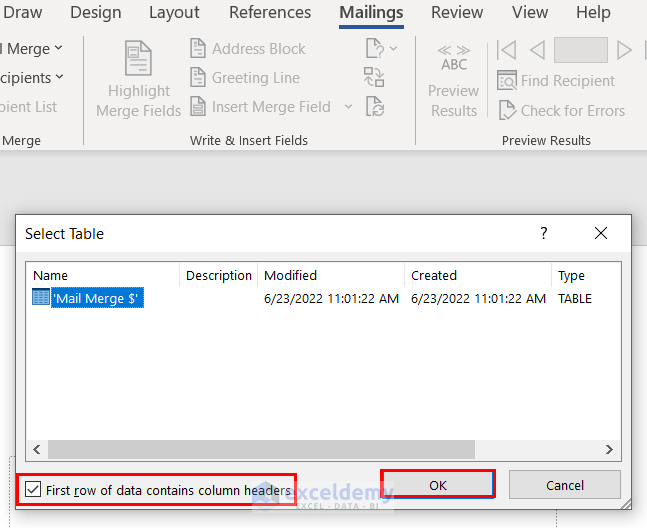
A Select Table dialog box will appear.
- Make sure the First row of data contains column header is marked.
- Click OK.

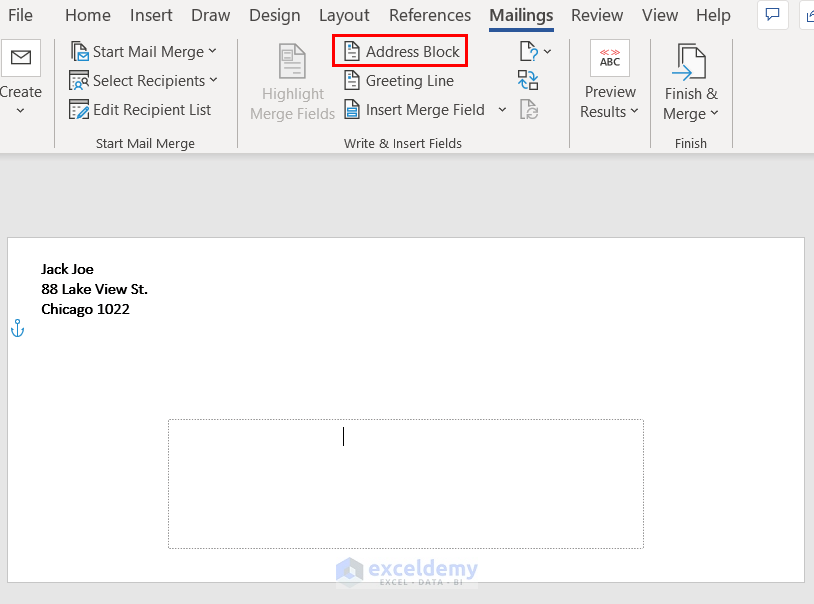
- Select the Address Block option from the Write and Insert Fields.
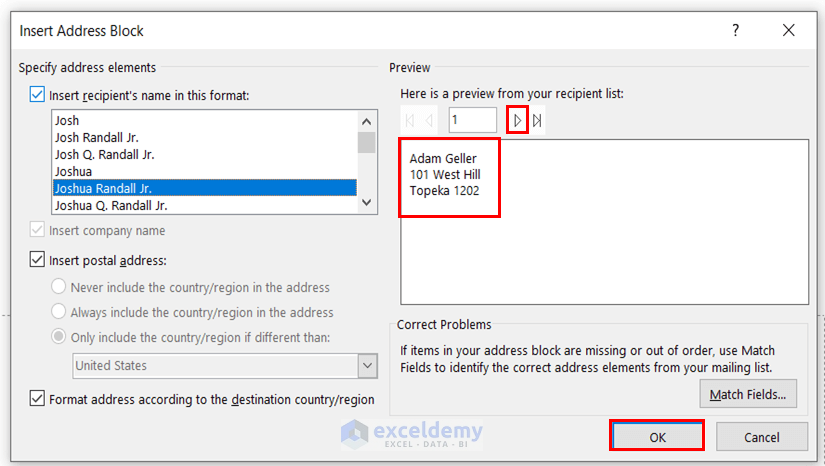
An Insert Address Block dialog box will appear.
You will see the address of the first recipient in the preview box. You can see the other addresses by clicking on the right arrow from the preview box.
- Click OK.
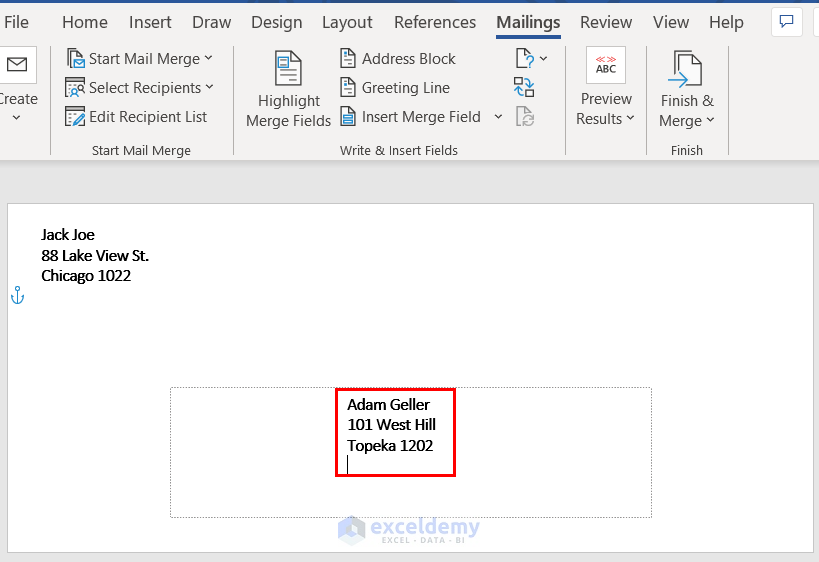
You will see the address of the first recipient in the Envelope.
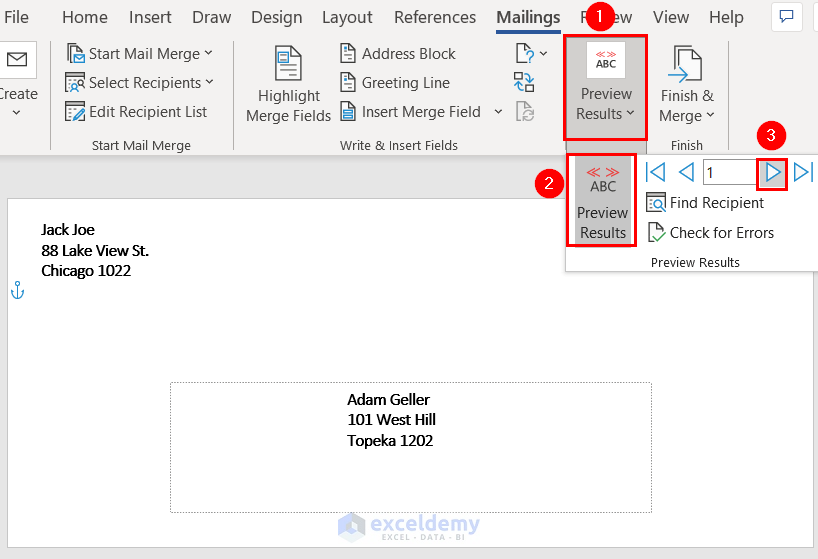
- To see the preview of the address from Preview Results, select Preview Results.
- You can click on the right arrow to see the address of other recipients as well.
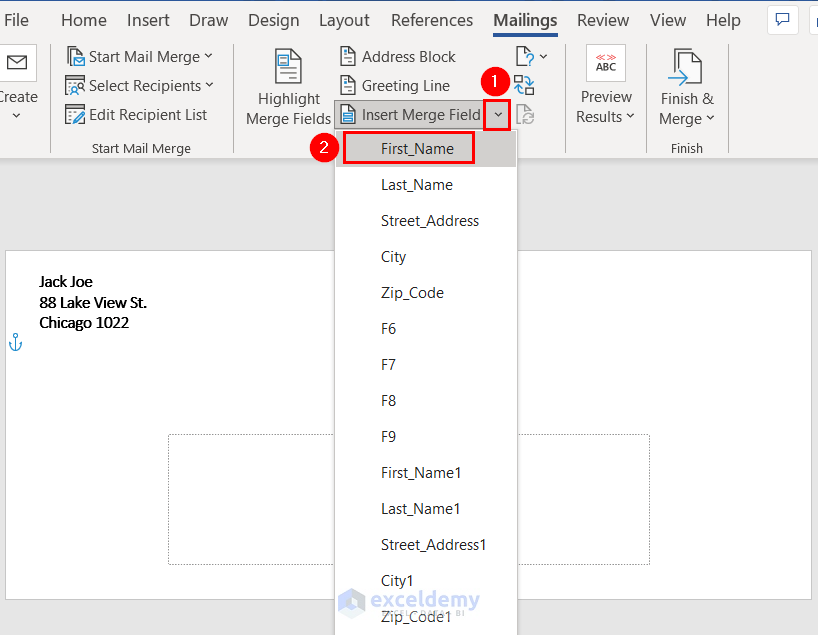
Apart from Address Blocks to create mail merge from Excel to Word envelopes, there is an Insert Merge Field option to insert the Delivery address in the Envelope.
- Click on the drop-down arrow of the Insert Merge Field option.
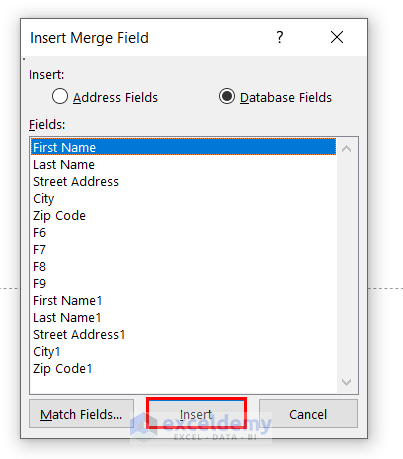
You can see all the recipients address list options in your Excel file in that list.
- Select First Name from that list.
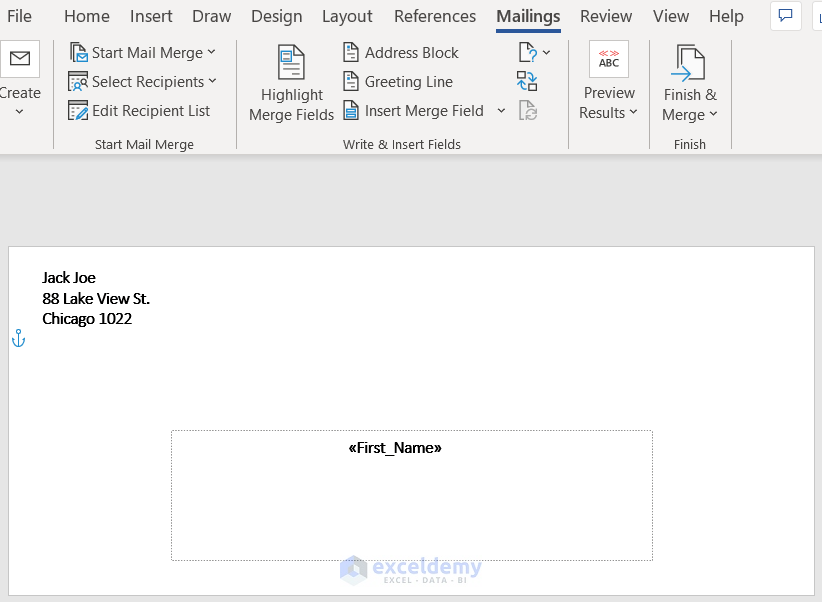
You can see the inserted First Name in the DeliveryDeivery address box of the Envelope.
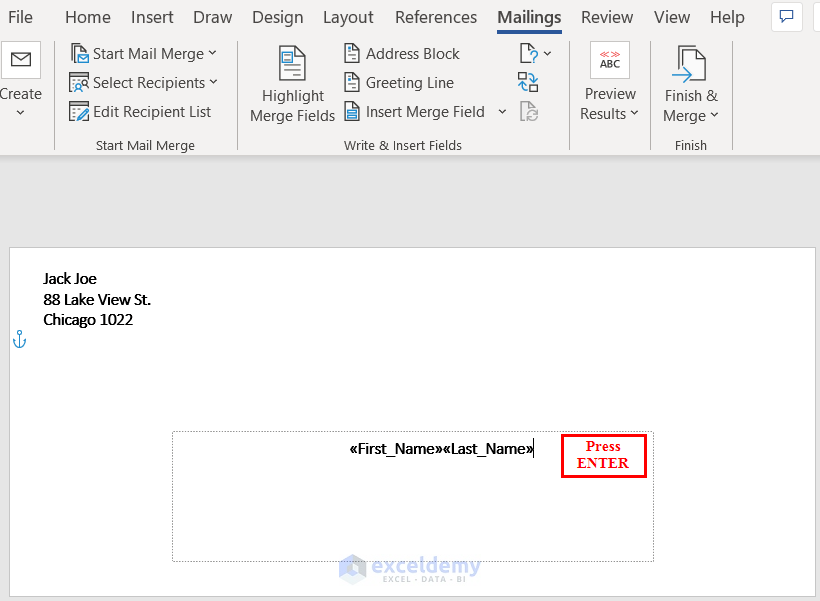
- In the same way, we inserted Last Name from the Insert Merge Fields list.
- Press Enter to go to the next line, and in the next line, select other options from the Insert Merge Fields list.
In the Delivery address box of the Envelope, we inserted the recipient address.
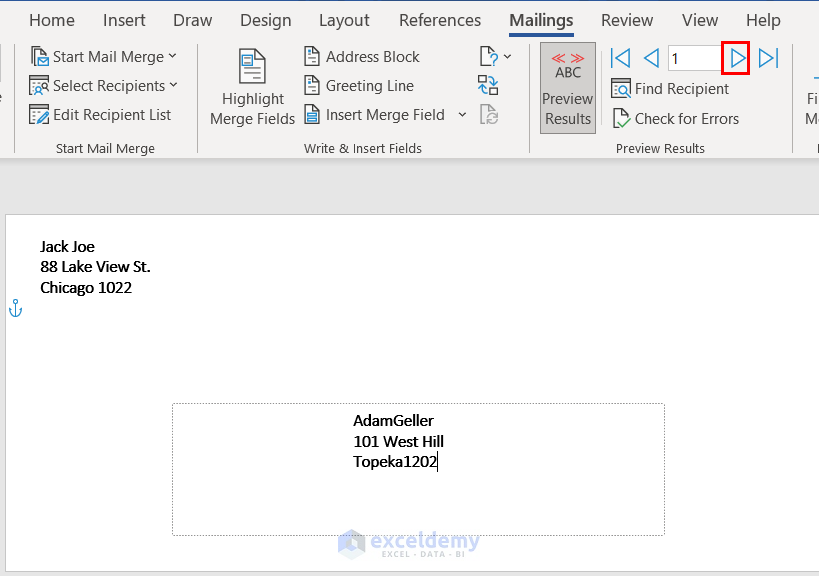
- Click on Preview Results to see the preview.
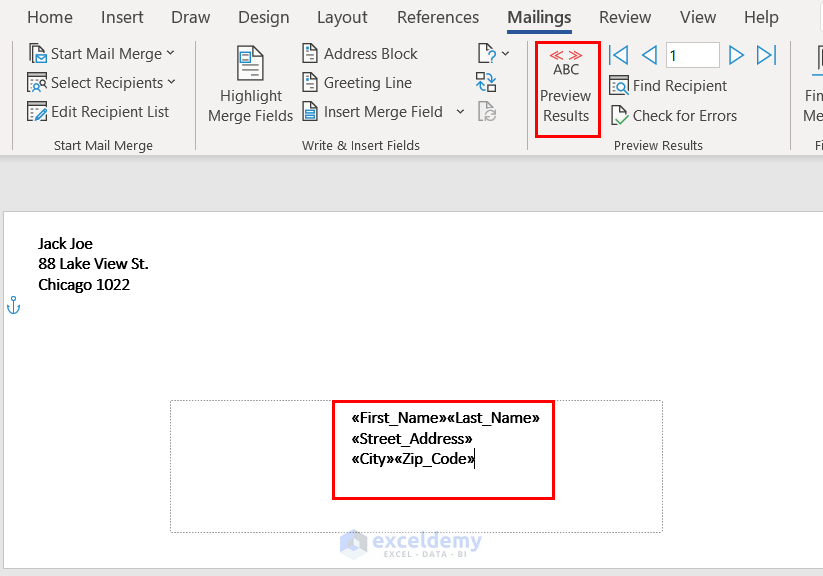
- Check the preview of other recipient addresses as well.
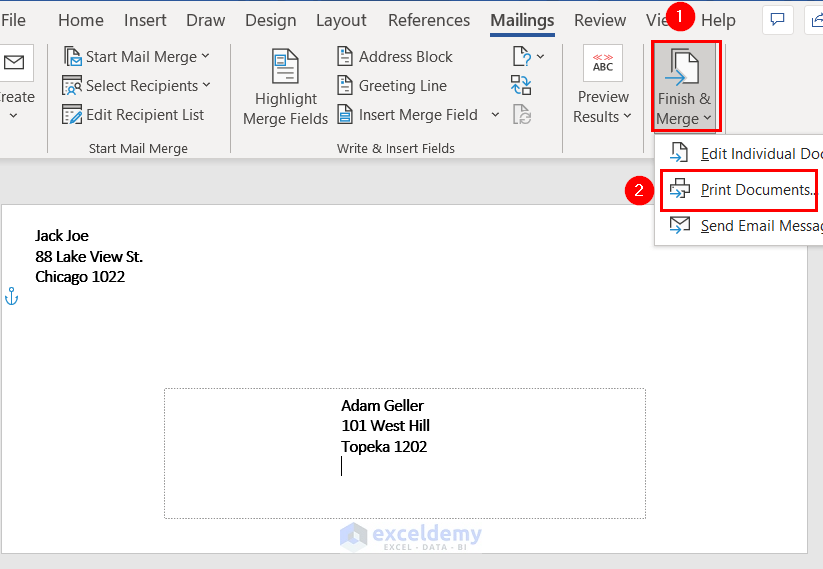
- From Finish & Merge, select Print Document.
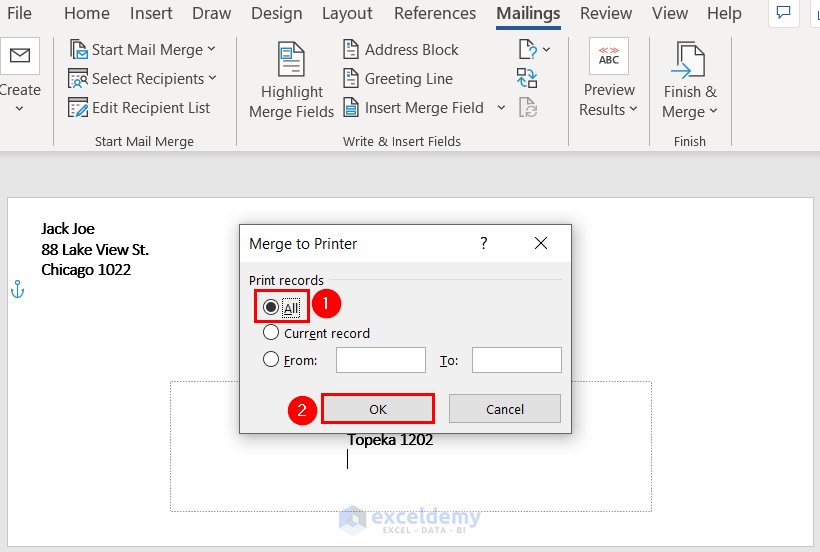
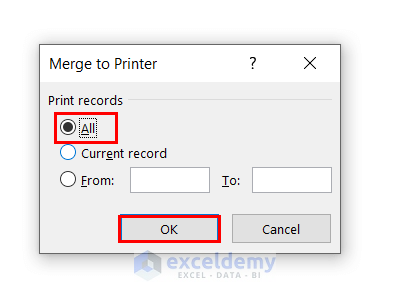
A Merge to Printer dialog box will appear.
- Make sure All are selected as Print records.
- Click OK.
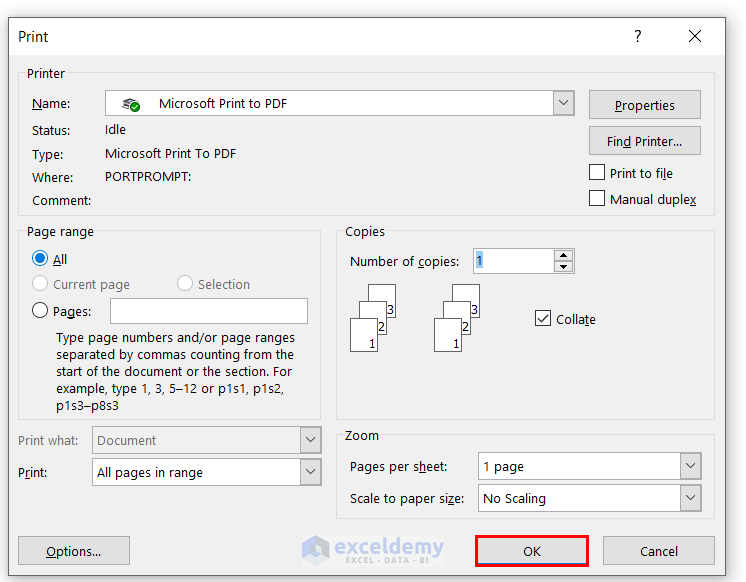
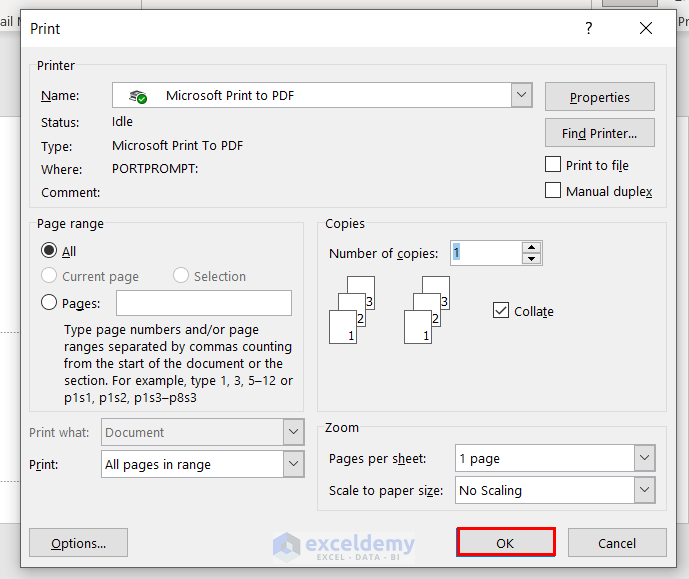
A Print dialog box will appear.
- Click OK to print mail merge from Excel to Word envelopes.
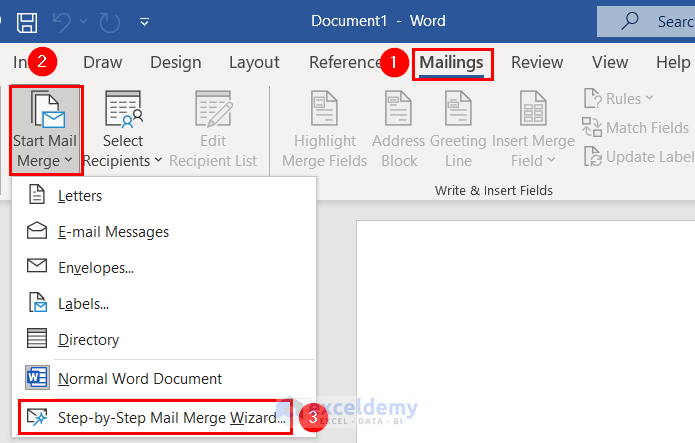
Method 2 – Using “Step-by-Step Mail Merge Wizard” Option to Mail Merge from Excel to Word Envelopes
Steps:
- Open Word.
- Go to the Mailings tab and, from Start Mail Merge, select Step by Step Mail Merge Wizard.
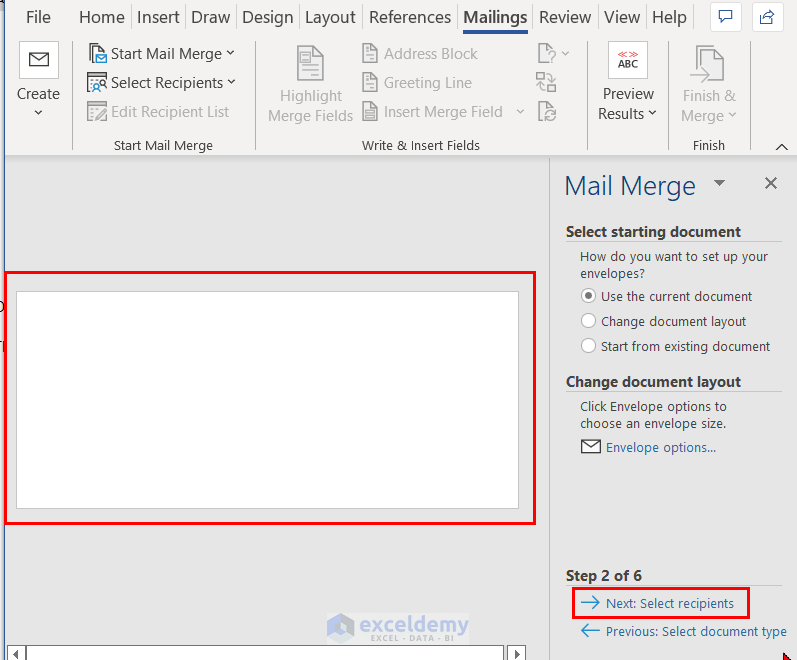
You will see a Mail Merge dialog box at the right corner of the Word document.
- Under Select document type, select Envelope and click on Next: Starting document.
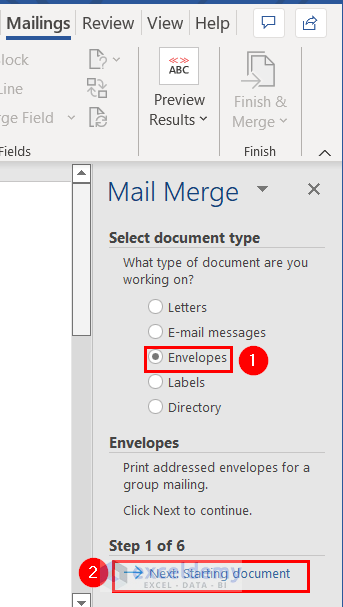
- Select Envelope options from Change Document layout.
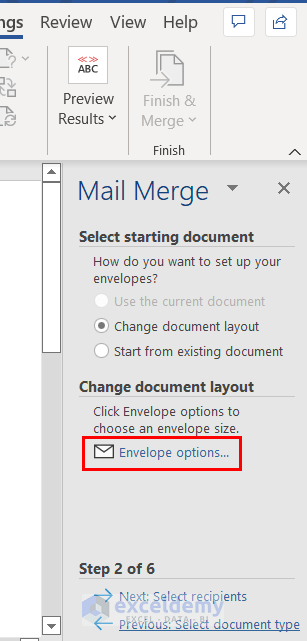
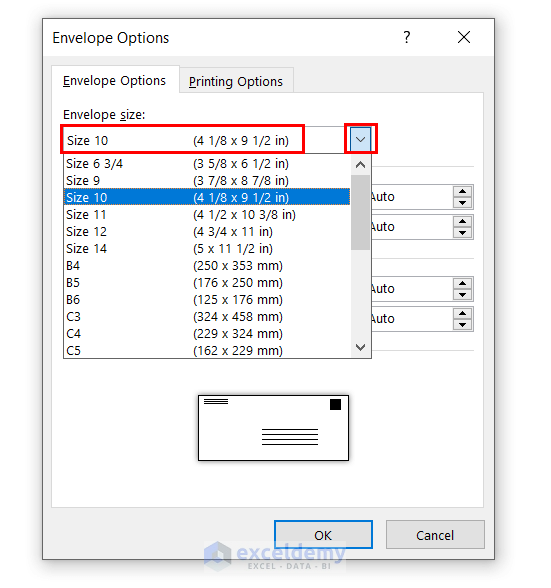
- An Envelope Options dialog box will appear.

- You can change the envelope size by clicking on the drop-down arrow of the Envelope size box. We kept the Envelope size as-is.
- Click on the Font of the Delivery address.
An Envelope Address dialog box will appear.
- Select Bold as Font style and 14 as Font size.
- We kept the Font color, Underline style, and Effects as-is, but you can change them here.
You will see the Preview.
- Click OK.

- Click on the Font of the Return address.

An Envelope Return Address dialog box will appear.
- Select Bold as Font style and 14 as Font size.
- We kept the Font color, Underline style, and Effects as-is, but you can change them here.
You will see the Preview.
- Click OK.
- In the Envelope Options dialog box, click OK.

An Envelope has been created.
- From Step 2 of 6 click on Next: Select recipients.
- Click on Browse to select the Excel file for the recipient address list.
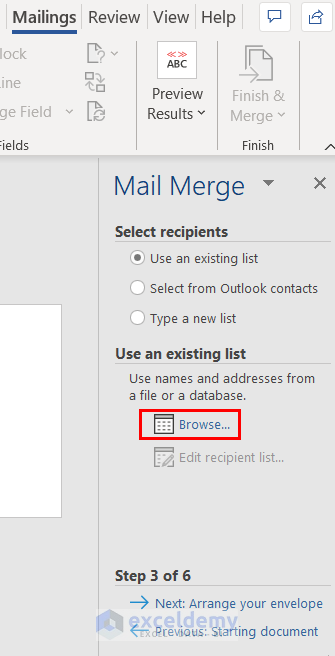
- Go to the Excel file that contains the user list. We will select our Excel file named Mail Merge from Excel to Word Envelopes.
- Click Open.

A Select Table dialog box will appear.
- Make sure the First row of data contains column header is marked.
- Click OK.
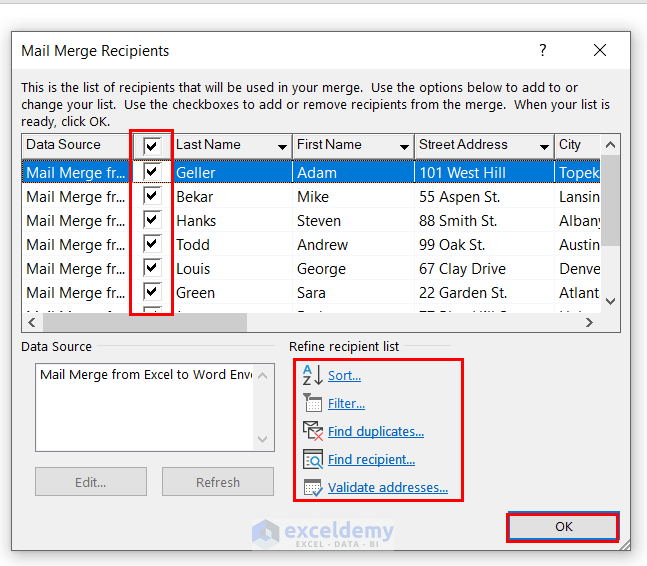
A Mail Merge Recipients dialog box will appear.
- You can unmark a Data Source from this dialog box, and along with that, you can Refine recipient list. We kept the recipient list as it is.
- Click OK.
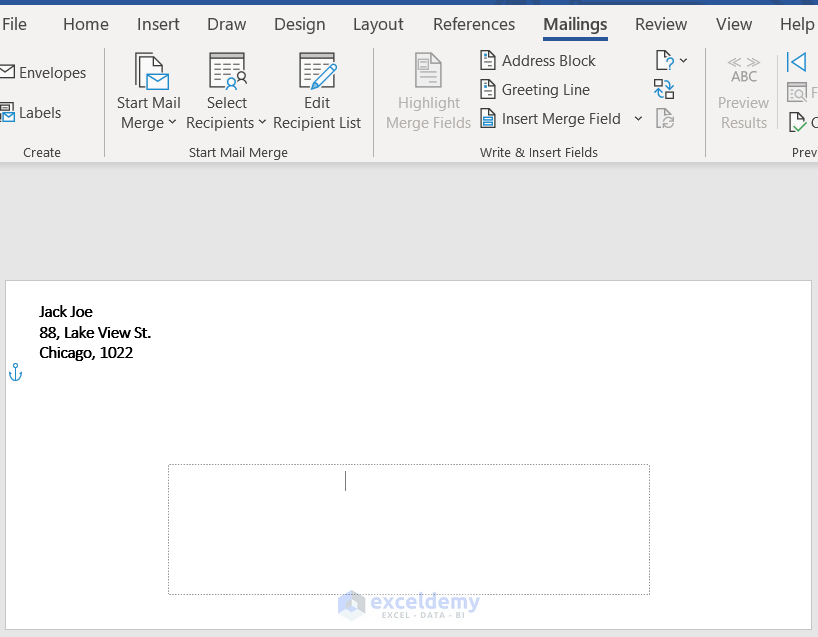
- Type the Return address in the top left corner of the Envelope.
- Click on the Envelope to insert the Delivery address box.
You can see the Delivery address box.
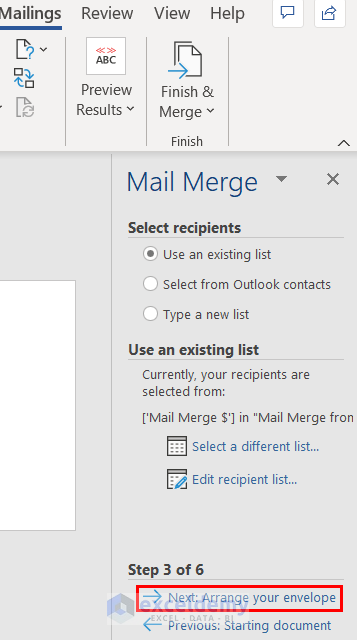
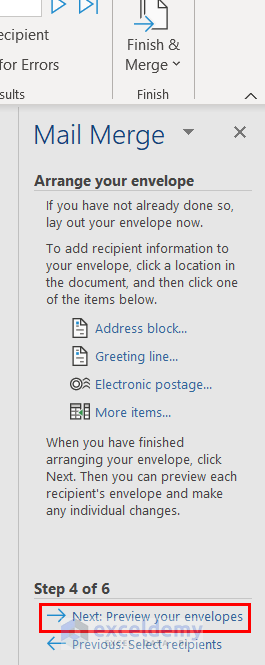
- From Step 3 of 6, click on Next: Arrange your envelope.
- Select the Address Block.
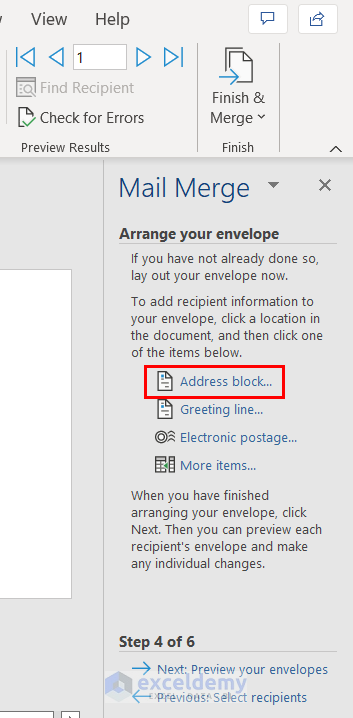
An Insert Address Block dialog box will appear. You will see the address of the first recipient in the preview box. You can see the other addresses by clicking on the rightward arrow marked with a Red color box.
- Click OK.

- Insert the address to create mail merge from Excel to Word envelopes by clicking on More Items.
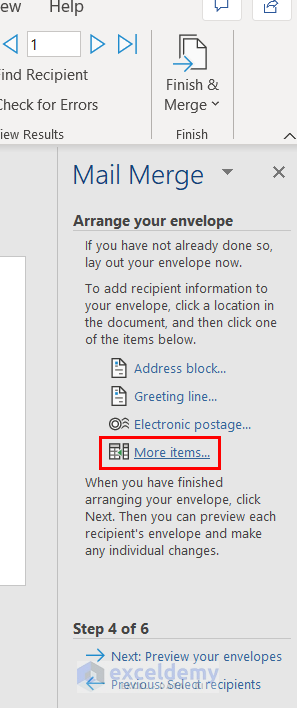
- If you click on More items, you will see the Insert Merge Fields list.
- You can insert the address manually from this list.
We inserted the address from the Address Block option.
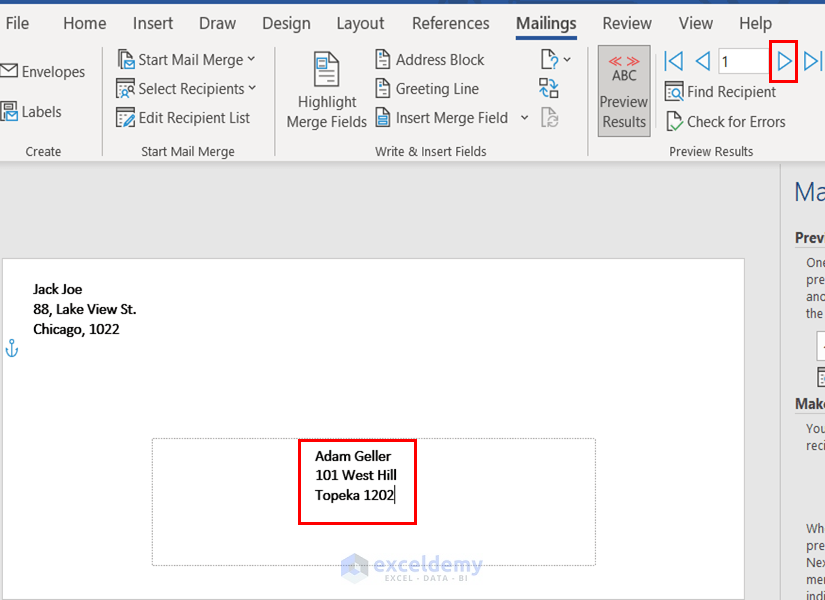
- Under Step 4 of 6, click Next: Preview your envelopes.
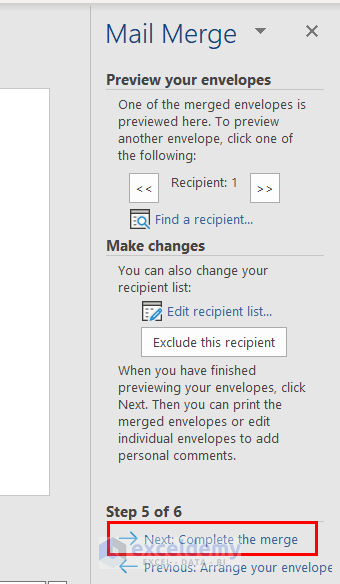
You can see the Preview of the address of the first recipient.
- Click on the right arrow in the Preview Results group to see the preview of the other recipients’ addresses.
- Under Step 5 of 6, click on Next: Complete the merge.
- Select Print from the Merge box.
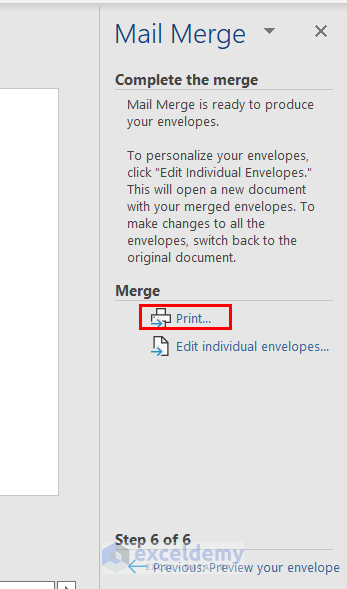
A Merge to Printer dialog box will appear.
- Make sure All are selected as Print records.
- Then, click OK.
A Print dialog box will appear.
- Click OK to print mail merge from Excel to Word envelopes.
Read More: [Solved]: Word Mail Merge Not Working with Excel
Things to Remember
- You can use either Address Block or Insert Merge Field to insert the recipient address in the Envelope.
- The Step by Step Mail Merge Wizard option is helpful when you want to unmark some Source data.
Practice Section
In the practice section of your sheet, you can practice the explained methods.
Download the Practice Workbook
Download the Word Document
Related Articles
- Mail Merge in Excel without Word
- How to Insert Merge Fields in Word from Excel
- Macro to Populate a Mail Merge Document from Excel
- How to Mail Merge Pictures from Excel to Word
<< Go Back To Mail Merge Excel | Learn Excel
Get FREE Advanced Excel Exercises with Solutions!
