Method 1 – Prepare Your Excel File
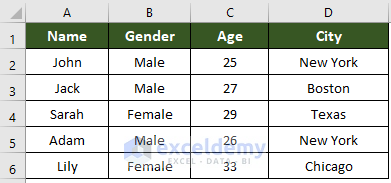
- Open an Excel file and insert your header row named Name, Gender, Age, and City from the top left column of your Excel file.
- Insert the values in each row according to the column headers.
Note:
Insert your data range from the top left of the Excel file to avoid errors and unwanted data.
Method 2 – Mail Merge from Excel into Word Document
- Open a Microsoft Word file.
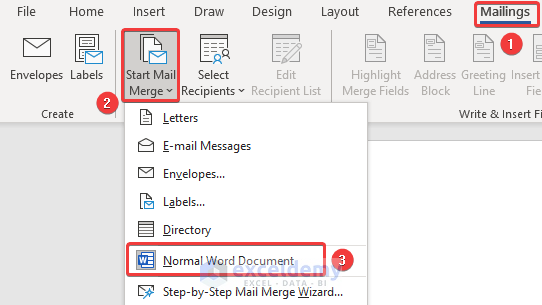
- Go to the Mailings tab >> Start Mail Merge tool >> Normal Word Document option.
- Go to the Mailings tab again.
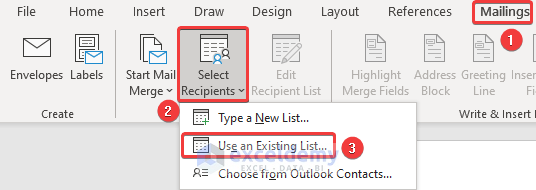
- Click on the Select Recipients tool >> Use an Existing List option.
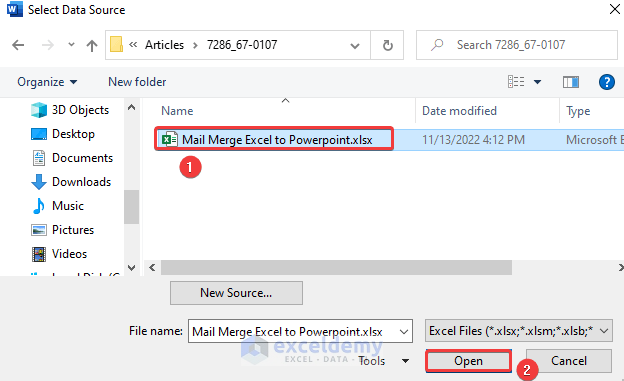
- The Select Data Source window will appear.
- Choose the previously created Excel file named Mail Merge Excel to Powerpoint.xlsx.
- Click on the Open button.
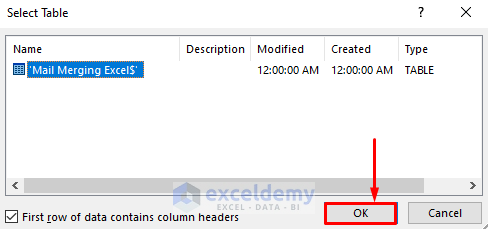
- The Select Table window will appear.
- Click on the ‘Mail Merging Excel$’ option and click on the OK button.
- Go to the Mailings tab >> Insert Merge Field tool >> Name option.
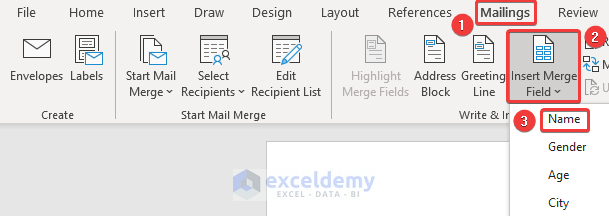
- Your Name header from the Excel file will be merged here.
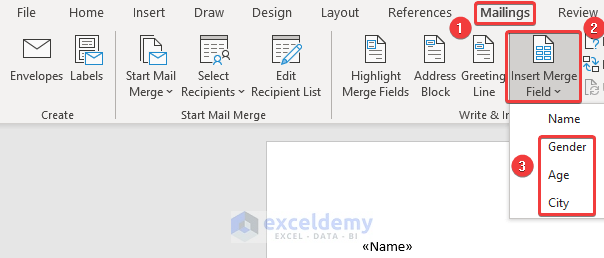
- Repeat this procedure again and again for every individual header (Gender, Age, City) from your Excel file.
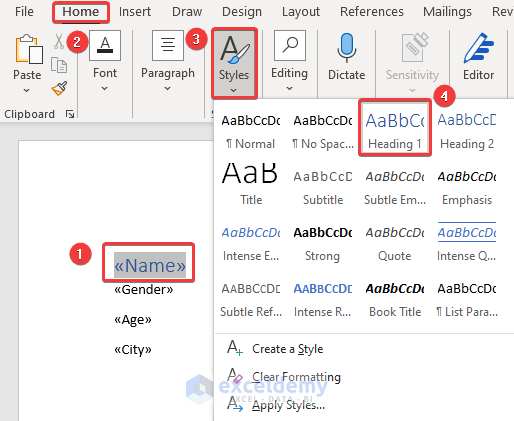
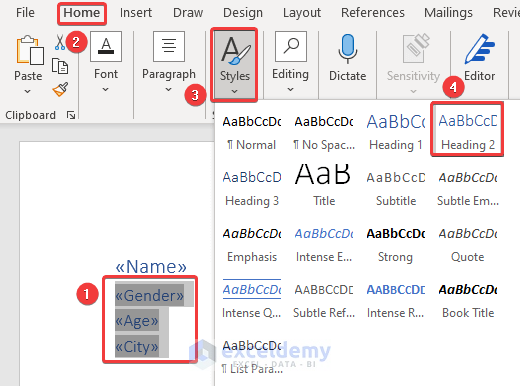
- Get the values in the proper format, select the Name header here >> go to the Home tab >> Styles tool >> Heading 1 option.
- For other header formats, select the headers >> go to the Home tab >> Styles tool >> Heading 2 option.
- Your styling is done now.
- Go to the Mailings tab >> Preview Results group>> Check for Errors tool.
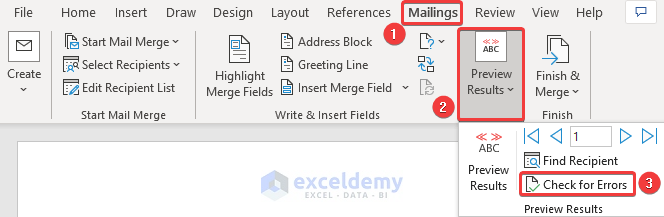
- The errors will be checked and your file will be ready to finish and merge.
- Go to the Mailings tab >> Finish & Merge option >> Edit Individual Documents… option.
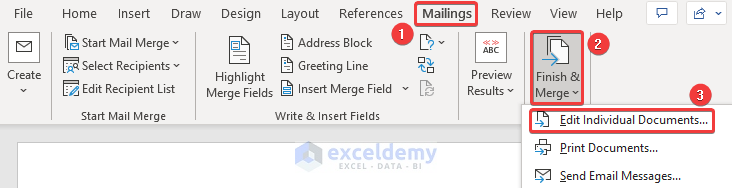
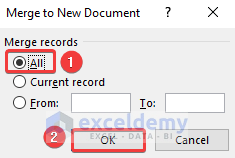
- The Merge to New Document window will appear.
- Choose the option All from the Merge Records options and click on the OK button.
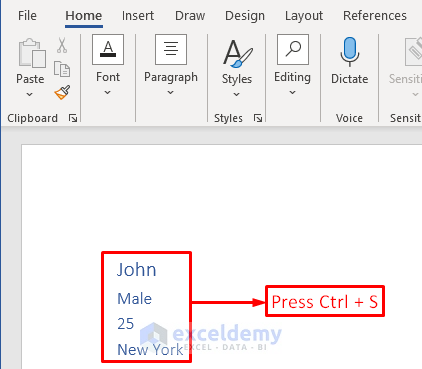
- The Excel data will be mail merged from Excel to Word. You can see the preview in your Word file.
- Press Ctrl + S to save the file.
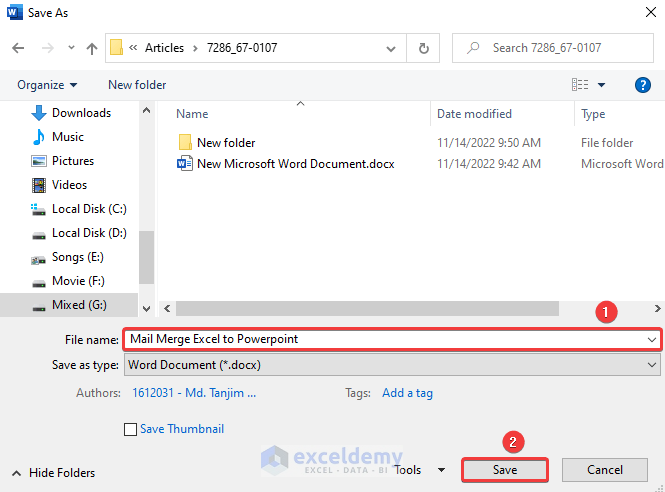
- The Save As dialogue box will appear.
- Write your desired file name in the File name: text box to save as and click the Save button.
Your Word file will be mail merged from Excel to word and will be ready for insertion into Powerpoint.
Method 3 – Insert Outline into Powerpoint
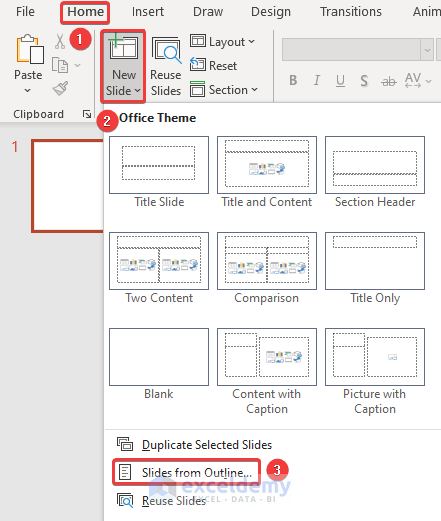
- Open your PowerPoint file.
- Go to the Home tab >> New Slide tool >> Slides from Outline… option.
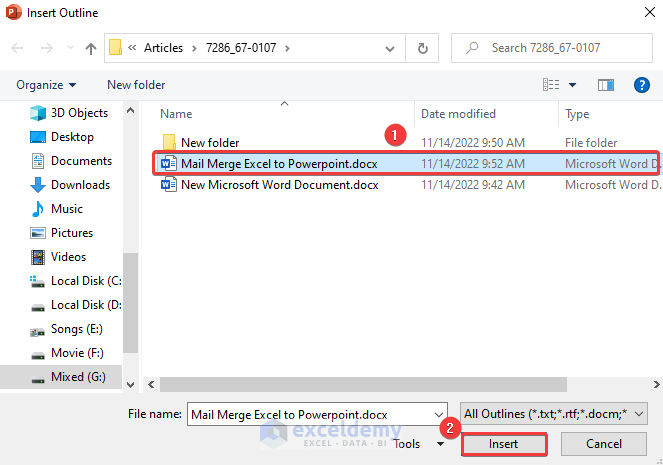
- The Insert Outline window will appear.
- Select the Word file you saved before merging it from the Excel file.
- Click on the Insert button.
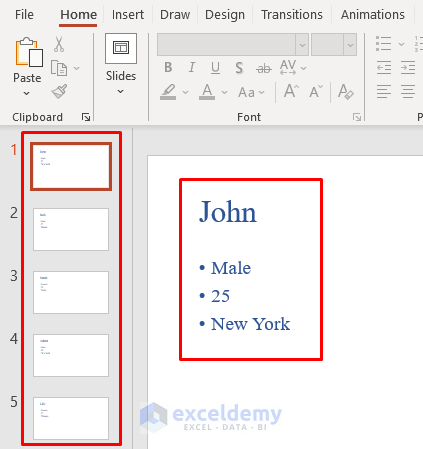
Get your PowerPoint mail merged from Excel. The result should look like this: the names will be in heading 1, and ages, genders, and cities will be in heading 2, just like you wanted.
Download Practice Workbook
You can download our practice workbooks from here for free!
Excel File:
Word File:
PowerPoint File:
Related Articles
- How to Mail Merge from Excel to Outlook with Attachments
- How to Copy and Paste Excel Table into Outlook Email
- Creating a Mailing List in Excel
- How to Send Email from Excel List
- How to Format Address Labels in Excel
- How to Change Date Format in Excel Mail Merge
<< Go Back To Mail Merge Excel | Learn Excel
Get FREE Advanced Excel Exercises with Solutions!
