Step 1 – Create the Dataset
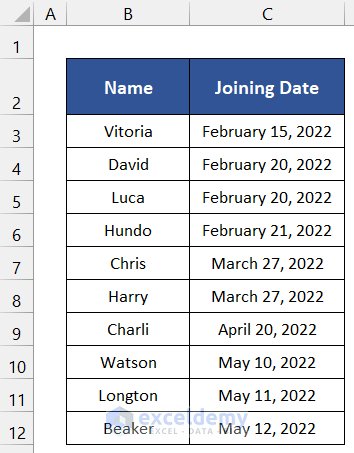
- Begin by creating an Excel datasheet according to your specific requirements. For instance, if you’re sending a promotion letter to employees, your dataset should include their names and relevant dates.
- Input the employees’ names and their joining dates in columns B and C.
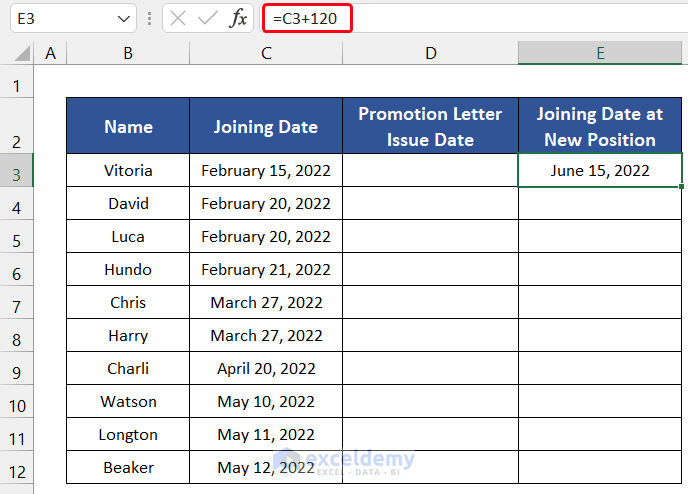
- Since you plan to promote employees after four months of them joining, insert the following formula in cell E3 to calculate the new position’s joining dates:
=C3+120
- Press Enter to apply the formula.
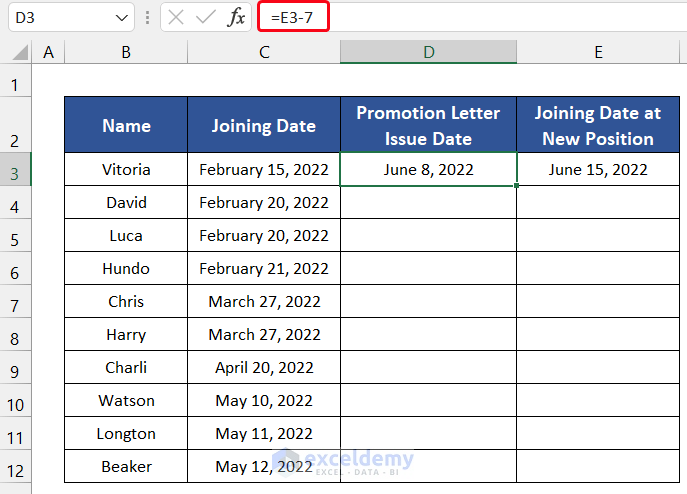
- To determine the date when the promotion letter should be issued (at least one week before the joining date), insert the formula below in cell D3:
=E3-7
- Press Enter.
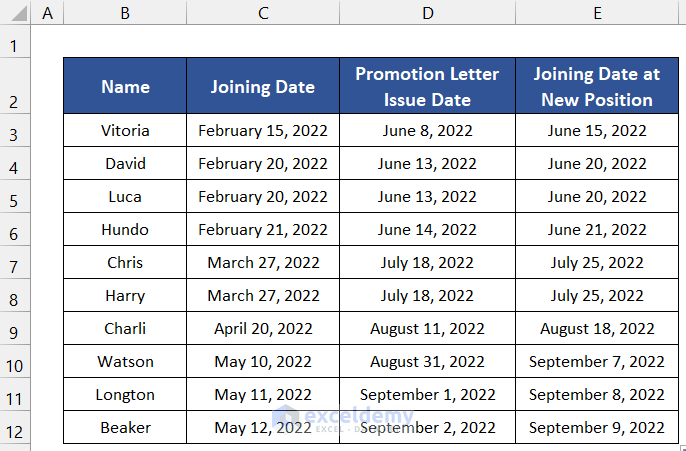
- Select the range of cells D3:E3.
- Double-click the Fill Handle icon to copy the formula down to row 12.
- Save the file at your preferred location. Your Excel spreadsheet is now ready.
Read More: How to Format Address Labels in Excel
Step 2 – Design the Template in Microsoft Word
- Launch Microsoft Word on your device.
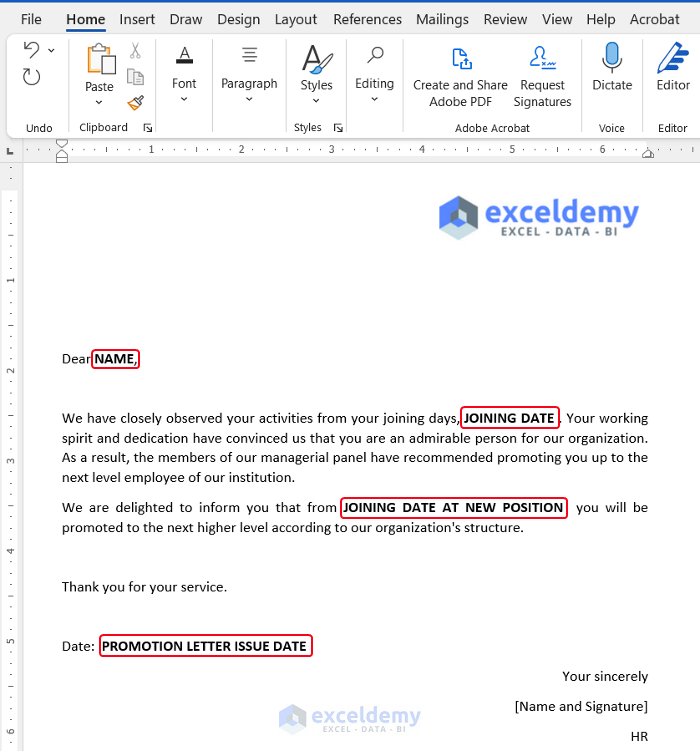
- Create the promotion letter template, following the layout shown in the image below.
- Apply Bold and Uppercase formatting to the placeholders that will be replaced by data from the Excel spreadsheet. This formatting will help you identify them easily.
Read More: How to Mail Merge from Excel to Outlook
Step 3 – Establish a Connection Between Both Files
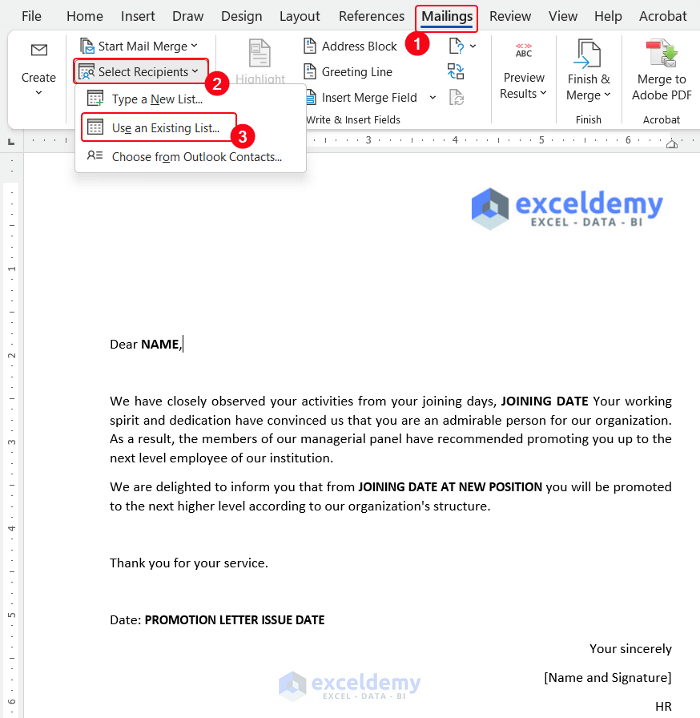
- Click on the Mailing tab in Microsoft Word.
- From the Start Mail Merge group, select the drop-down arrow next to Select Recipients, and choose Use an Existing List.
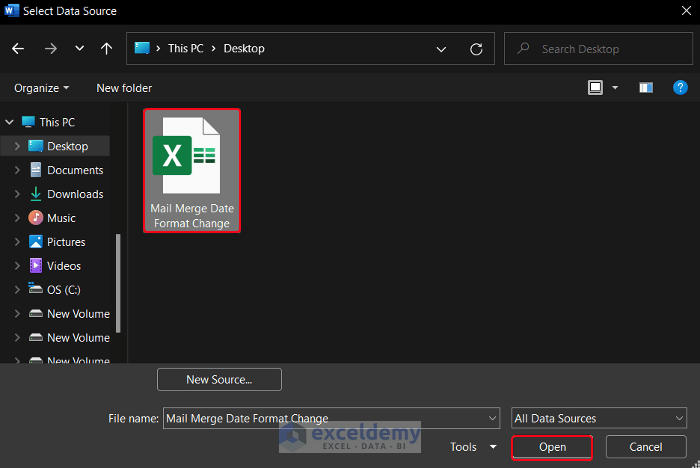
- A small window called Select Data Source will appear.
- Navigate to the location where you saved the Excel sheet (e.g., Desktop).
- Select the file and click Open.
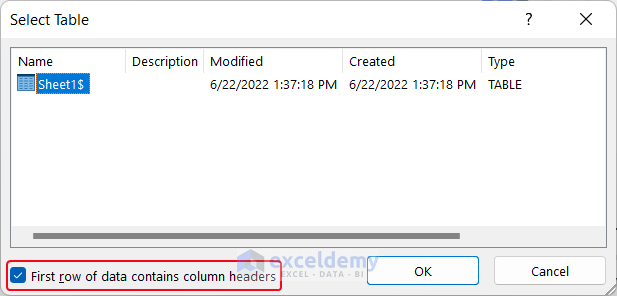
- Another dialog box titled Select Table will appear. Check the box that says First row of data contains column headers, and then click OK.
- New commands will become available in the Mailing tab.
- Select the Name field, and from the Write & Insert Fields group, click the drop-down arrow next to Insert Merge Field.
- Choose the Name field from the list.
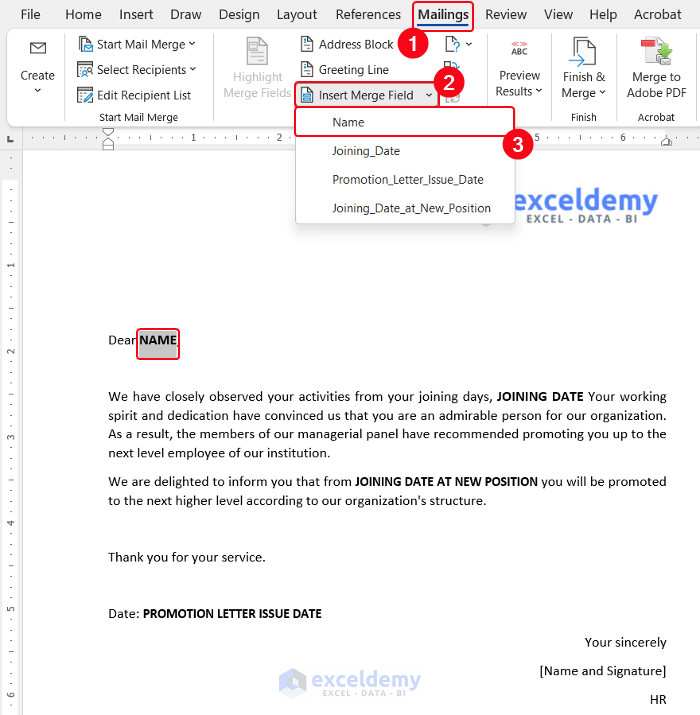
- The previous text will disappear, and the field will be inserted in a different format.
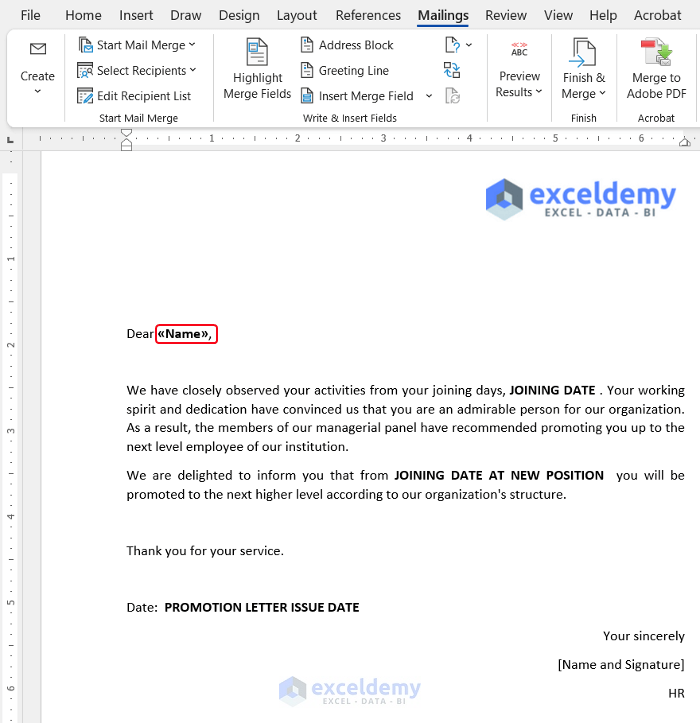
- Repeat the same process for the other three date fields.

- Finally, click Preview Results in the Preview Results group to verify that all fields are correctly inserted.
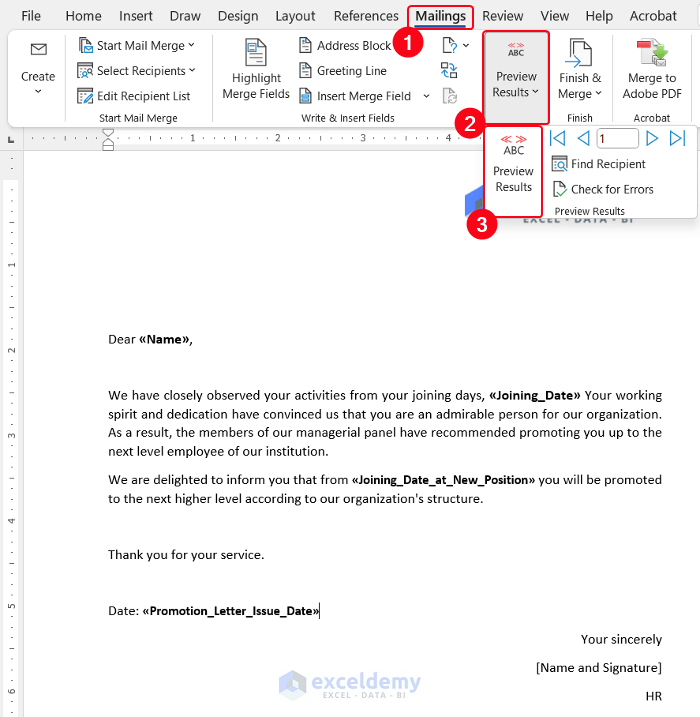
- You’ll be able to see the personalized letter for each employee.
Read More: How to Mail Merge from Excel to Outlook with Attachments
Step 4 – Modify Date Format
When you examine the letter, you’ll notice that all the dates appear in the same format. In this step, we’ll show you how to change their format. Specifically, we want to add the weekday’s name to the joining date and the joining date at the new position. Additionally, we’ll display the month’s name instead of the month number.
- Right-click on the field name and select Edit Field.
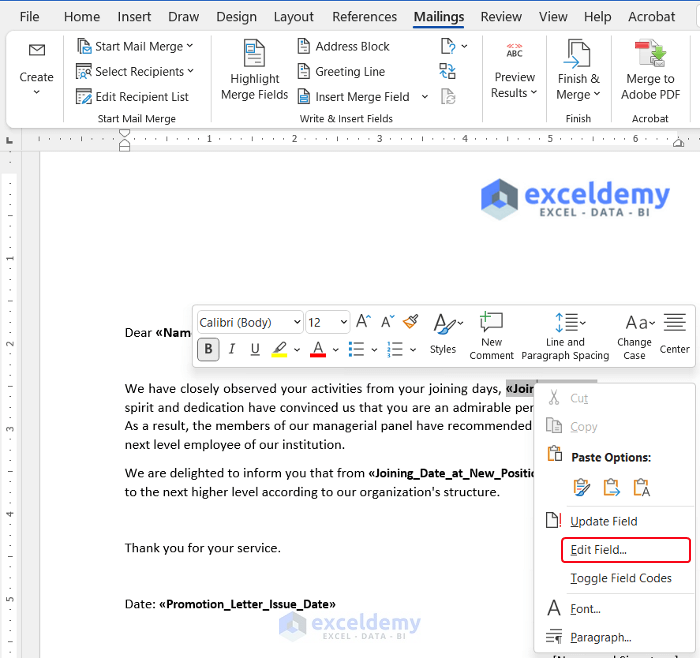
- A dialog box called Field will appear.
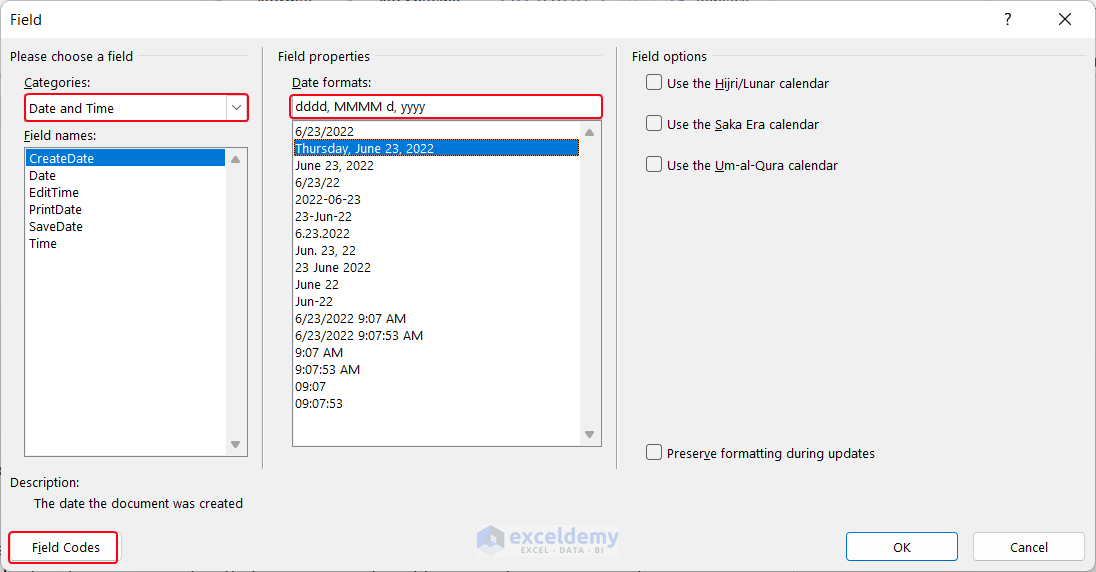
- Change the Categories option from All to Date and Time.
- You’ll see various available date formats in the Field Properties section.
- Click on any format to view it in the empty box below the Date formats text.
- Next, select the Field Codes option to reveal the field code.
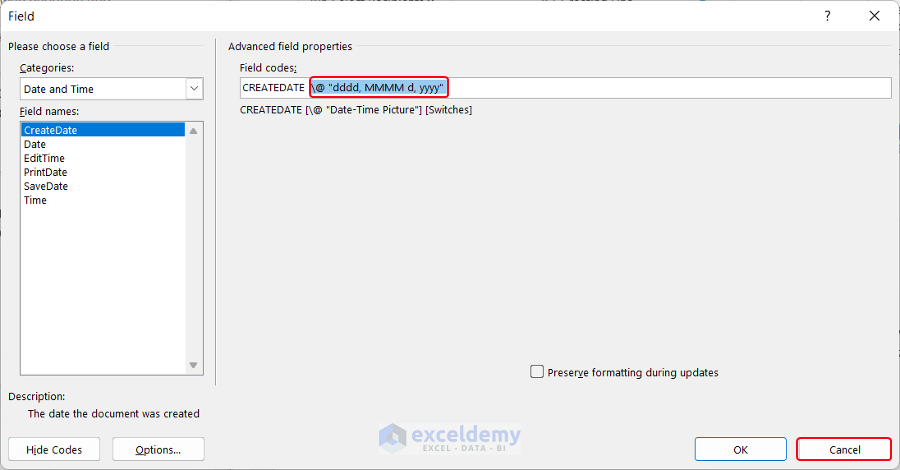
- Highlight the relevant parts of the code (as shown in the image) and press Ctrl+C to copy.
- Click Cancel to close the box.
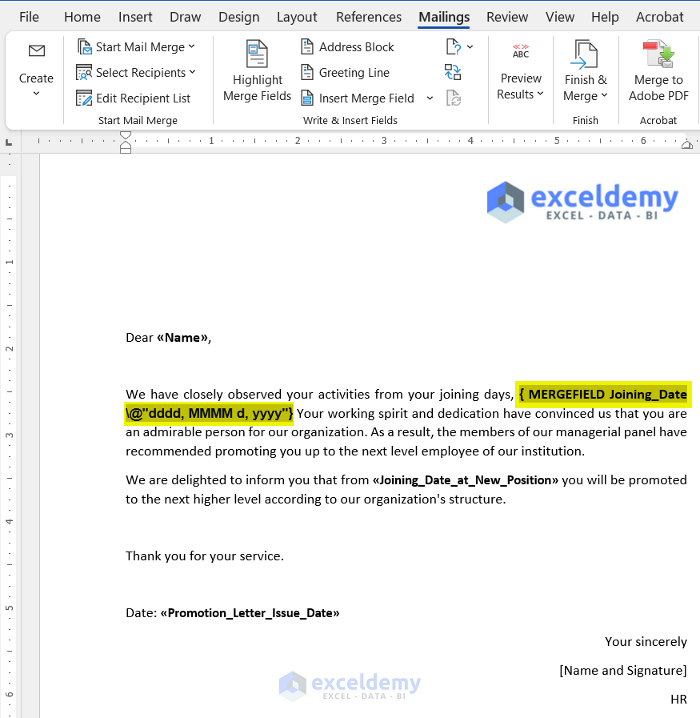
- Right-click on the field named Joining_Date and choose Toggle Field Codes from the context menu.
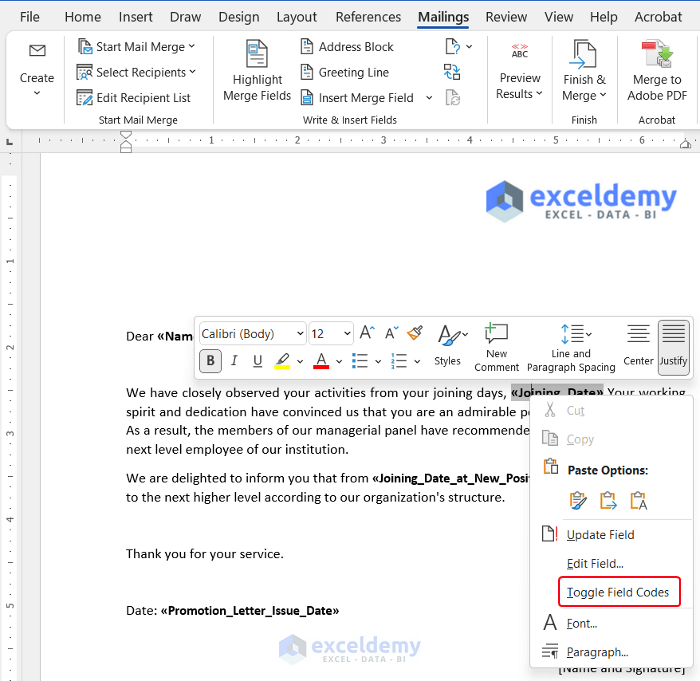
- The field code will appear.
- Press Ctrl+V to paste the copied codes after the field name inside the parentheses:
\@"dddd, MMMM d, yyyy"
- Right-click again and select Toggle Field Codes to revert to the field name.
- Use the same format code and follow a similar process to modify the date format of the Joining Date at New Position field.
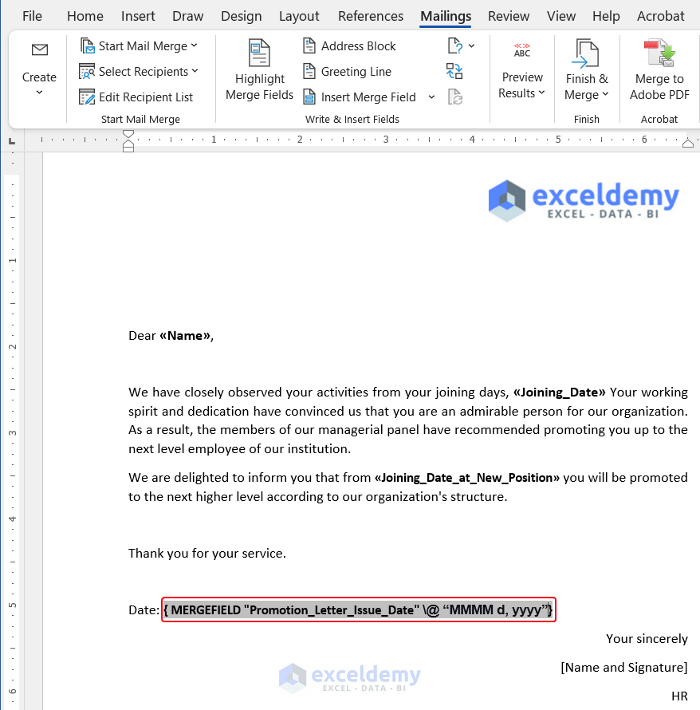
- To change the date format for the Promotion Letter Issue Date, write down the following codes inside the parenthesis of the corresponding field:
\@ “MMMM d, yyyy”
- Toggle back to the field name using the Toggle Field Codes option.
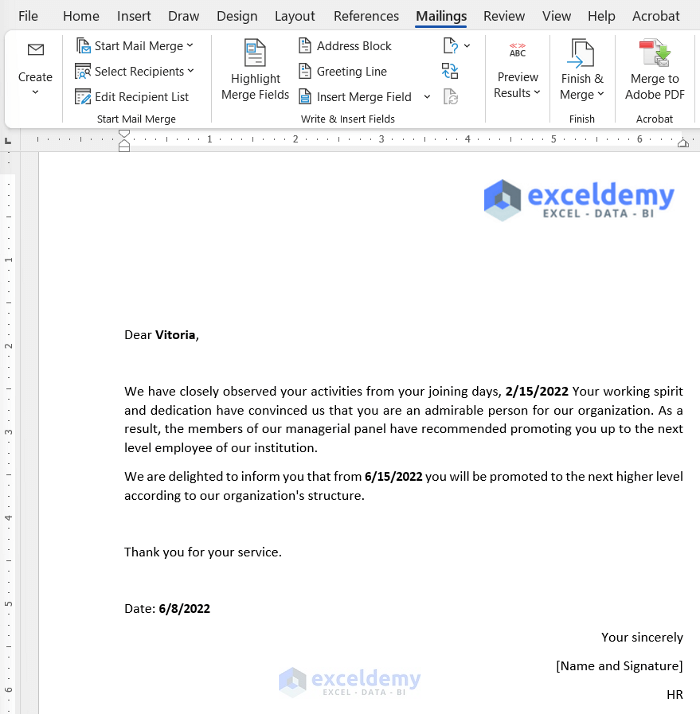
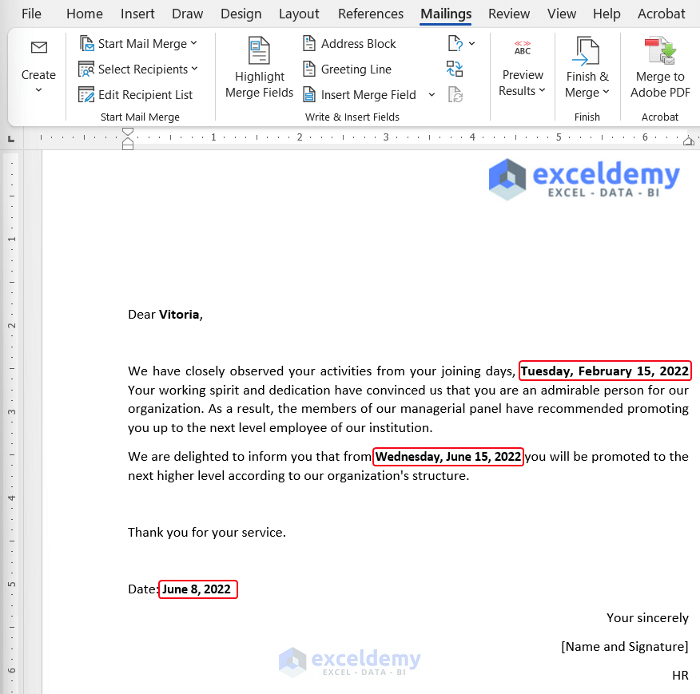
- Click on Preview Results in the Preview Results group.
- You’ll see that our date format has changed based on the adjustments made in the previous steps.
Things You Should Know
- Avoid the OK Button: When inserting any field format code from the Field dialog box, refrain from clicking the OK button. Doing so will permanently insert the value at that position, affecting the entire dataset’s dates.
Download Practice Workbook
You can download the practice workbooks from here:
Related Articles
- How to Copy and Paste Excel Table into Outlook Email
- Creating a Mailing List in Excel
- Mail Merge from Excel to Excel
- How to Mail Merge from Excel to Powerpoint
- How to Send Email from Excel List
<< Go Back To Mail Merge Excel | Learn Excel
Get FREE Advanced Excel Exercises with Solutions!

THANK YOU VERY MUCH
Hello Ahmed,
You are most welcome. Thanks for your appreciation it means a lot to us. Keep learning Excel with us.
Regards
ExcelDemy