Step 1: Prepare Email Content in Microsoft Word
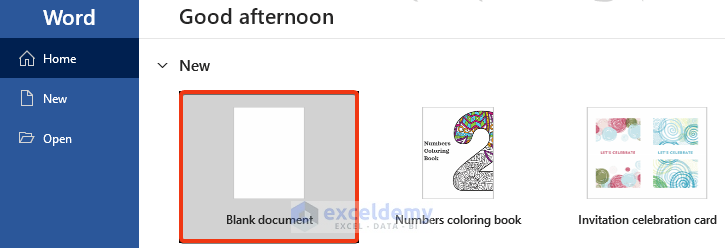
- Open Microsoft Word from the Start Menu.
- Click on the Blank document option for a new Word file.
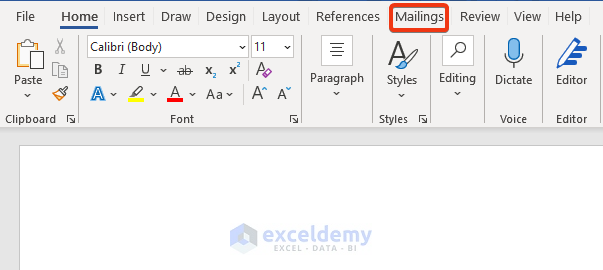
- Click on the Mailings tab.
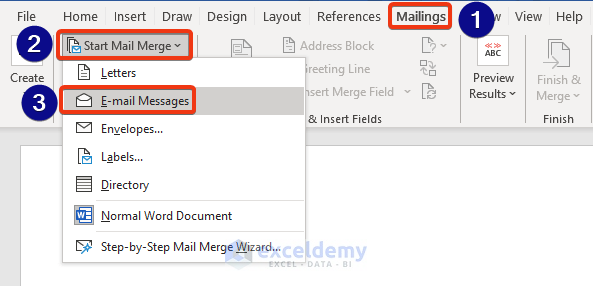
- From the Mailings tab, we get the Start Mail Merge group.
- Select the E-mail Messages option.
- Write the content of the email in the Word window.
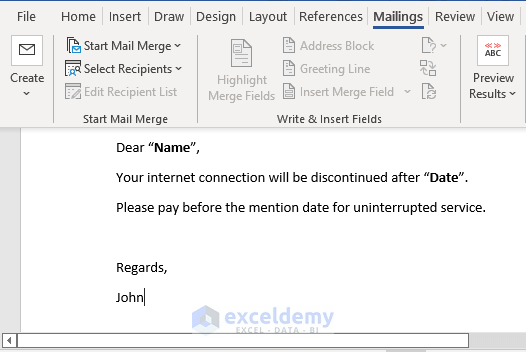
Our Word file is ready. Here, we are sending an email informing the deadline for the internet bill payment.
Read More: How to Send Email from Excel List
Step 2: Set Up Mail Merge Data in Microsoft Excel
- Open a blank Excel file.
- Create three 3 columns: Name, Date, and Email.
- Enter the respective data in the columns.

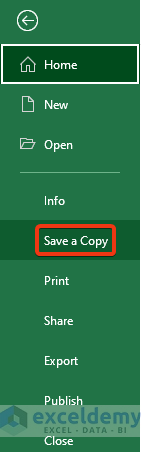
- Click on the File tab of the Excel file.
- Press the Save a Copy option.
- Choose a location to save the file from the File Manager.
- Press the Save button.
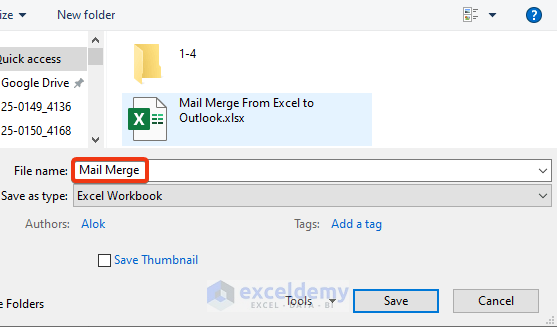
Our file has been saved in the desired location.
Read More: How to Change Date Format in Excel Mail Merge
Step 3: Link Mailing Information with Email
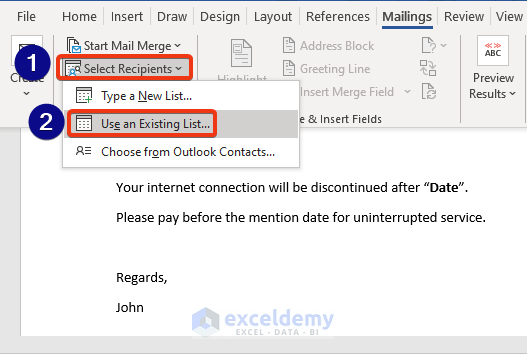
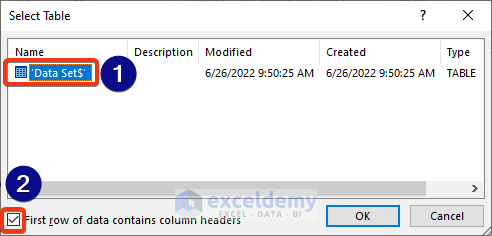
- Go to the Select Reception group and choose to Use an Existing List.
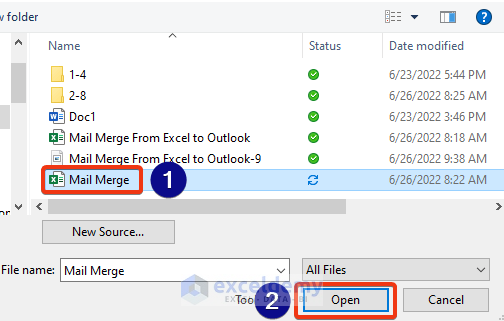
- Choose the desired Excel file from the File Explorer.
- Click Open.
- Choose the shown file.
- Check the First row if the data contains the column headers option.
- Press OK.
Now, we will link the variables with the Excel columns.
- Select “Name” and select the Insert Merge Filed option.
- A menu will appear showing the column names from the chosen Excel file.
- Choose the relevant column.
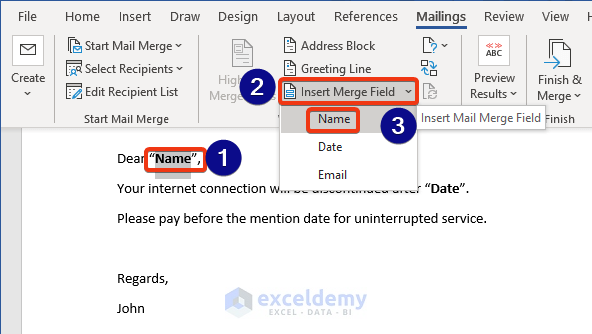
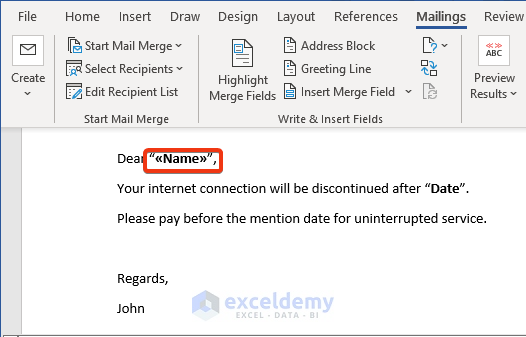
- The Name option has been changed.
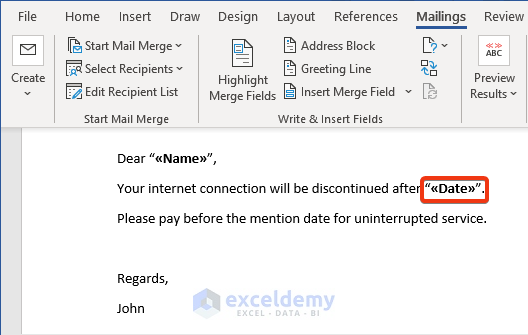
- Do this for the Date variable.
Read More: How to Mail Merge from Excel to Outlook with Attachments
Step 4: Checkup Preview and Finish Mail Merge
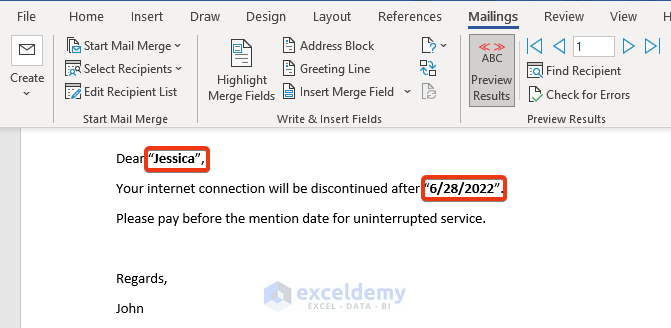
- To get the preview, click on the Preview Results section.

- The name and date have changed in the previous Word file. It is the 1st member of the dataset.
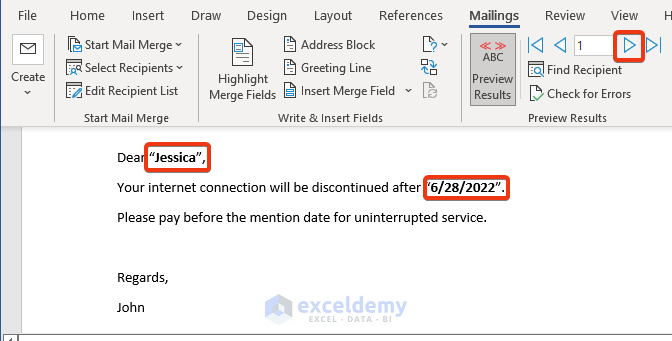
- Below is a screenshot showing the button to get to the next members.
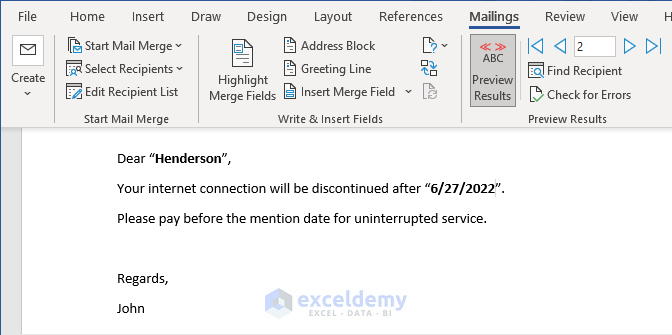
- Now the 2nd member is showing.
- Click Finish & Merge to get a list of options.
- Select Send Email Messages options.

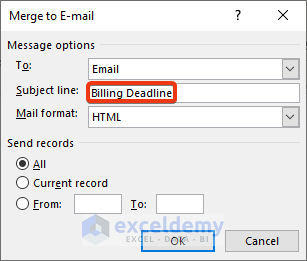
- A Merge to E-mail window will appear.
- Choose the Email option in the To box.
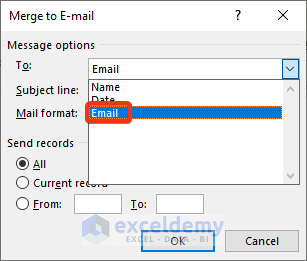
- Enter a subject in the Subject line box.
- Press OK.
Read More: How to Copy and Paste Excel Table into Outlook Email
Step 5: Check Mail Merge Messages from Outlook
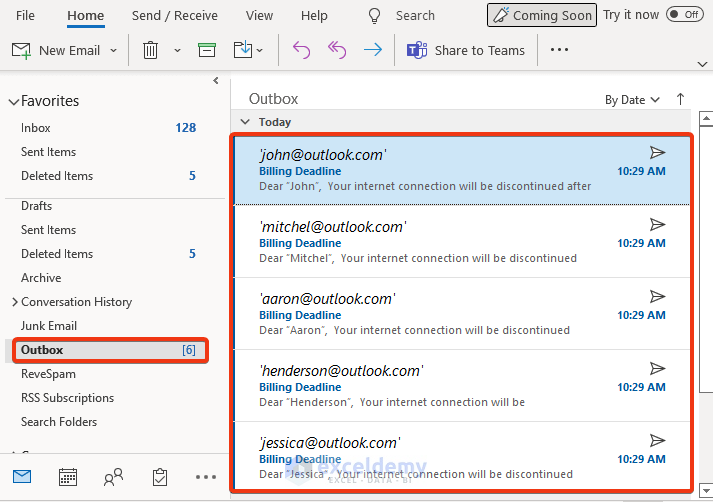
- Go to the Outlook.
- From the menu, click on the Outbox option.
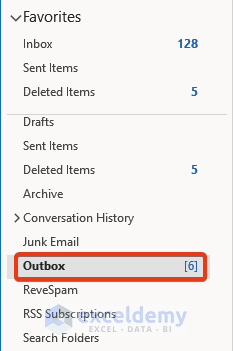
- You will see the sent emails.
Download the Practice Workbooks
Download this workbook to practice.
Related Articles
- Creating a Mailing List in Excel
- Mail Merge from Excel to Excel
- How to Mail Merge from Excel to Powerpoint
- How to Format Address Labels in Excel
<< Go Back To Mail Merge Excel | Learn Excel
Get FREE Advanced Excel Exercises with Solutions!
