We have the names of three founders of tech giants, alongside their ages, hometowns, and countries of origin. We’ll create a small paragraph of biography with their images inside a Word document.
Method 1 – Utilizing the Name of Pictures
Step 1 – Prepare the Word Document
- We need to prepare both the Excel and Word file documents.
- Prepare the draft of the Word to determine what the structure will look like.
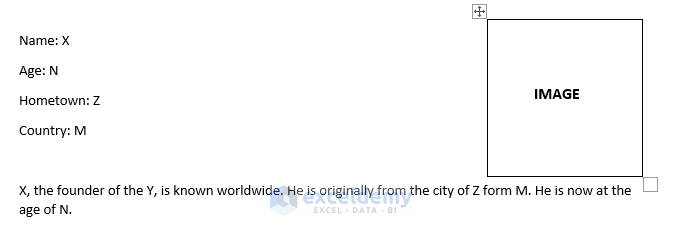
- The preliminary format is given above.
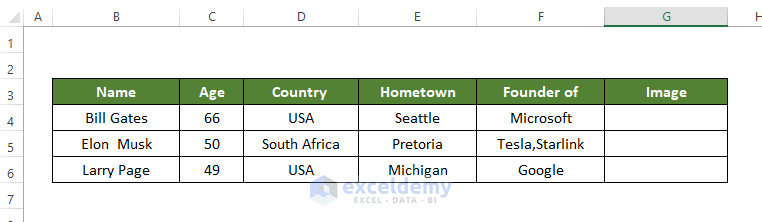
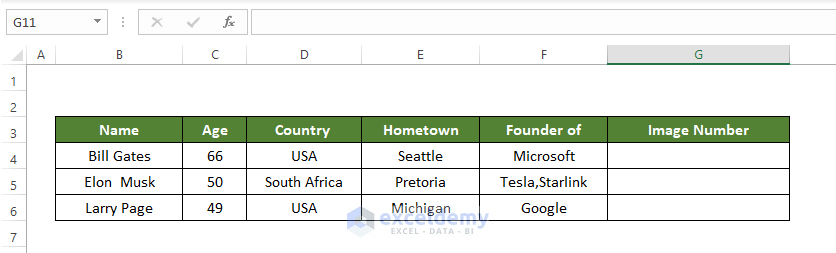
- For our table, we need some key information that varies from person to person. In this case, the variable information will be the person’s name. age, country of origin, hometown, etc.
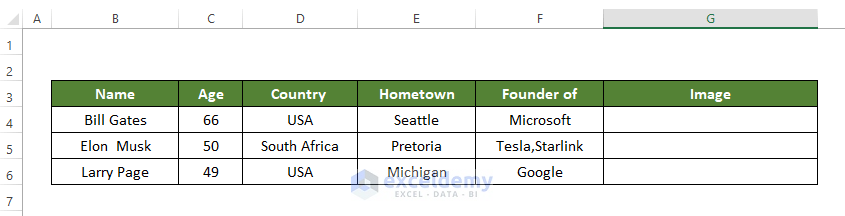
- Create a list of the information of different persons in the Excel sheets.
- The information is shown below.
Step 2 – Insert Link of Pictures
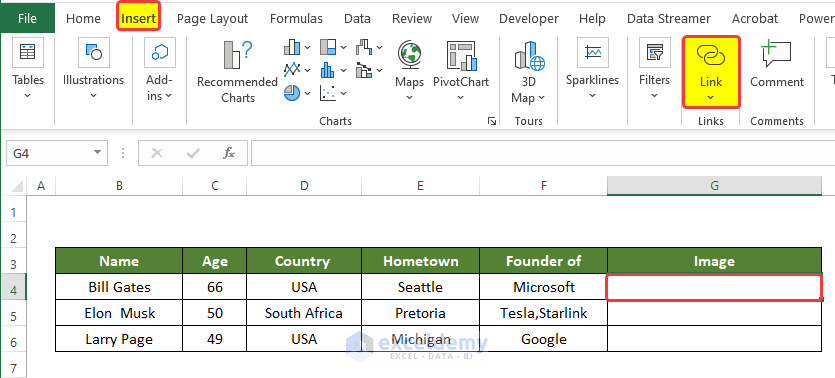
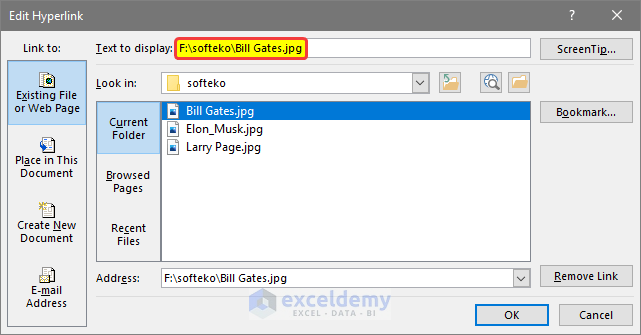
- Go to the Insert tab and click on Link from the Links group.
- You’ll get a new dialog box asking for the location of the images on your PC.
- Select the image, and the location directory will be pasted in the text box in the Text to Display box.
- Click OK after this.
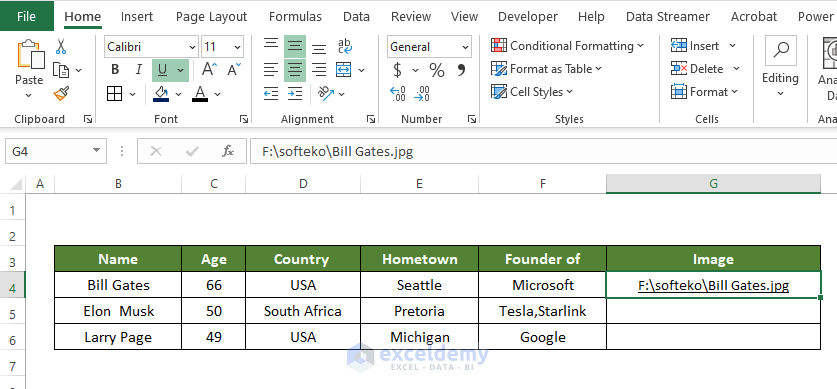
- Notice that the link address is now showing in cell G4.
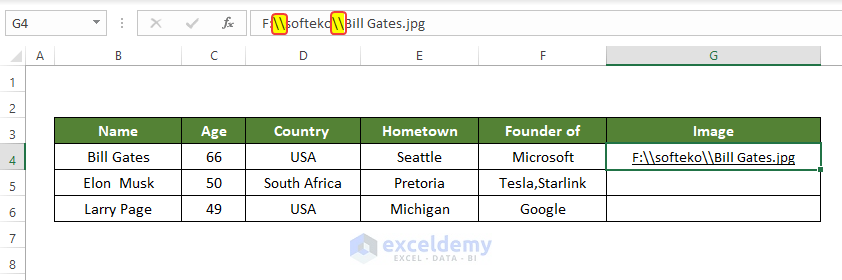
- Modify the link address a little bit, adding another slash after every slash already in the link.
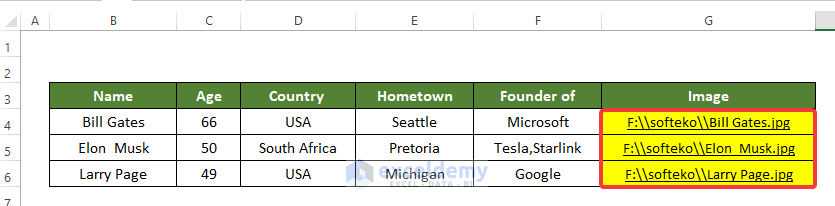
- Repeat the same process for the rest of the entries.
Step 3 – Create a Relation Between Excel and Word Files
- The draft of the Word file is already done, the texts in the draft are going to be repeated in every single entry in the list created in Excel.
- The images are going to be added in the top right corner of the Word file.
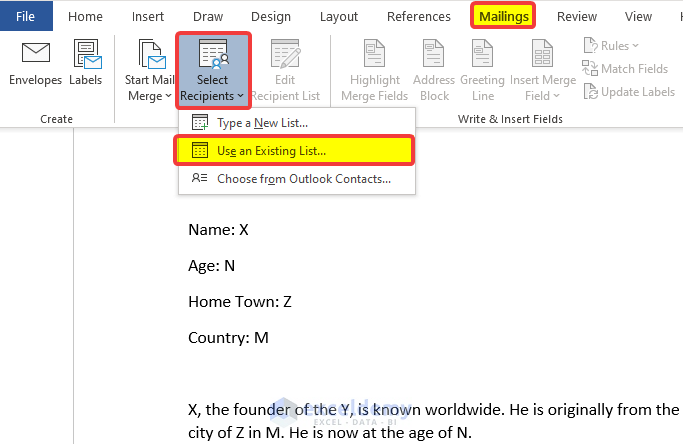
- From the Mailings tab, go to Select Recipients and choose Use an Existing List.
- You’ll get a new browsing window.
- Select the list file that we just created in Excel.

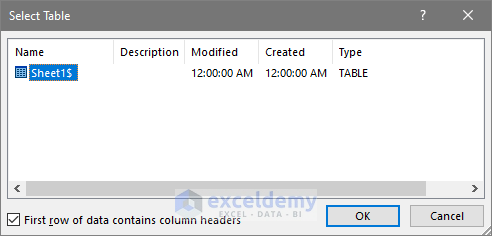
- You’ll get a window named Select Table, which will ask which sheet you want to choose. Select Sheet1 and click OK.
- Enter the fields like name, age, and country from the Excel sheet into the Word file via the Insert Merge Fields command from the Mailings tab.

- Now we are going to replace the Name, Age, Hometown, Country, etc value in the Word file.
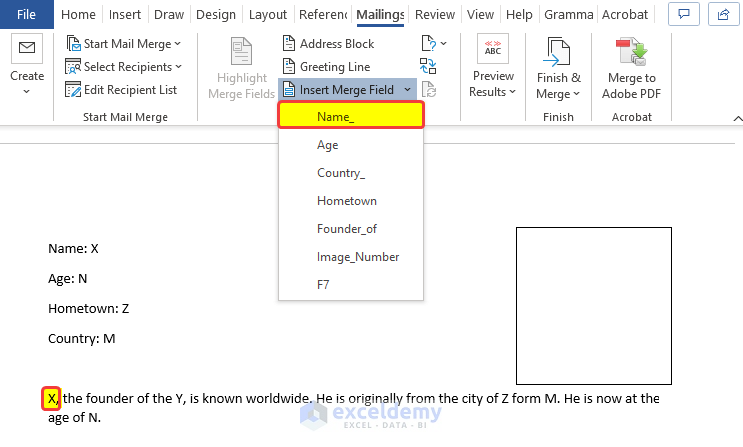
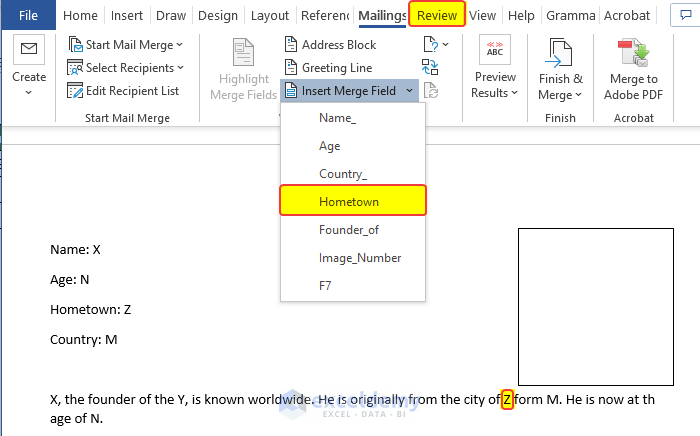
- Select X as shown in the image, and then from the Mailings tab, click on the Insert Merge Field.
- Click on the Name_ field.
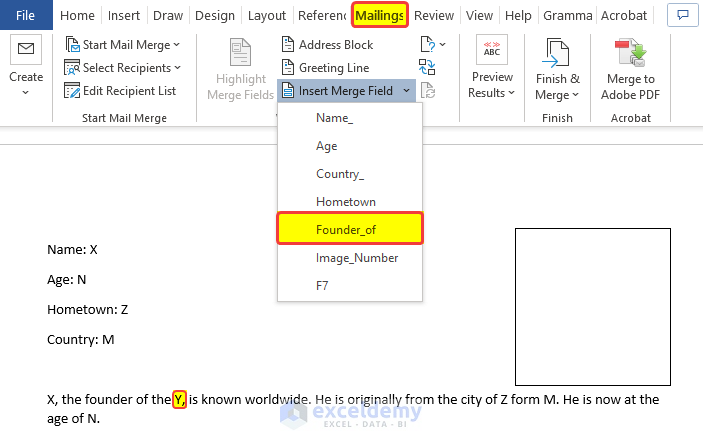
- Select Y as shown in the image, and then from the Mailings tab, click on the Insert Merge Field. Then click on the Founder_of field.
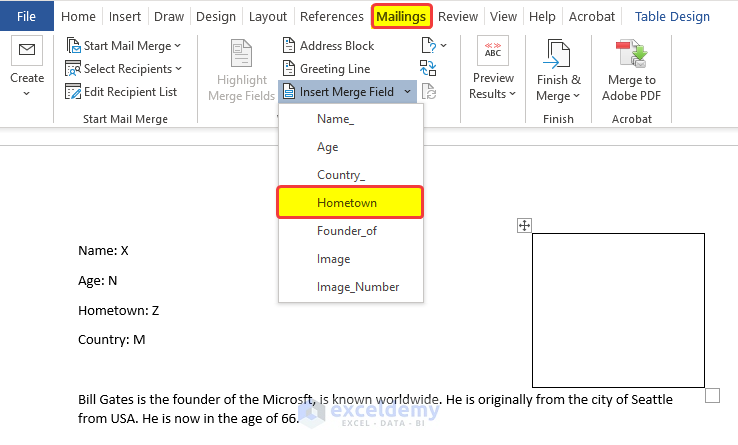
- Select Z as shown in the image, and then from the Mailings tab, click on the Insert Merge Field. Then click on the Hometown field.
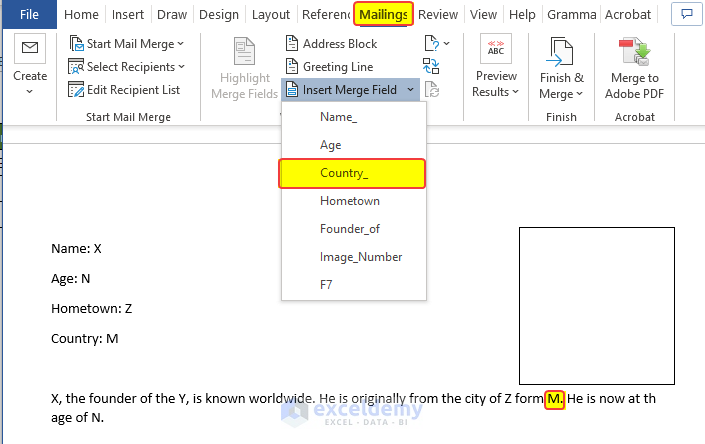
- Select M as shown in the image, and then from the Mailings tab, click on the Insert Merge Field. Then click on the Country_ field.
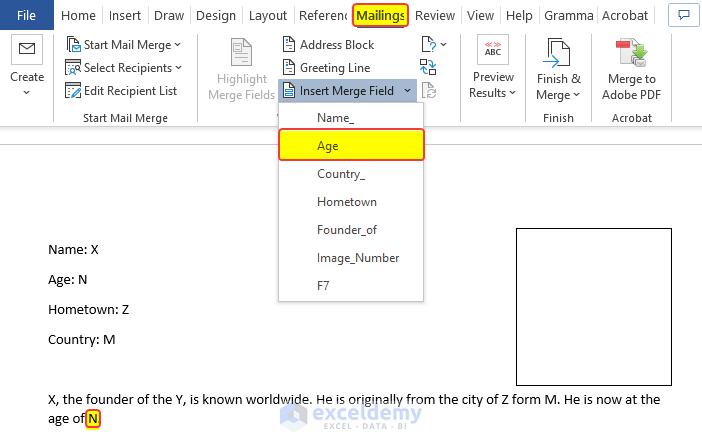
- Select N as shown in the image, and then from the Mailings tab, click on the Insert Merge Field. Then click on the Age field.
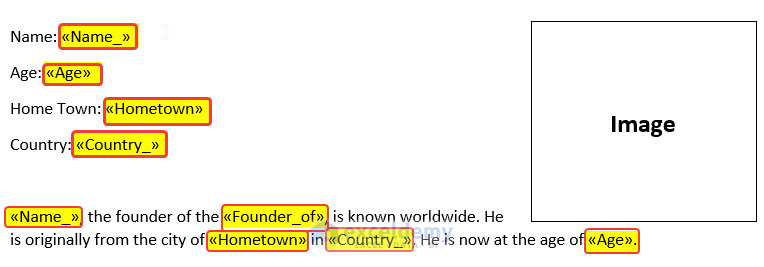
- Repeat the same procedure for the first part.
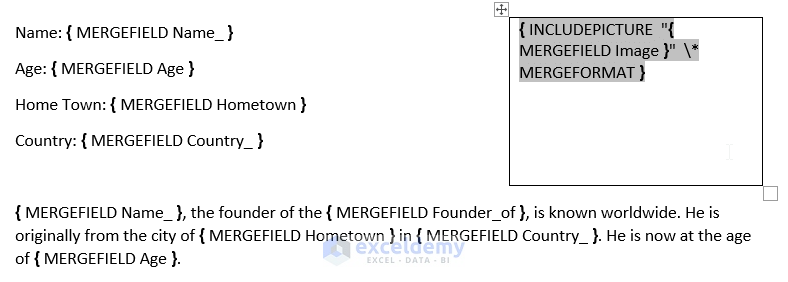
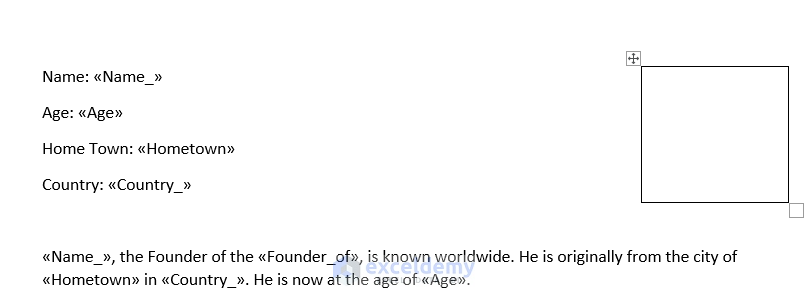
- After filling in the fields, they will look something like the below image.
- Enter the image link in the word. Go to Insert, then to Text group, then select Quick Parts and choose Field.
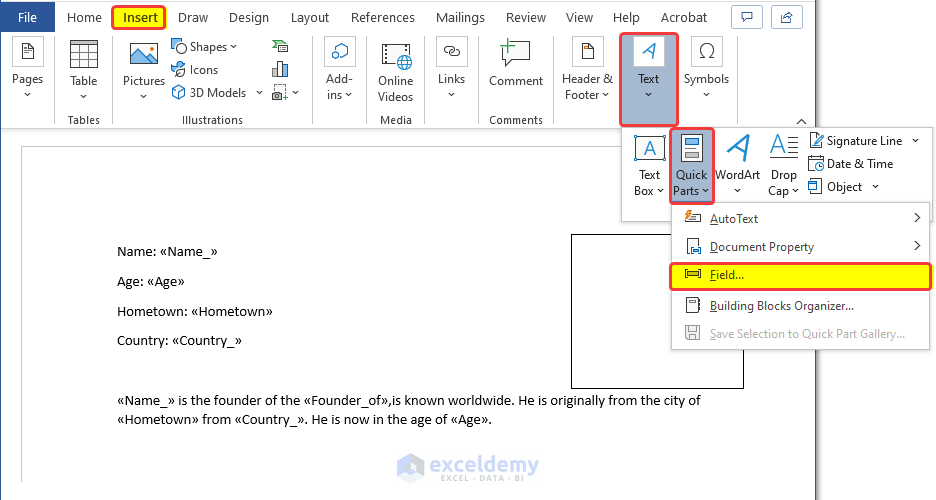
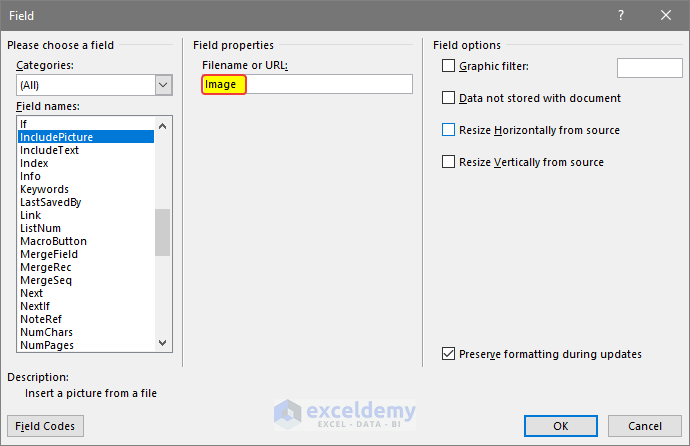
- There will be a new dialog box. In the Field names options menu, select IncludePicture.
- In the FIeld Properties box, enter any name, and put “Image” in the field.
- Click OK.
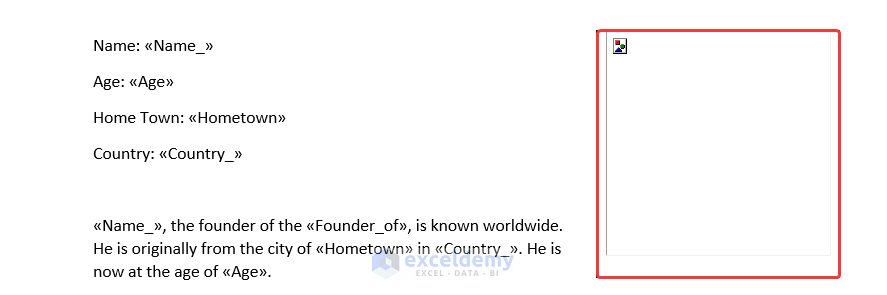
Step 4 – Insert the Picture into the Word Document
- Click OK, and the image will load but will not be visible yet.
- Press Alt + F9.
- This will enable the code format of Word and let us edit the code manually.
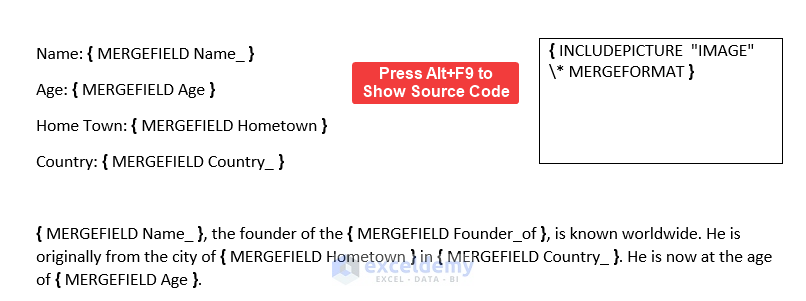
- Select the IMAGE part in the highlighted image code and then go to Mailings and Insert Merge Field tab.
- Select the Image field from the drop-down menu.
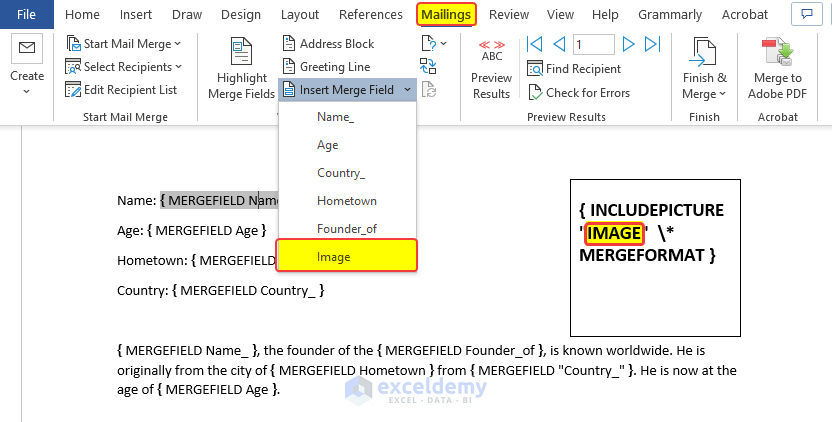
- The code will change like the below image.
- Press Alt + F9 again, but the image is not still visible.
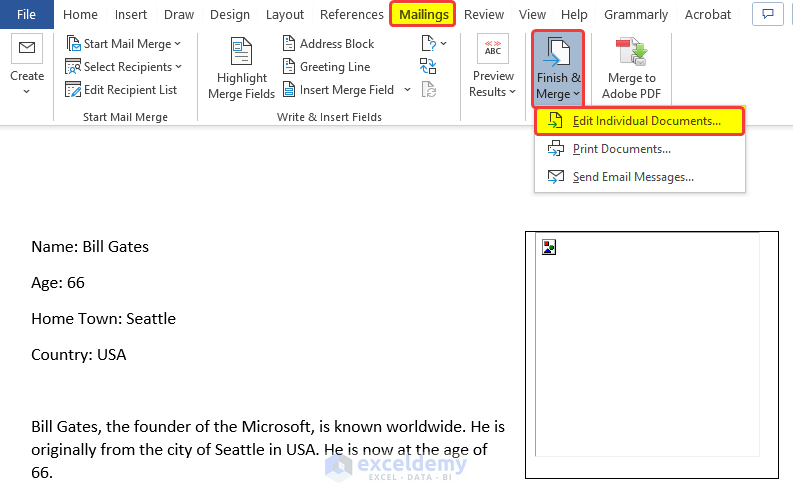
- From the Mailings tab, click on Finish & Merge, then click on Edit Individual Documents.
- There will be another dialog box. In that box, select All, then click OK.
- Images might not still be visible. To make it visible, press Ctrl + A to select all the contents in the Word file, then press F9.
- A warning dialog box will appear. Click on Yes on that box.
- After clicking Yes, you will notice that the Word file is filled with the merged image with merged information stored in the Excel sheet.

Method 2 – Utilizing the Location of Pictures
Step 1 – Prepare the Word Document
- Prepare both the Excel and Word documents.
- Prepare the draft of the Word to determine what the structure will look like.
- The preliminary format is given below.
- We need some key information that varies from person to person. The variable information will be the person’s name, age, country of origin, hometown, etc.
- Create a list of the information of different persons in the Excel sheets.
- The information we gathered is shown below.
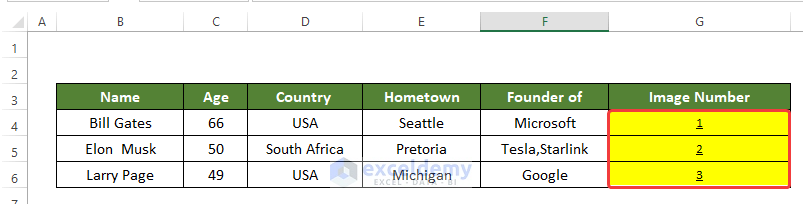
- Input the Image Number serially in this sheet.
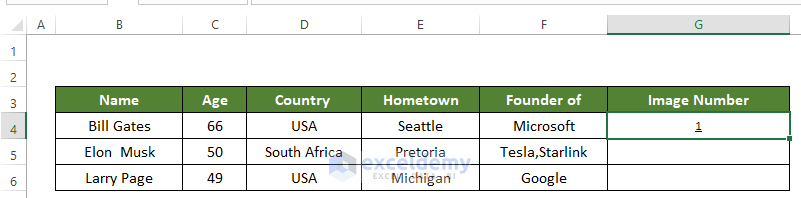
- Repeat the same for other cells.
Step 2 – Create a Relation Between Word and Excel Files
- The draft of the Word file is already done, the texts in the draft are going to be repeated for every single entry in the list created in Excel.
- The images are going to be added in the top right corner of the word file.
- From the Mailings tab, go to Select Recipients and select Use an Existing List.
- There will be a new file browsing window. Select the list file that we just created in Excel.
- You’ll get a new window named Select Table. It will ask which sheet you want to choose. Select Sheet1 and click OK.
- After that, you can enter the fields like name, age, and country from the Excel sheet into the Word file via the Insert Merge Field command from the Mailings tab.
- Replace the Name, Age, Hometown, Country, and other values in the Word file.
- Select X as shown in the image, and then from the Mailings tab, click on Insert Merge Field.
- Click on the Name_ field.
- Select Y as shown in the image, and then from the Mailings tab, click on Insert Merge Field.
- Click on the Founder_of field.
- Select Z as shown in the image, and then from the Mailings tab, click on the Insert Merge Field.
- Click on the Hometown field.
- Select M as shown in the image, and then from the Mailings tab, click on Insert Merge Field.
- Click on the Country_ field.
- Select N as shown in the image, and then from the Mailings tab, click on Insert Merge Field.
- Click on the Age field.
- Repeat the same procedure for the first part.
- After filling the fields, they will look something like the below image.
Step 3 – Input the Image Address in the Code Format
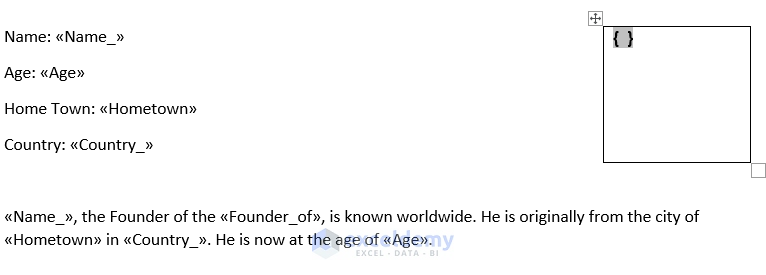
- Make a 1-by-1 table in Word to put the picture in.
- Put your cursor in the image field and then press Alt + F9. It will toggle to the source code of the document.
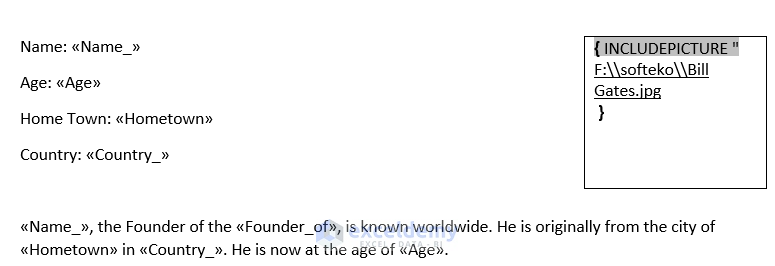
- Insert the following text inside the bracket enclosure: INCLUDEPICTURE “F:\\softeko\\Bill Gates.jpg”
- Here, the location is the location of the first image in the folder. This will vary in your case.
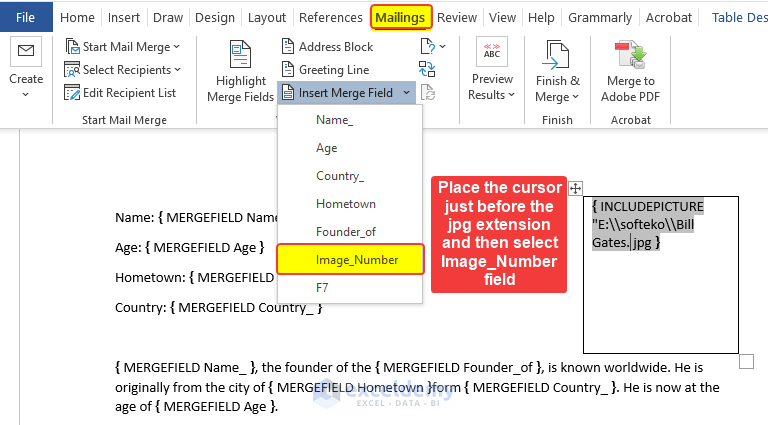
- Place your cursor right before the jpg.
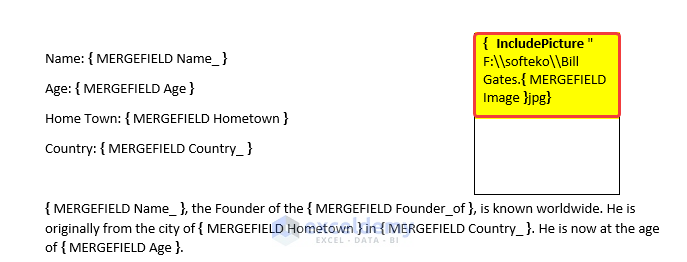
- Select the Image_Number field from the Insert Merge Field.
- The code will change to be similar to the image below.
- Press Alt + F9 to toggle back to normal mode. But, the images are still not visible.
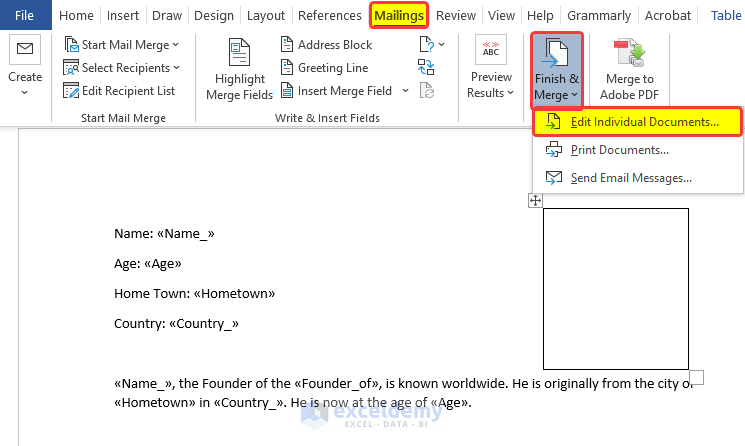
- From the Mailings tab, click on Finish & Merge.
- Click on Edit Individual Documents.
- There will be another dialog box, so click OK.
- Images might not still be visible. Press Ctrl + A to select all the contents in the word file, and then press F9.
- A warning dialog box will appear. Click on Yes on that box.
- After clicking Yes, you will notice that the Word file is filled with the merged image and information stored in the Excel sheet.
Read More: How to Mail Merge from Excel to Word Envelopes
Download the Practice Workbook
Related Articles
- Mail Merge in Excel without Word
- How to Insert Merge Fields in Word from Excel
- [Solved]: Word Mail Merge Not Working with Excel
- Macro to Populate a Mail Merge Document from Excel
<< Go Back To Mail Merge Excel | Learn Excel
Get FREE Advanced Excel Exercises with Solutions!
