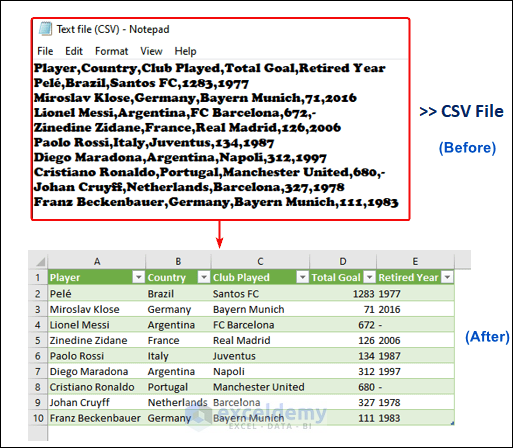
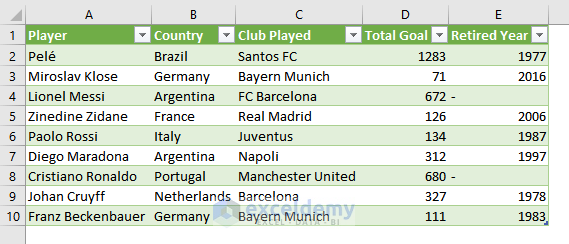
The image above showcases a CSV (Comma Separated Values) file which was imported to an Excel worksheet.
Method 1 – Importing Data to Excel by Using Copy and Paste Feature
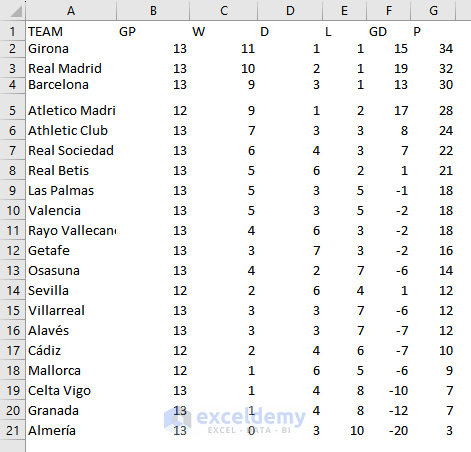
You want to import the Spanish LaLiga Standings 2023-2024.

- Open the website and select the data.> Presss Ctrl + C to copy.> Select A1 in the Excel Worksheet> Paste the Data.
This is the output.
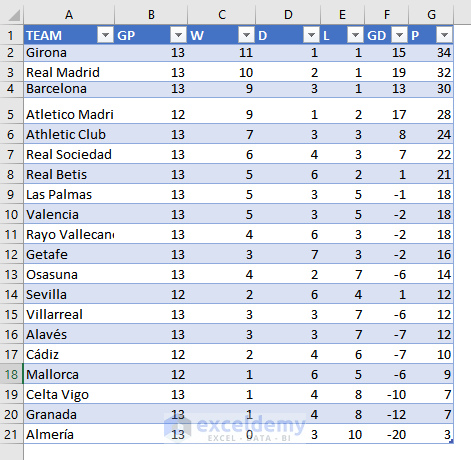
- To format data as a table, select the data range (A1:G21) and press Ctrl+ T.
- In the Create Table dialog box, check the My table has header.> Click OK.

This is the output.
Method 2 – Importing Data from the Notepad to Excel
i) Importing a Text File to Excel
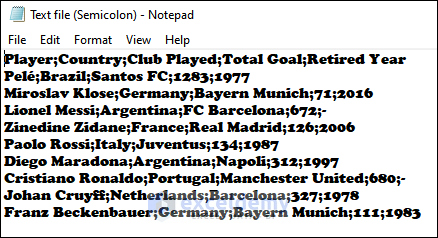
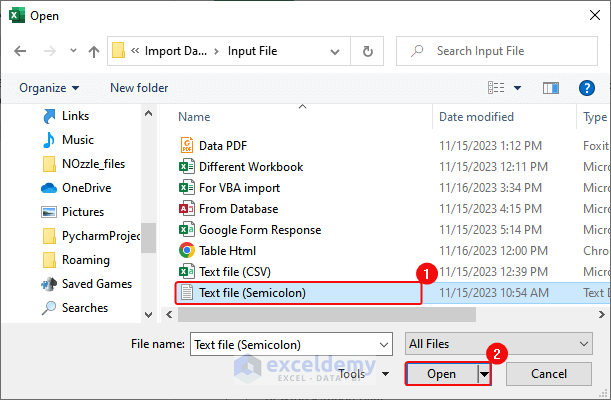
You have a text file (“Text File(Semicolon)” ) in Notepad.
- Open Excel.
- Click Open> Browse.
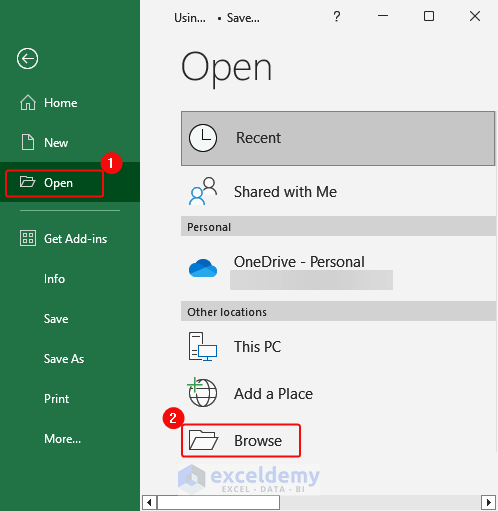
- Locate the file, select it and click Open.
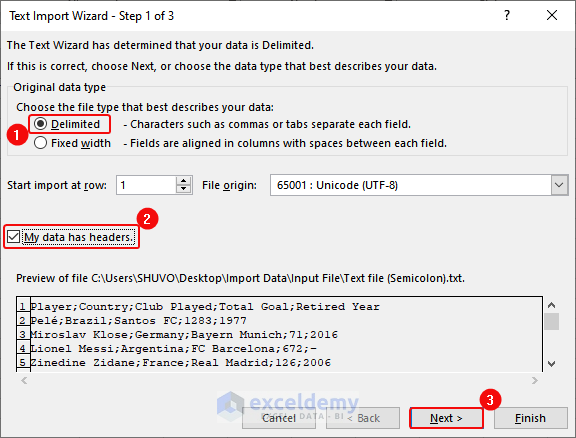
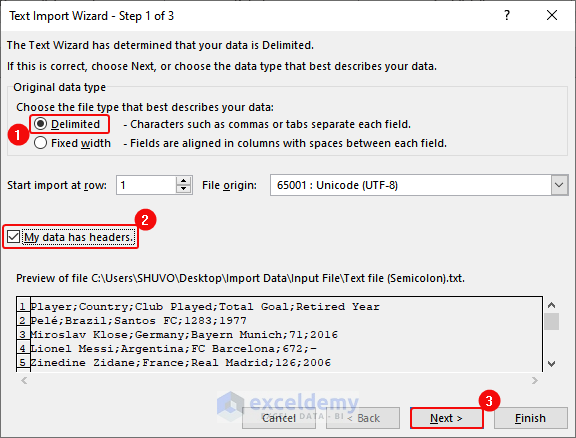
- In the Text Import Wizard, select Delimited >and check “my data has headers”> Click Next.
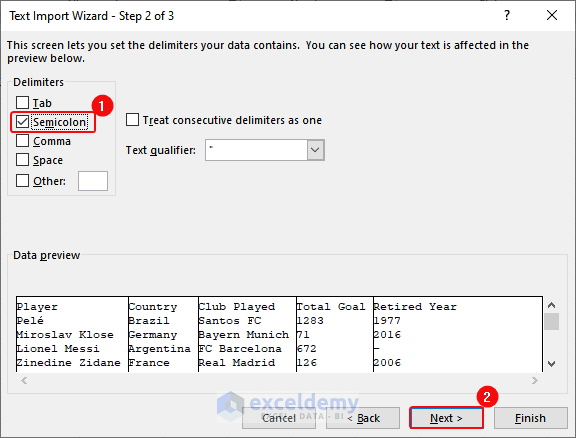
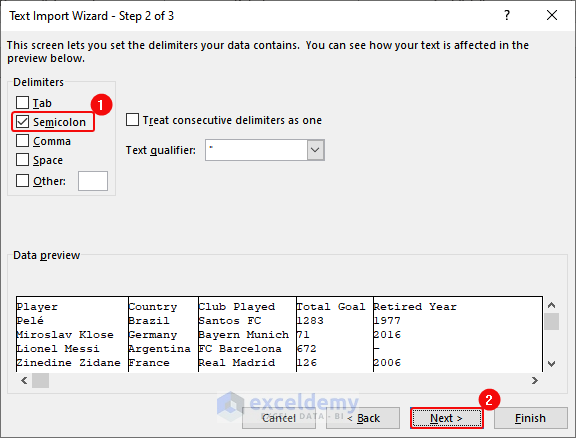
- Check Semicolon> Click Next.
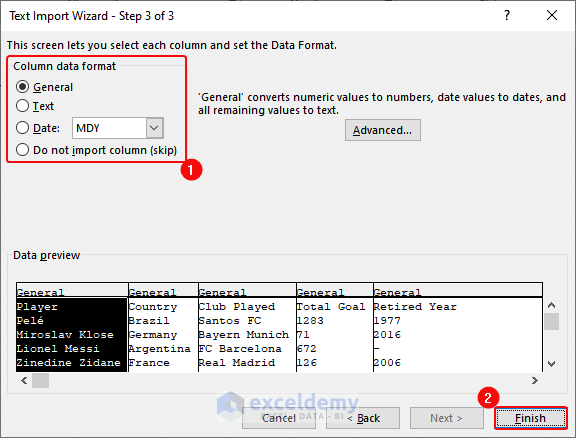
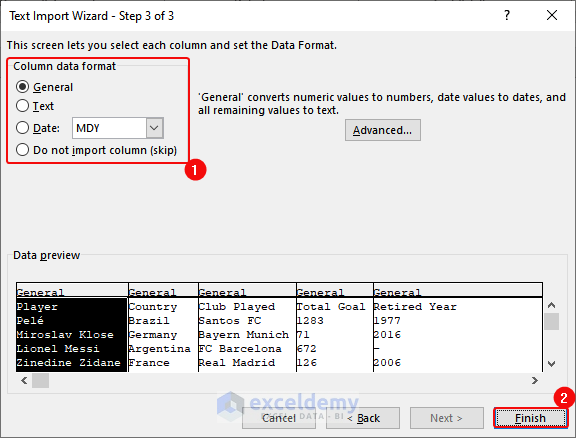
- Select Column data format as General > Click Finish.
Imported data will be displayed.
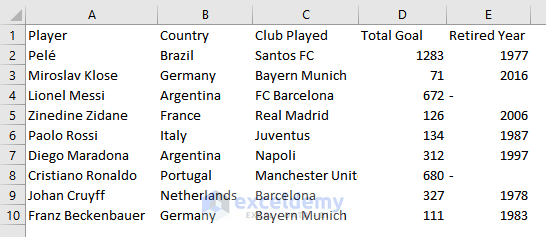
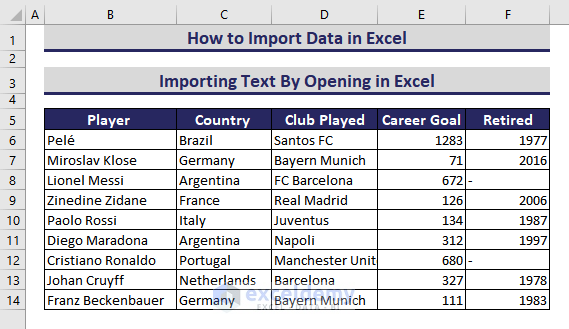
- Format the dataset.This is the output.
Download Text File (Input)
Download the file to practice.
ii) Importing Data by Connecting to the Power Query
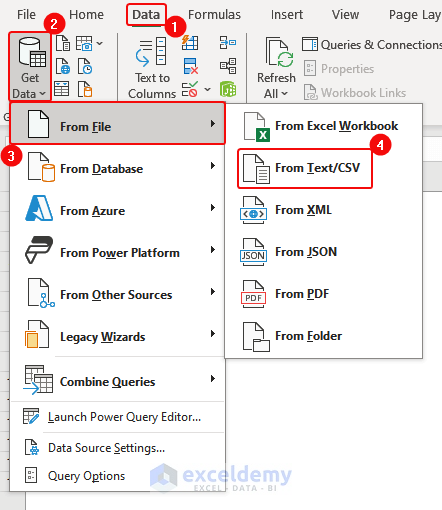
- Click Data> Get Data> From File> From Text/CSV.
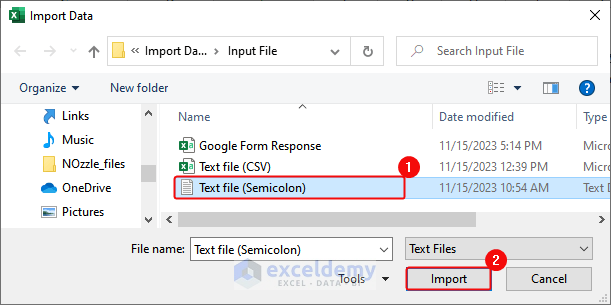
- In the Import Data dialog box, select the text file and click Import.
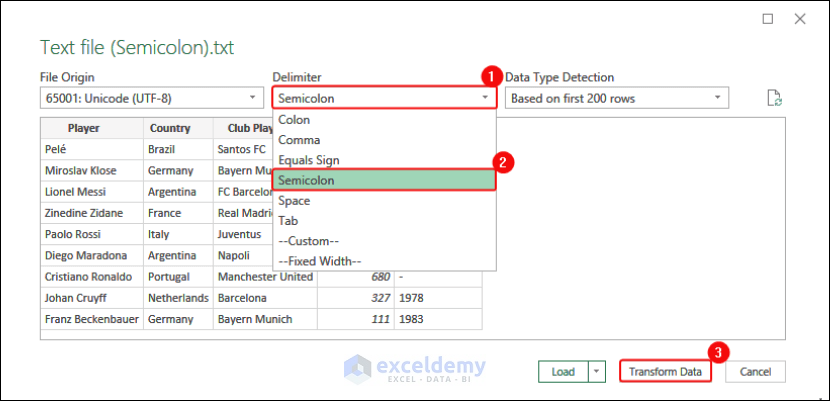
- Select Semicolon as Delimiter and click Transform Data.
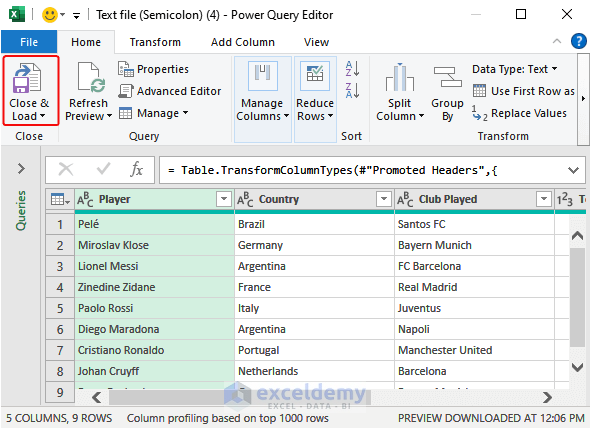
- The Power Query Editor will be displayed. Click Close and Load.
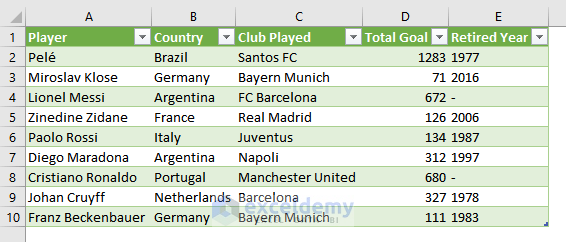
Data will be imported as a table in a worksheet.
iii) Importing Data by Using the Text Import Wizard in Excel
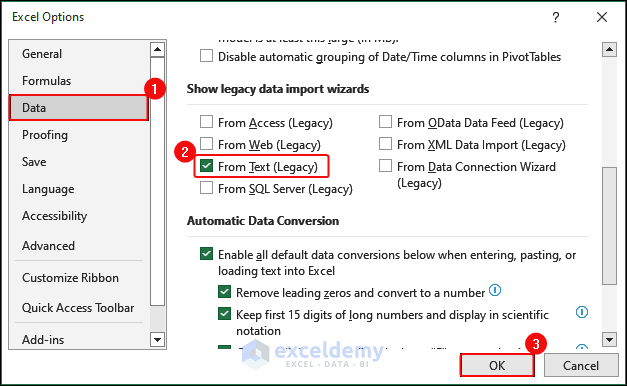
- Click File> Options.
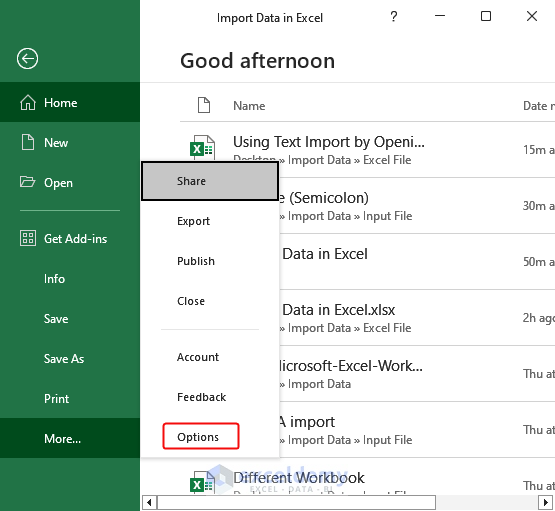
- In the Excel Options dialog box, click Data > Check From Text (Legacy) in Show legacy data imports wizards> OK. This will enable the wizard.
- Import the text file (semicolon is used as delimiter) as shown below into your Excel workbook using the Text Import Wizard.

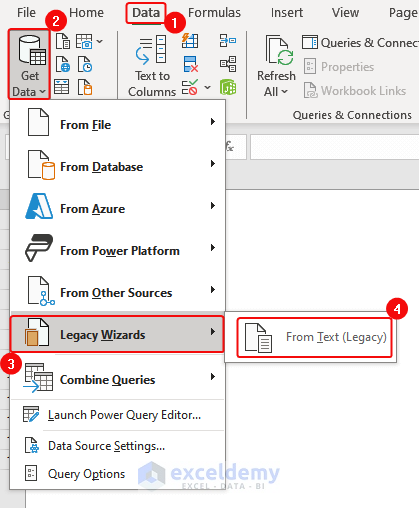
- Click Data> Get Data> From Legacy Wizards> From Text (Legacy).
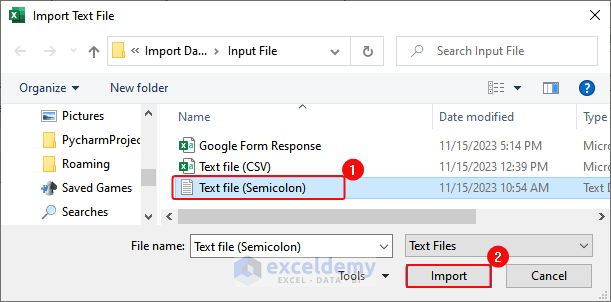
- In the Import Text File dialog box, select the text file> Click Import.
- In the Text Import Wizard dialog box, select Delimited> Check “My data has headers”> Next.
- Check Semicolon> Click Next.
- Select Column data format as General > Click Finish.
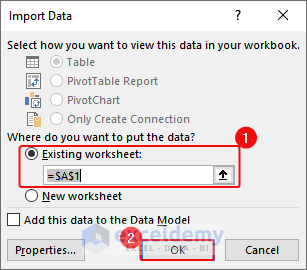
- In the Import Data dialog box, select Existing Worksheet and A1> click OK.
This is the output.
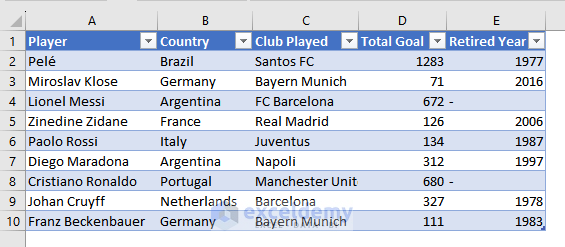
- Select A1:E10 and click Insert> Table. This is the output.

Method 3 – Importing Data from a File in Excel
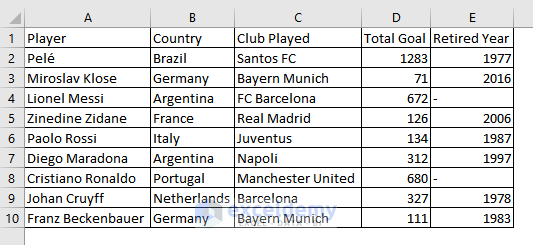
i) Importing Data from Another Workbook
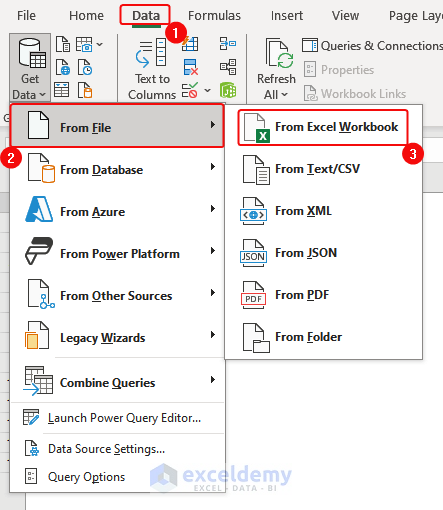
- Click Data> From File> From Excel Workbook.
- In the Import Data dialog box, select the workbook> Click Import.

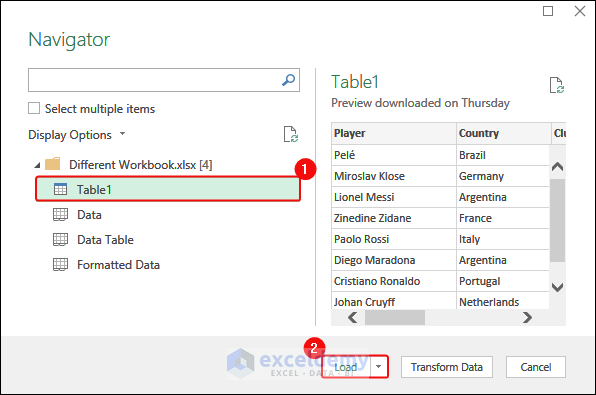
- Select Table1 (you can check the preview to ensure you are importing the right data)> Click Load.
This is the output.
Download Input Workbook
You can use this workbook to practice.
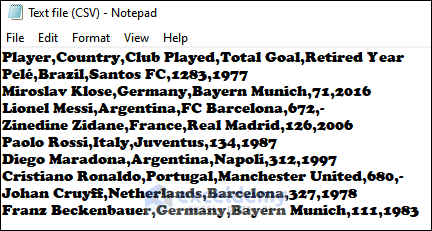
ii) Importing Data from a CSV File in Excel
You have a CSV file.
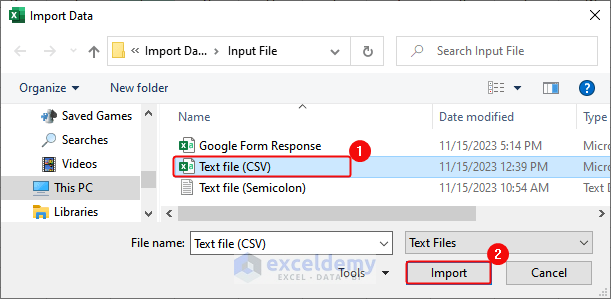
- Click Data> From File> From Text/CSV.
- In the Import Data dialog box, select the CSV file> Click Import.
- Click Load.
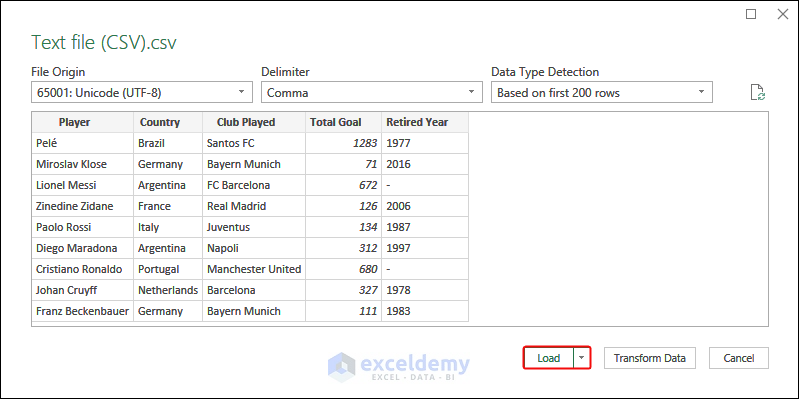
This is the output.
Download CSV (Input)
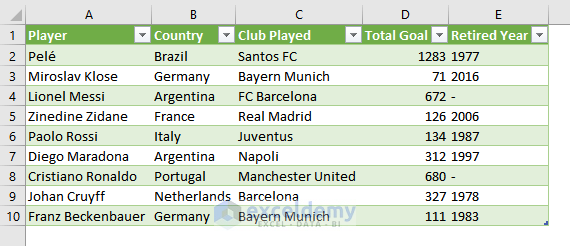
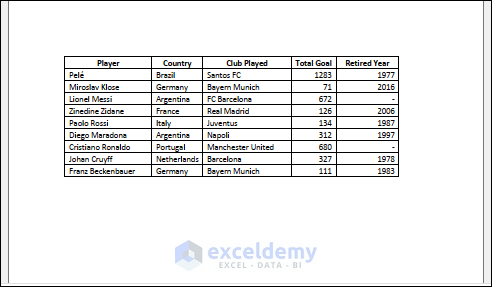
iii) Importing Data from PDF to Excel
Your PDF file should be organized like a table.
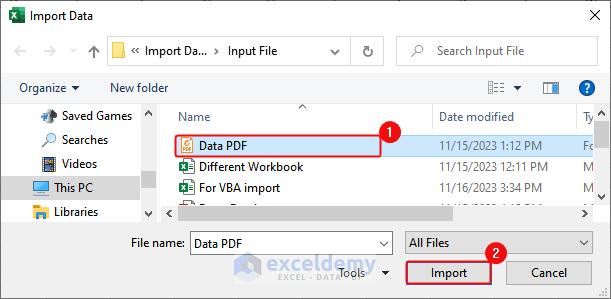
- Click Data> From File> From PDF.
- In the Import Data dialog box, select the PDF file> Click Import.
- Click Load.
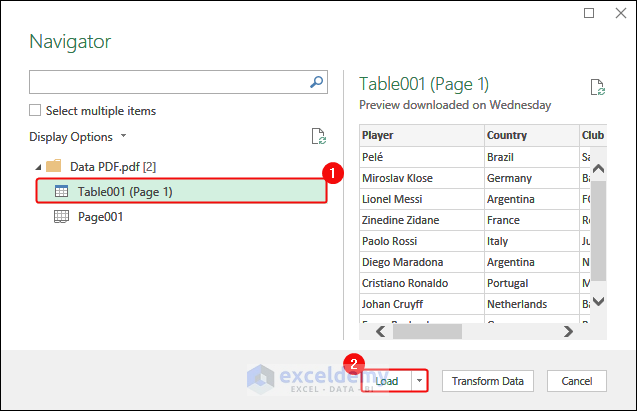
This is the output.
You can also import an XML file or a folder to your Excel Worksheet.
Download PDF (Input)
Read More: How to Import PDF to Excel
Method 4 – Importing Data from a Database to Excel
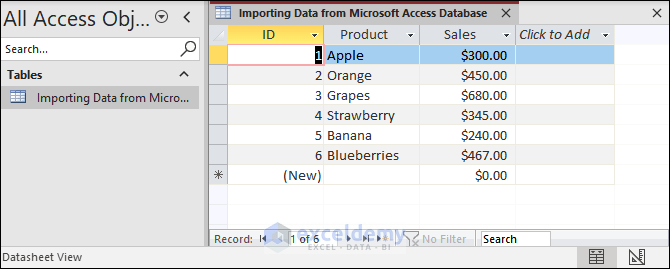
You have imported data from a database: “From Database”
- Click Data> From Database> From Microsoft Access Database.

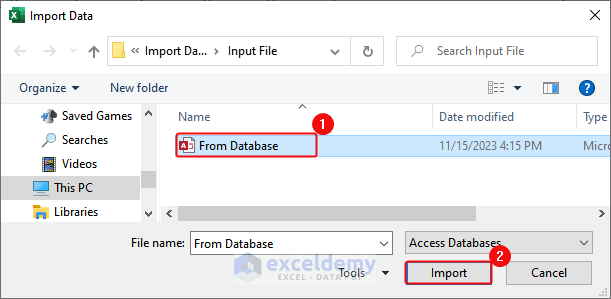
- Select the database file in the Import Data dialog box> Click Import.
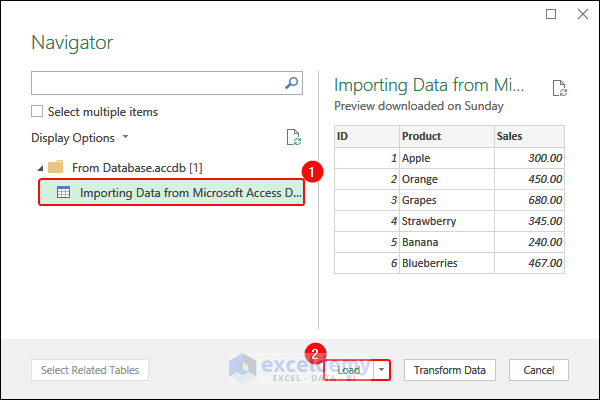
- In the Navigator dialog box, select the data> Click Load.
- This is the output.
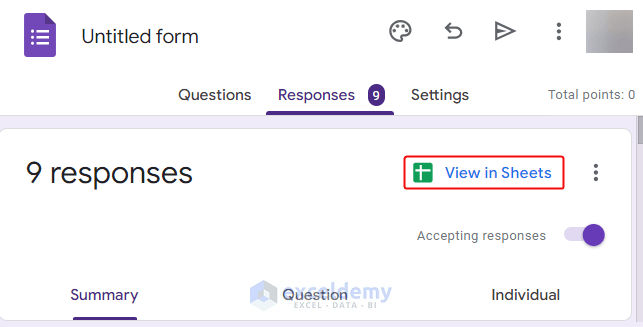
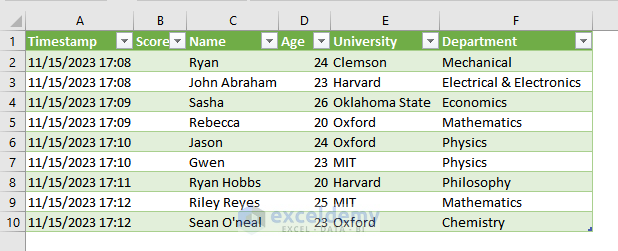
Method 5 – Importing Data from Google Forms to Excel
- Go to Google Forms> Click View in Sheets.
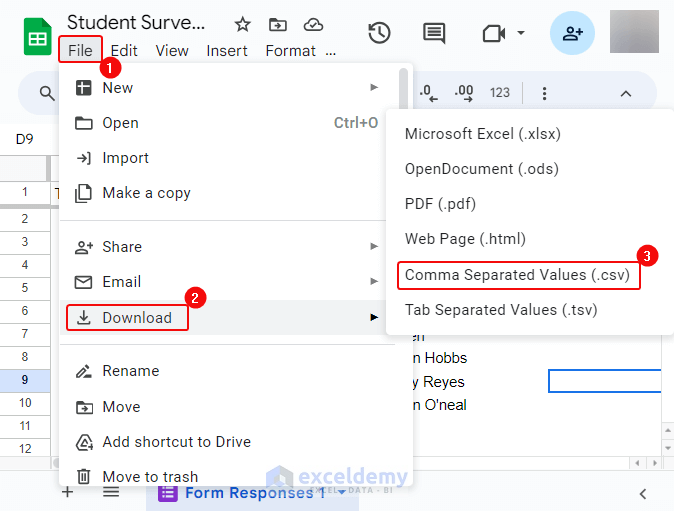
- Click File> Download> Comma Separated Values(CSV). Save the CSV file.
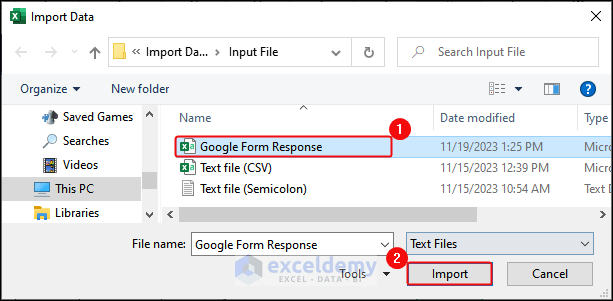
- Click Data> From File> From Text/CSV> Select the file in the Import Data dialog box> Click Import.
- Click Load in the Dialog box.
- This is the output.
Download CSV from Google Form (Input)
Method 6 – Importing Data from Other Sources in Excel
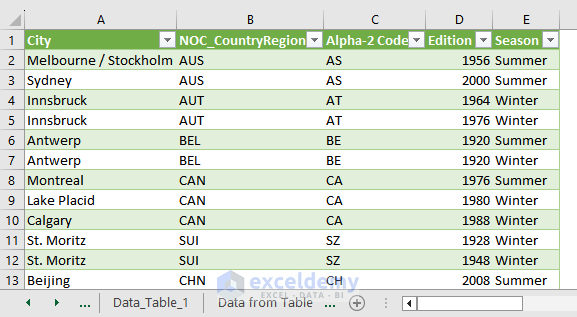
i) Importing Data from a Table

- Go to the worksheet that contains the table you want to import. Select the whole table.
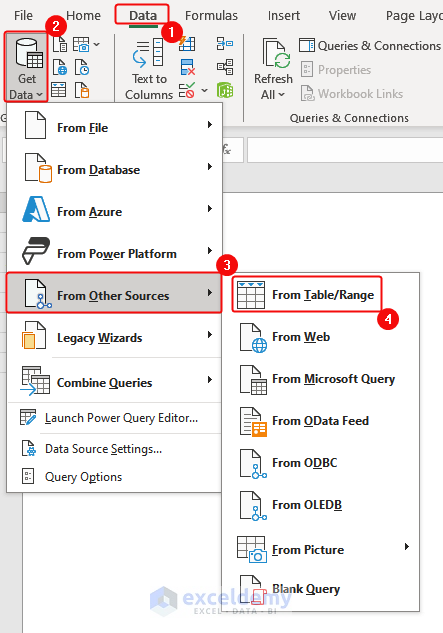
- Click Data > Get Data > From Other Sources> From Table/Range.
- The table will be displayed on the Power Editor. Click Close and Load.
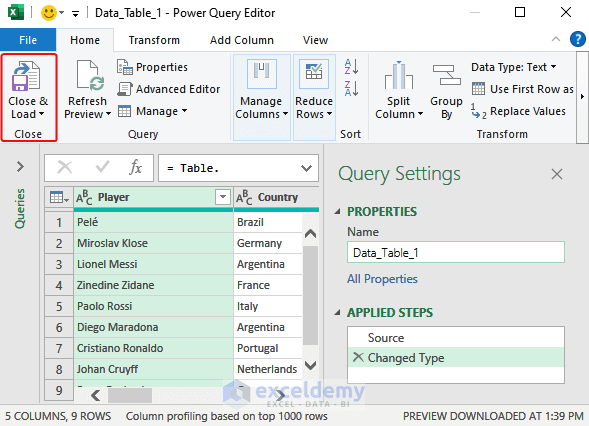
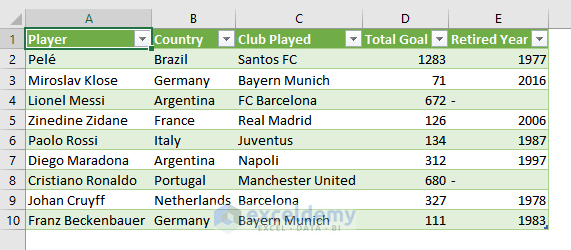
This is the output.
ii) Importing Data from the Web
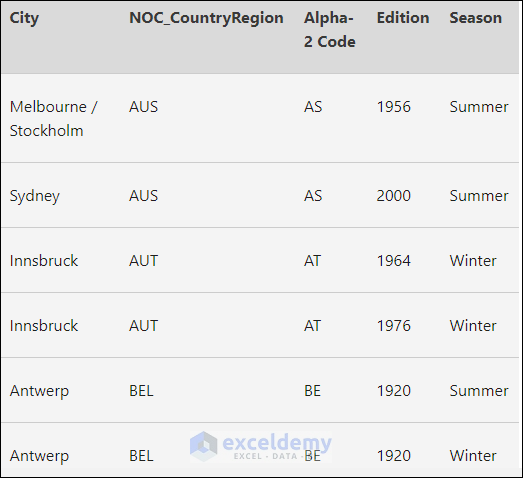
Go to the Web page and copy the link.
- Click Data> From Other Sources> From Web.
- In the From Web dialog box, paste the link in the URL box> Click OK.

- In the Navigator dialog box, select the table> Click Load.
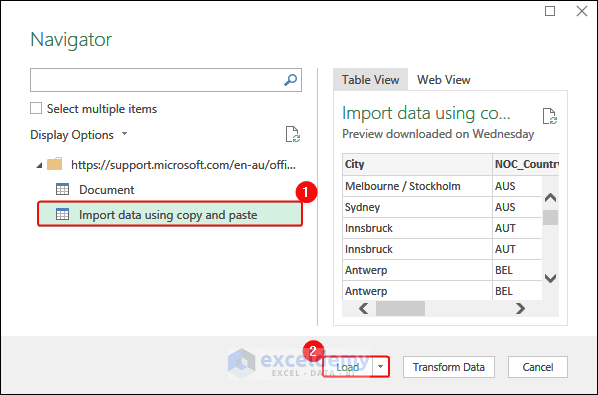
This is the output.
iii) Importing Data from a Picture to Excel
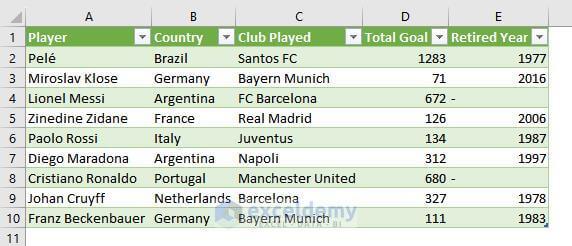
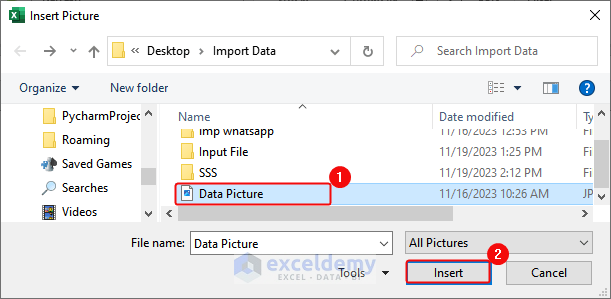
- Click Data > From Other Sources> From Picture> Picture from File.

- In the Insert picture dialog box, select the file> Click Insert.
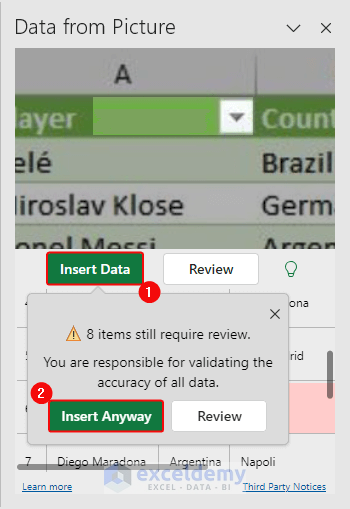
- The Data from Picture box will be displayed. Click Insert Data> Insert Anyway.
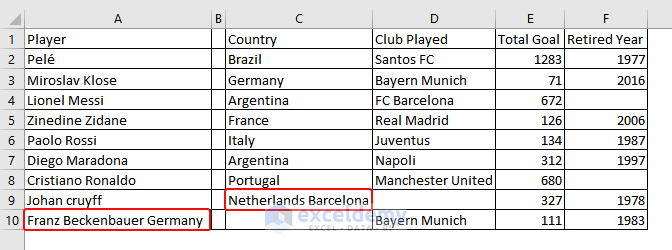
This will import the data as shown below: Values are not correctly placed and an empty column B is added. Data must be manually placed in the correct cells.
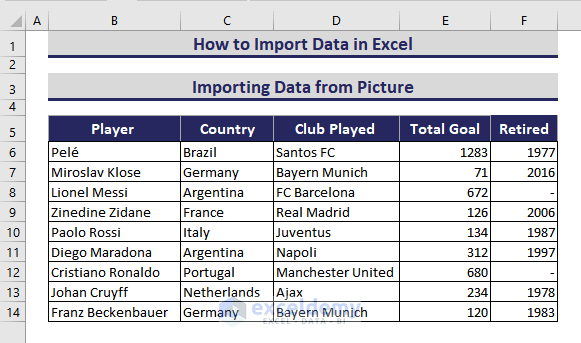
This is the output.
Read More: How to Extract Data from Image into Excel
Method 7 – Importing Data from Existing Data Connections and Maintain Automatic Updates in Excel
- Click Data > Get Data Using an Existing Connection
![]()
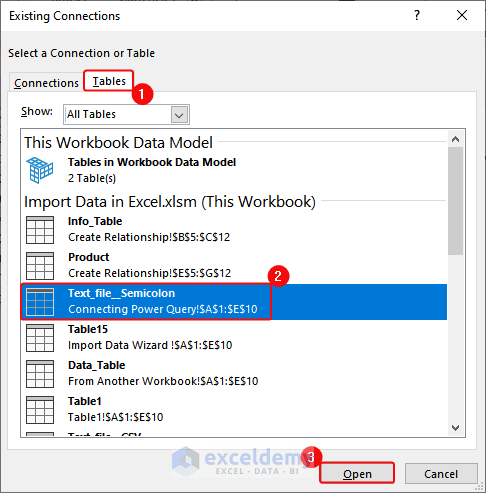
- In the Existing connection dialogue box, click Tables > select the existing table (Text_File_Semicolon). > Click OK.
- In the Import Data dialog box, click Table> Existing Worksheet.
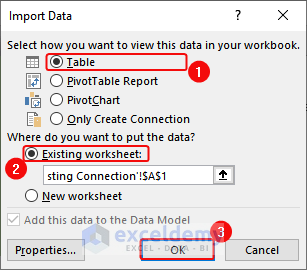
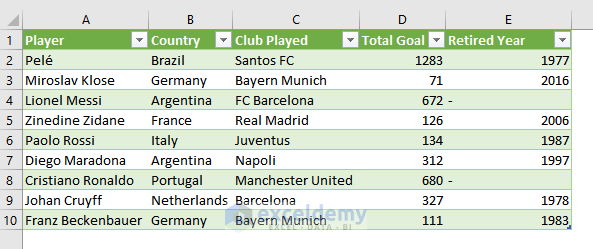
This is the output.
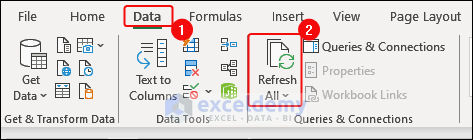
- To update data automatically, click Data > Refresh All.
Method 8 – Importing HTML to Excel
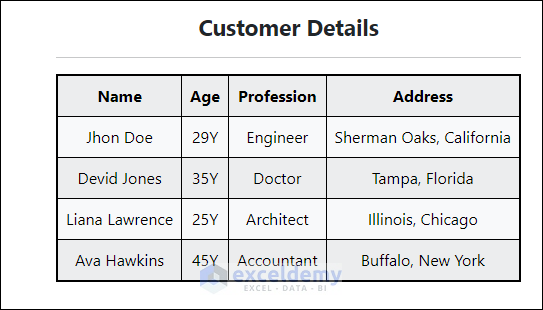
This dataset is the output of your HTML file. To import it:
- Click Data> From File> From Text/CSV.
- In the Import Data dialog box, Click All Files > select the HTML file > Click Import.

- In the navigator box, select the table. > Click Load.
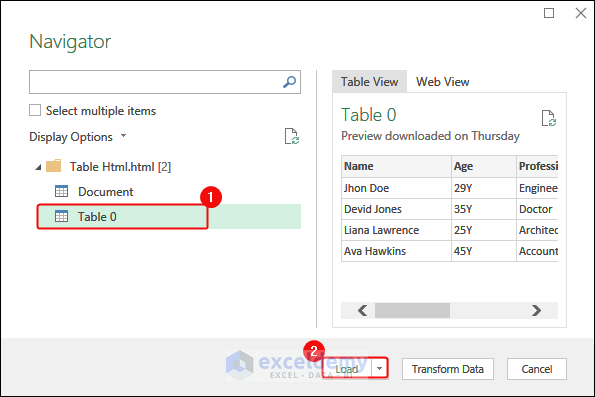
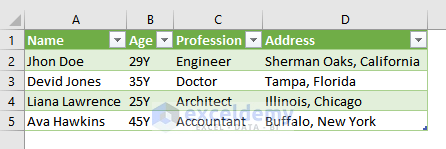
This is the output.
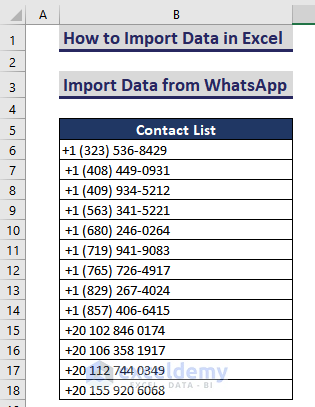
Method 9 – Using the Text to Columns Feature to Import WhatsApp Group Contacts to Excel

There are 311 participants. To import the contacts:
- Go to the web.whatsapp.com website.
- You will see the one-time generated QR code.
- Scan it on your smartphone to connect it to your WhatsApp account.

- You can access the WhatsApp account on the computer.
- Select your WhatsApp group> Right-click “Programming” WhatsApp group.>Click Inspect

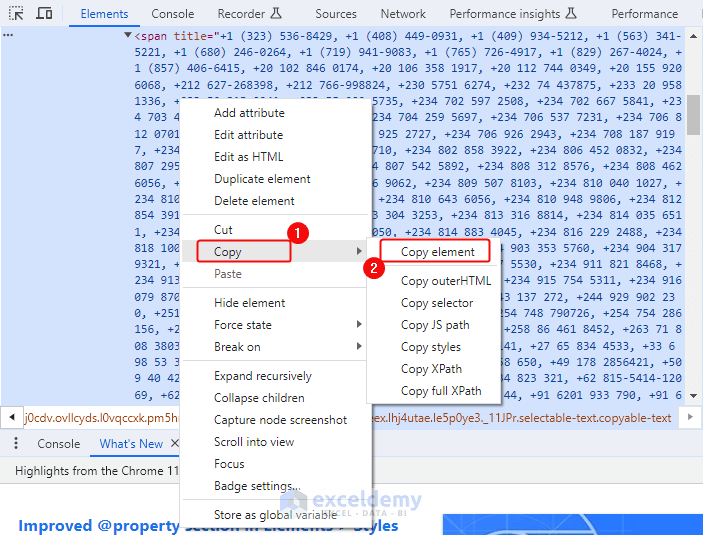
- A window with the back-end codes of your WhatsApp group contacts will be displayed.
- Go to the Elements > Choose Copy> Click Copy element.
- Paste the back-end codes in your Excel sheet.
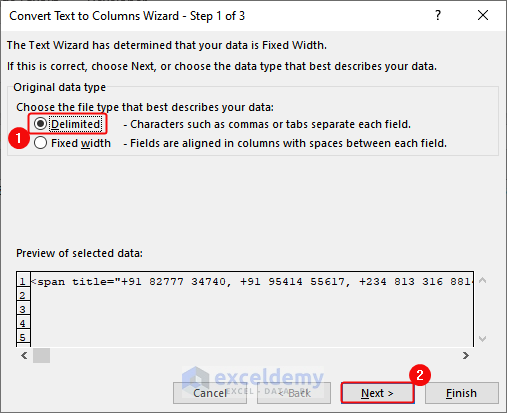
- Select the entire code from the Excel sheet.> Go to Data > Click Text to Columns command.

- Select Delimited > Click Next.
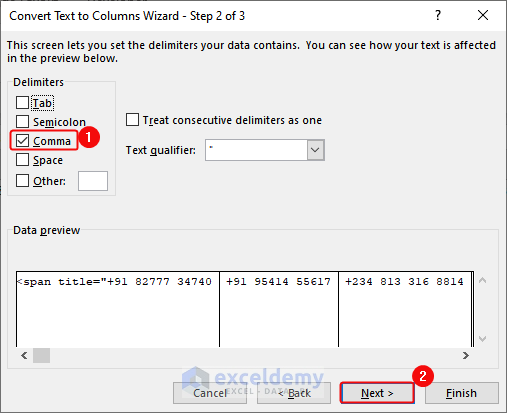
- Select Comma as delimiter> Click Next.
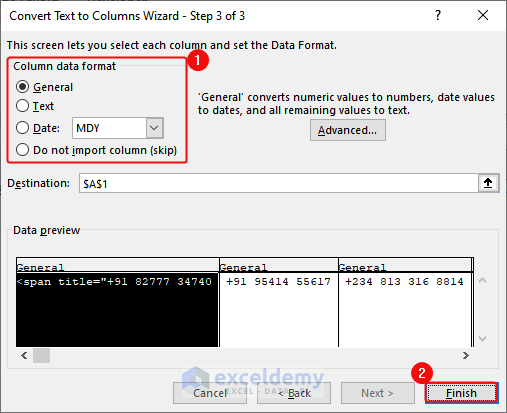
- Select General in Column data format > Click Finish.
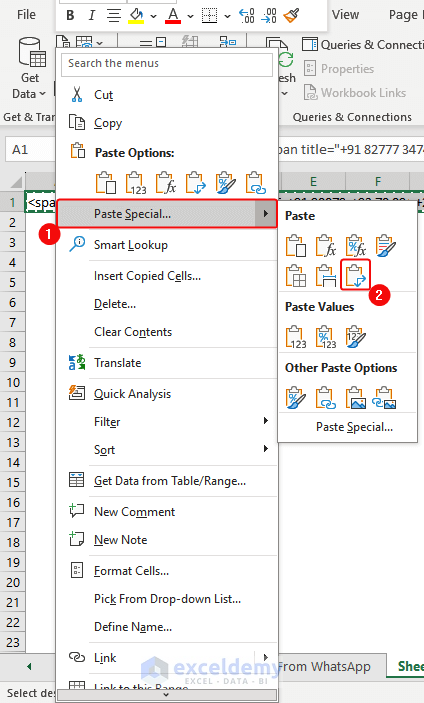
- Select the entire row.> Click Copy
- Right-click the Excel sheet. > Go to Paste Special > Select Transpose and click it.
Tips: You can select an entire row by pressing Ctrl+ Shift+ (→).
This is the output.
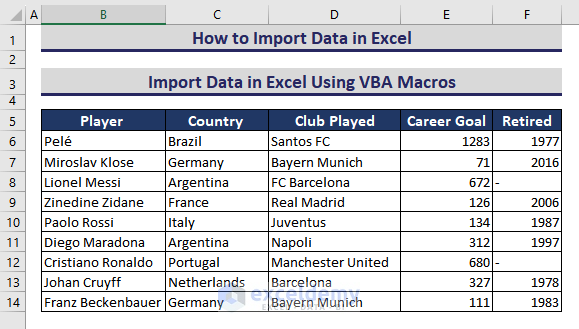
Method 10 – Importing Data in Excel by Using VBA Macros
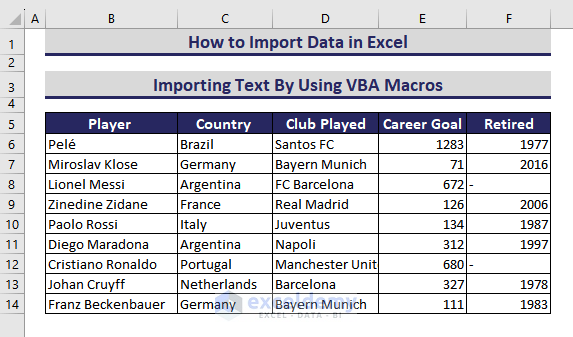
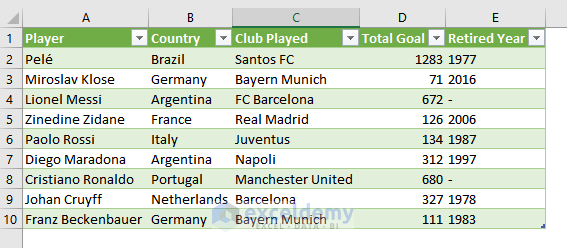
B1:F14 contains the data you want to import.
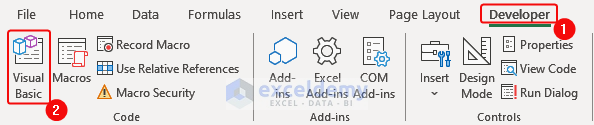
- Go to the Developer tab> Visual Basic.
In the VBA Editor, click Insert> Module. Enter the following code and save the file.
Sub Import_Data_Using_VBA()
Dim Location_of_File As String
Location_of_File = Application.GetOpenFilename
If Location_of_File = "False" Then
Beep
Exit Sub
End If
Application.ScreenUpdating = False
Set Import_Data = Workbooks.Open(Filename:=Location_of_File)
Import_Data.Worksheets(1).Range("B1:F14").Copy
Sheet16.Range("B4").PasteSpecial xlPasteValues
Import_Data.Close
Application.ScreenUpdating = True
End Sub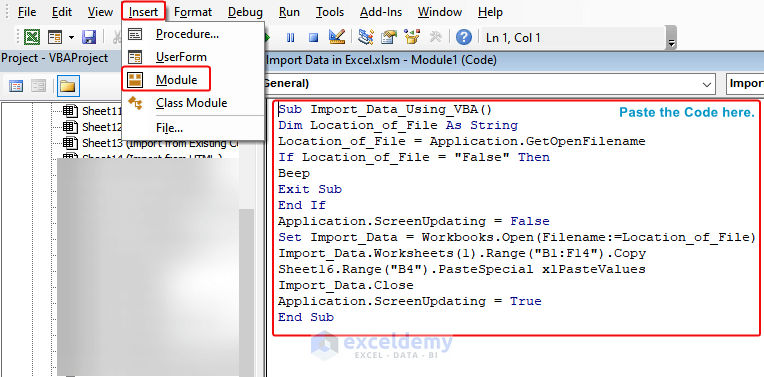
- Press F5 to run the code.
- In Open, select the workbook> Click Open.
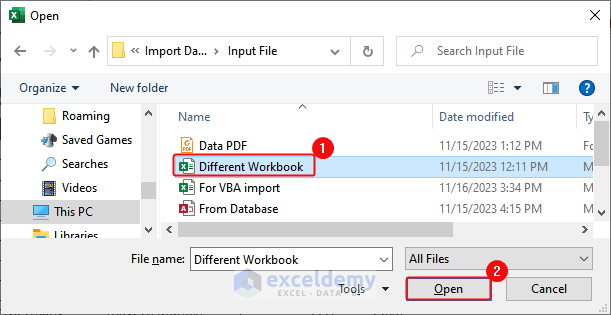
This is the output.
Download Workbook (Input)
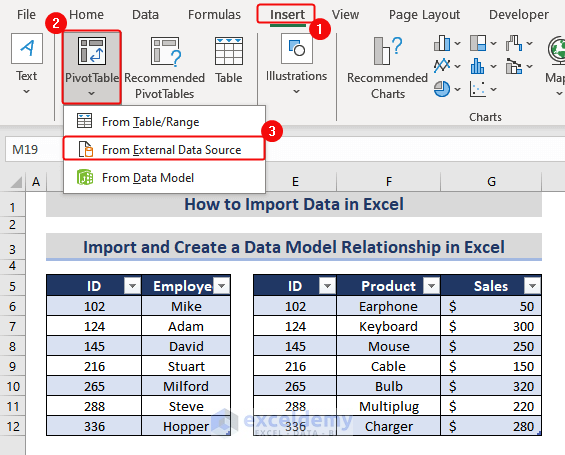
Importing and Creating a Data Model Relationship in Excel
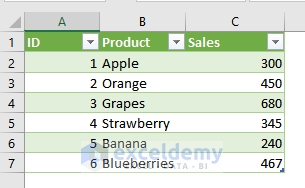
You have two datasets in two different worksheets.
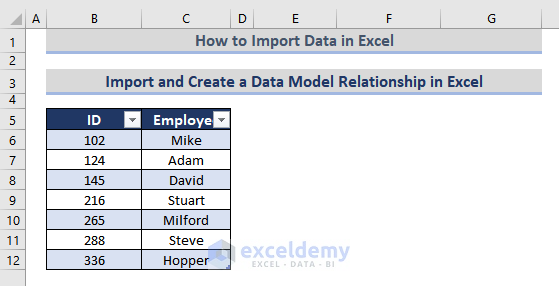
The second is in another worksheet that contains the ID of the employees, sales product, and amount by the employees.
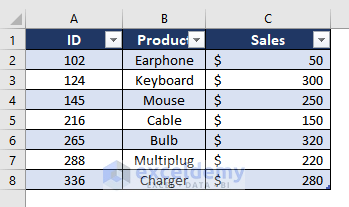
Import the second data table:
- Select the second data table (A1:C8).> Right-click > Click Copy.
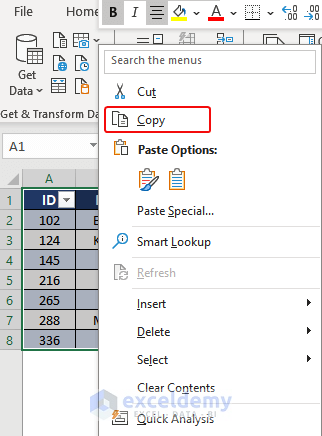
- Place the cursor on E5.> Paste the table.
This will import the table, placing it beside the first table.
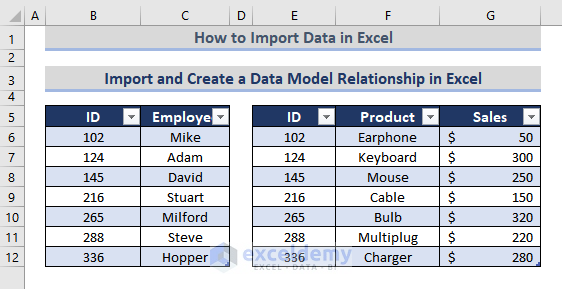
Both tables contain one column in common: ID. To create a relation between them, use the Table Relationship feature.
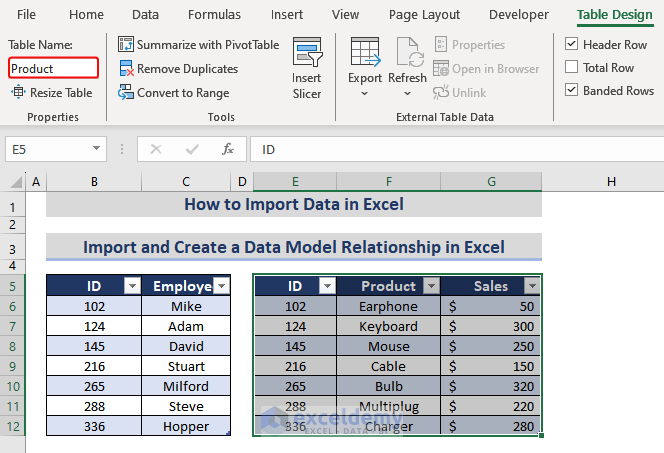
- Select the table> go to the Table Design tab> double-click the Table Name
- Assign a name (Info_Table) to the new table.

- Repeat the steps for the second dataset. Rename the second table (Product)
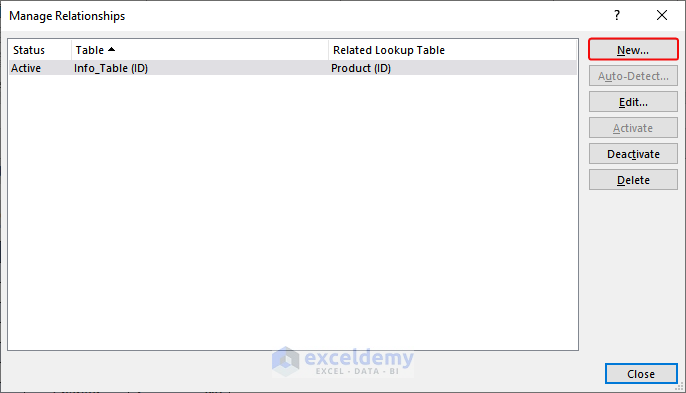
- Select a cell in the first table (Info_Table)> go to the Data tab> select Relationships in the Data Tools group.
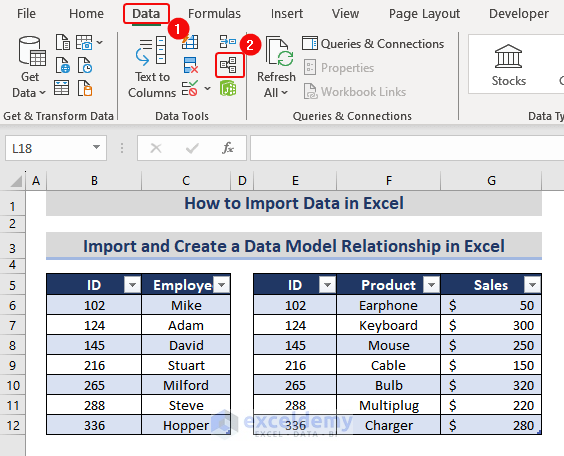
- In the Manage Relationships dialog box, click New
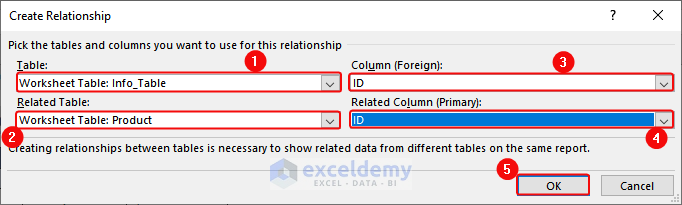
- In the Create Relationship command box, choose
In Table: The first created table (Info_Table)
In Column (Foreign): Common column between the tables (ID)
In Related table: The new table (Product)
In Related Column (Primary): The Common column between the tables (ID)
- Click OK.
- Go to the Insert tab> click Pivot Table> select From External Data Source.
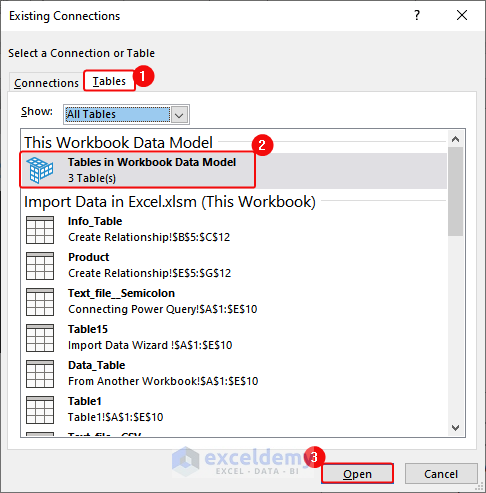
- In the PivotTable from an external source window, click Choose Connection…
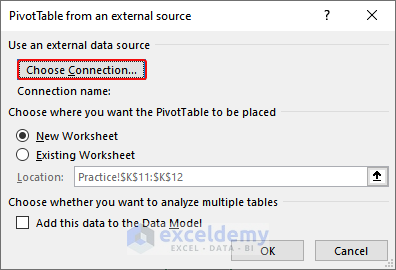
- In Existing Connections, in the Tables group, select Tables. In Workbook Data Model > click Open.
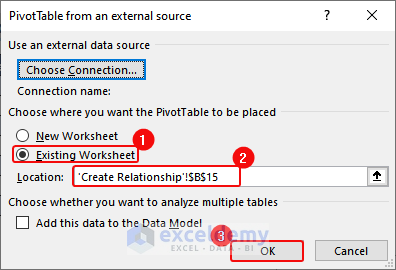
- Click OK to close the PivotTable from an external data source
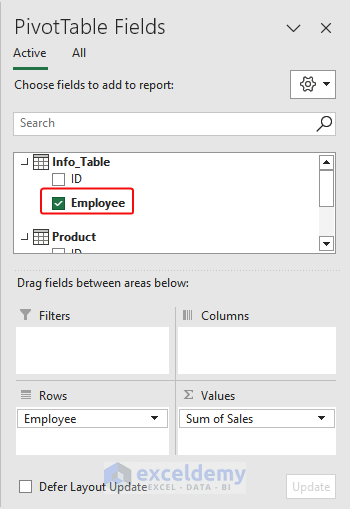
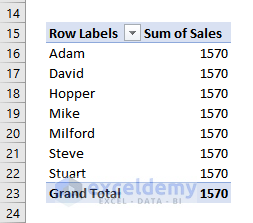
- In Pivot Table Fields, the two tables will be shown: the Info table has two columns: ID, and Employee; and the Product table has 3 columns: ID, Product, and Sales. You want to create relationships by connecting Employee in the Info_Table and Sales in the Product table.
- Drag Employee from the Info group to the Rows field, and enter Sales in the Values field.
- Click Auto-Detect to create Relationships.
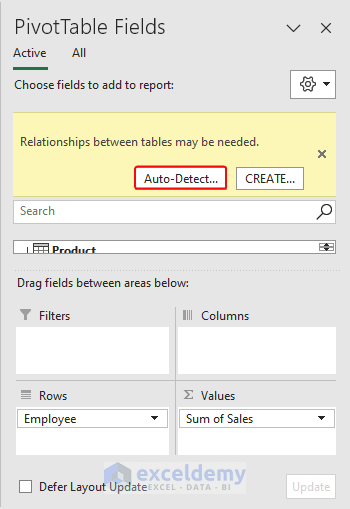
This is the output.
Download Workbook (All Methods)
Importing Data in Excel: Knowledge Hub
<< Go Back to Learn Excel
Get FREE Advanced Excel Exercises with Solutions!
