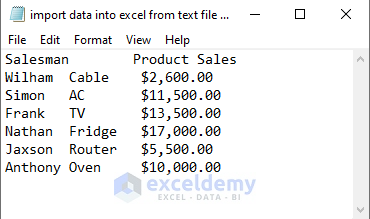
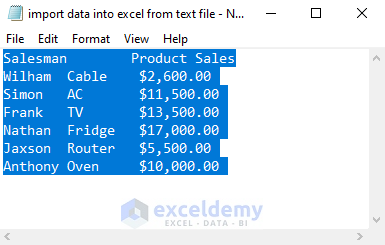
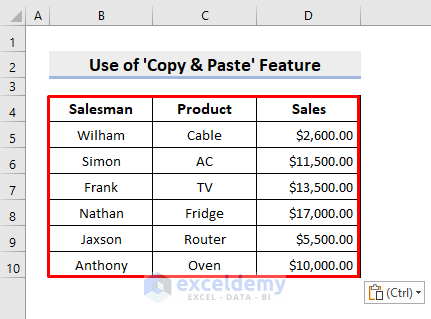
We’ll use the following data present in a text file as our source. The data contains the Salesman, Product, and Sales information of a company. We’ll import this information into an Excel worksheet.
How to Import Data from a Text File into Excel: 3 Easy Ways
Method 1 – Import Data from a Text File by Opening It in Excel
Steps:
- Open Excel.
- Select File.
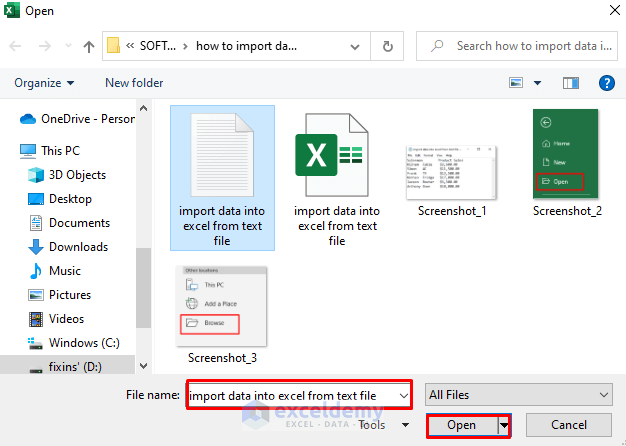
- In the File window, click Open.

- Choose Browse.

- A dialog box will pop out.
- Select your desired text file and press Open.
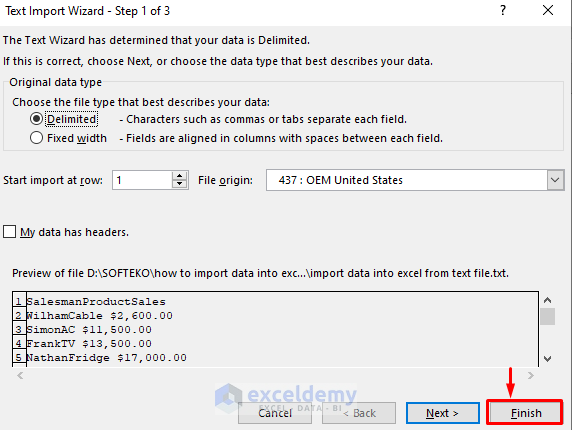
- The Text Import Wizard will appear.
- Select Finish.
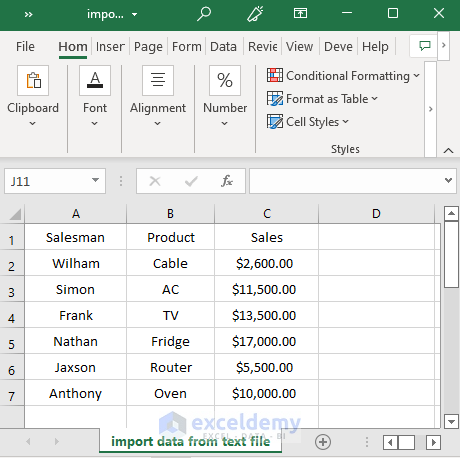
- You’ll see the text file information in a new Excel workbook. If the file has a delimiter such as space, vertical bar, or comma between values in a row, Excel will immediately separate those values into columns.
Read More: How to Convert Notepad to Excel with Columns
Method 2 – Use the Excel Power Query Editor to Include Text File Data
Steps:
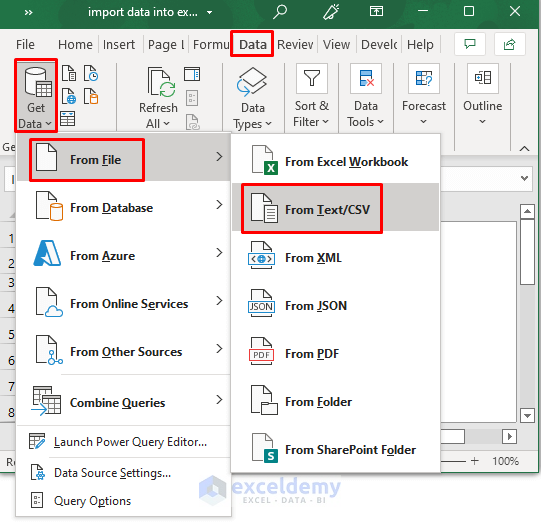
- Go to the Data tab.
- Select Get Data.
- Choose From File.
- Click on From Text/CSV.
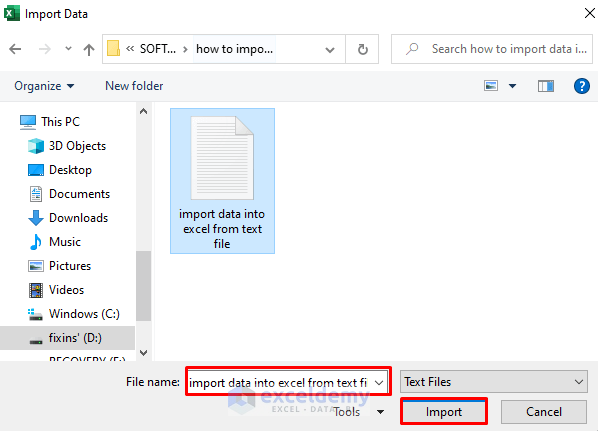
- The Import Data dialog box will emerge.
- Select the text file where you have your required information.
- Press Import.
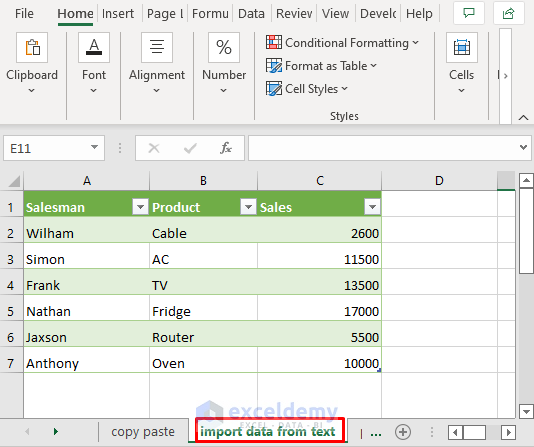
- A new window will pop out where you’ll see the text file information.
- Press Load.

- This’ll return a new Excel worksheet with the data from the text file.
Method 3 – Apply Copy and Paste for Importing Data from a Text File
Steps:
- Open the Text File.
- Press Ctrl + A to select all the information.
- Press Ctrl + C to copy the data.
- Go to the Excel worksheet where you want the information to appear.
- Select the range B4:D10.
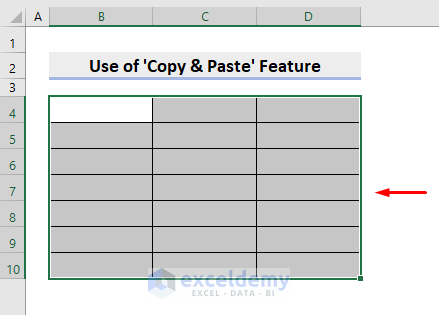
- Press Ctrl + V to paste the copied data.
Read More: How to Import Text File with Multiple Delimiters into Excel
Refresh Imported Data in Excel
Steps:
- Right-click on the imported data. A list of options will appear.
- Select Refresh.
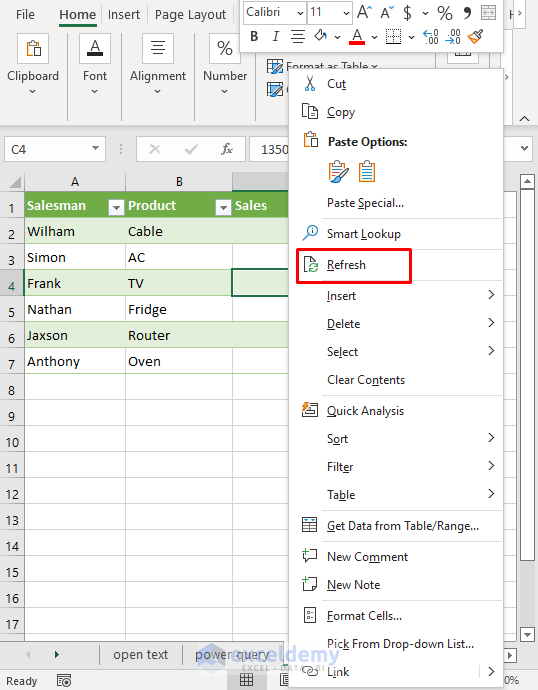
- This’ll return the refreshed data.
Download the Practice Workbook
Related Articles
<< Go Back to Import Text File to Excel | Importing Data in Excel | Learn Excel
Get FREE Advanced Excel Exercises with Solutions!
