Sometimes your dataset might be stored in text (.txt) format. In Windows, text files are usually accessed using Notepad, a dedicated text editor application owned by Microsoft. Let’s explore how to convert from Notepad to Excel with columns.
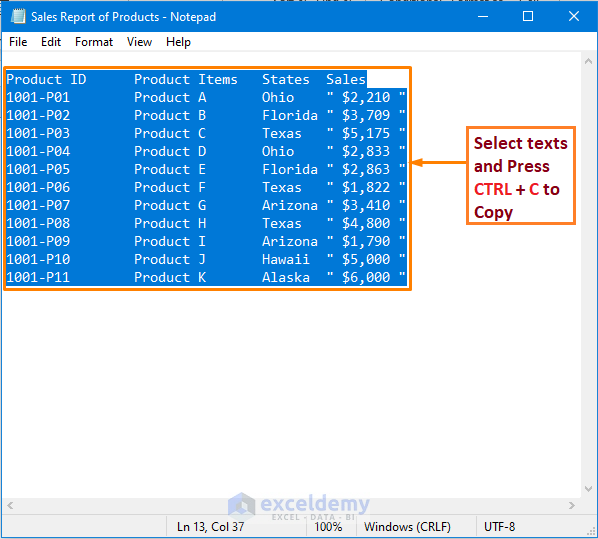
To demonstrate, we’ll use a Sales Report text file, which contains some Product Items along with Product ID, States, and Sales.
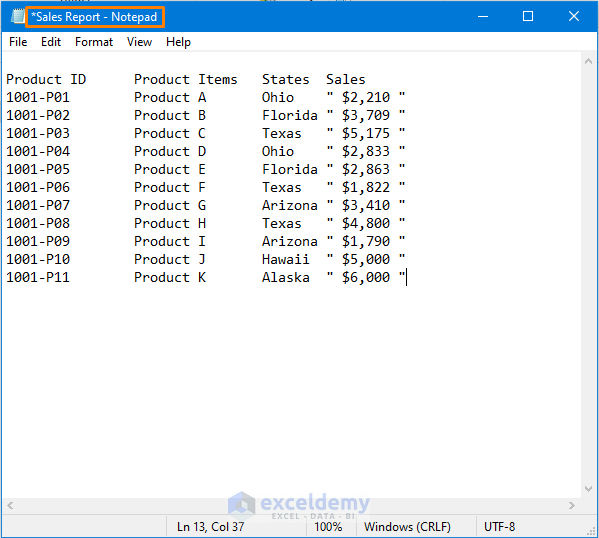
Note: The above text is tab-delimited, which means that the tab is acting as the separator.
Method 1 – Opening Notepad Directly
Step 1 – Open Notepad
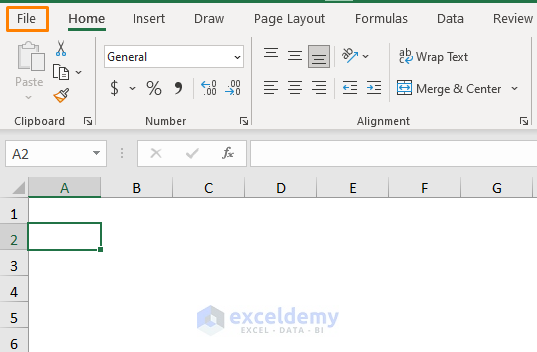
➤ Create a blank workbook and click File > Open.
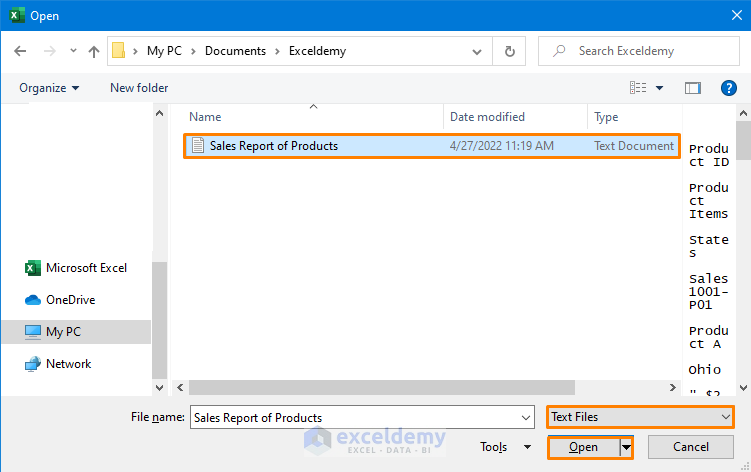
➤ Navigate to the file location where the text file is located.
➤ Click on the text file. If you don’t see the file, make sure that Text Files is selected as the Format.
➤ Click Open.
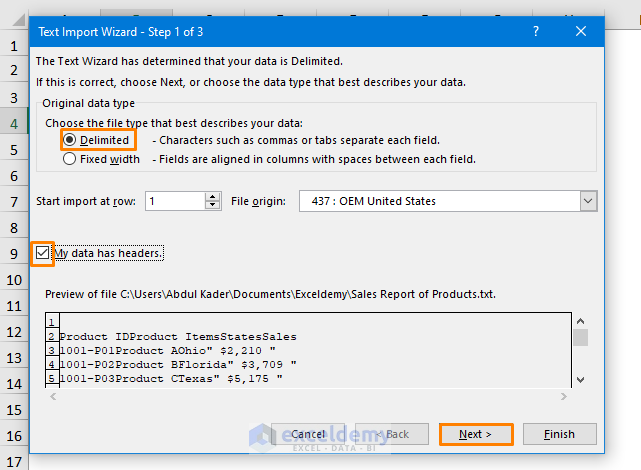
Step 2 – Using the Text Import Wizard
A dialog box namely Text Import Wizard opens.
➤ Check the Delimited option.
➤ Check My data has headers.
➤ Click Next.
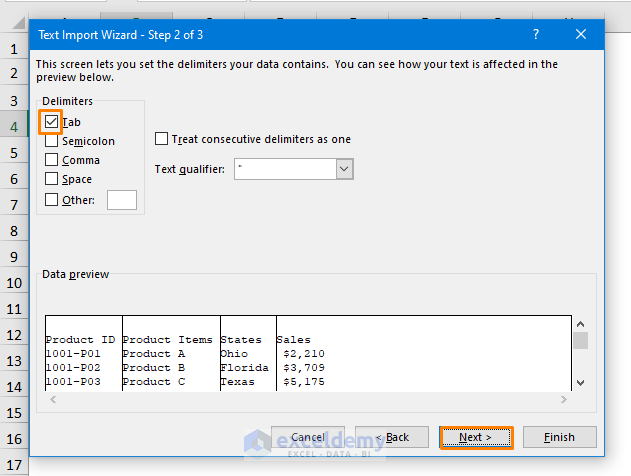
➤ Select Tab under Delimiters.
➤ Click Next.
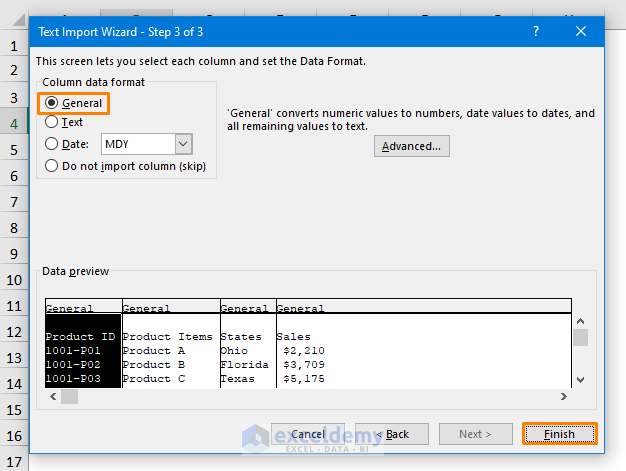
➤ Select General as Column data format.
➤ Click Finish.
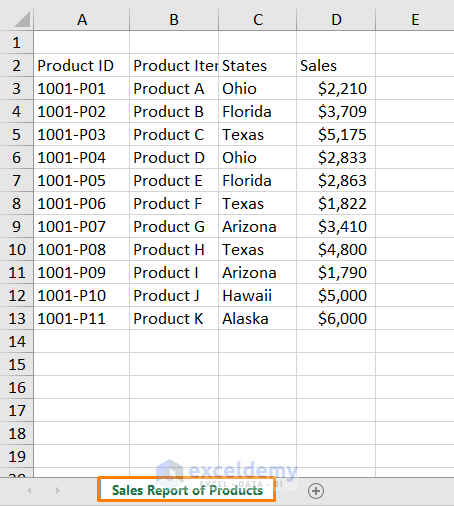
The text file is imported into Excel, with the data accurately transcribed into Columns.
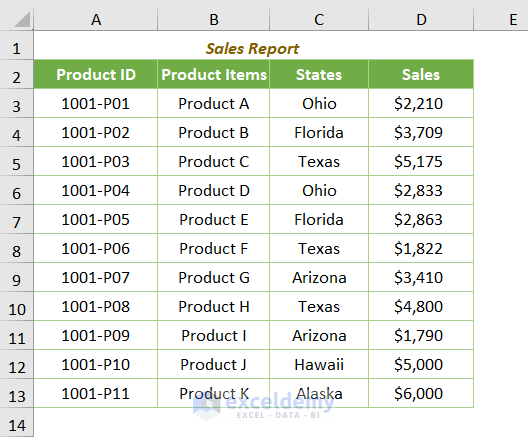
After changing the formatting as desired, the output is as follows:
Read More: How to Convert Text File to Excel Automatically
Method 2 – Copy and Paste Text from Notepad
The downside of Method 1 is the inability to change the location in the worksheet where the imported data will be placed.
This Method allows the location of the imported data to be specified, for example, starting from cell B4.
STEPS:
➤ Open the text file in Notepad.
➤ Select the text to be imported and press CTRL + C to copy.
➤ In the Excel worksheet, click cell B4 and press CTRL + V to paste.
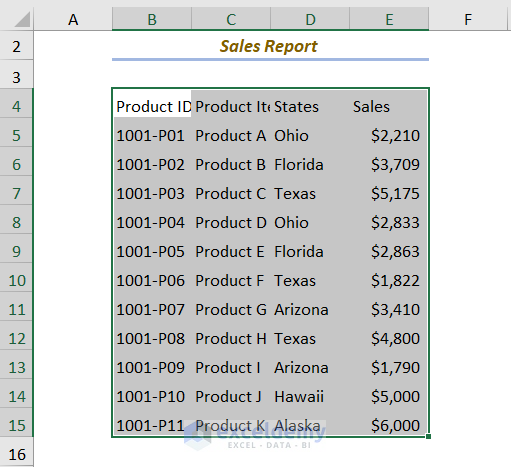
The output is as follows:

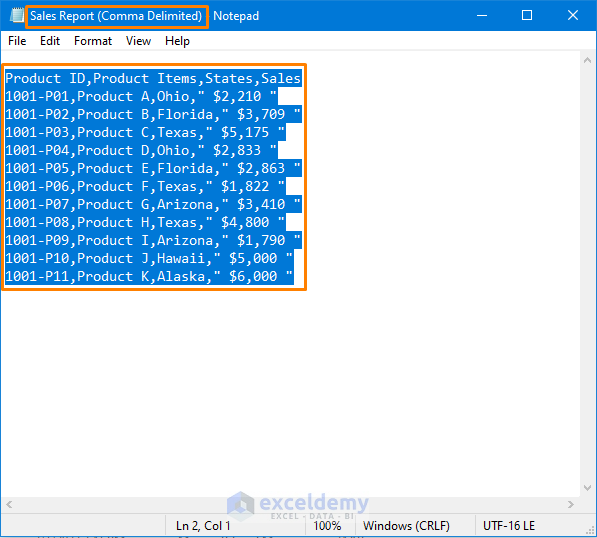
Method 3 – Import Comma Delimited Text from Notepad
One of the drawbacks of the Method 2 is that it doesn’t split into columns if the text uses a comma delimiter. Here’s how to import comma delimited text:
Step 1 – Copy and Paste the Texts
➤ Open the text file in Notepad.
➤ Select and copy the text to be imported.
➤ Paste the copied text into cell B4 as in Method 2.
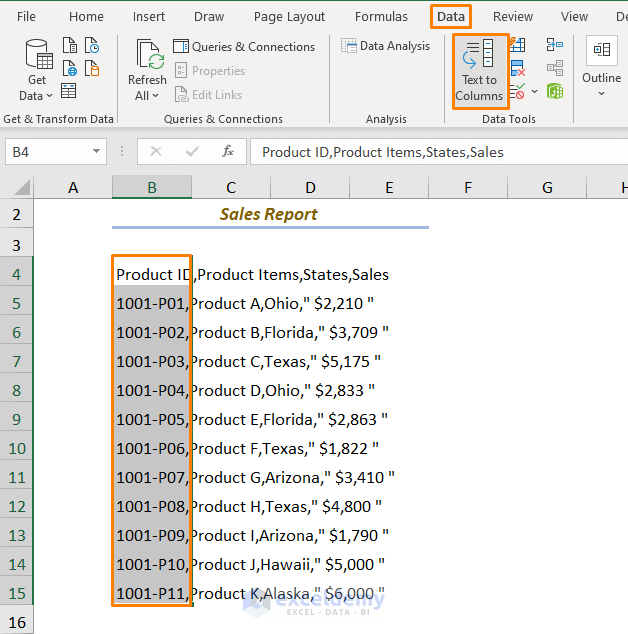
➤ The text is imported but without separation into columns.
Step 2 – Use Text to Columns Feature
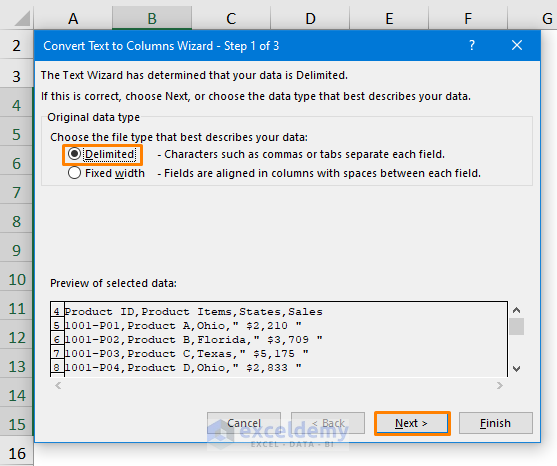
➤ Click Data > Data Tools > Text to Columns. A dialog box opens.
➤ Select the Delimited data type.
➤ Click Next.
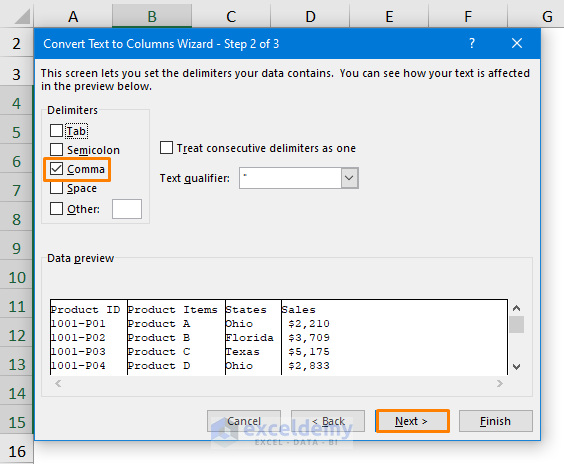
➤ Select Comma under Delimiters.
➤ Click Next.
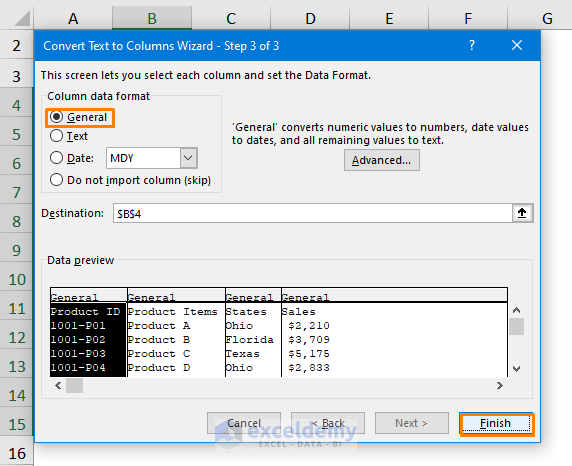
➤ Keep the General data format checked.
➤ Click Finish.
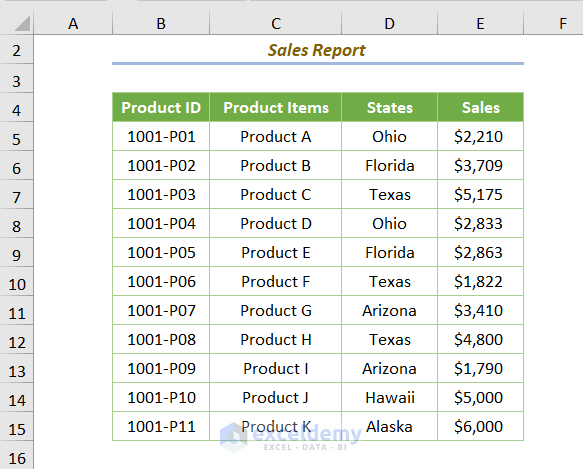
The imported text is split into Columns.
Method 4 – Using Power Query
Power Query (a data transformation and preparation engine in Excel) is another way of easily importing text data into Excel.
STEPS:
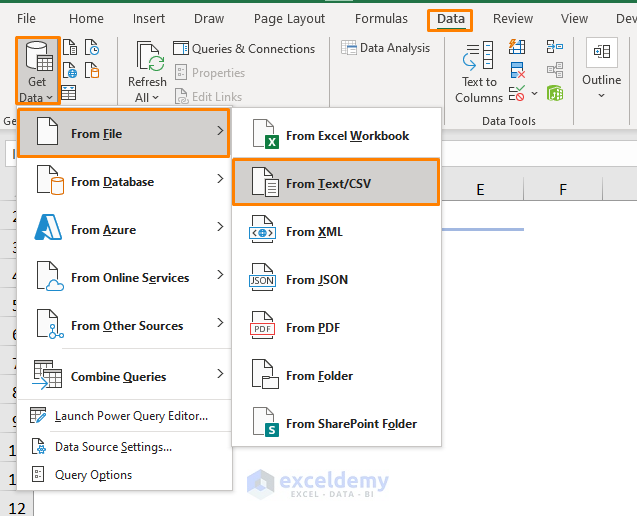
➤ Click the Data tab > Get Data > From File > From Text/CSV.
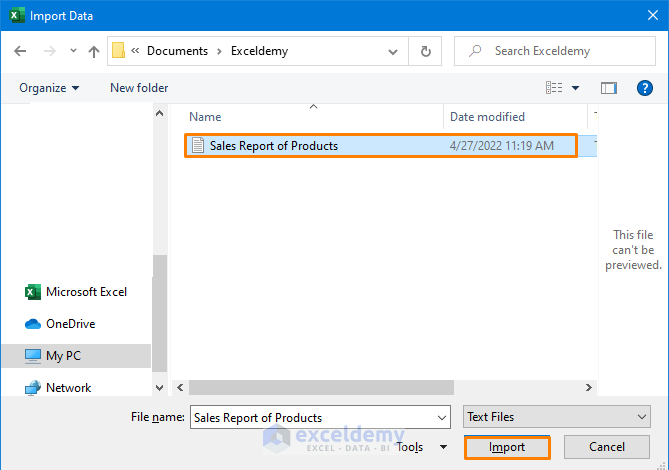
➤ Click the text file.
➤ Click the Import button.
➤ A preview of the output appears, where the Tab is selected as the Delimiter by default.
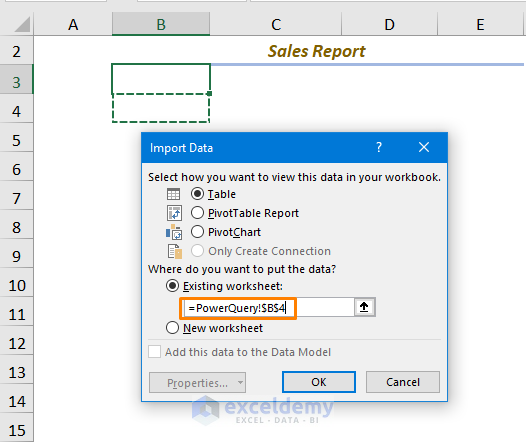
➤ Select the Load to option to specify a specific import location.

➤ Specify the location (e.g. =PowerQuery!$B$4).
➤ Click OK.
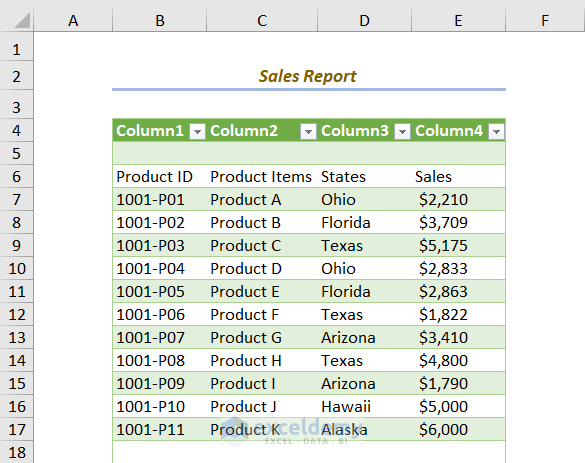
The text is imported separated into Columns.
Method 5 – Using VBA Code
STEPS:
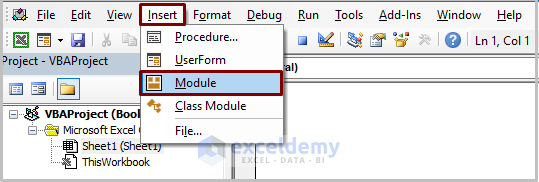
➤ Open a VBA module by clicking Developer > Visual Basic (or pressing ALT + F11).

➤ Go to Insert > Module.
➤ Copy the following code into the newly created module:
Sub ConvertNotepadToExcel()
Dim Txt As String
Open "E:\Exceldemy\Sales Report.txt" For Input As 60
Range("B4").Select
Do Until EOF(60)
Input #60, Txt
ActiveCell.Value = Txt
ActiveCell.Offset(1, 0).Select
Loop
Close (60)
End Sub
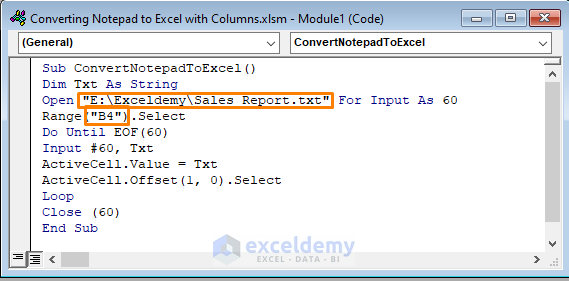
⧬ Two things that you have to change:
- Specify the path: Specify the path (file location) of the existing text file eg E:\Exceldemy\Sales Report.txt.
- Select the output cell: Specify the location where the converted data will be placed, eg cell B4.
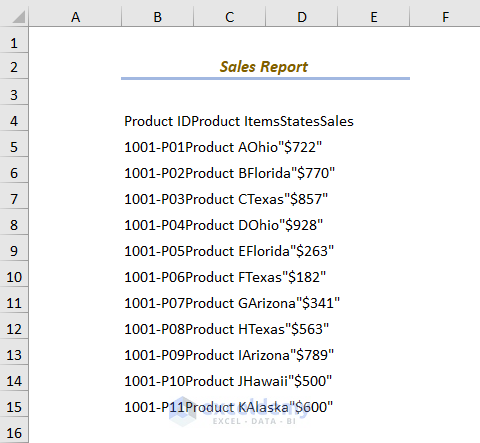
After running the code (press F5), the following output is returned:
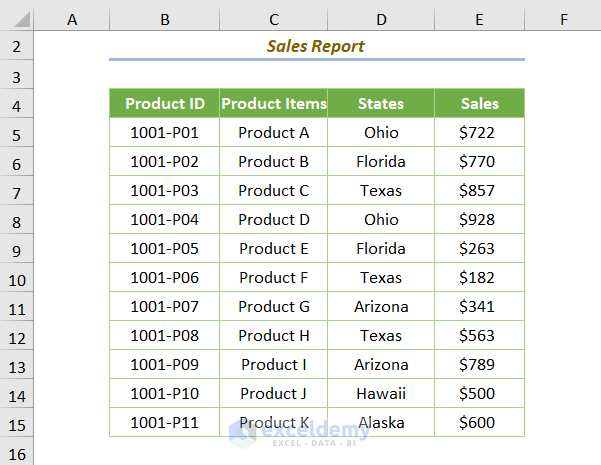
After using the Text to Columns feature detailed in step 2 of Method 3 and formatting, the above output will display as follows:
Read More: VBA Code to Convert Text File to Excel
Download Practice Workbook
Related Articles
- How to Import Text File with Multiple Delimiters into Excel
- How to Import Data from Text File into Excel
<< Go Back to Import Text File to Excel | Importing Data in Excel | Learn Excel
Get FREE Advanced Excel Exercises with Solutions!
