If your dataset has only outside borders and doesn’t contain borders in every row then you won’t get borders at the page breaks after printing. So it may look weird or unusual. But no worries! Excel has some tricky ways to do it. This tutorial will provide you with 2 quick methods to print borders at page break in Excel.
How to Print Borders at Page Break in Excel: 2 Quick Ways
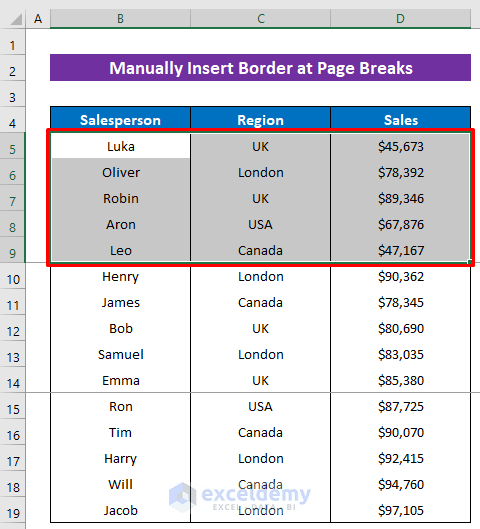
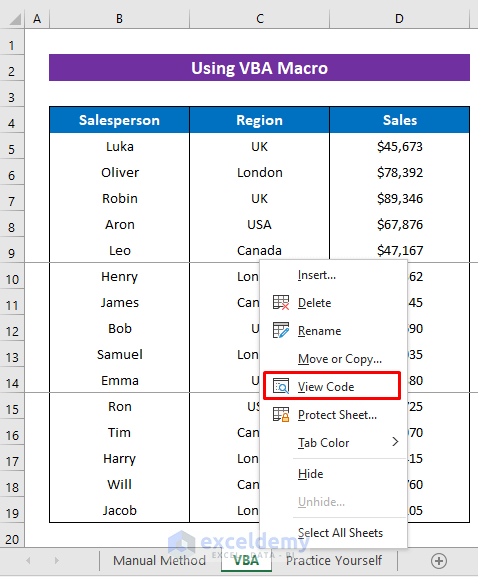
First thing first, let’s get introduced to our dataset that represents some salesperson’s sales in different regions. Our dataset has two page breaks after rows 9 and 14.

1. Manually Insert Borders at Page Break Before Printing
The first easy solution is to insert borders at the page breaks using the Borders command. So, if we insert the bottom or outside borders, we’ll get the borders at page breaks after printing. However the fact is that this method is not feasible for a long dataset. You will have to follow the second method for your long dataset.
Steps:
- Firstly, select the rows before the first page break.
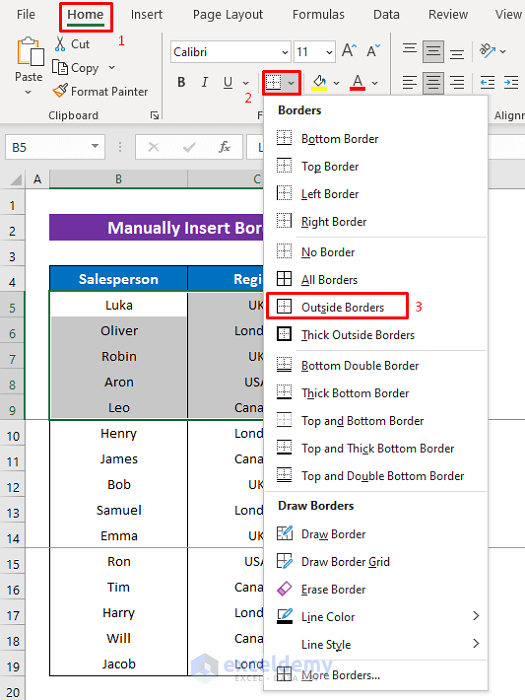
- After that, click as follows: Home > Borders > Outside Borders.
Also, you can choose the bottom border too.
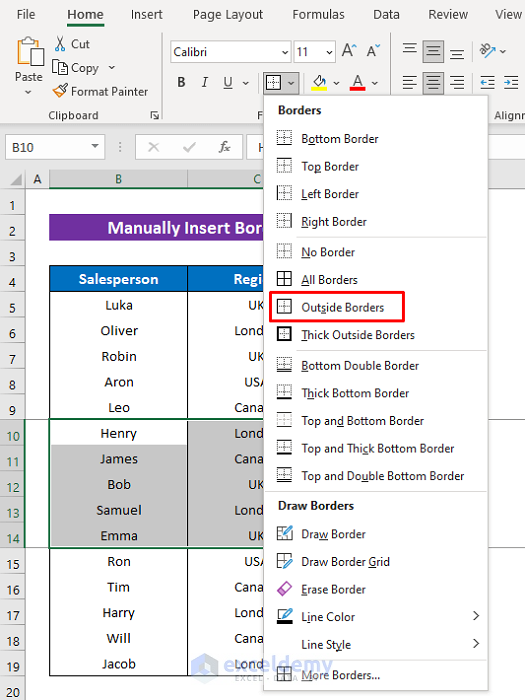
- Select the next rows before every next page break and follow the same previous step to add the border for each page.
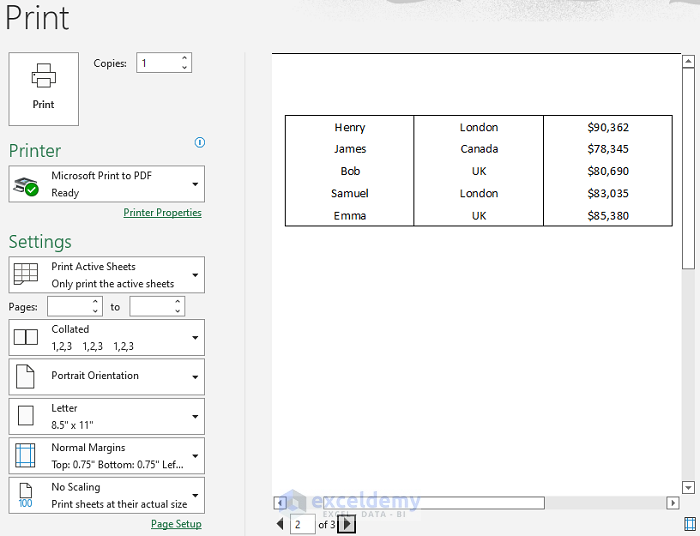
Then have a look at the print preview, the bottom border at the page break of the first page is visible now.

Here’s the second page.
Read More: How to Insert a Page Break in Excel
2. Embed Excel VBA to Print Borders at Page Break
When you have a large dataset, there is no alternative better way without using Visual Basic for Applications (VBA). It’s easy to apply and saves a lot of time. But keep in mind that the codes will only run in sheets, not in modules. You will have to keep the codes in the sheet where your dataset is.
Steps:
- Right-click on the sheet title.
- Later, select View Code from the context menu.
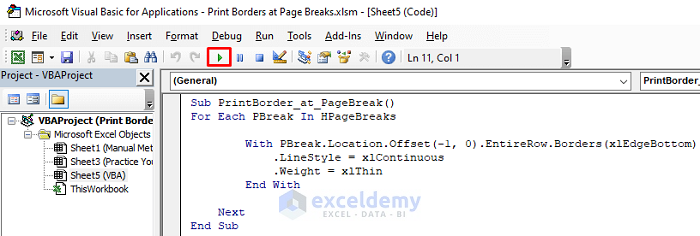
Soon after you will get the VBA window for that sheet.

- Next, type the following codes in it-
Sub PrintBorder_at_PageBreak()
For Each PBreak In HPageBreaks
With PBreak.Location.Offset(-1, 0).EntireRow.Borders(xlEdgeBottom)
.LineStyle = xlContinuous
.Weight = xlThin
End With
Next
End Sub- After that, just press the Run icon to run the codes.
Code Breakdown:
- First, I created a Sub procedure- PrintBorder_at_PageBreak().
- Then the For Each statement will find every horizontal page break.
- Later, Location.Offset(-1, 0).EntireRow.Borders(xlEdgeBottom) will add a bottom border at every page break.
Now see at the print preview, a horizontal border is added at the page break of the first page. You will get the border in every page break like the image below.

Here’s the second page with a border at the page break.

Read More: How to Insert Page Break Based on Cell Value with Excel VBA
Download Practice Workbook
You can download the free Excel workbook from here and practice on your own.
Conclusion
That’s all for the article. I hope the procedures described above will be good enough to print borders at the page breaks in Excel. Feel free to ask any question in the comment section and please give me feedback.
Related Articles
- How to Insert Multiple Page Breaks in Excel
- How to Insert Page Break Between Rows in Excel
- How to Insert Page Break Between Rows 39 and 40 in Excel
- How to Use Page Break in Excel
<< Go Back to Page Break | Page Setup | Print in Excel | Learn Excel
Get FREE Advanced Excel Exercises with Solutions!

thank you so much. i didi method 1 and my problem solved