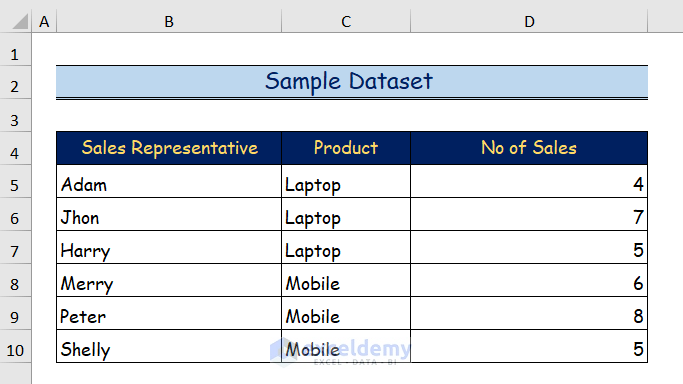
In this article, we will demonstrate 4 effective ways to insert page breaks in Excel. We’ll use the sample dataset below to explain our methods.
Method 1 – Using Page Layout to Insert a Page Break in Excel
The simplest way to insert a page break in Excel is to use the Page Layout tab to access the Page Break command. This method can be used to insert both horizontal and vertical page breaks.
1.1 – Horizontal Page Break
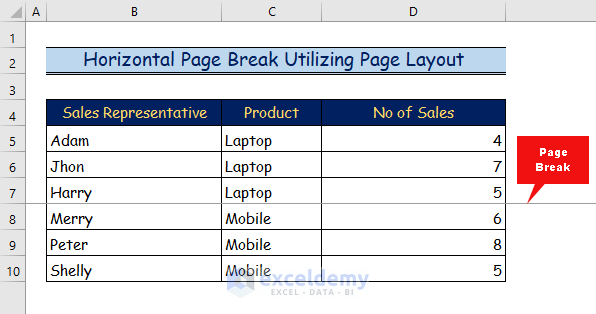
Suppose we want a page break between row 7 and row 8.
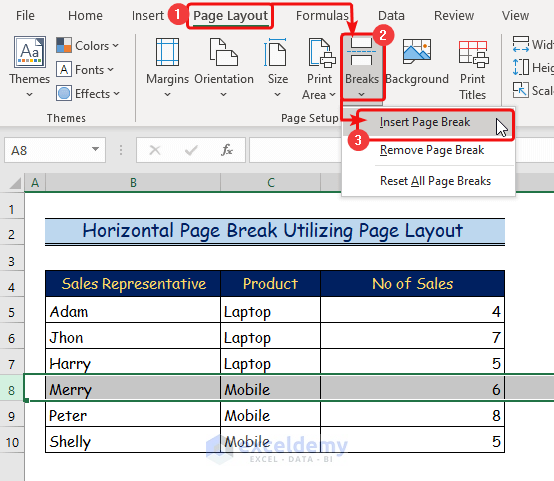
Steps:
- Select row 8.

- Go to the Page Layout tab.
- Click on the Break button.
- From the drop-down list, select the Insert Page Break command.
A horizontal page break is inserted between row 7 and row 8 as shown in the image below.
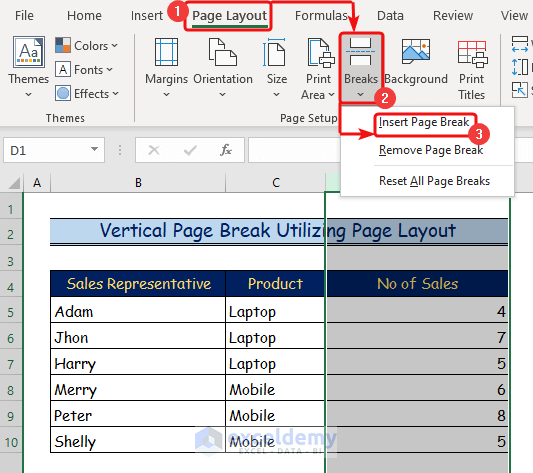
1.2 – Vertical Page Break
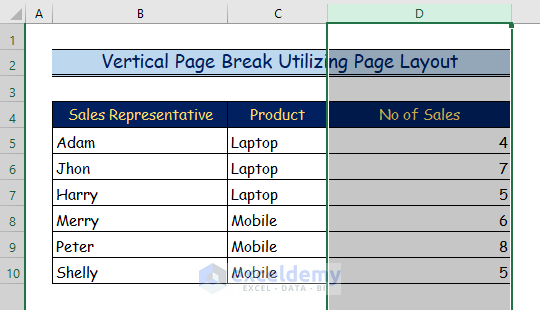
Suppose we want to insert a vertical page break between column C and column D.
Steps:
- Select column D.
- Go to the Page Layout tab.
- Click on the Break button.
- From the drop-down list, select the Insert Page Break command.
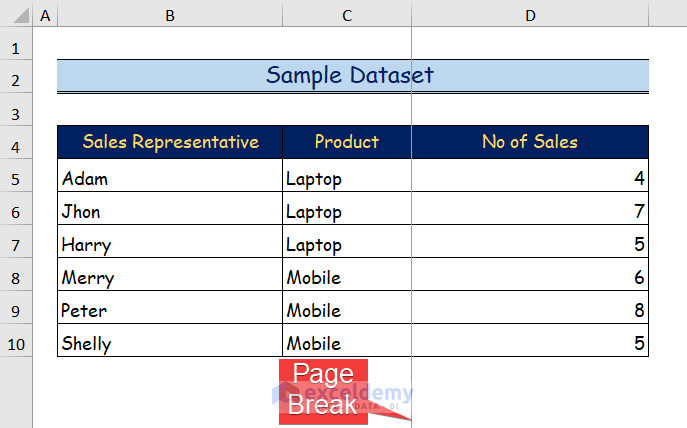
The vertical page break is visible between column C and column D.
Read More: How to Insert Multiple Page Breaks in Excel
Method 2 – Using the Subtotal Command to Insert a Page Break
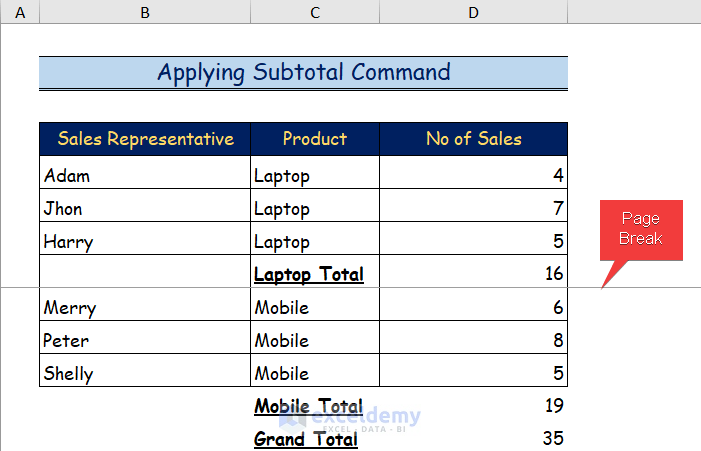
A different approach is to use the Subtotal command. We’ll create groups from the Product column in our dataset and add a page break between them.
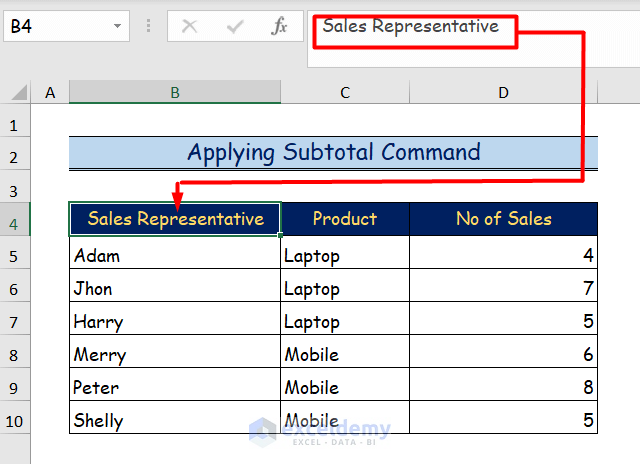
Steps:
- Select any cell in the dataset, for instance cell B4.
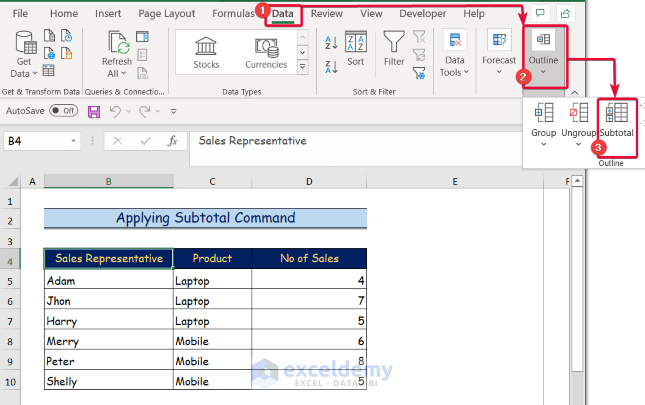
- Go to the Data tab on the ribbon.
- Go to the Outline group.
- From the drop-down list, select the Subtotal command.
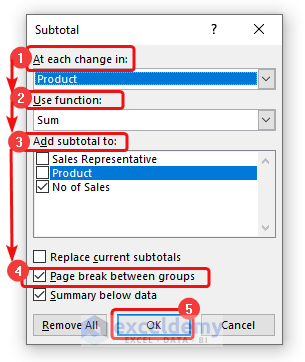
The Subtotal dialog box will appear.
- Go to the At Each Change in section.
- From the drop-down list, select the column that is sorted or arranged in an order in your dataset.
In our case, the Product column is clearly sorted with all the Laptop entries followed by Mobile entries. This column will provide our subtotal group. If your dataset is not sorted, sort it using the Sort command.
- In the Use Function box, select any function, for example the SUM function.
- For Add Subtotal to, select No of Sales to show the subtotal of the two distinct product’s sales.
- Check Page break between groups.
- Click OK.
A page break separating the two groups in our dataset is visible.
Read More: How to Insert Page Break Between Rows in Excel
Method 3 – Using Excel Options to Insert a Page Break in Excel
In this method, we will use Excel Options to insert a page break and the Quick Access Toolbar to customize it.
3.1 – Horizontal Page Break
Using the Excel Options customization box, we will insert a horizontal page break into our dataset.
Steps:
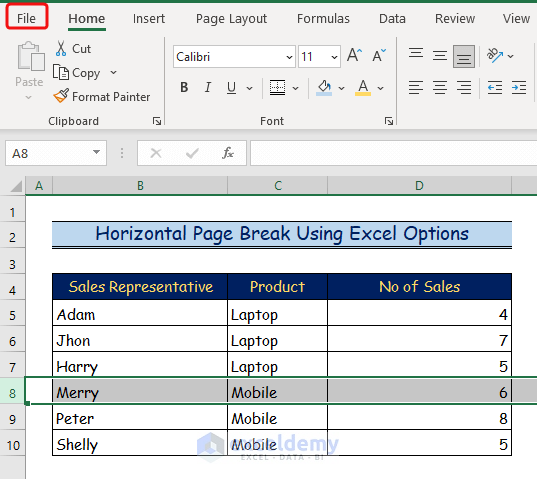
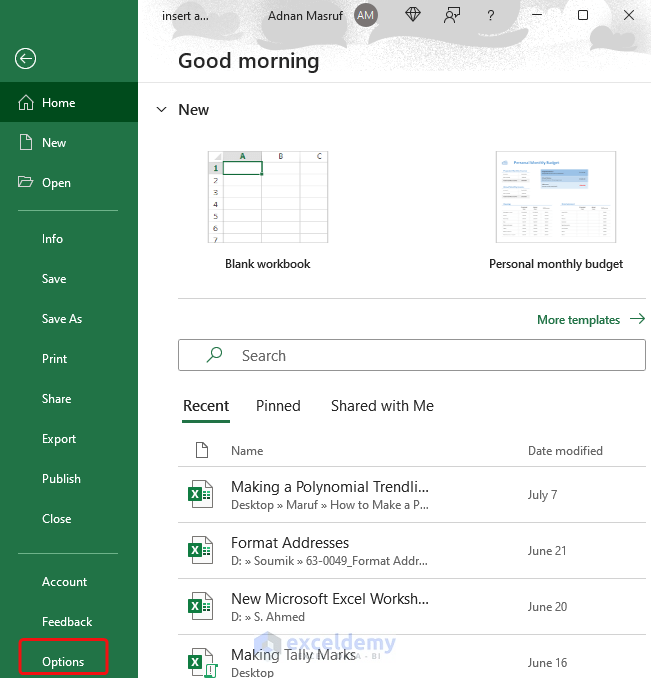
- Click on the File tab on the ribbon.
- From the side ribbon, select the Options tab.

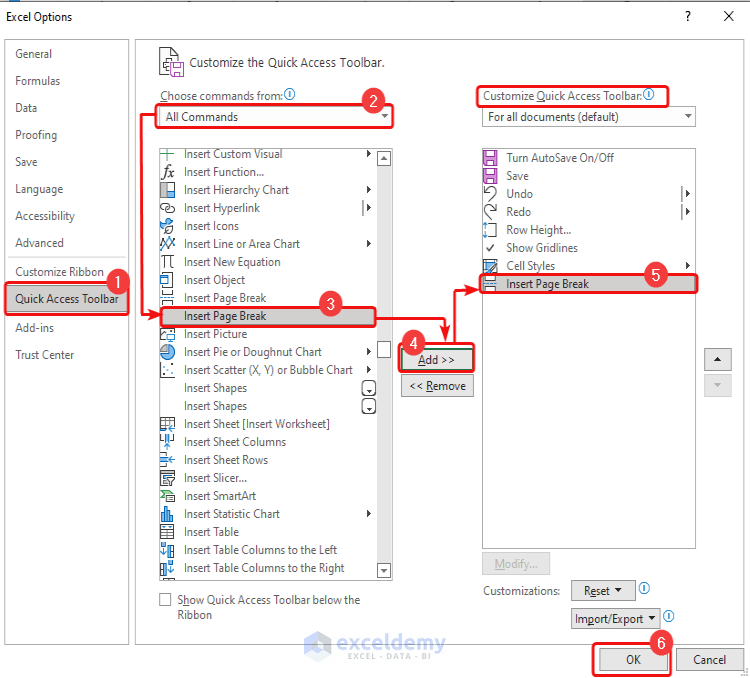
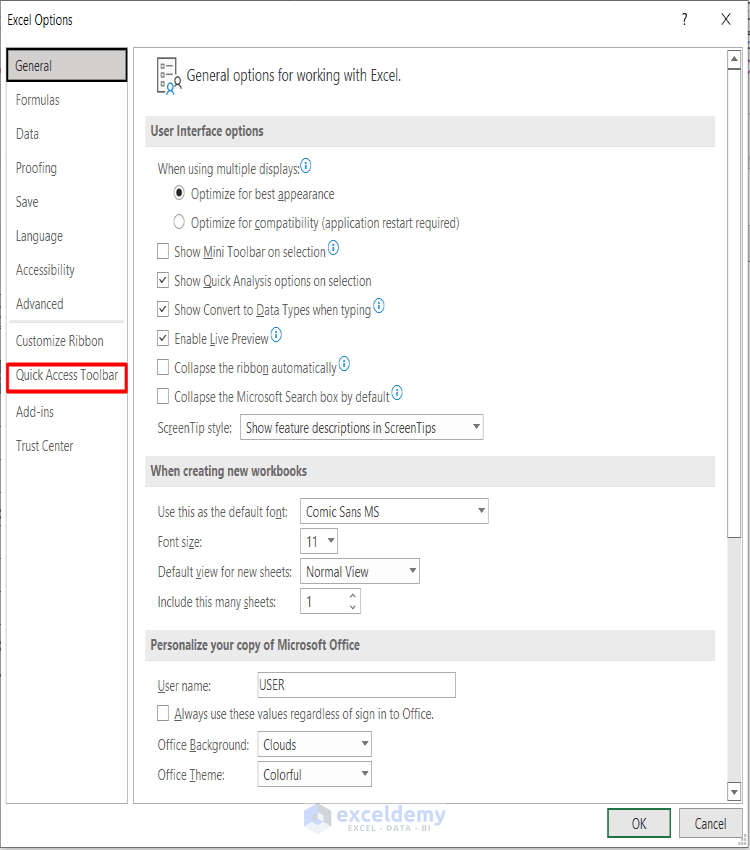
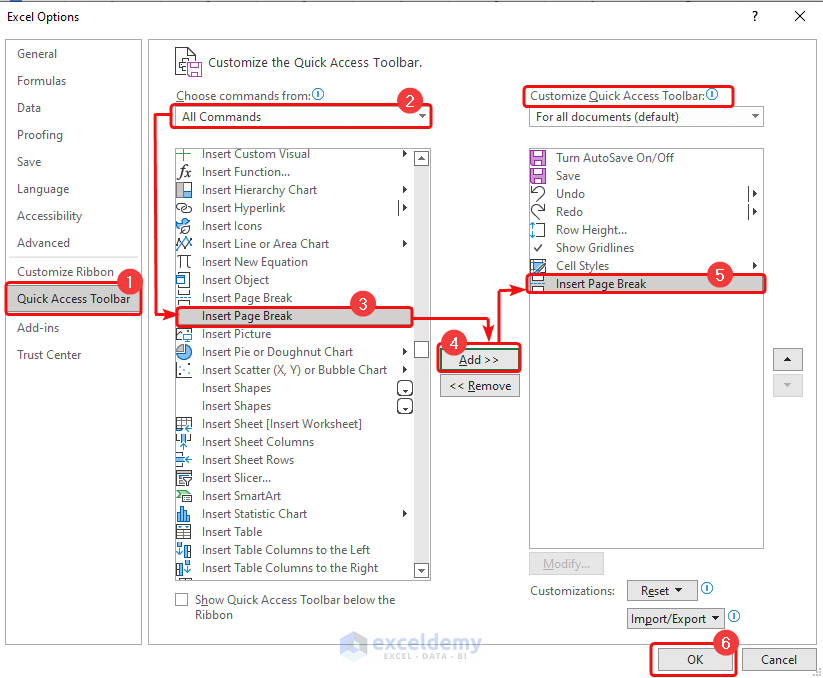
- In the Excel Options dialog box, click on the Quick Access Toolbar option.

- In the Quick Access Toolbar, go to the box under the Choose commands from option.
- Select the All Commands option.
- From the command list below, select the Insert Page Break command.
- Click on Add.
The Insert Page Break command will be added under the Customize Quick Access Toolbar box.
- Click OK.
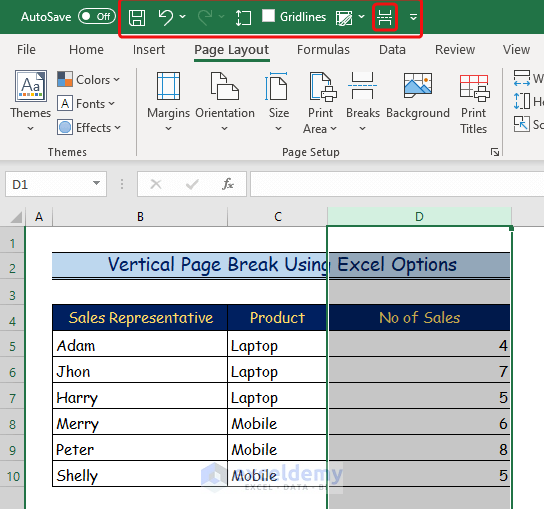
- Select the row where the page break will be inserted (row 8).
- Go to the top right corner of the workbook where the Quick Access Toolbar is located
- From the Quick Access Toolbar, click on the icon indicating Breaks.
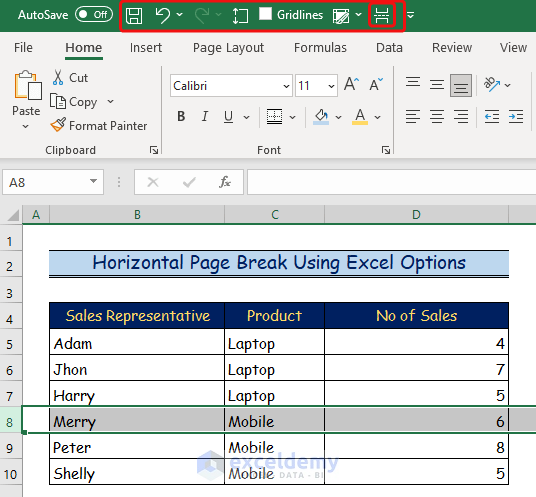
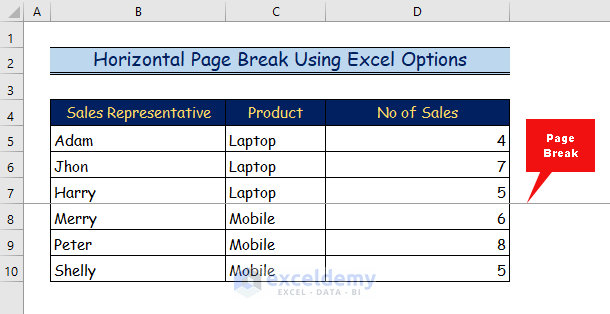
A horizontal page break is inserted between row 7 and row 8.
3.2 – Vertical Page Break
Now we’ll insert a vertical page break in the same way.
Steps:
- Click on the File tab on the ribbon.

- From the side ribbon, select the Options tab.
The Excel Options dialog box will open.
- Click on the Quick Access Toolbar option.
- In the box under the Choose command from options, select the All Commands option.
- From the command list below, select the Insert Page Break command.
- Click on Add.
The Insert Page Break command will be added under the Customize the Quick Access Toolbar option.
- Click OK.
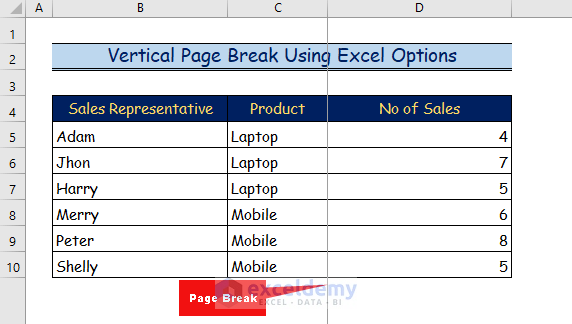
- Select the column where the page break will be inserted (column D).
- On the Quick Access Toolbar, click on the Breaks icon.
The vertical page break is visible between column C and column D.
Read More: How to Insert Page Break Between Rows 39 and 40 in Excel
Method 4 – Using VBA Code to Insert a Page Break
This is an advanced but effective way to insert a page break. We will use the Developer tab to apply a VBA code to insert a page break. If you don’t see the Developer tab on your ribbon, then follow this link to display the Developer tab on the ribbon.
Steps:
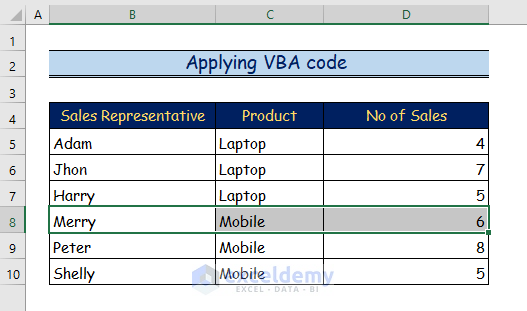
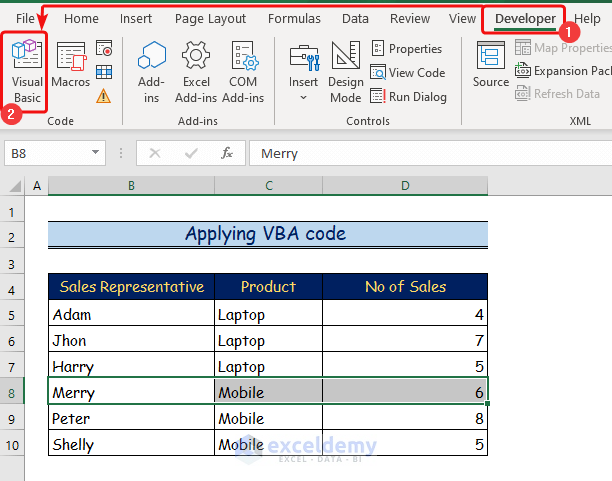
- Select the row where the page break should be, in this example the cell range B8:D8.
- Go to the Developer tab and click on the Visual Basic tab.
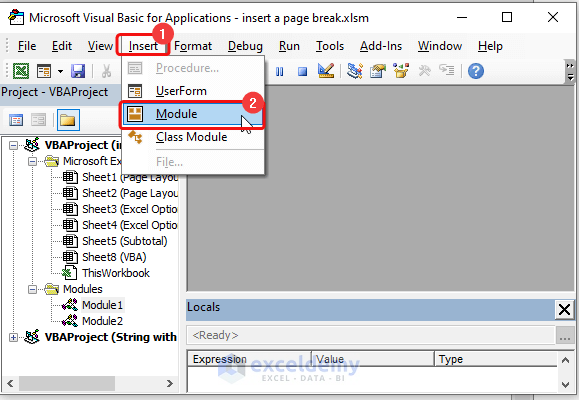
A command window will appear.
- In the command window, click on the Insert tab.
- From the drop-down list, select the Module option.
- Insert the VBA code below into the Module:
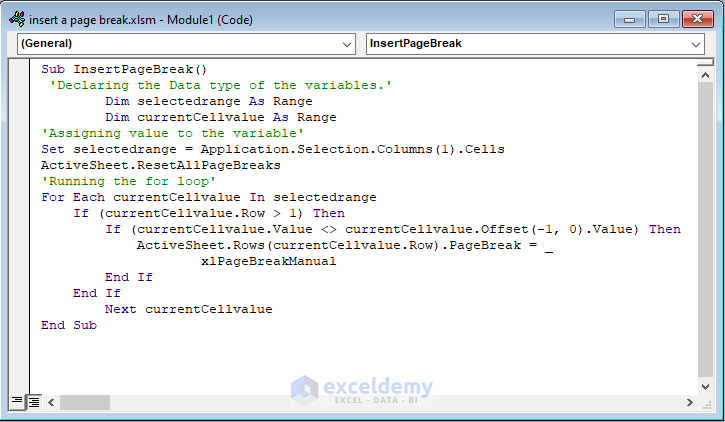
Sub InsertPageBreak()
'Declaring the data types of the variables'
        Dim selectionedrange As Range
        Dim currentCellvalue As Range
 'Assigning value to the variables'
        Set selectionedrange = Application.Selection.Columns(1).Cells
        ActiveSheet.ResetAllPageBreaks
 'Running the for loop'
        For Each currentCellvalue In selectionedrange
                If (currentCellvalue.Row > 1) Then
                        If (currentCellvalue.Value <> currentCellvalue.Offset(-1, 0).Value) Then
                                ActiveSheet.Rows(currentCellvalue.Row).PageBreak = _
                                    xlPageBreakManual
                        End If
                End If
        Next currentCellvalue

End Sub
VBA Code Breakdown
- The name of the function that we will use is InsertPageBreak.
- We take two Range type variables, namely selectedrange and currentCellvalue .
- We assign the range to the selected cells as selectedrange=Application.Selection.Columns(1).Cells
- ActiveSheet.ResetAllPageBreaks will reset all the page breaks if they exist.
- If (currentCellvalue.Value <> currentCellvalue.Offset(-1, 0).Value) checks if the location meets the criteria for breaking the page according to our selected range.
- Finally we use the xlPageBreakManual command to break the page manually.
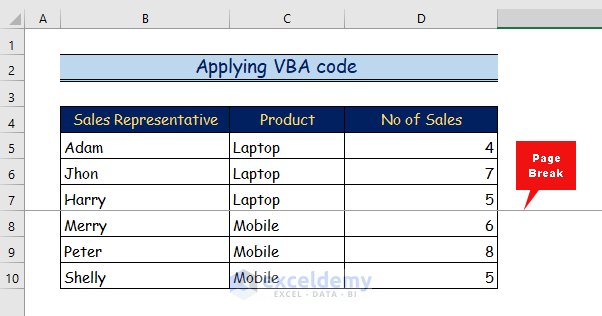
- Click on the Run button or press F5 to run the code.

A page break is inserted in between our desired rows.
Read More: How to Insert Page Break Based on Cell Value with Excel VBA
Download Practice Workbook
Related Articles
<< Go Back to Page Setup | Print in Excel | Learn Excel
Get FREE Advanced Excel Exercises with Solutions!
