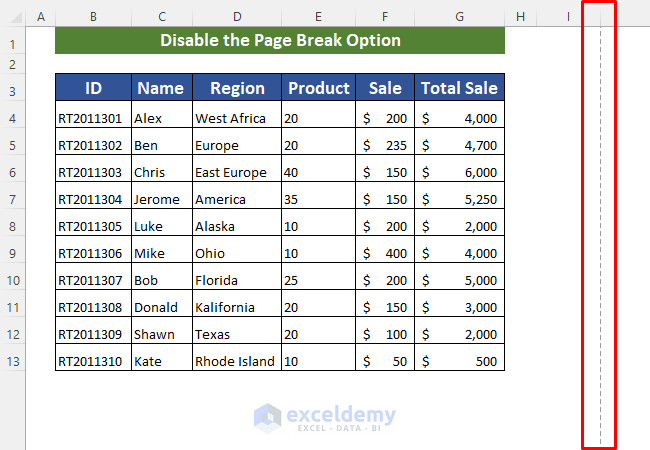
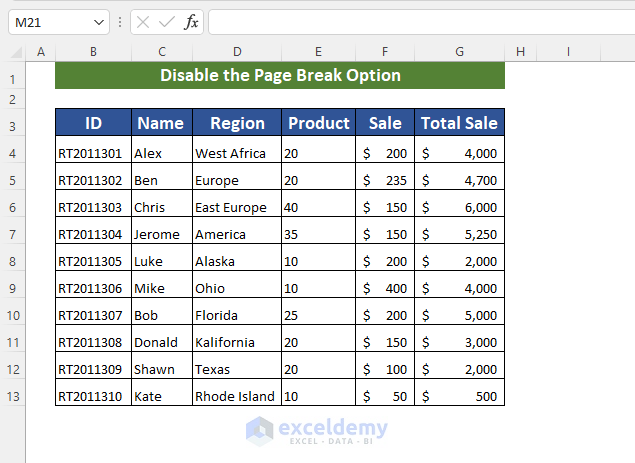
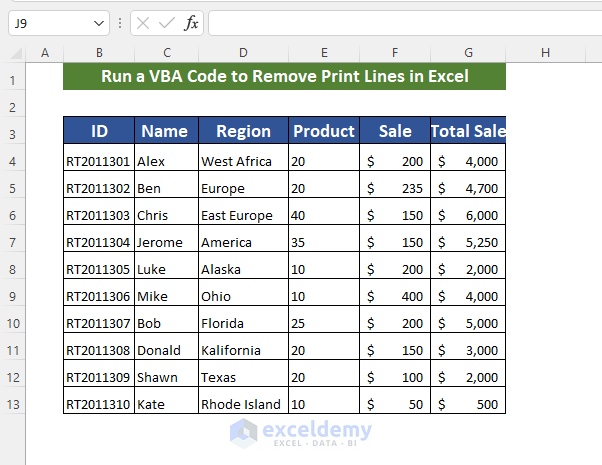
We have a dataset with some dotted-lined borders. These page break lines show how much of the worksheet will be printed on a single paper. We need to remove those lines. We will discuss four different ways to remove those print lines.
Method 1 – Disable the Page Break Option to Remove Print Lines in Excel
Steps:
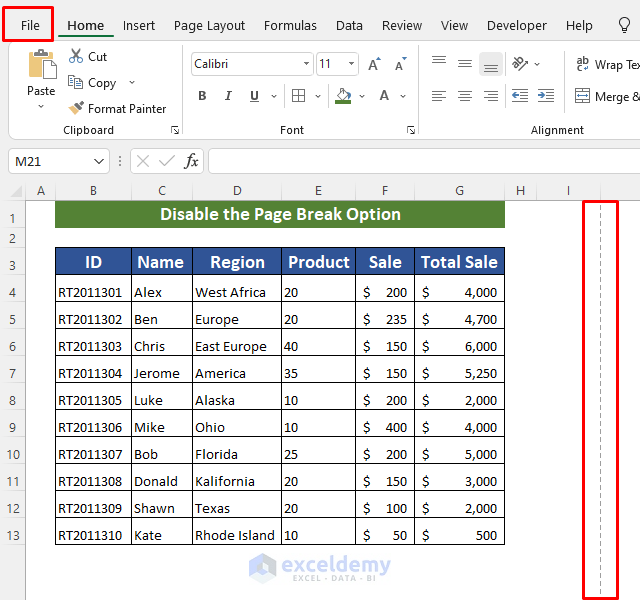
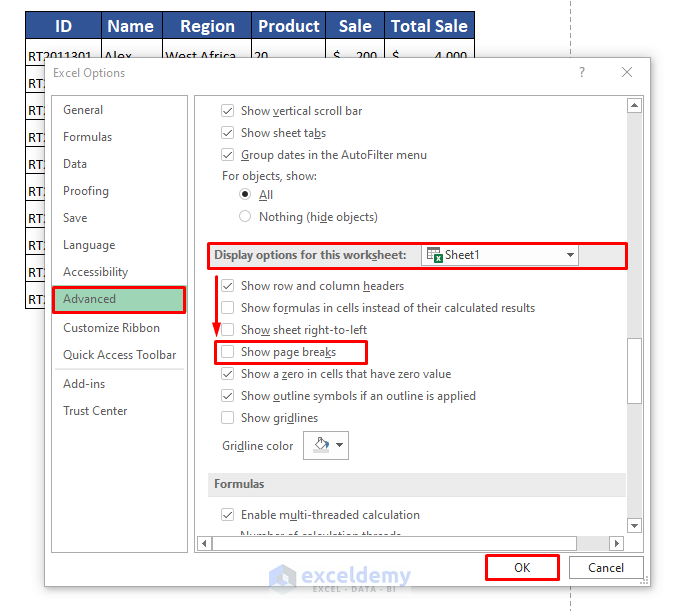
- To remove print lines from your worksheets, click on Files.
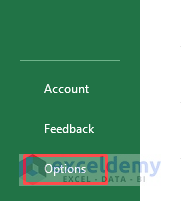
- Click on Options to open available options.
- Click on Advanced to open available advanced options.
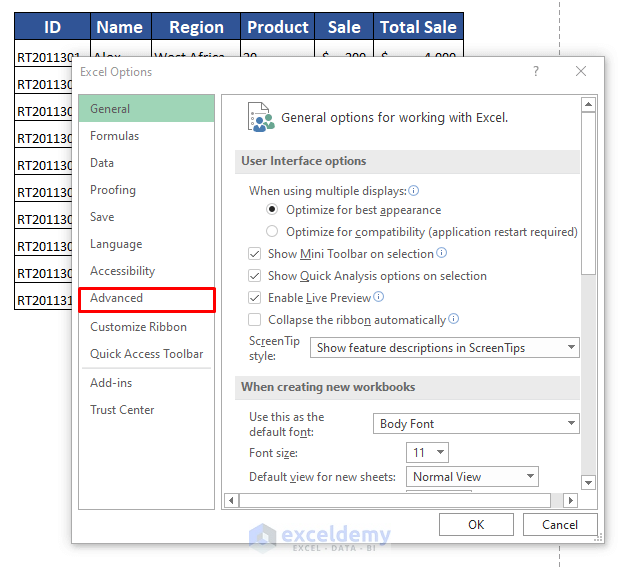
- Drag down to Display Options For These Worksheets. Here, check out Show Page Breaks.
- Click OK to confirm.
We have successfully removed those print lines.
Read More: How to Remove Blue Lines in Excel
Method 2 – Modify Border Style to Delete Print Lines in Excel
Steps:
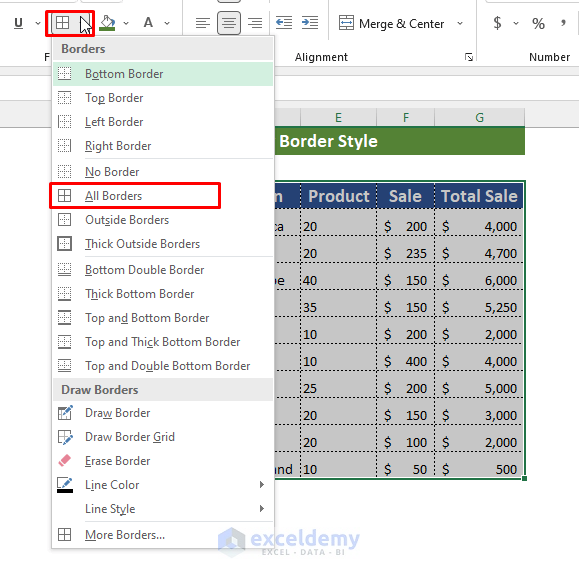
- Select the whole dataset and click on the Border Option to open it.
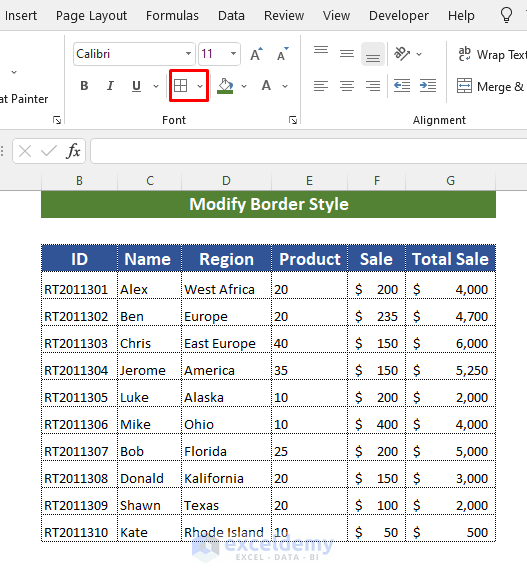
- When the border option is opened, select All Borders or No Borders to remove those dotted lines.
Read More: How to Remove the Page Break Lines in Excel
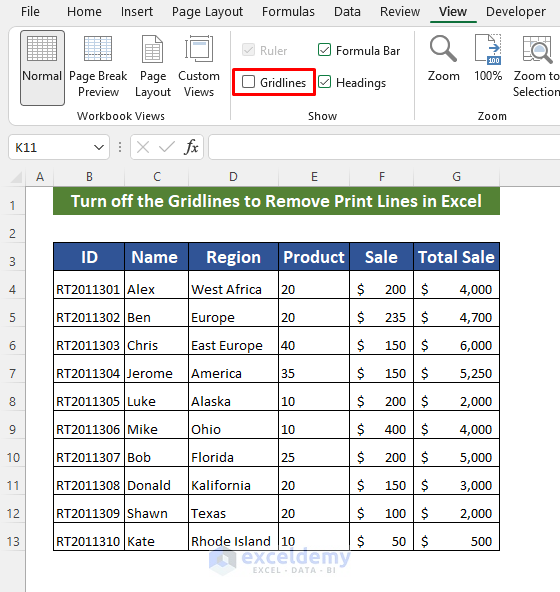
Method 3 – Turn off the Gridlines to Erase Print Lines in Excel
Steps:
- Go to the View Tab. The gridlines option is checked in on this tab.
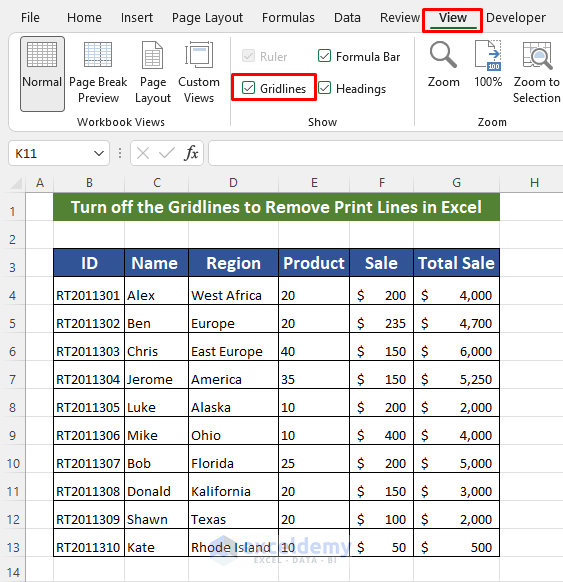
- Uncheck this option to remove your worksheet gridlines.
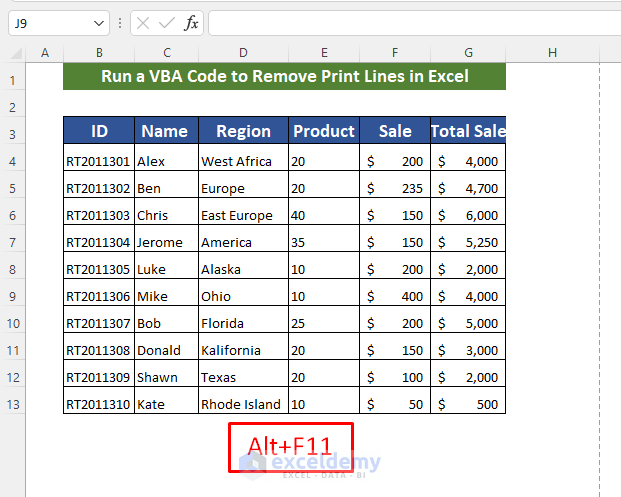
Method 4 – Run a VBA Code to Remove Print Lines in Excel
Steps:
- Press Ctrl+F11 to open the VBA editor.
- After the VBA window opens, click on Insert and click on the module to open a module.
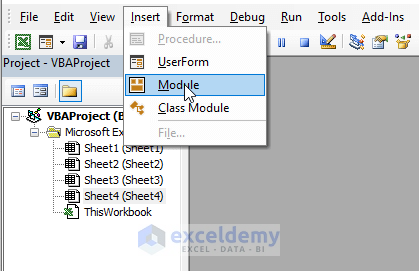
- Enter the VBA code. We have provided the code below; you can just copy and paste it to use it.
The code is:
Sub TogglePageBreaks()
ActiveSheet.DisplayPageBreaks = False
End Sub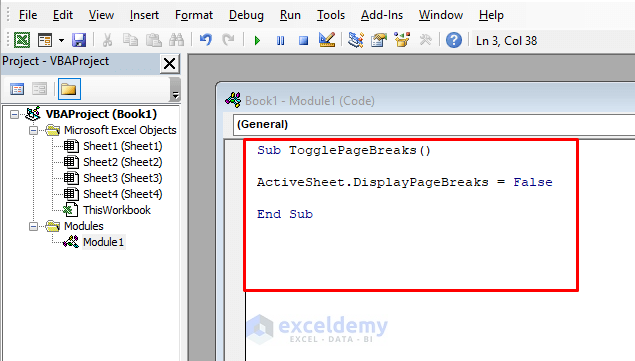
- Run the code. The print lines are now removed.
Read More: How to Insert Page Break Based on Cell Value with Excel VBA
Things to Remember
This only works on the current worksheet. If you want to hide the print preview lines on other worksheets, you must do that separately for each one.
Download the Practice Workbook
Download this workbook to practice.
Reading Articles
<< Go Back to Page Setup | Print in Excel | Learn Excel
Get FREE Advanced Excel Exercises with Solutions!

In Lotus 123 when you want to omit 1 line or more not to Print you put this marks in the first columm || @if(b5=0,”||”,b5) if this cell is zero it will not print this line when it is in the first columm of the printing range
Can that be done in Excel?
Hi DAVID,
I hope you are doing well.
In Excel, you cannot do so as far as I know. However, you can make the fill color same as the background color to technically avoid printing the row.
And you can also hide specific rows and columns to not print them.
Thank you. Have a good day.