In a short dataset, we can easily remove duplicates manually but if the dataset becomes large then we need some other quick methods to do it. So today I’ll show how to find duplicates in column and delete row in Excel.
Excel Find Duplicates in Column and Delete Row: 4 Quick Ways
Method 1: Use Data Command to Duplicates and Delete Row
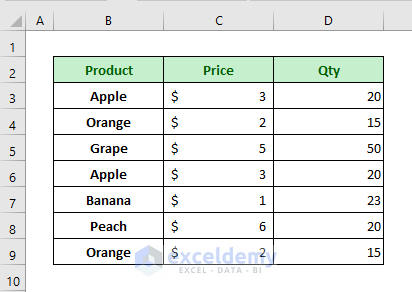
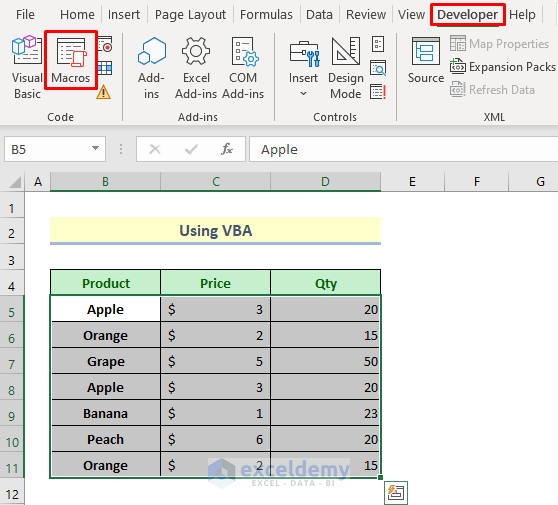
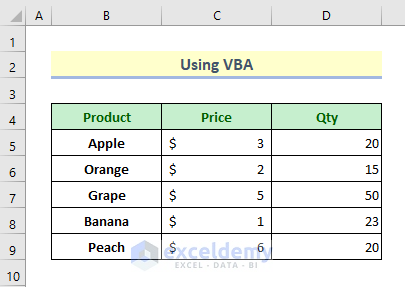
Let’s get introduced to our worksheet first. I have used 3 columns and 8 rows to represent the price and quantity of some fruits. Here some items have their duplicates. Now we’ll find the duplicates and remove them.
Step 1:
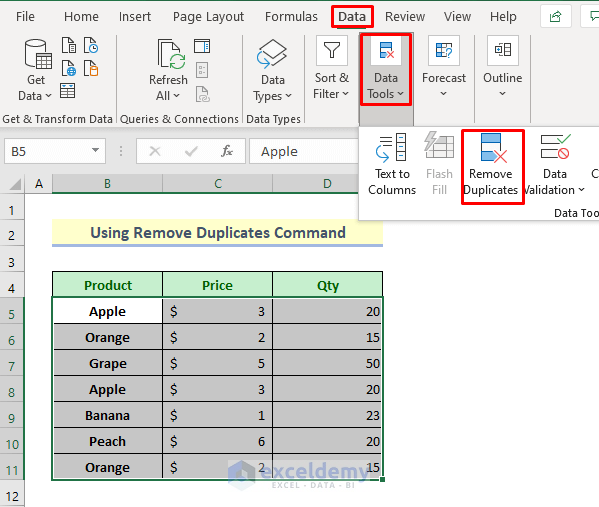
➤ Select the data range.
➤ Then click Data > Data Tools > Remove Duplicates.
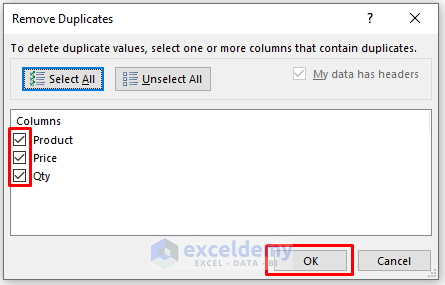
A dialog box will open up.
Step 2:
➤ Mark the columns and press OK
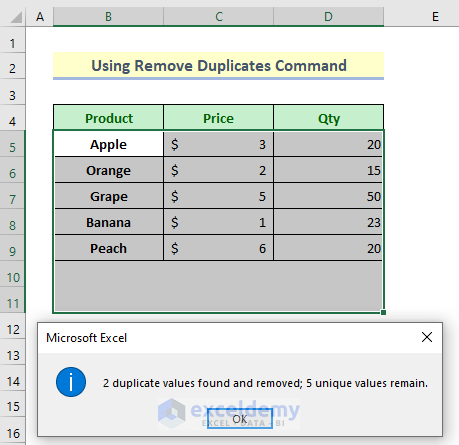
The duplicate rows will be removed and a notification box will pop up the message.
Read More: How to Find Duplicates without Deleting in Excel
Method 2: Use Conditional Formatting to Find Duplicates and Delete Row
In this method, we’ll use Conditional Formatting to find duplicates in a column and then delete row(s) in Excel.
Step 1:
➤ Select the data range.
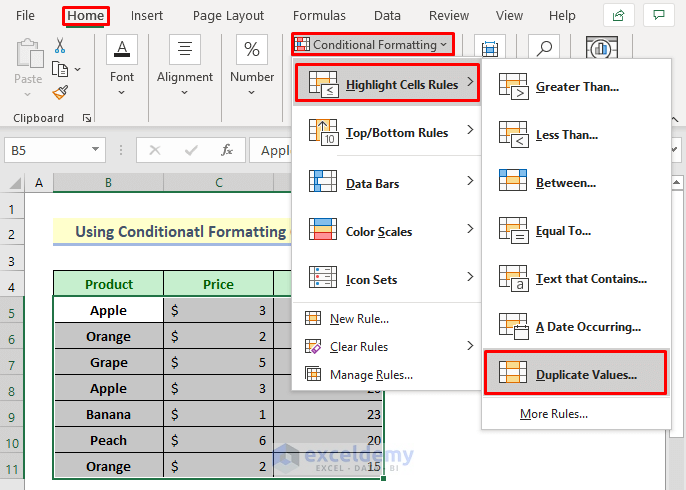
➤ Then click Home > Conditional Formatting > Highlight Cells Rules > Duplicate Values.
A dialog box will appear.
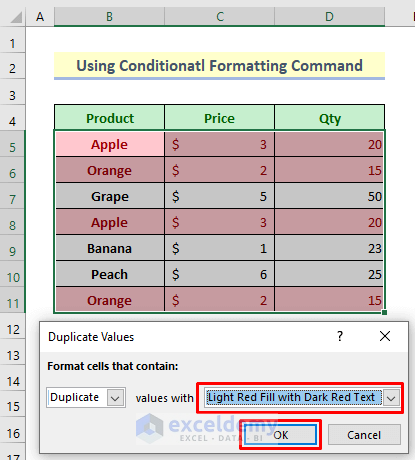
Step 2:
➤ Select the color choice from the “Values with” drop-down bar.
➤ Press OK
Then the duplicate rows will be shown with your selected color.
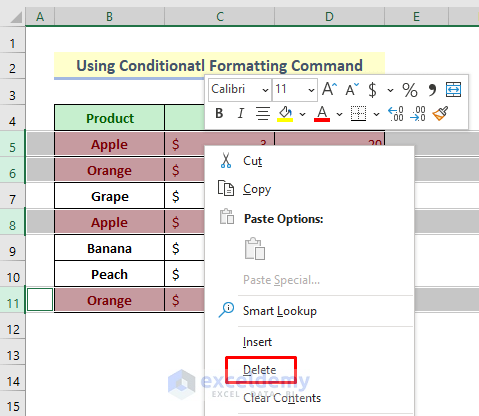
Step 3:
➤ Select the rows now.
➤ Then right-click your mouse and press Delete from the Context Menu.
Method 3: Use Excel VBA to Find Matches in Column and Delete Row
We can use VBA to do the operation. Let’s see how to run it.
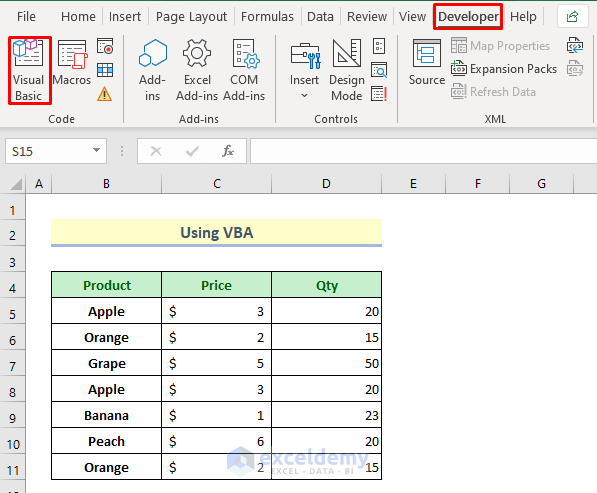
Step 1:
➤ Click Devoloper > Visual Basic
A VBA window will open up.
Step 2:
➤ Then type the code given below:
Option Explicit
Sub Delete_duplicate_rows()
Dim RngX As Range
Set RngX = Selection
RngX.RemoveDuplicates Columns:=Array(1), Header:=xlYes
End Sub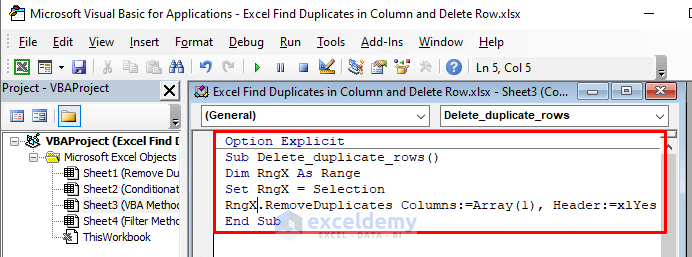
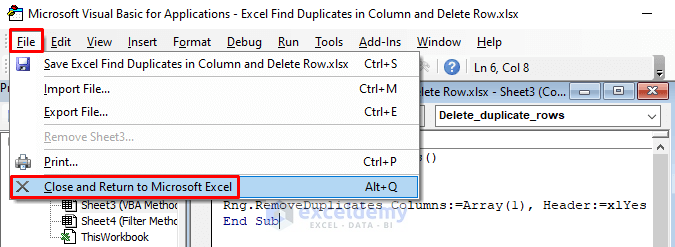
Step 3:
➤ Then click File > Close and Return to Microsoft Excel.
Step 4:
➤ Now click Developer > Macros
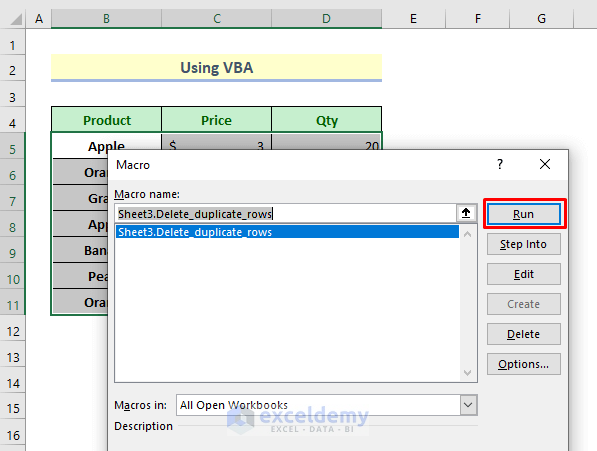
A Macro dialog box will appear.
Step 5:
➤ Now just press Run
See the duplicate rows are removed now.
Read More: Find and Highlight Duplicates in Excel
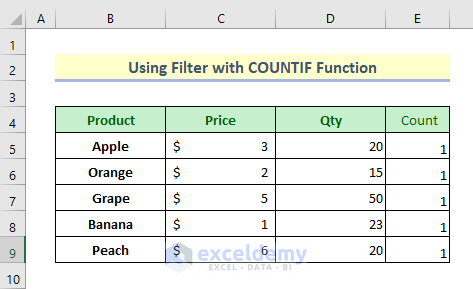
Method 4: Use Filter with COUNTIF Function to Find Duplicates in Column and Delete Row
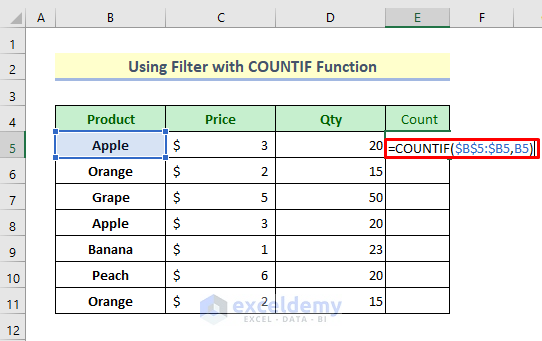
Now in this last method, I’ll show how to use Filter and the COUNTIF Function to remove duplicates in a column and delete rows. Here I have added a new column to count the duplicate numbers.
Step 1:
➤ Select Cell E5
➤ Type the formula given below:
=COUNTIF($B$5:$B5,B5)➤ Then press the Enter button
Step 2:
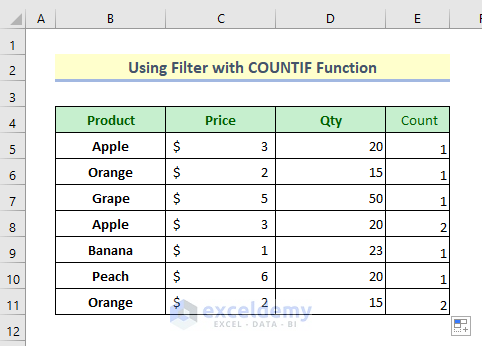
➤ Then apply Fill Handle to copy the formula for the other cells of that column.
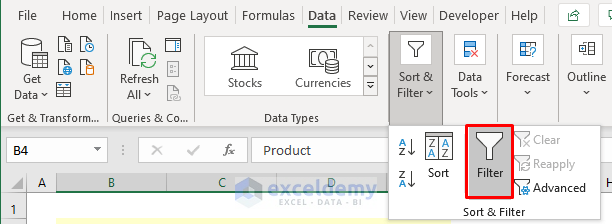
Step 3:
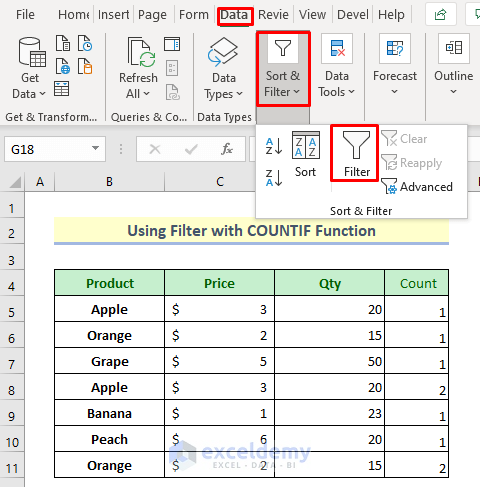
➤ Now click Data > Sort & Filter > Filter
The Filter option is now activated in the Header.
Step 4:
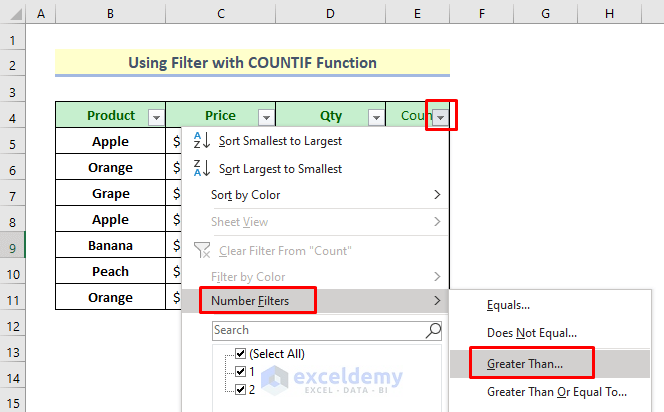
➤ Click the Filter icon in the Count header.
➤ Then click Number Filters > Greater Than
A dialog box will open up.
Step 5:
➤ Type 1 in the bar that is shown in the image below.
➤ Press OK

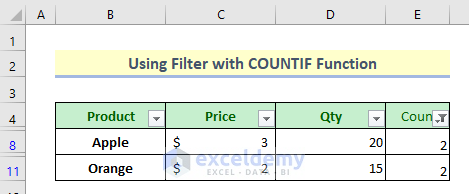
Now the dataset is filtered with only duplicate values.
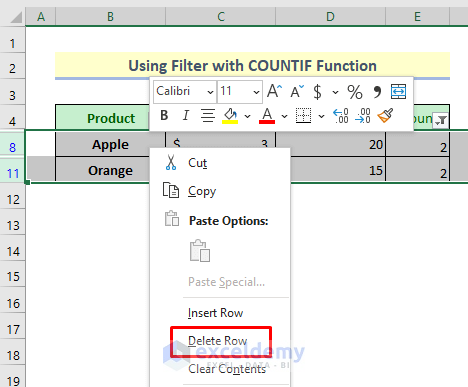
Step 6:
➤ Select the rows.
➤ Now right-click your mouse and select Delete Row from the Context Menu.
Step 7:
➤ Now deactivate the Filter menu by pressing again it and you will get back your unique rows.
Here we can see the duplicates are removed.
Read More: How to Find Duplicates in Excel Workbook
Download Practice Book
Download the Excel workbook that we’ve used to prepare this article.
Conclusion
I hope all of the methods described above will be well enough to remove duplicates in a column and delete rows in Excel. Feel free to ask any question in the comment section and please give me feedback.
Related Articles
- How to Find Duplicate Values Using VLOOKUP in Excel
- Find Duplicates in Two Columns in Excel
- How to Find Similar Text in Two Columns in Excel
- How to Find Duplicates in Two Different Excel Workbooks
<< Go Back to Find Duplicates in Excel Column | Find Duplicates in Excel | Duplicates in Excel | Learn Excel
Get FREE Advanced Excel Exercises with Solutions!
