A decision tree is a kind of flow chart in Excel. It helps to visualize certain conditions clearly and take action according to them. There are various ways to draw it. In this article, we will illustrate 2 easy ways for drawing decision trees in Excel.
What Is The Decision Tree?
In Microsoft Excel, a decision tree is a visual aid for making an informed decision on given conditions. You can connect multiple conditions and their relevant decisions and draw a tree within the program. It allows the tree to change according to any change in data. It is mostly used in business forecasting, data analysis, C-level executives, and even in personal events.
Components of Decision Tree
A decision tree is composed of 4 types of components. They are described as follows:
- Decision Node: It represents the final decision that we want to achieve through the tree.
- Chance Nodes: The conditions that influence the decision are placed in this node. It offers a range of potential outcomes.
- End Nodes: They give the final outcome or conclusion after the decision process.
- Branches: They are the connecting lines among all the nodes.
Drawing Decision Trees in Excel (2 Easy Ways)
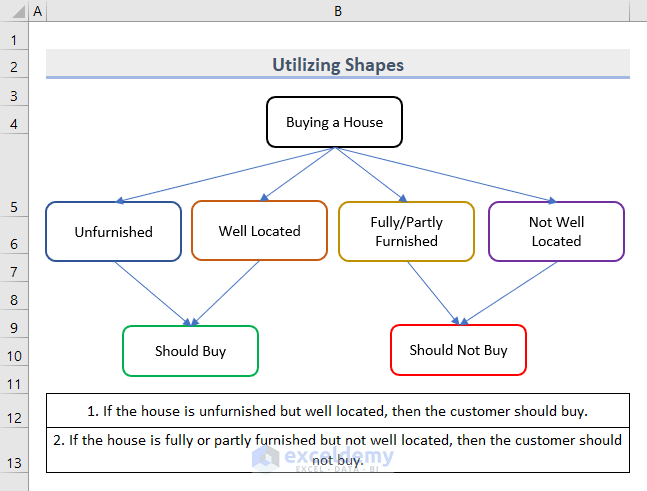
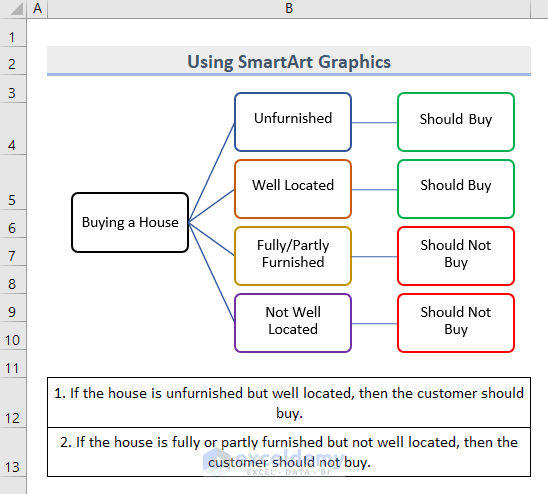
A decision tree must have some conditions which will trigger the conclusion. For this, here are two conditions that imply the decision to buy a house.

Now, based on these conditions, let us draw a decision tree following the methods below.
1. Utilize Shapes for Drawing Decision Trees in Excel
In this first method, we will create the decision tree with the regular Shapes command in Excel. Let’s see the process below.
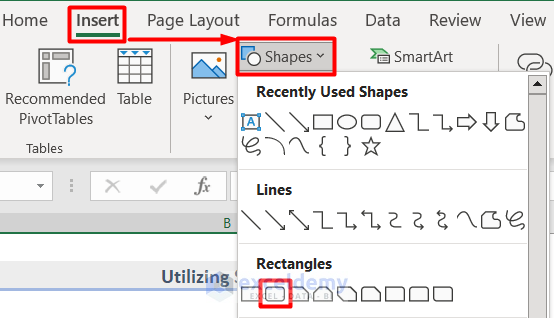
- First, select Rectangle: Rounded Corners from the Shapes list under the Insert tab.
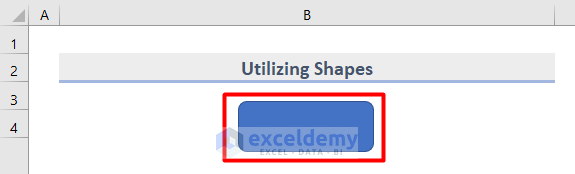
- Then, draw it inside your worksheet and it will initially look like this.
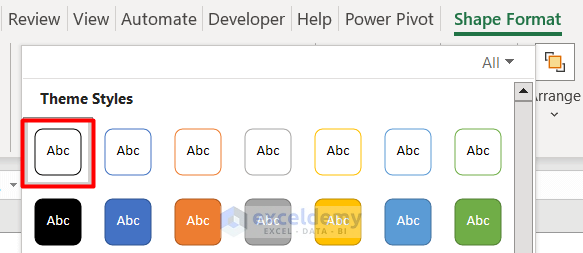
- Next, select the shape and change its theme from the Shape Format tab.
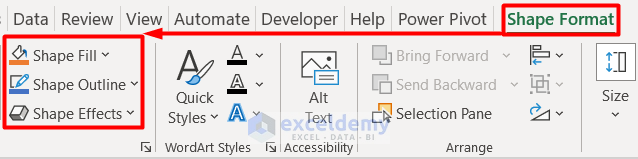
- Additionally, change the shape color, outline, and effects in the Shape Format tab as well according to your preference.
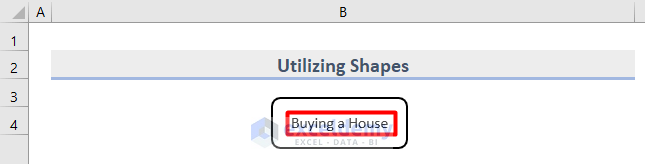
- After that, type the Decision that you want to make throughout this tree inside the first shape.
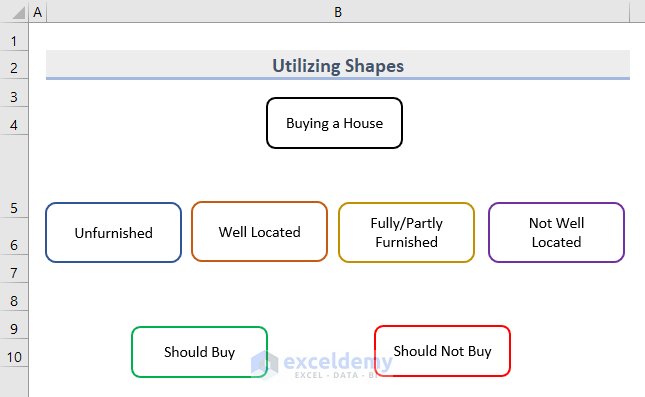
- Similarly, follow the same process to insert the Chance Nodes and End Nodes like this.
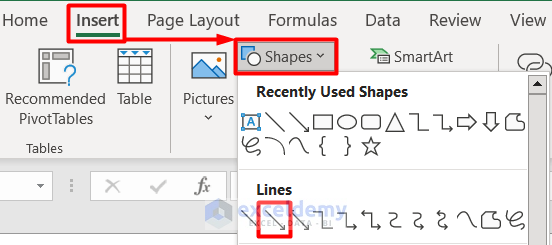
- Now, choose Line Arrow from the Shapes list under the Insert tab.
- Then, connect the Decision Node with the first Chance Node with the Line Arrow like this.
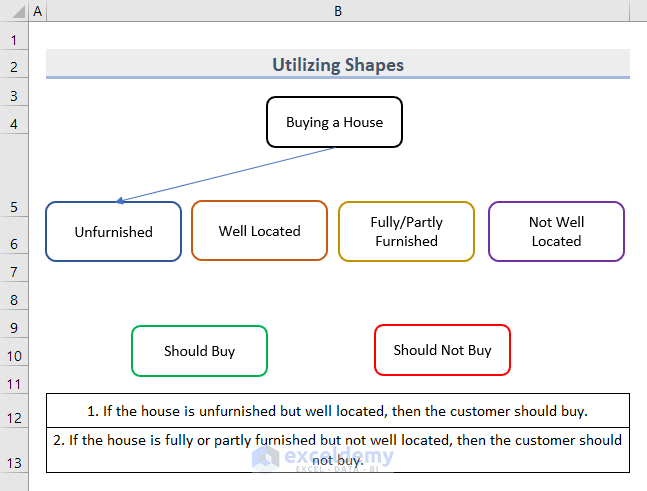
- Lastly, follow the same procedure for connecting the Decisions Node, Chance Nodes, and End Nodes based on the conditions.
- Finally, we will get the final output like this.
Read More: How to Create Drawing Register in Excel
2. Use SmartArt Graphics for Drawing Decision Trees in Excel
SmartArt is a wonderful tool to create a decision tree in Excel. To do the task, follow the steps below.
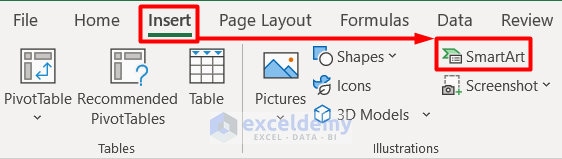
- In the beginning, choose SmartArt under the Illustrations group from the Insert tab.
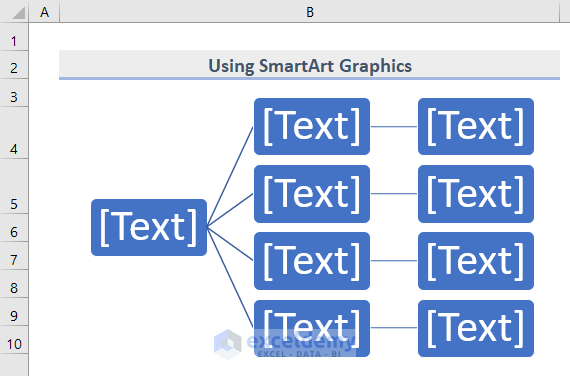
- Then, select Horizontal Hierarchy from the Hierarchy section in the new window.
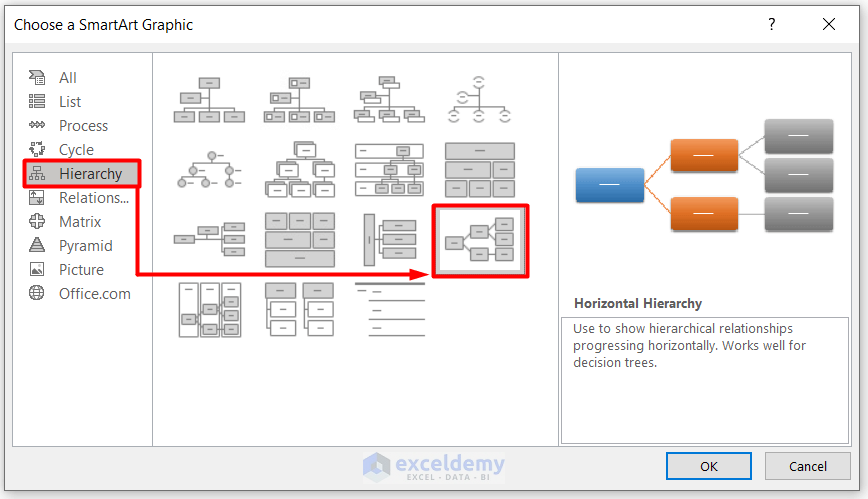
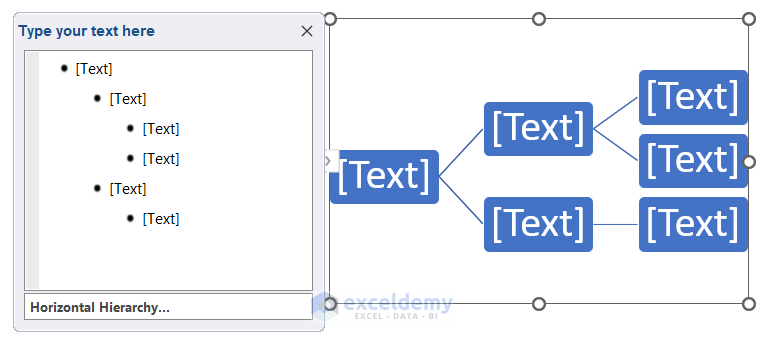
- Following this, press OK and you will get the following initial output.
- Now, according to our condition, we need 2 more shapes under the Chance Node.
- For this, choose any shape among the Chance Node and select Add Shape.
- Then, choose either Add Shape After or Add Shape Before according to your preference.

- Now, choose each shape inside Chance Mode and select Add Shape Below from the list of Add Shape.

- Therefore, the output will look like this.
- Next, insert the required text inside the Text Pane for each shape.
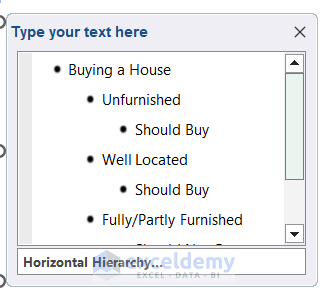
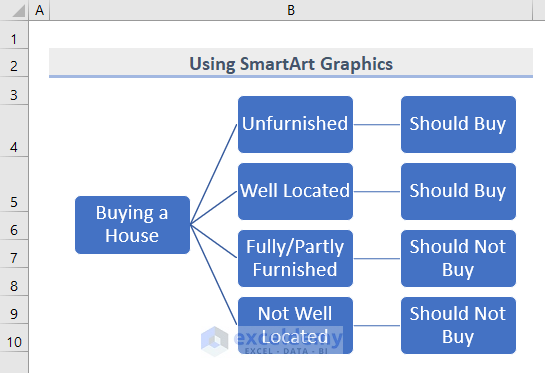
- Then, you will get the connect nodes based on the condition like this.
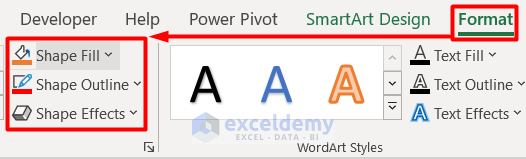
- In the following step, change the Theme from the Format tab for each shape.
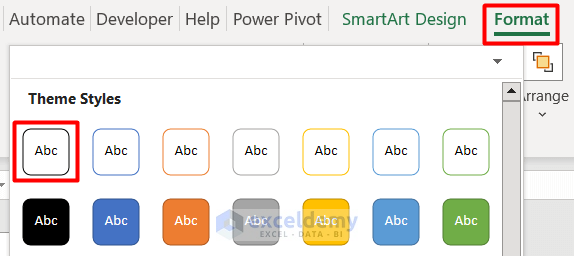
- Along with this, change color, outline, and effects according to your preference from the Format tab.
- Finally, we have got our desired decision tree as follows.
Read More: How to Use Drawing Tools in Excel
Things to Remember
- It is a good practice to make the decision tree as elaborative as possible. It will help to make the final decision easily.
- In the SmartArt method, there are some limitations while connecting shapes when the conditions are not met.
Download Practice Workbook
Get this practice file and try the methods by yourself.
Conclusion
Henceforth, we tried to explain 2 easy ways for drawing decision trees in Excel. Let us know if you can suggest more options to do this. Moreover, we have added the practice workbook at the beginning of the article. So, you can download it to practice more. Also, You can learn more about Excel from ExcelDemy.
Related Articles
- How to Do 3D Drawing in Excel
- How to Do Drawing in Excel Using VBA
- How to Draw Pictures in Excel
- How to Perform Drawing of Objects with VBA in Excel
- How to Remove Drawing Tools in Excel
<< Go Back to Drawing in Excel | Learn Excel
Get FREE Advanced Excel Exercises with Solutions!
