Method 1 – Using the Drawing Tools from the Insert Tab
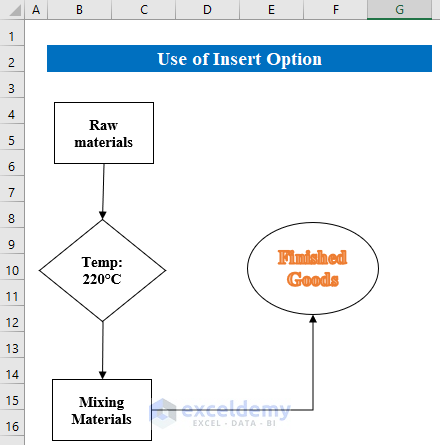
We’ll draw a simple flow chart.
Steps:
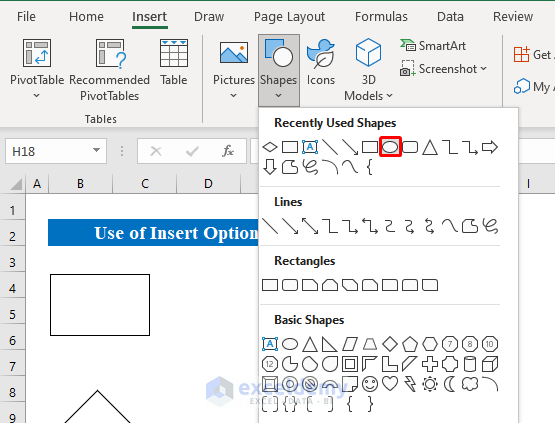
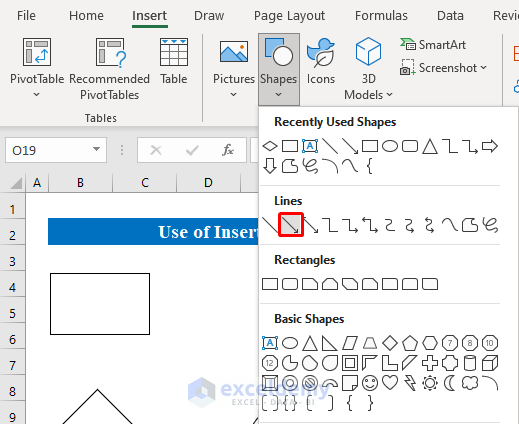
- Choose “Shapes” from the “Insert” option.
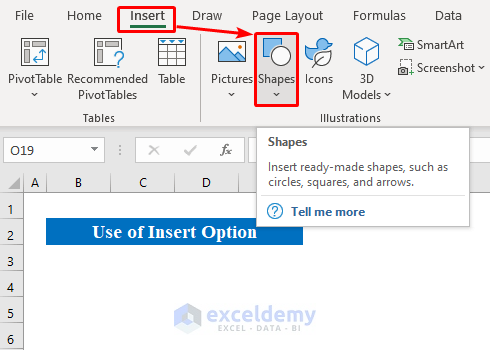
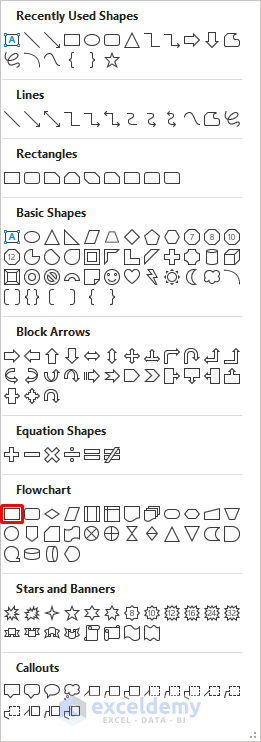
- From the drop-down list, you will get various shapes to draw.
- As we are creating a flow chart, choose a “Rectangle” shape.
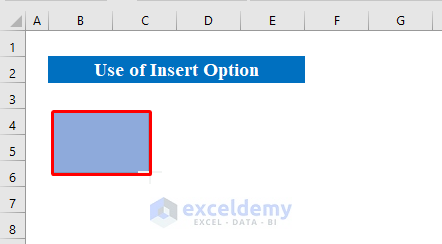
- Draw the shape by clicking and dragging over cells.
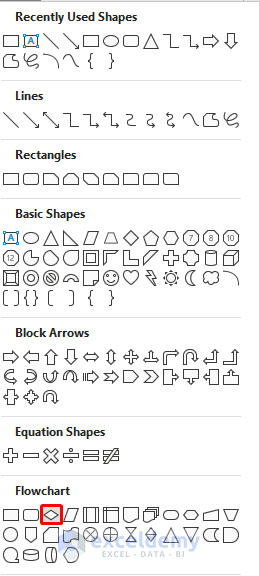
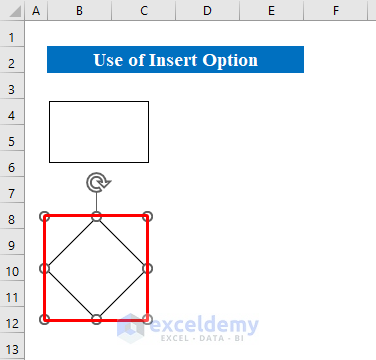
- Similarly, we will insert a “Decision” shape from the list.
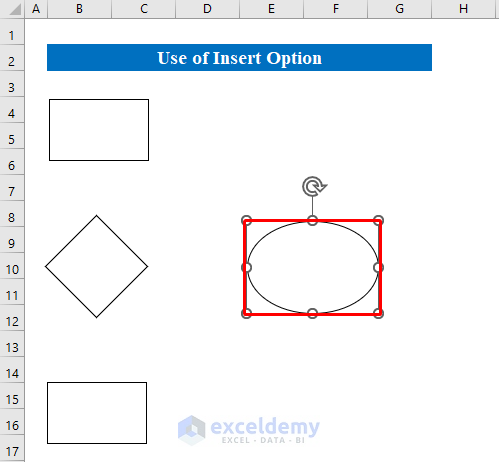
- We have drawn two shapes in our worksheet.
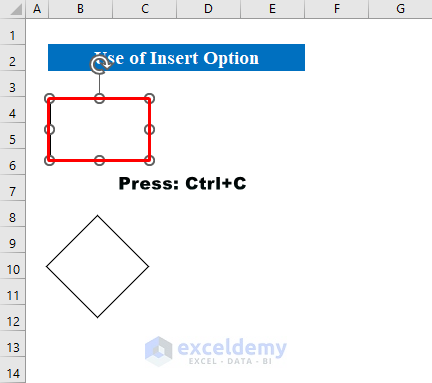
- You can copy and paste the shapes if you want. We have selected a shape and used Ctrl + C.
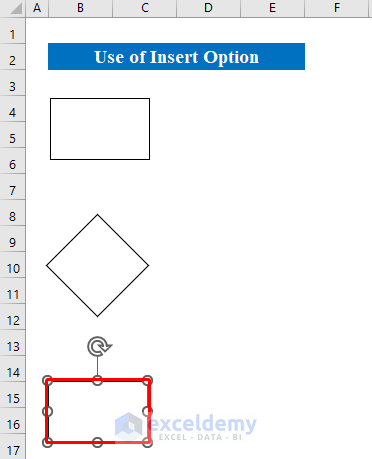
- Select a location and press Ctrl + V to paste and get the same shape.
- Let’s draw an “Oval” shape at the right corner of the worksheet.
- Our flow chart is almost finished with different shapes.
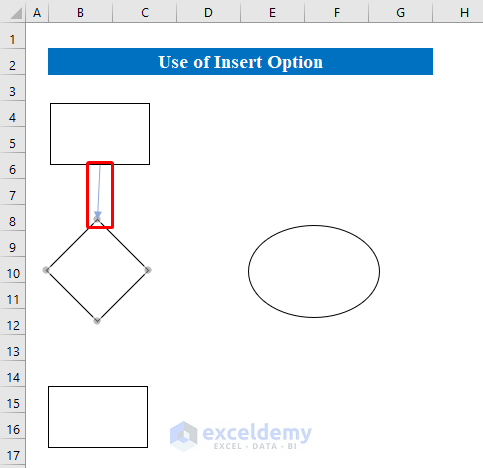
- Choose “Arrow Line” from the “Shapes” option.
- Draw the arrow line between two shapes.
- Draw the arrow line again to connect all the shapes.
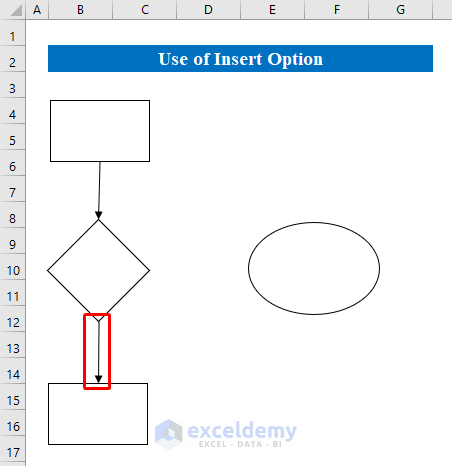
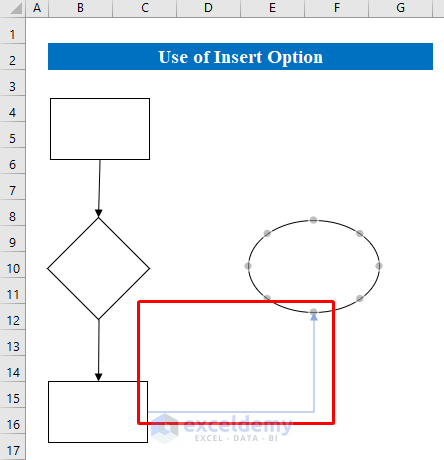
- Draw an “Elbow Arrow” to connect the first column to the oval on the right.

- Place the connector on your sheet.
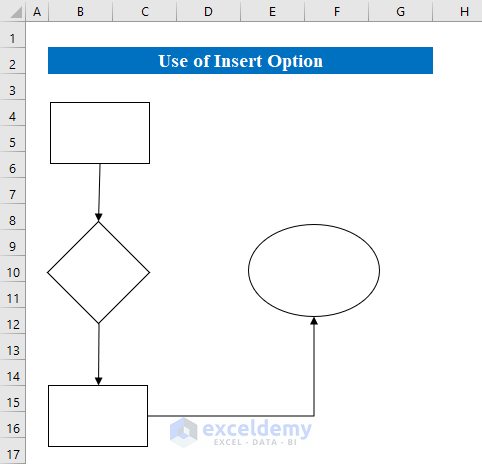
- We have our flow chart ready drawing various shapes using the drawing tools.
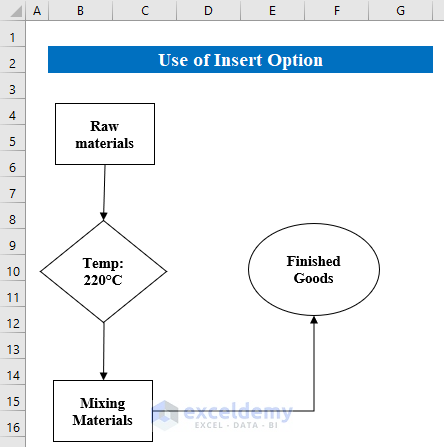
- Let’s fill the shapes with texts to make it more lucrative.
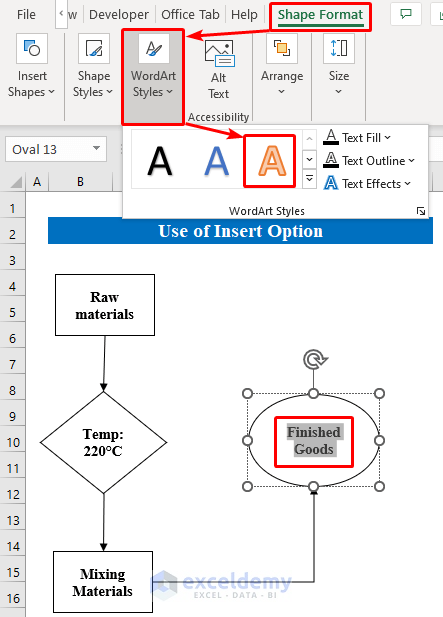
- Change the format from the “Shape Format” tab. We have changed the text format using the “WordArt Styles”.
- Here’s the flow chart.
Read More: How to Remove Drawing Tools in Excel
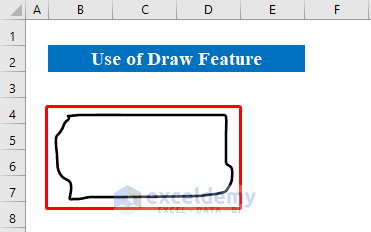
Method 2 – Applying the Draw Feature to Use Drawing Tools
Steps:
- Select a “Drawing Pen” from the “Draw” option.
- Change the “Color” if you want. We have selected “Black Color” to draw a border.

- We have drawn a shape manually on the sheet.
- Choose another “Highlight Pen” and a “Color” to draw.
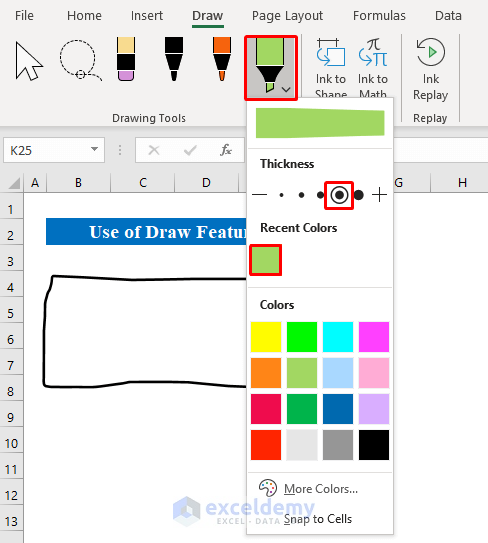
- We have highlighted the previously drawn border using the drawing tools in Excel.

Read More: How to Create Drawing Register in Excel
Things to Remember
Follow these instructions to get the “Draw” tab.
- Go to File > Options > Customize Ribbon.
- From the “Commands” drop-down list, choose “All Commands” and select “Draw”
- Press “Add” and then hit the OK button.
Download the Practice Workbook
Related Articles
- How to Perform Drawing of Objects with VBA in Excel
- How to Draw Pictures in Excel
- How to Do Drawing in Excel Using VBA
- Drawing Decision Trees in Excel
- How to Do 3D Drawing in Excel
<< Go Back to Drawing in Excel | Learn Excel
Get FREE Advanced Excel Exercises with Solutions!
